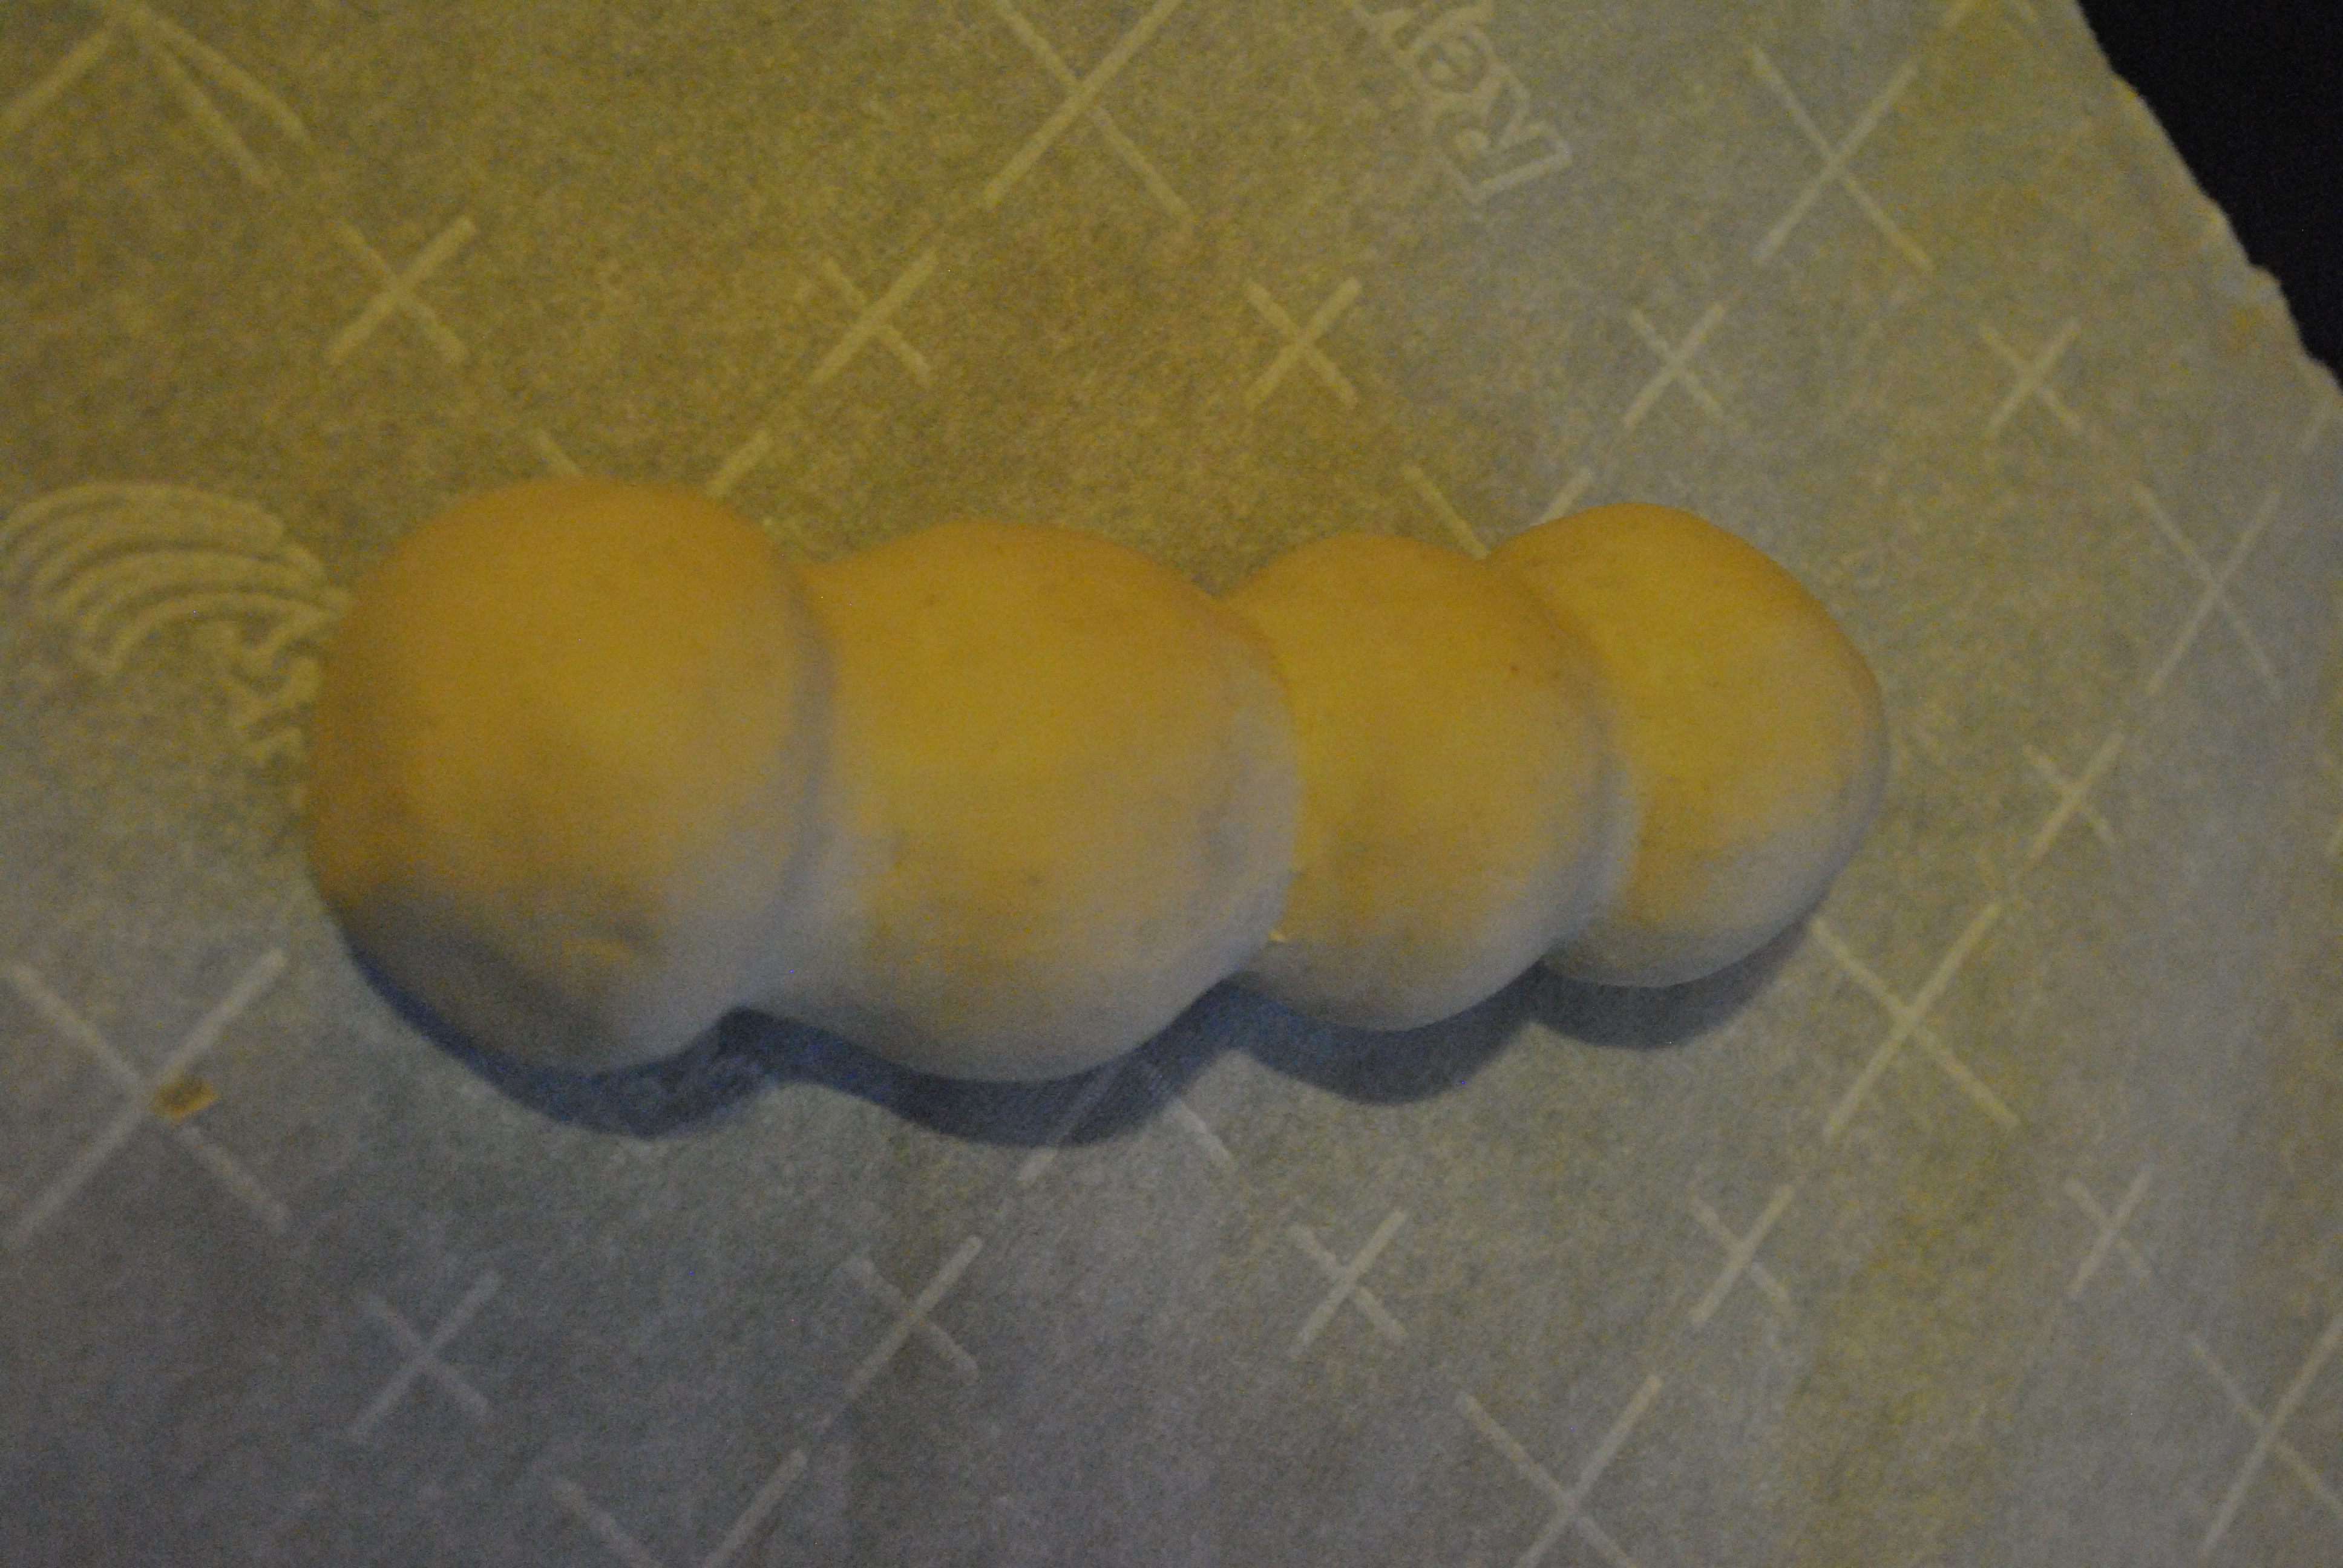
As part of my new years resolution to make a new thing every week this year, I have decided to make the third weeks project, casting an adult toy in silicone.
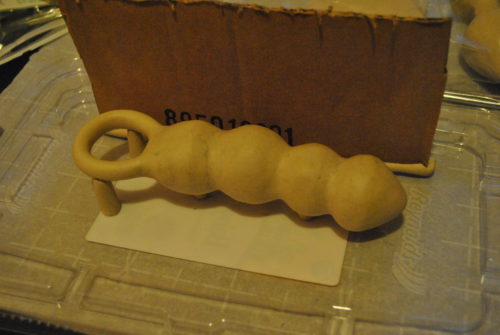
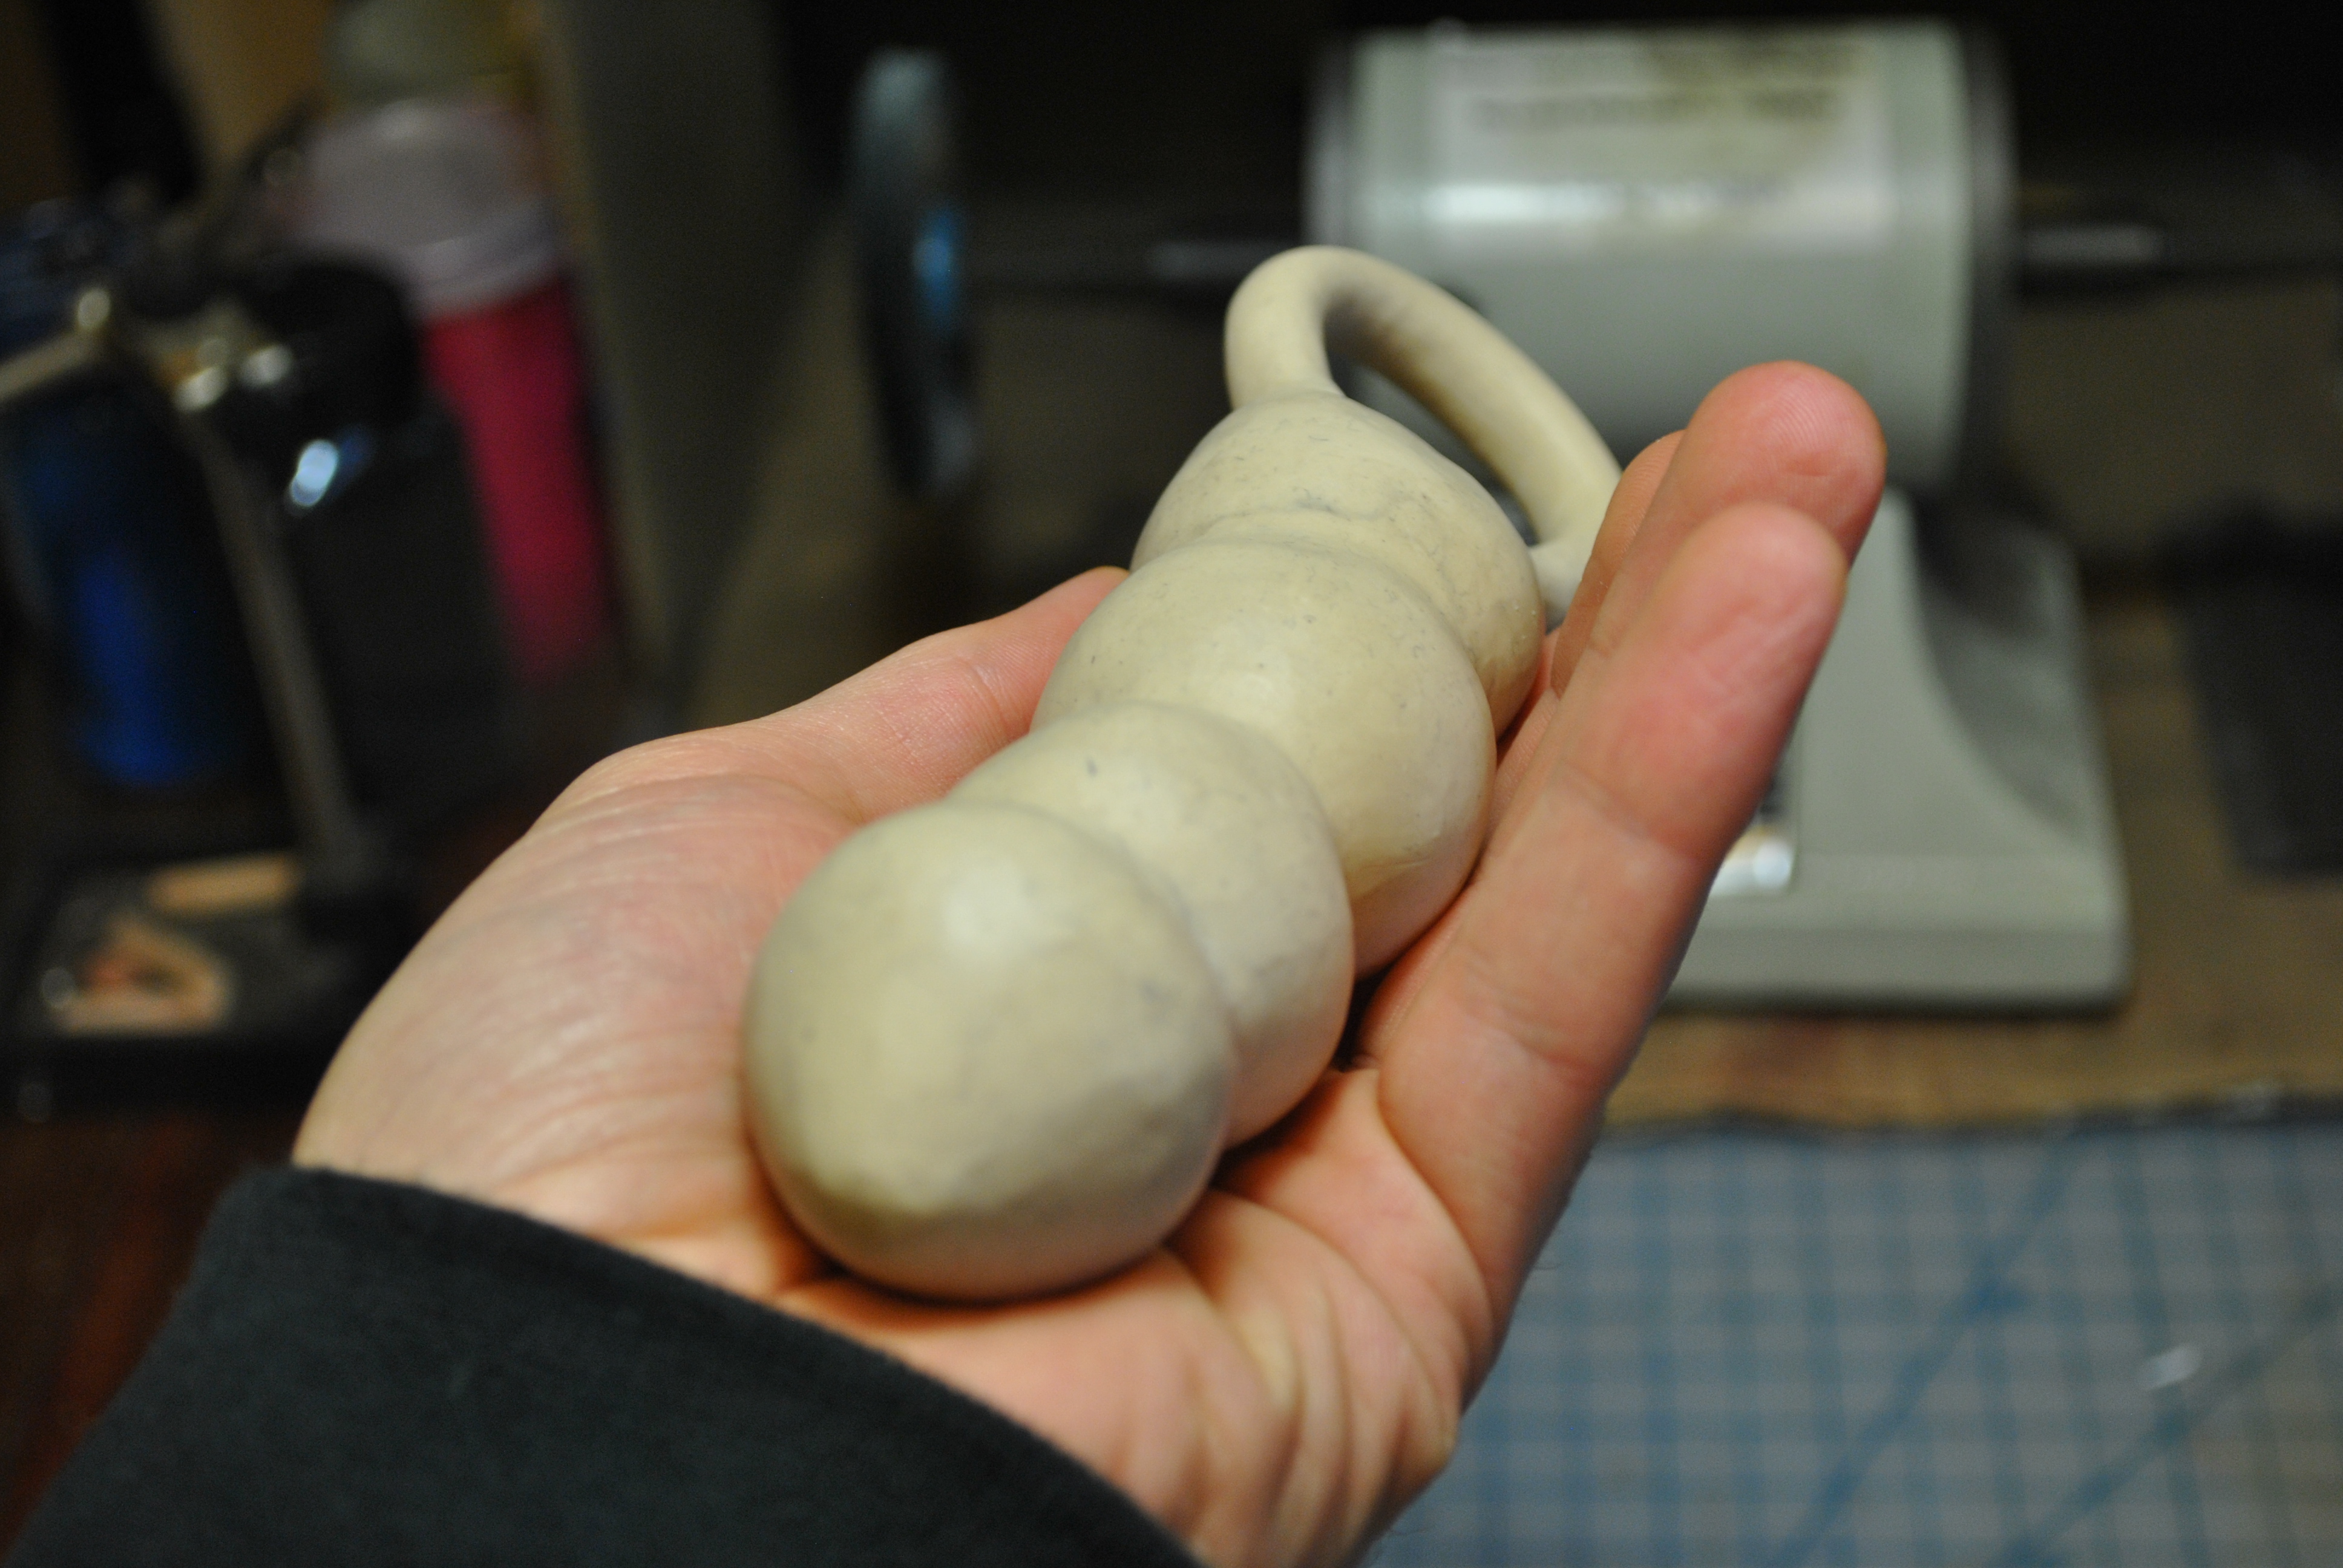
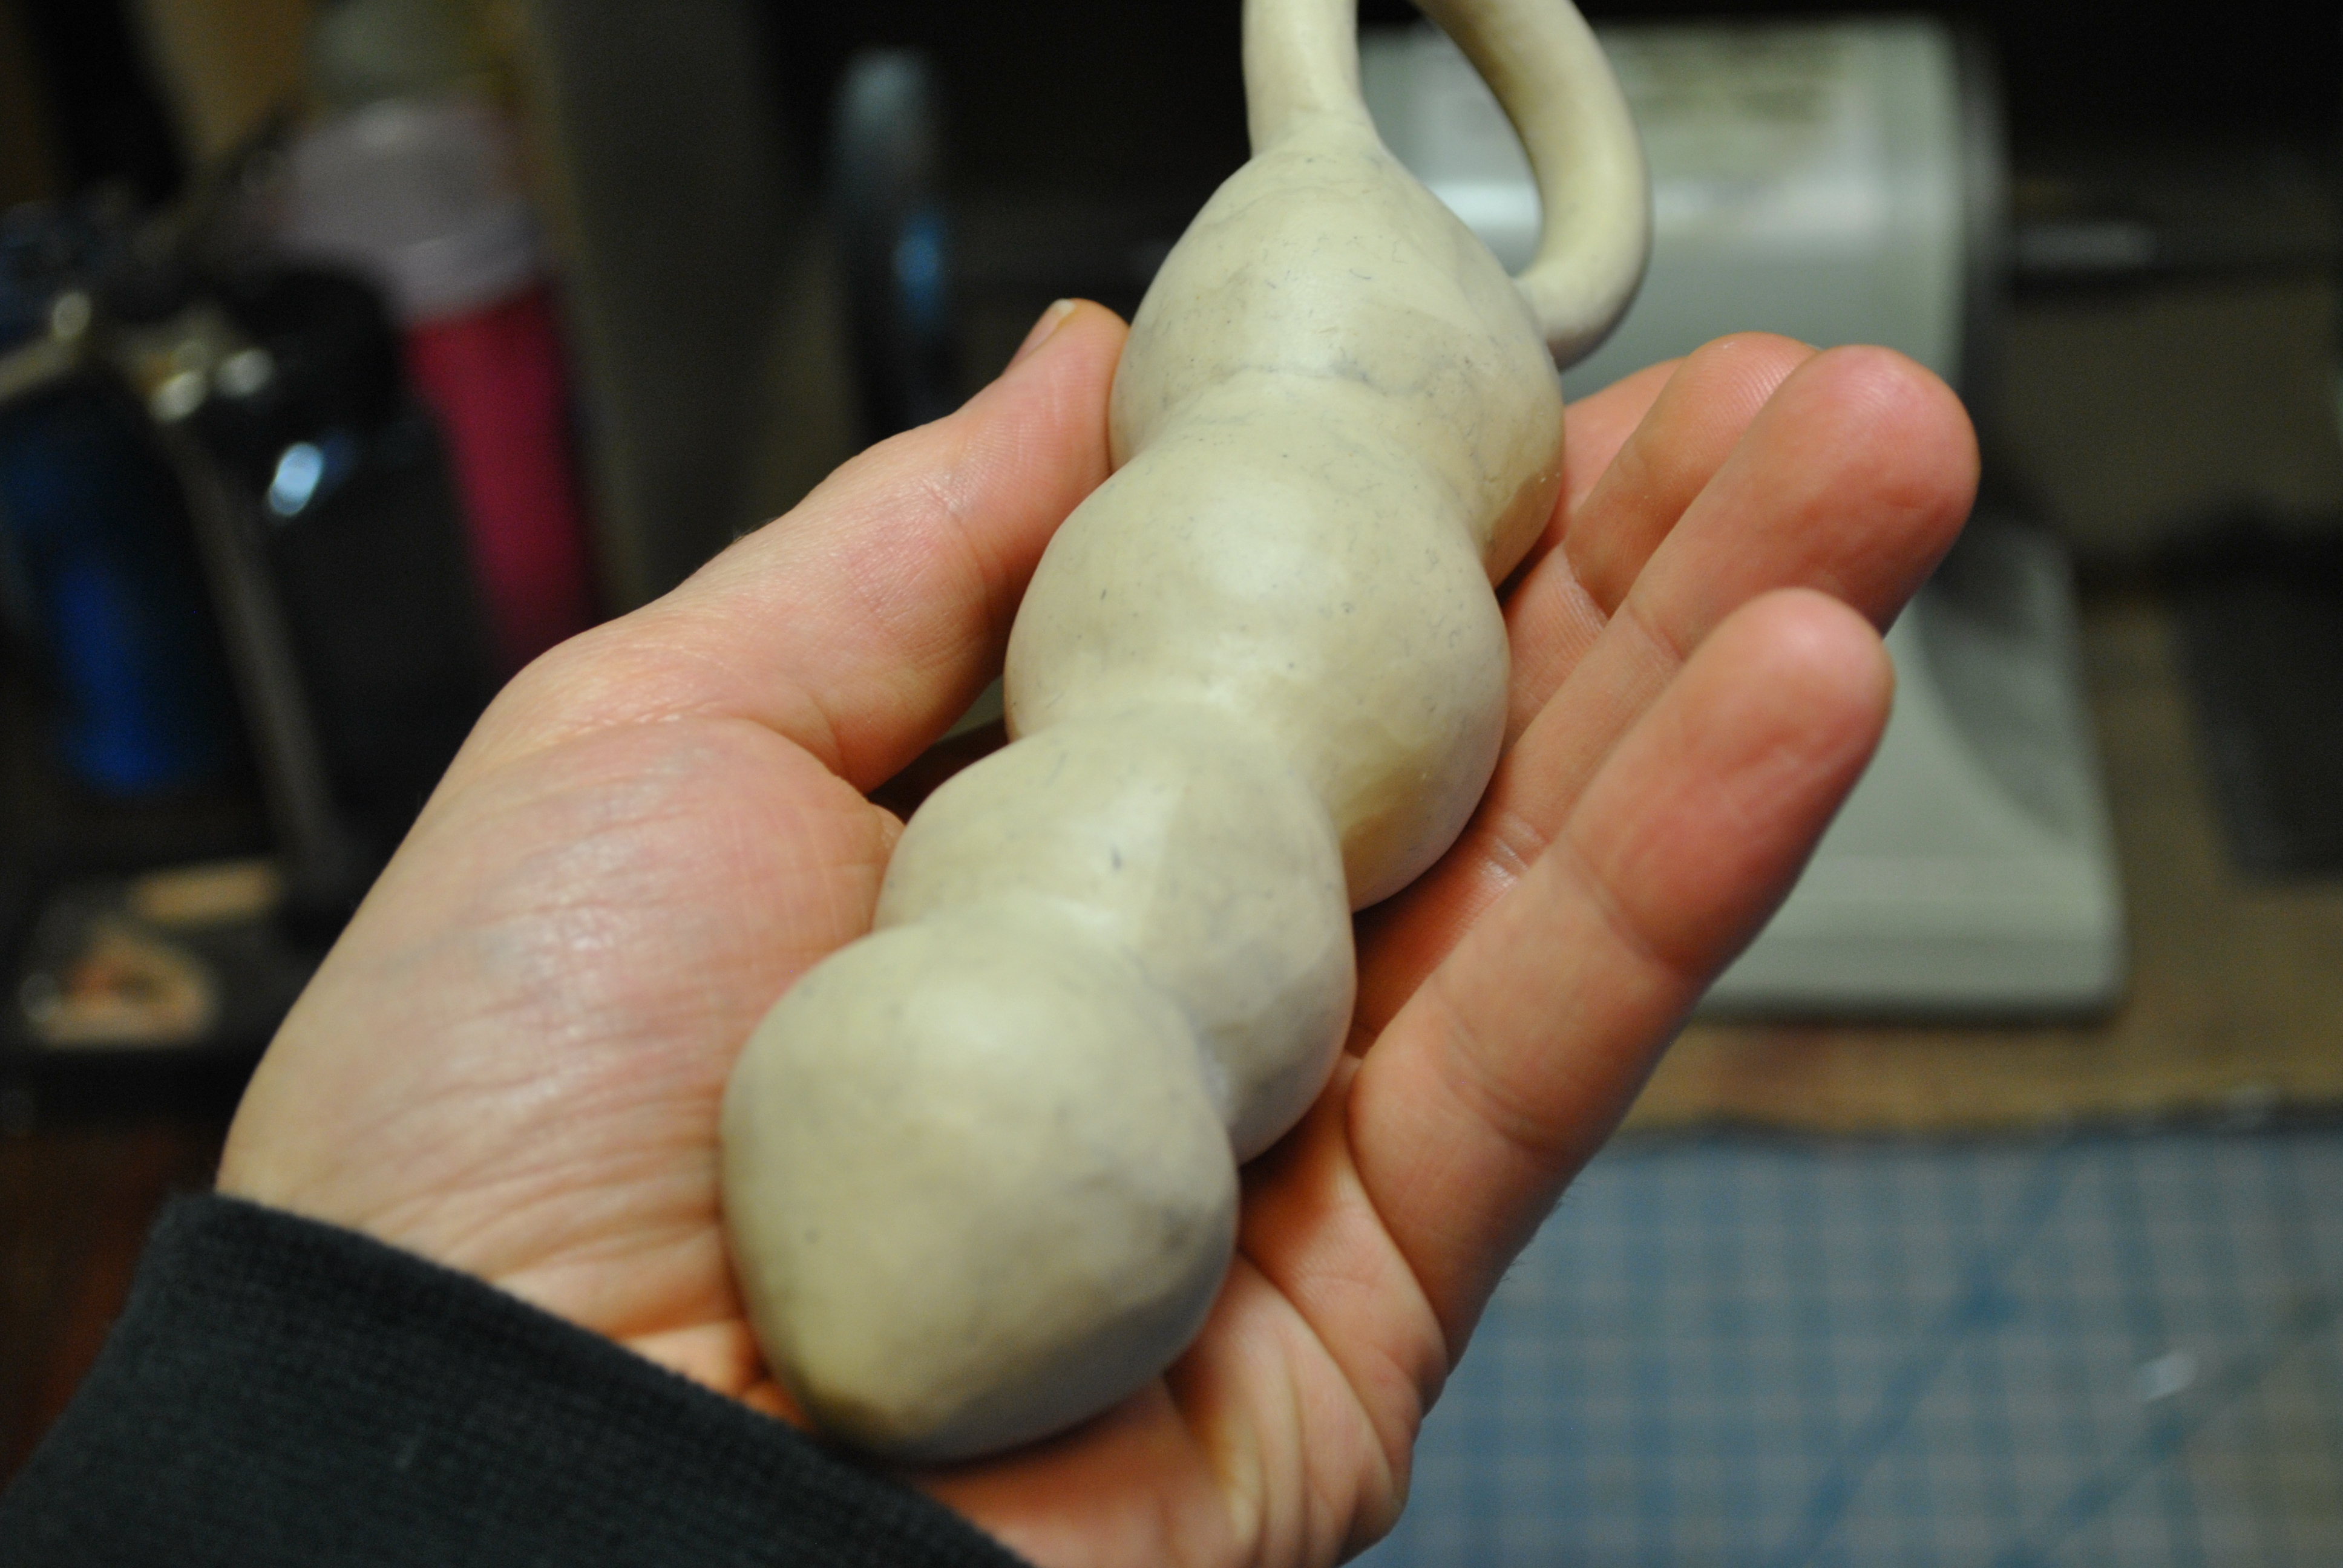
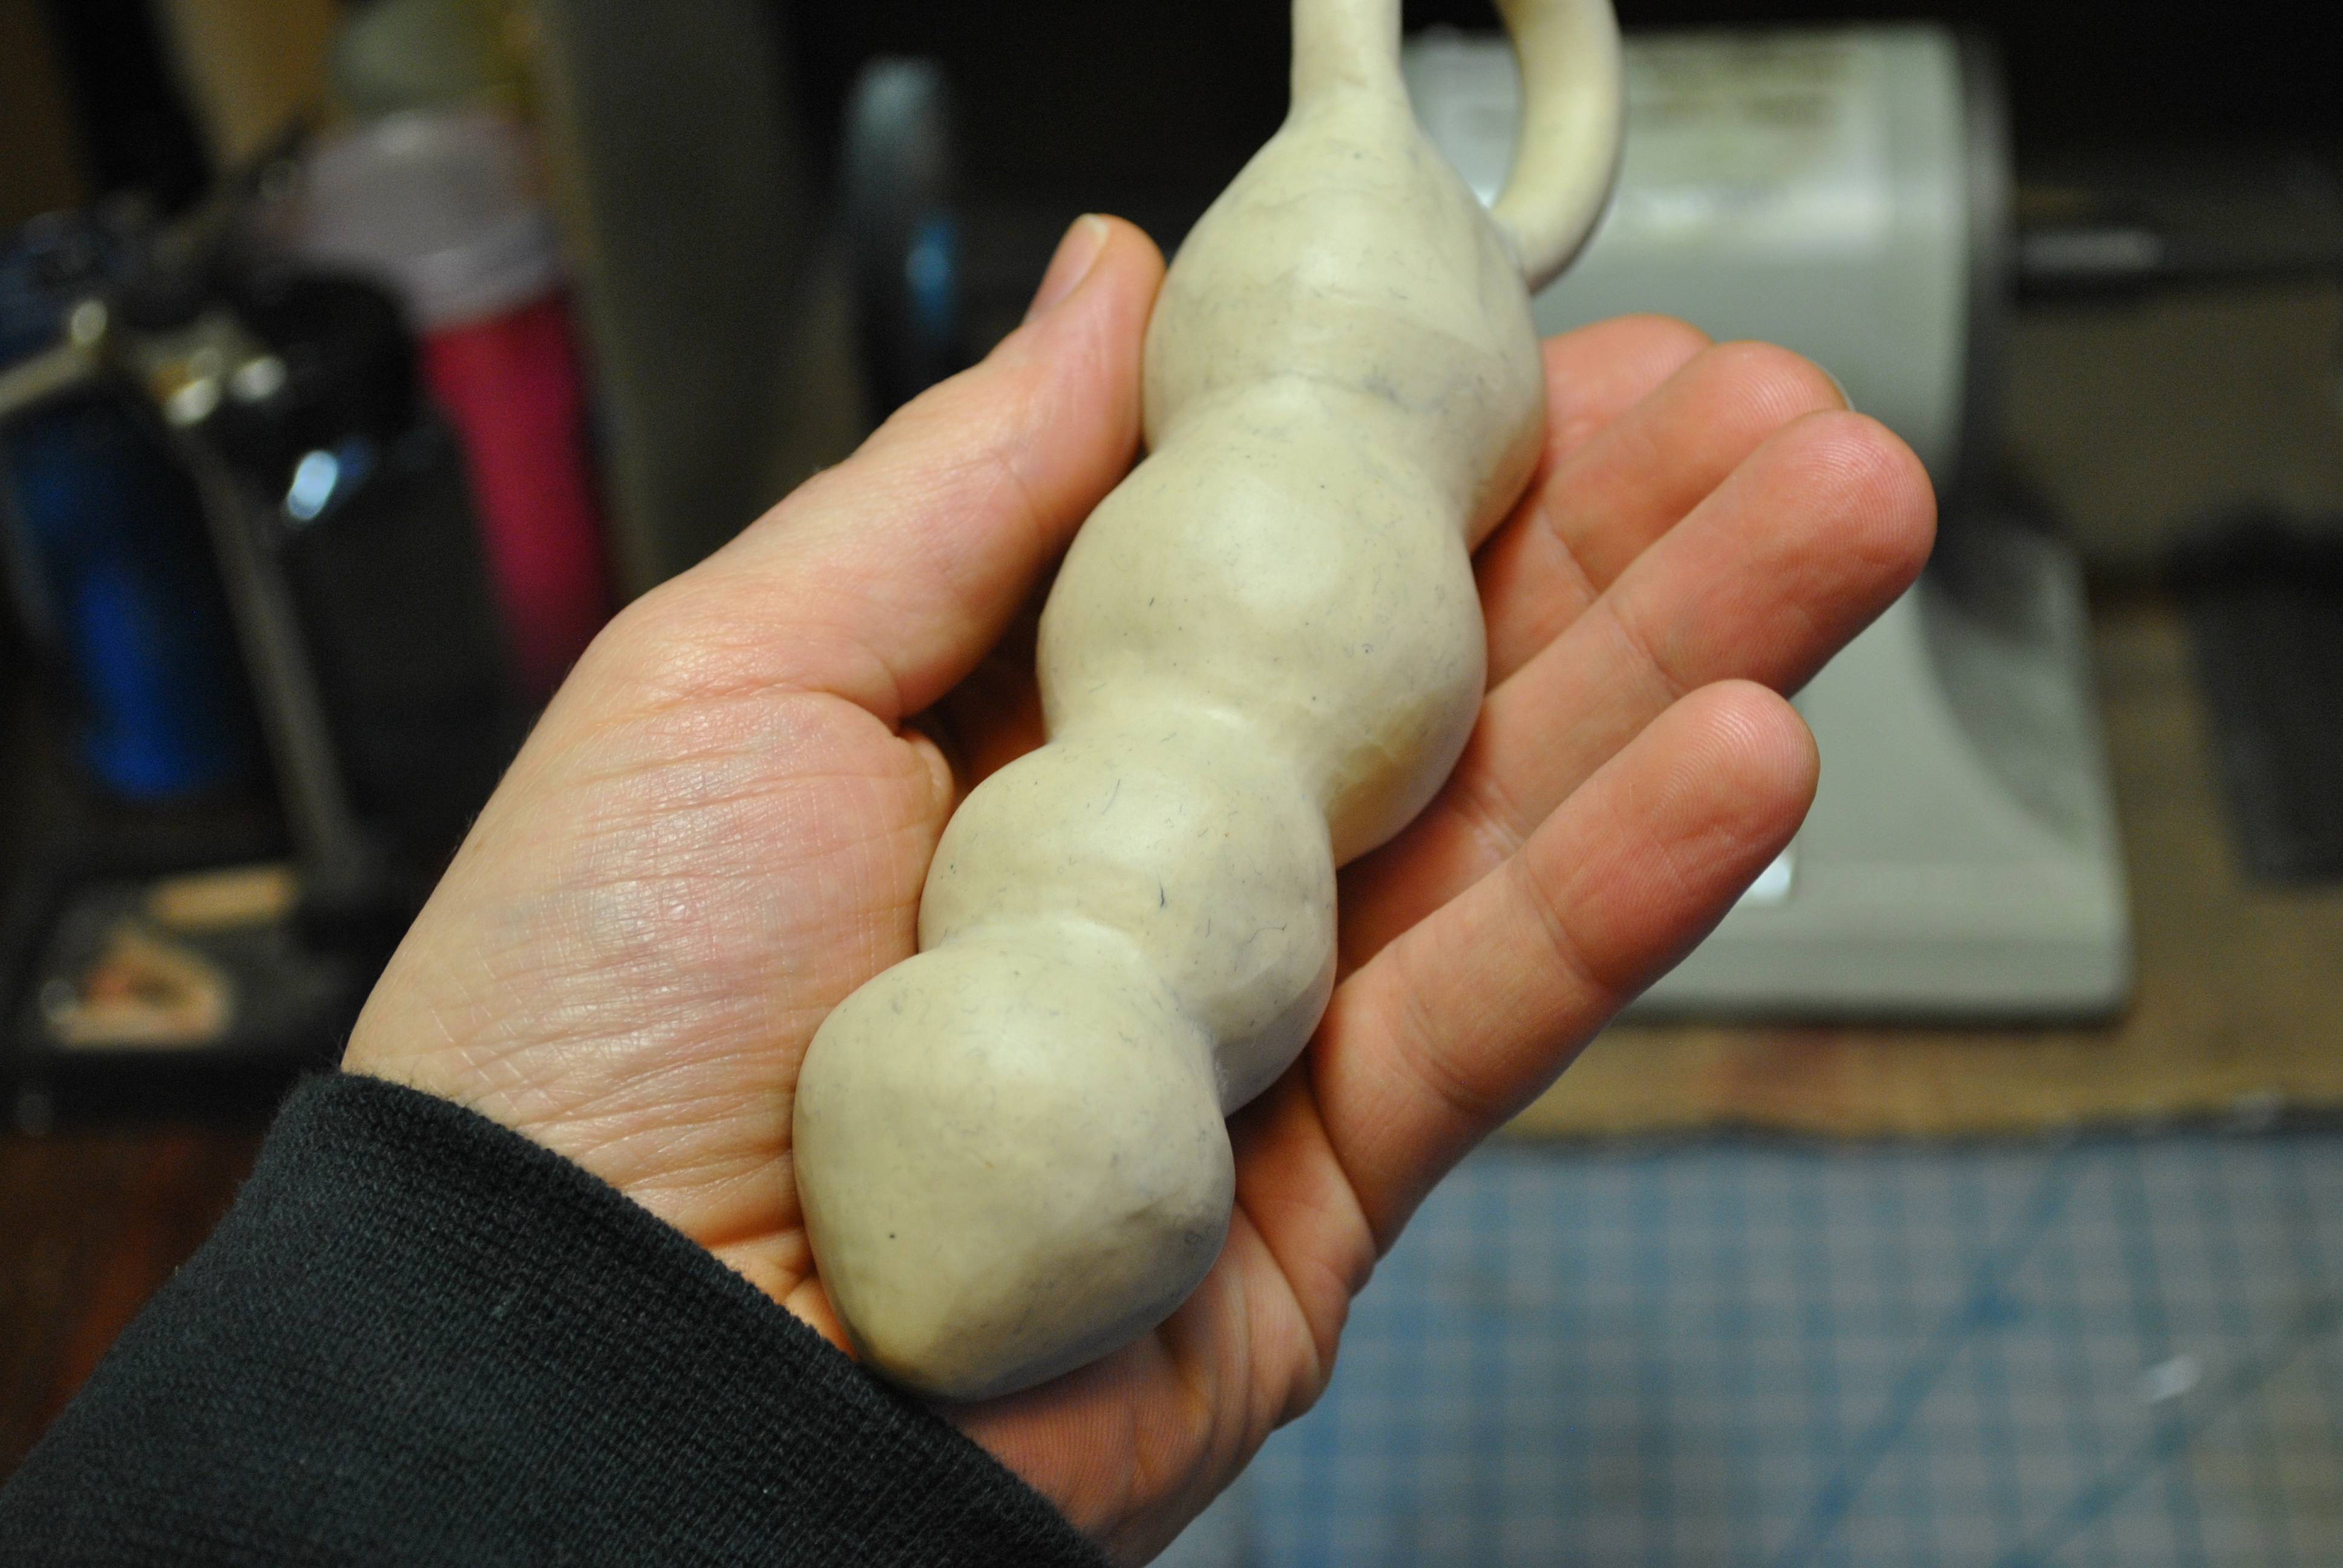
Last week I sculpted an adult toy in clay, this week I am going to cast it in silicone. I am using a two part mold, made from the same thing I intend to cast the toy in, Dragon Skin 30 platinum cure silicone.
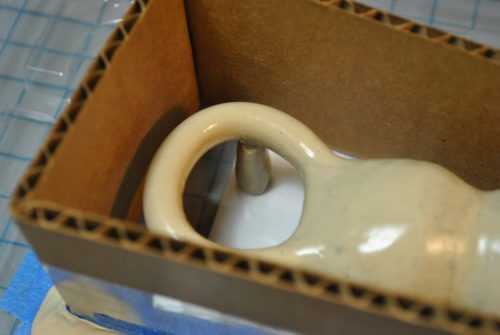
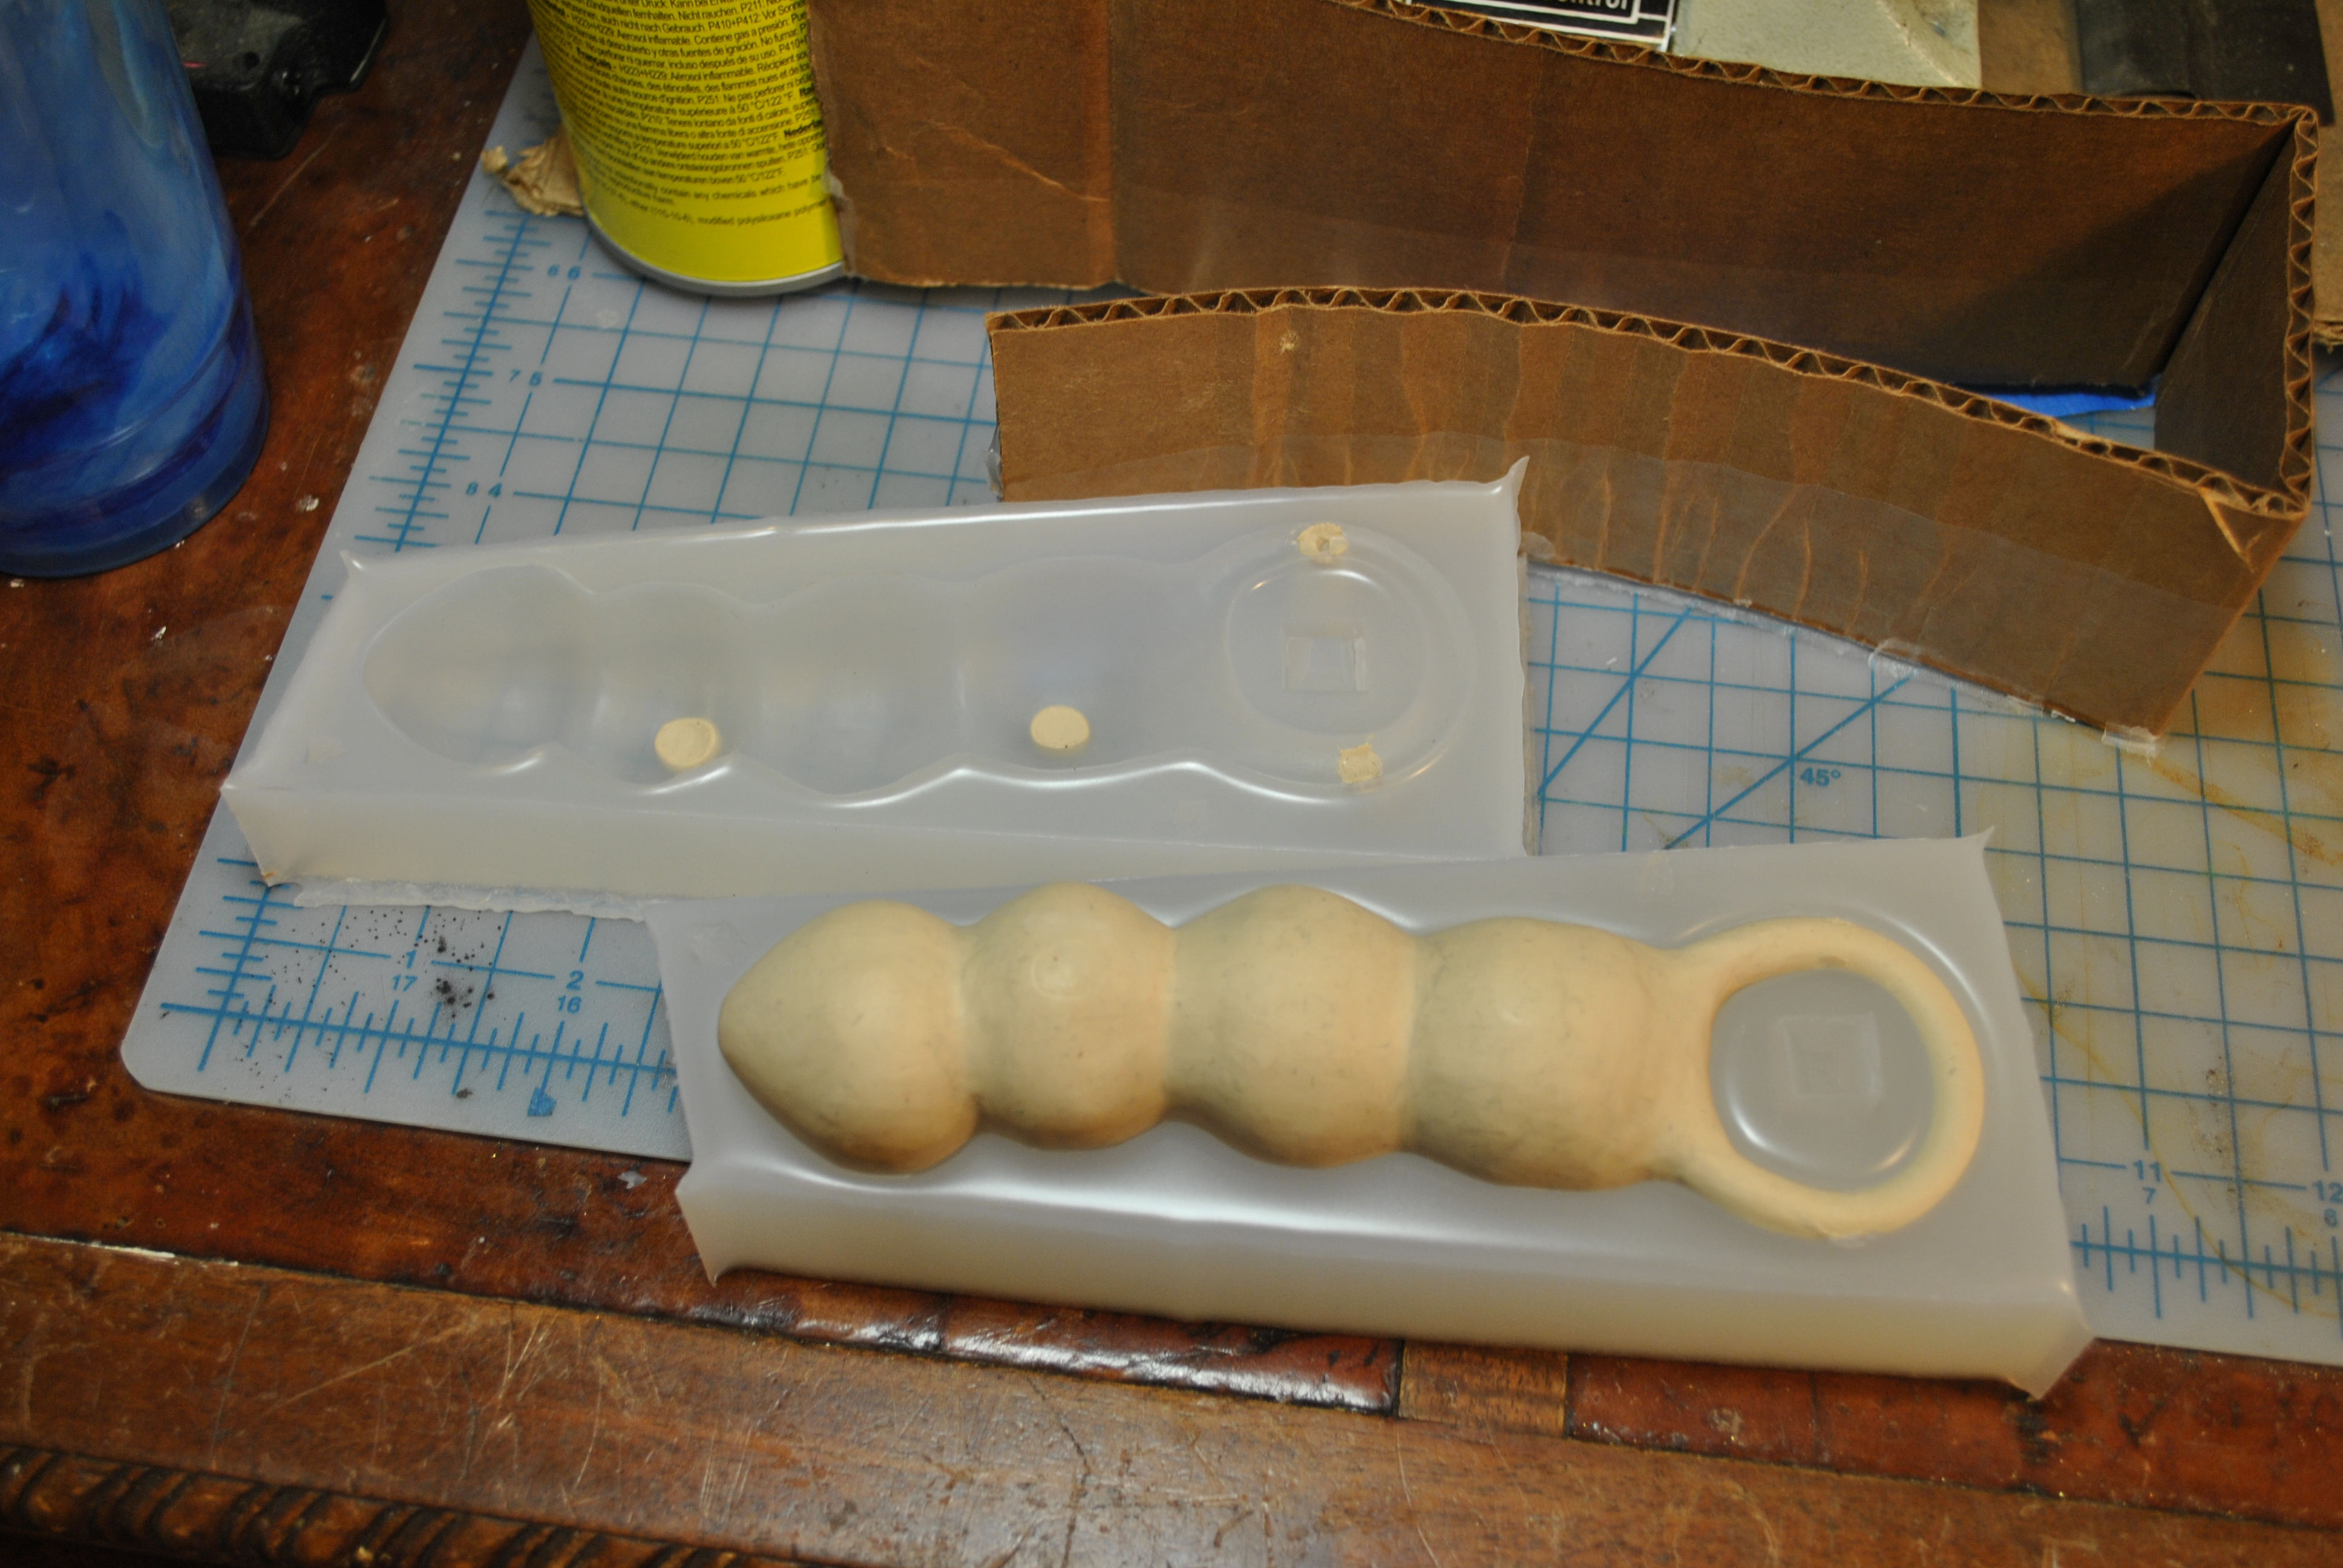
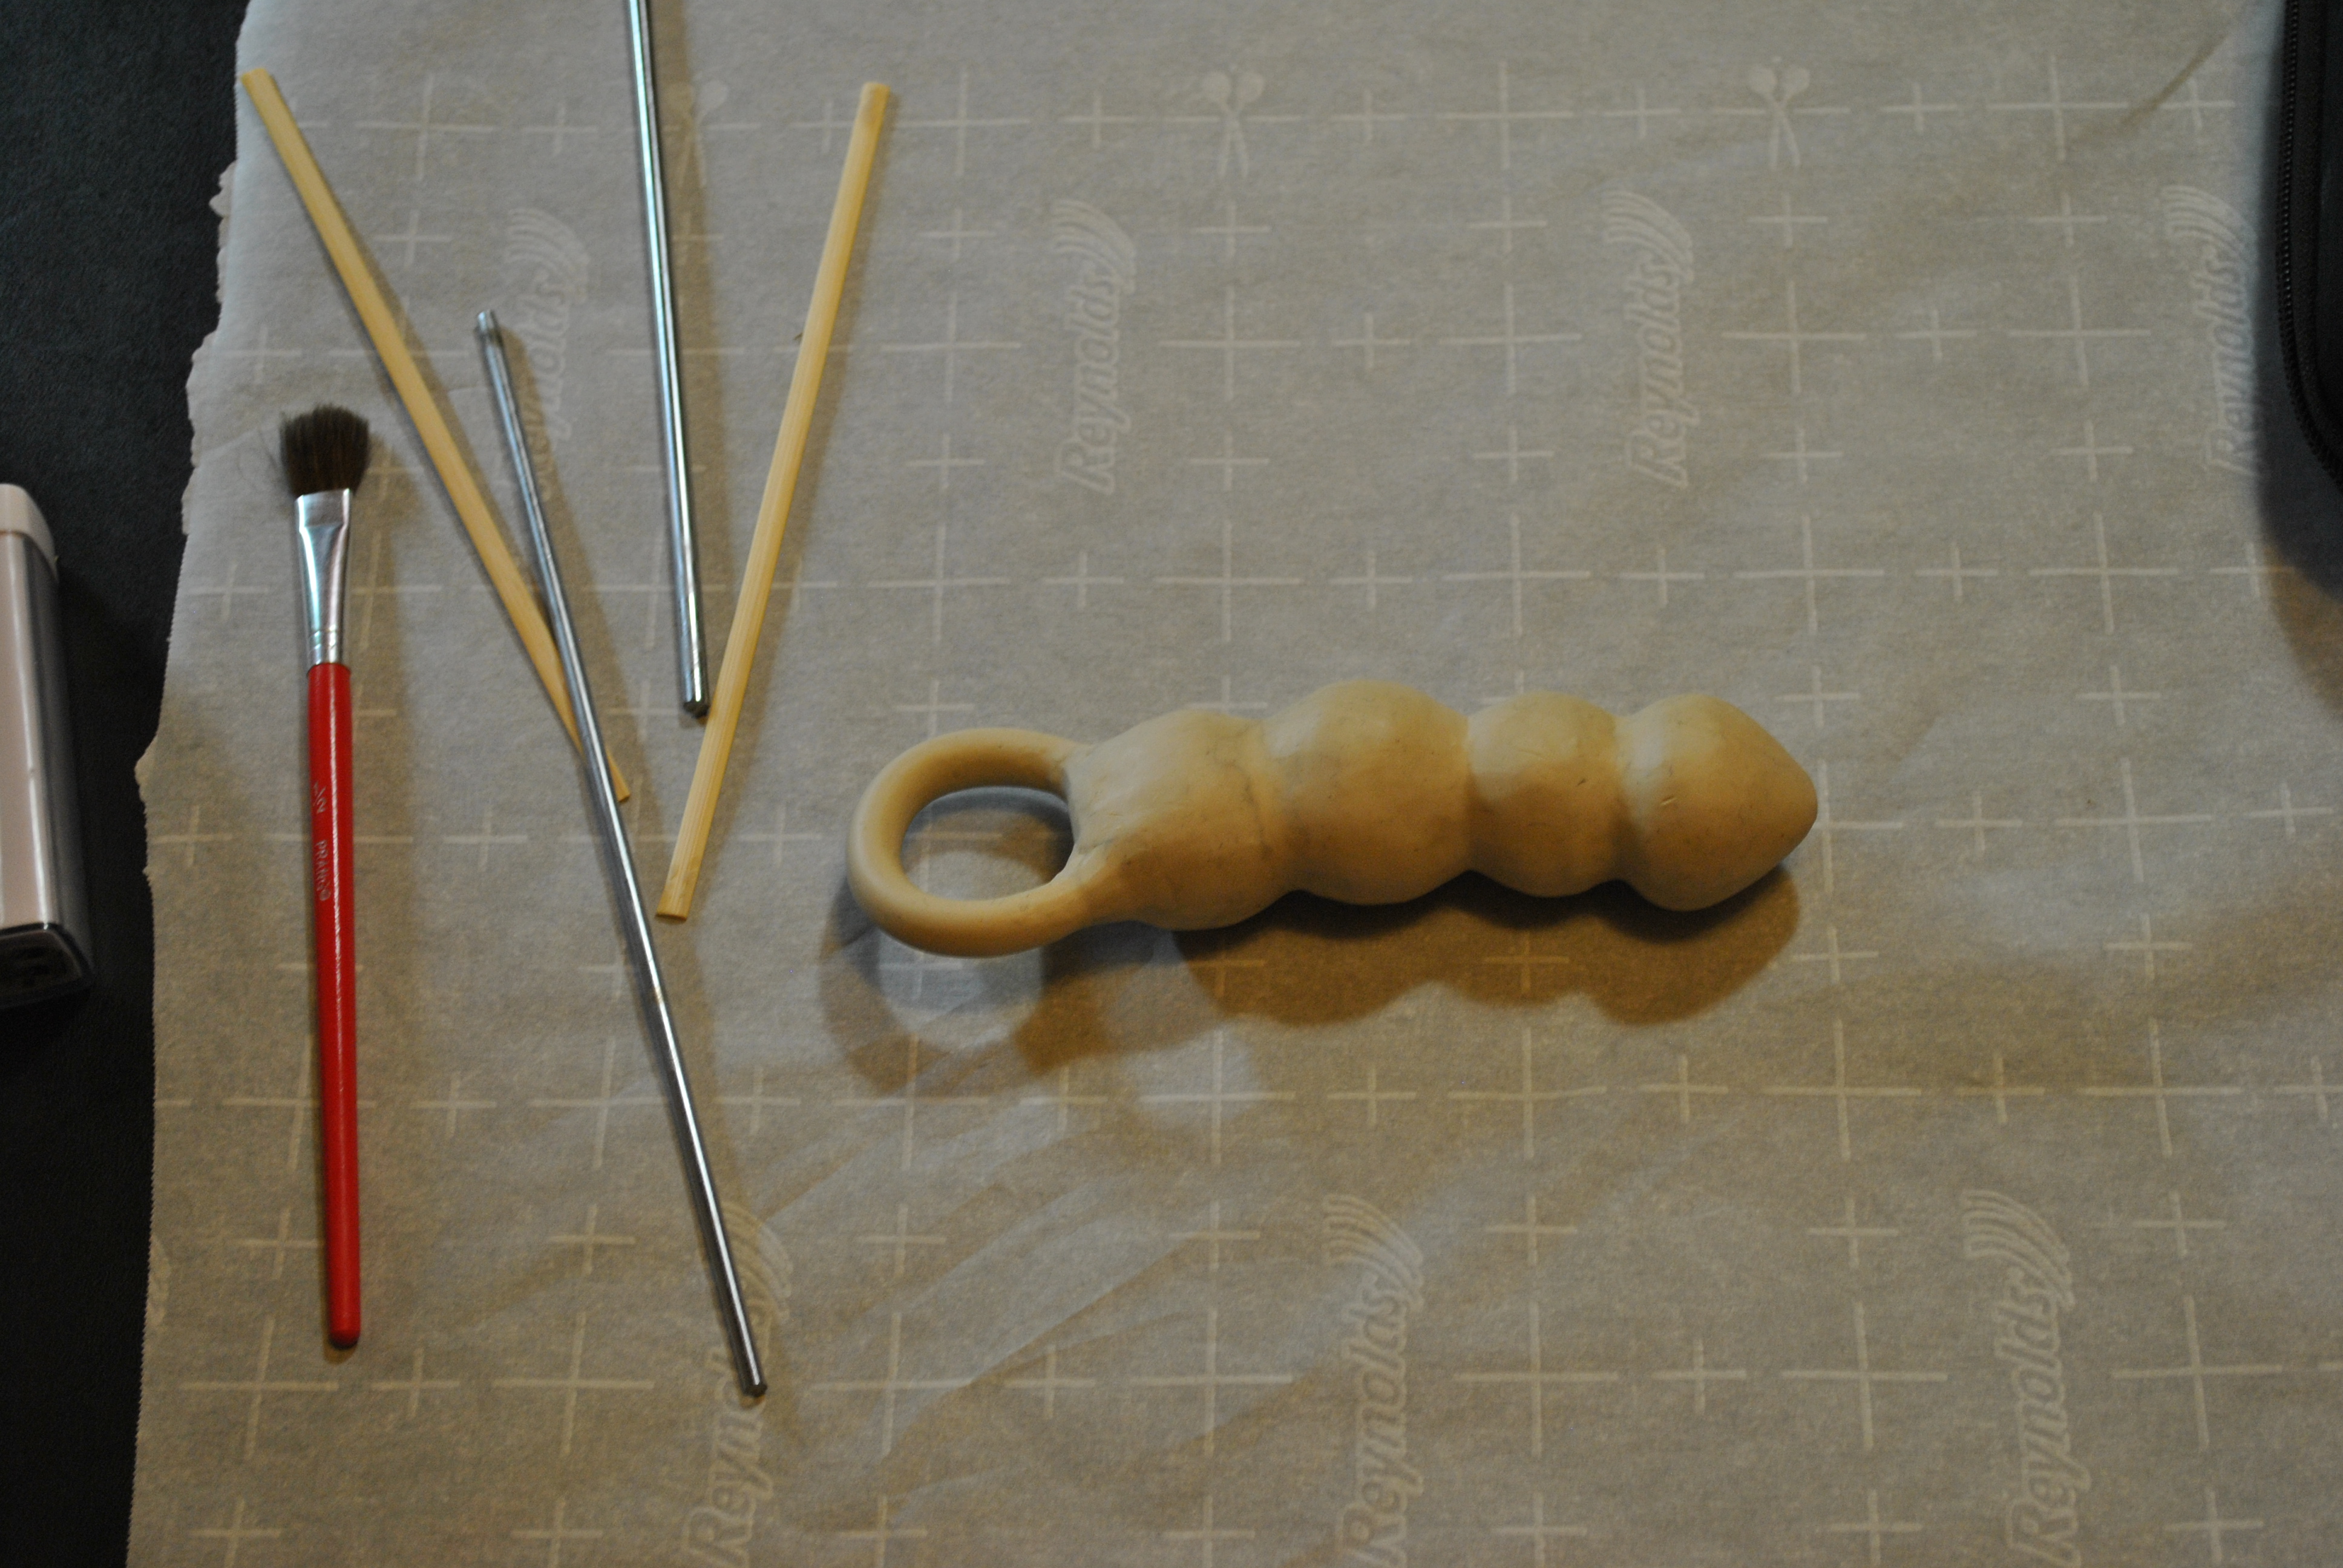
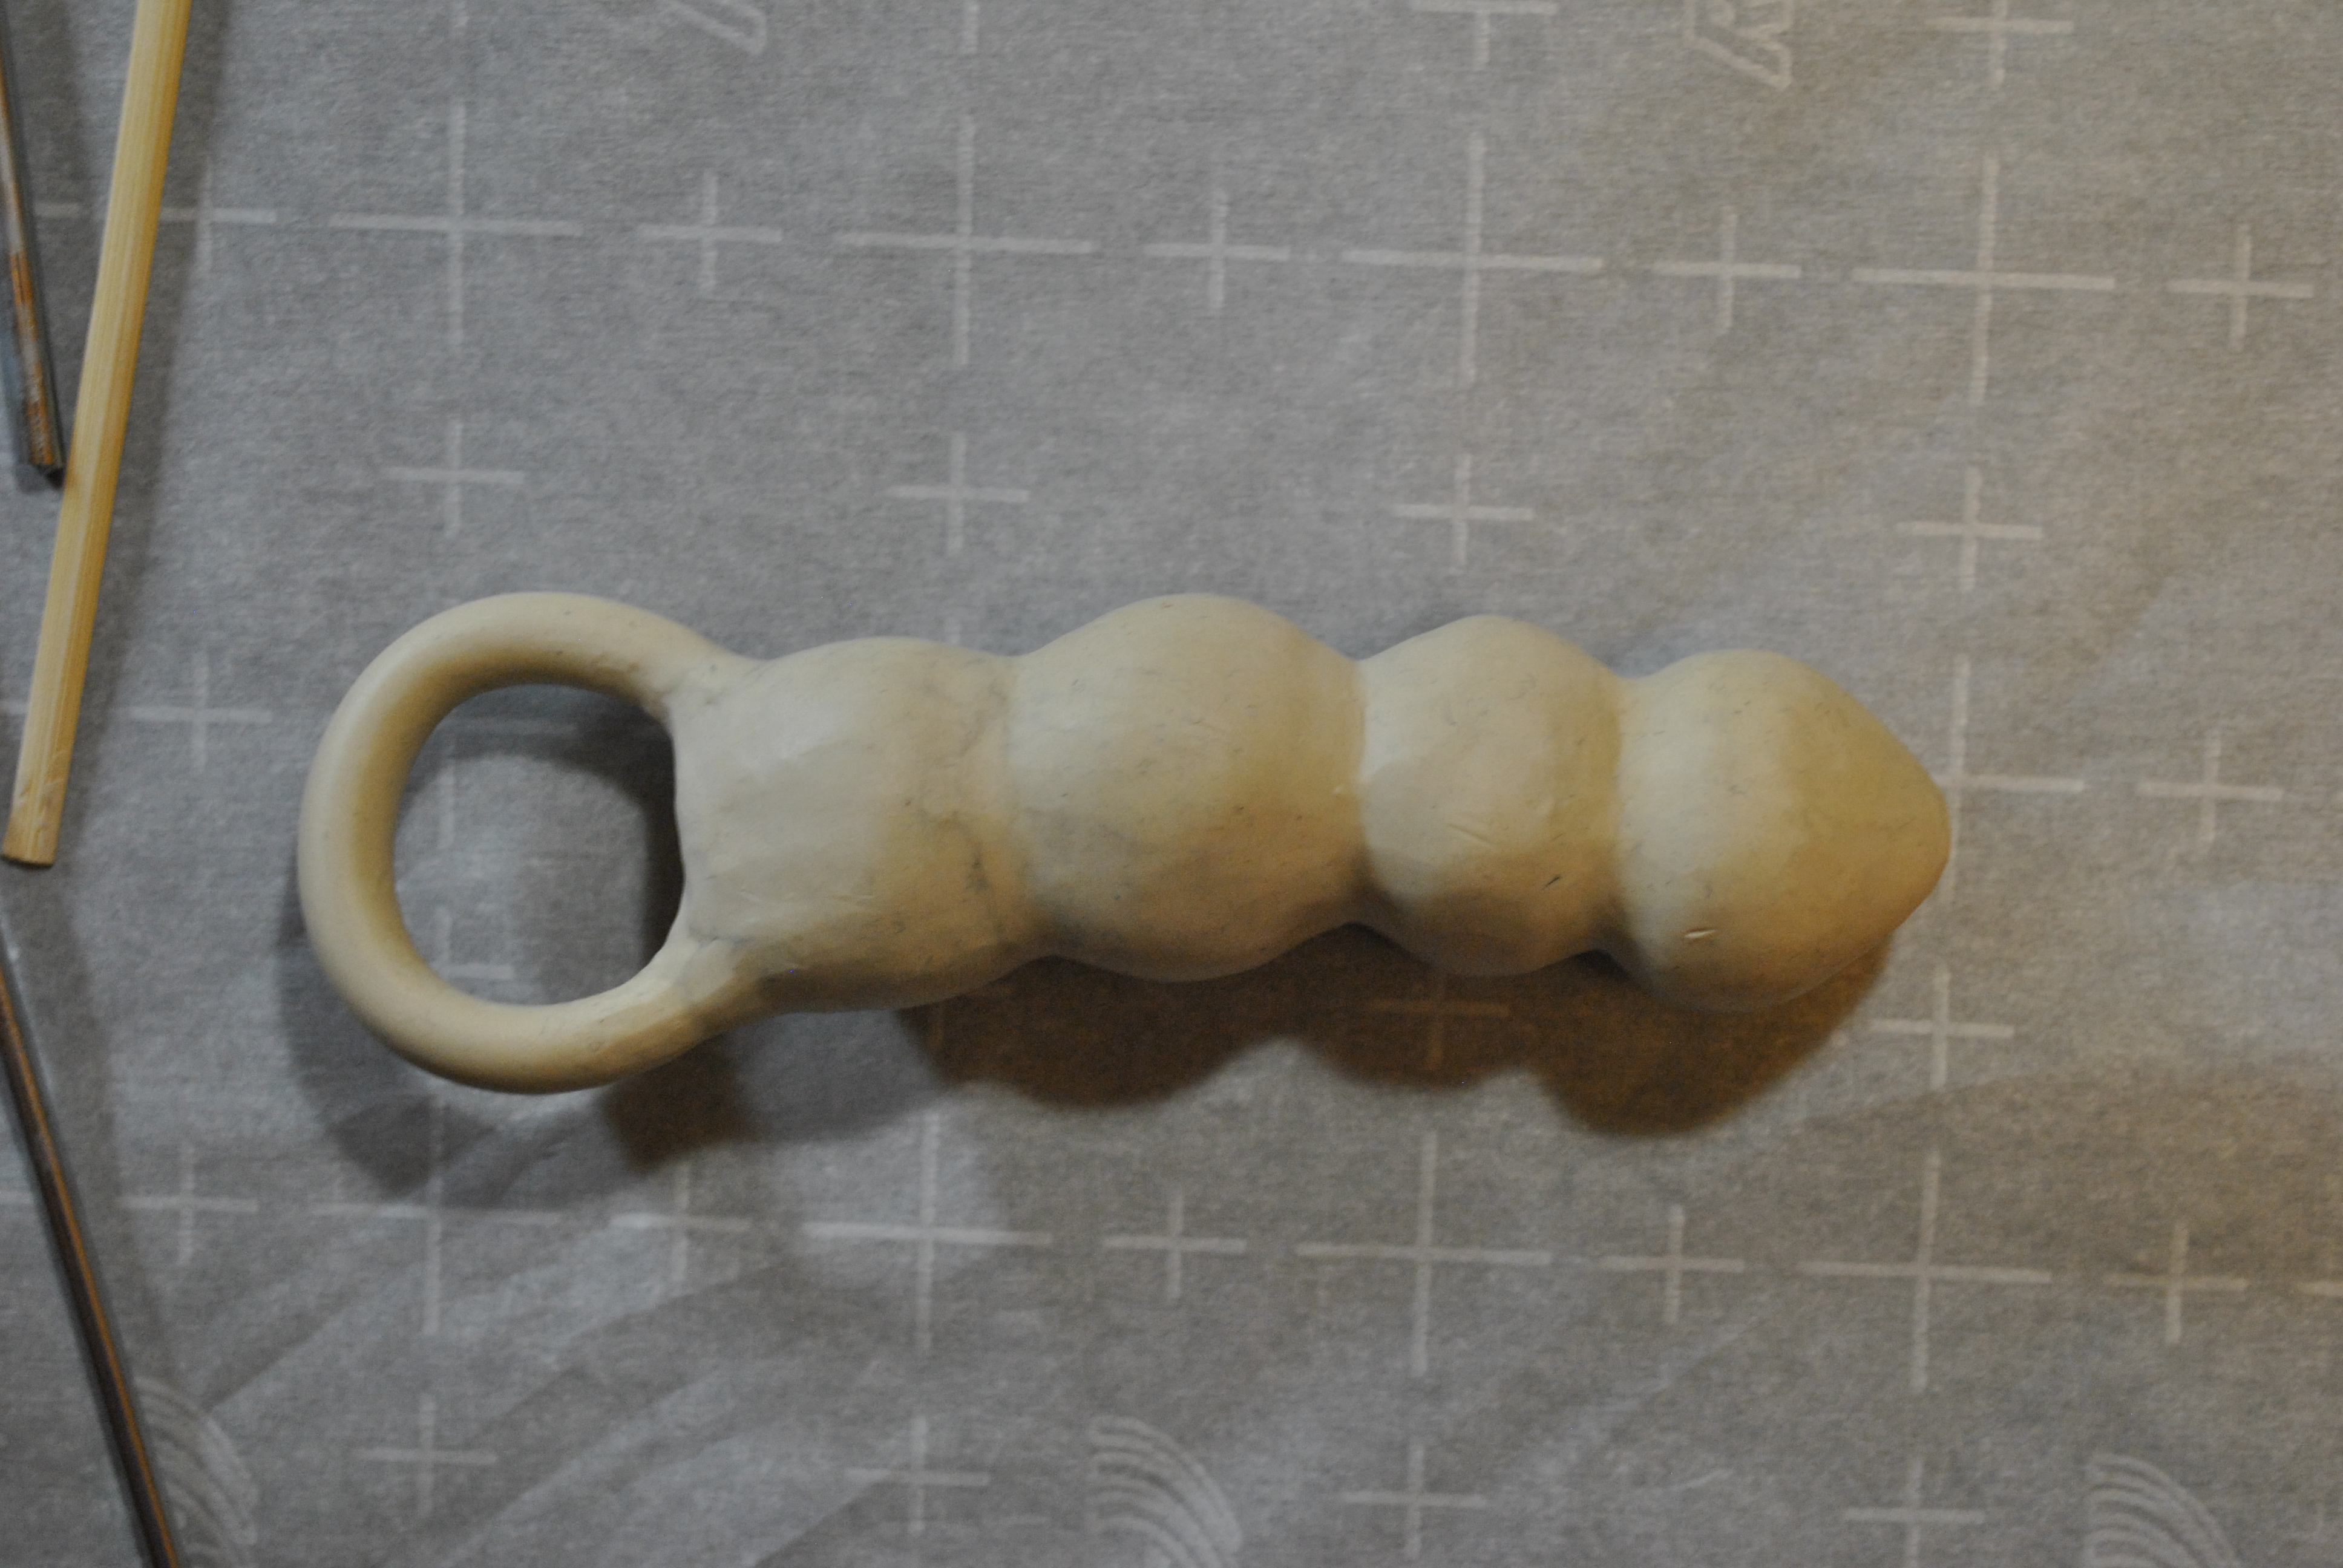
The first thing I had to do is put some spru’s on the model so that it would sit up above so I could get the first half of the mold under the clay model. This will also give me a place to pour in silicone later to make the final toy.
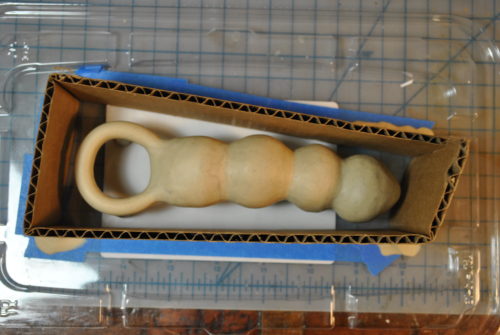
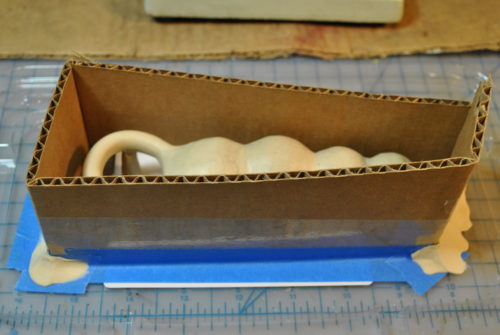
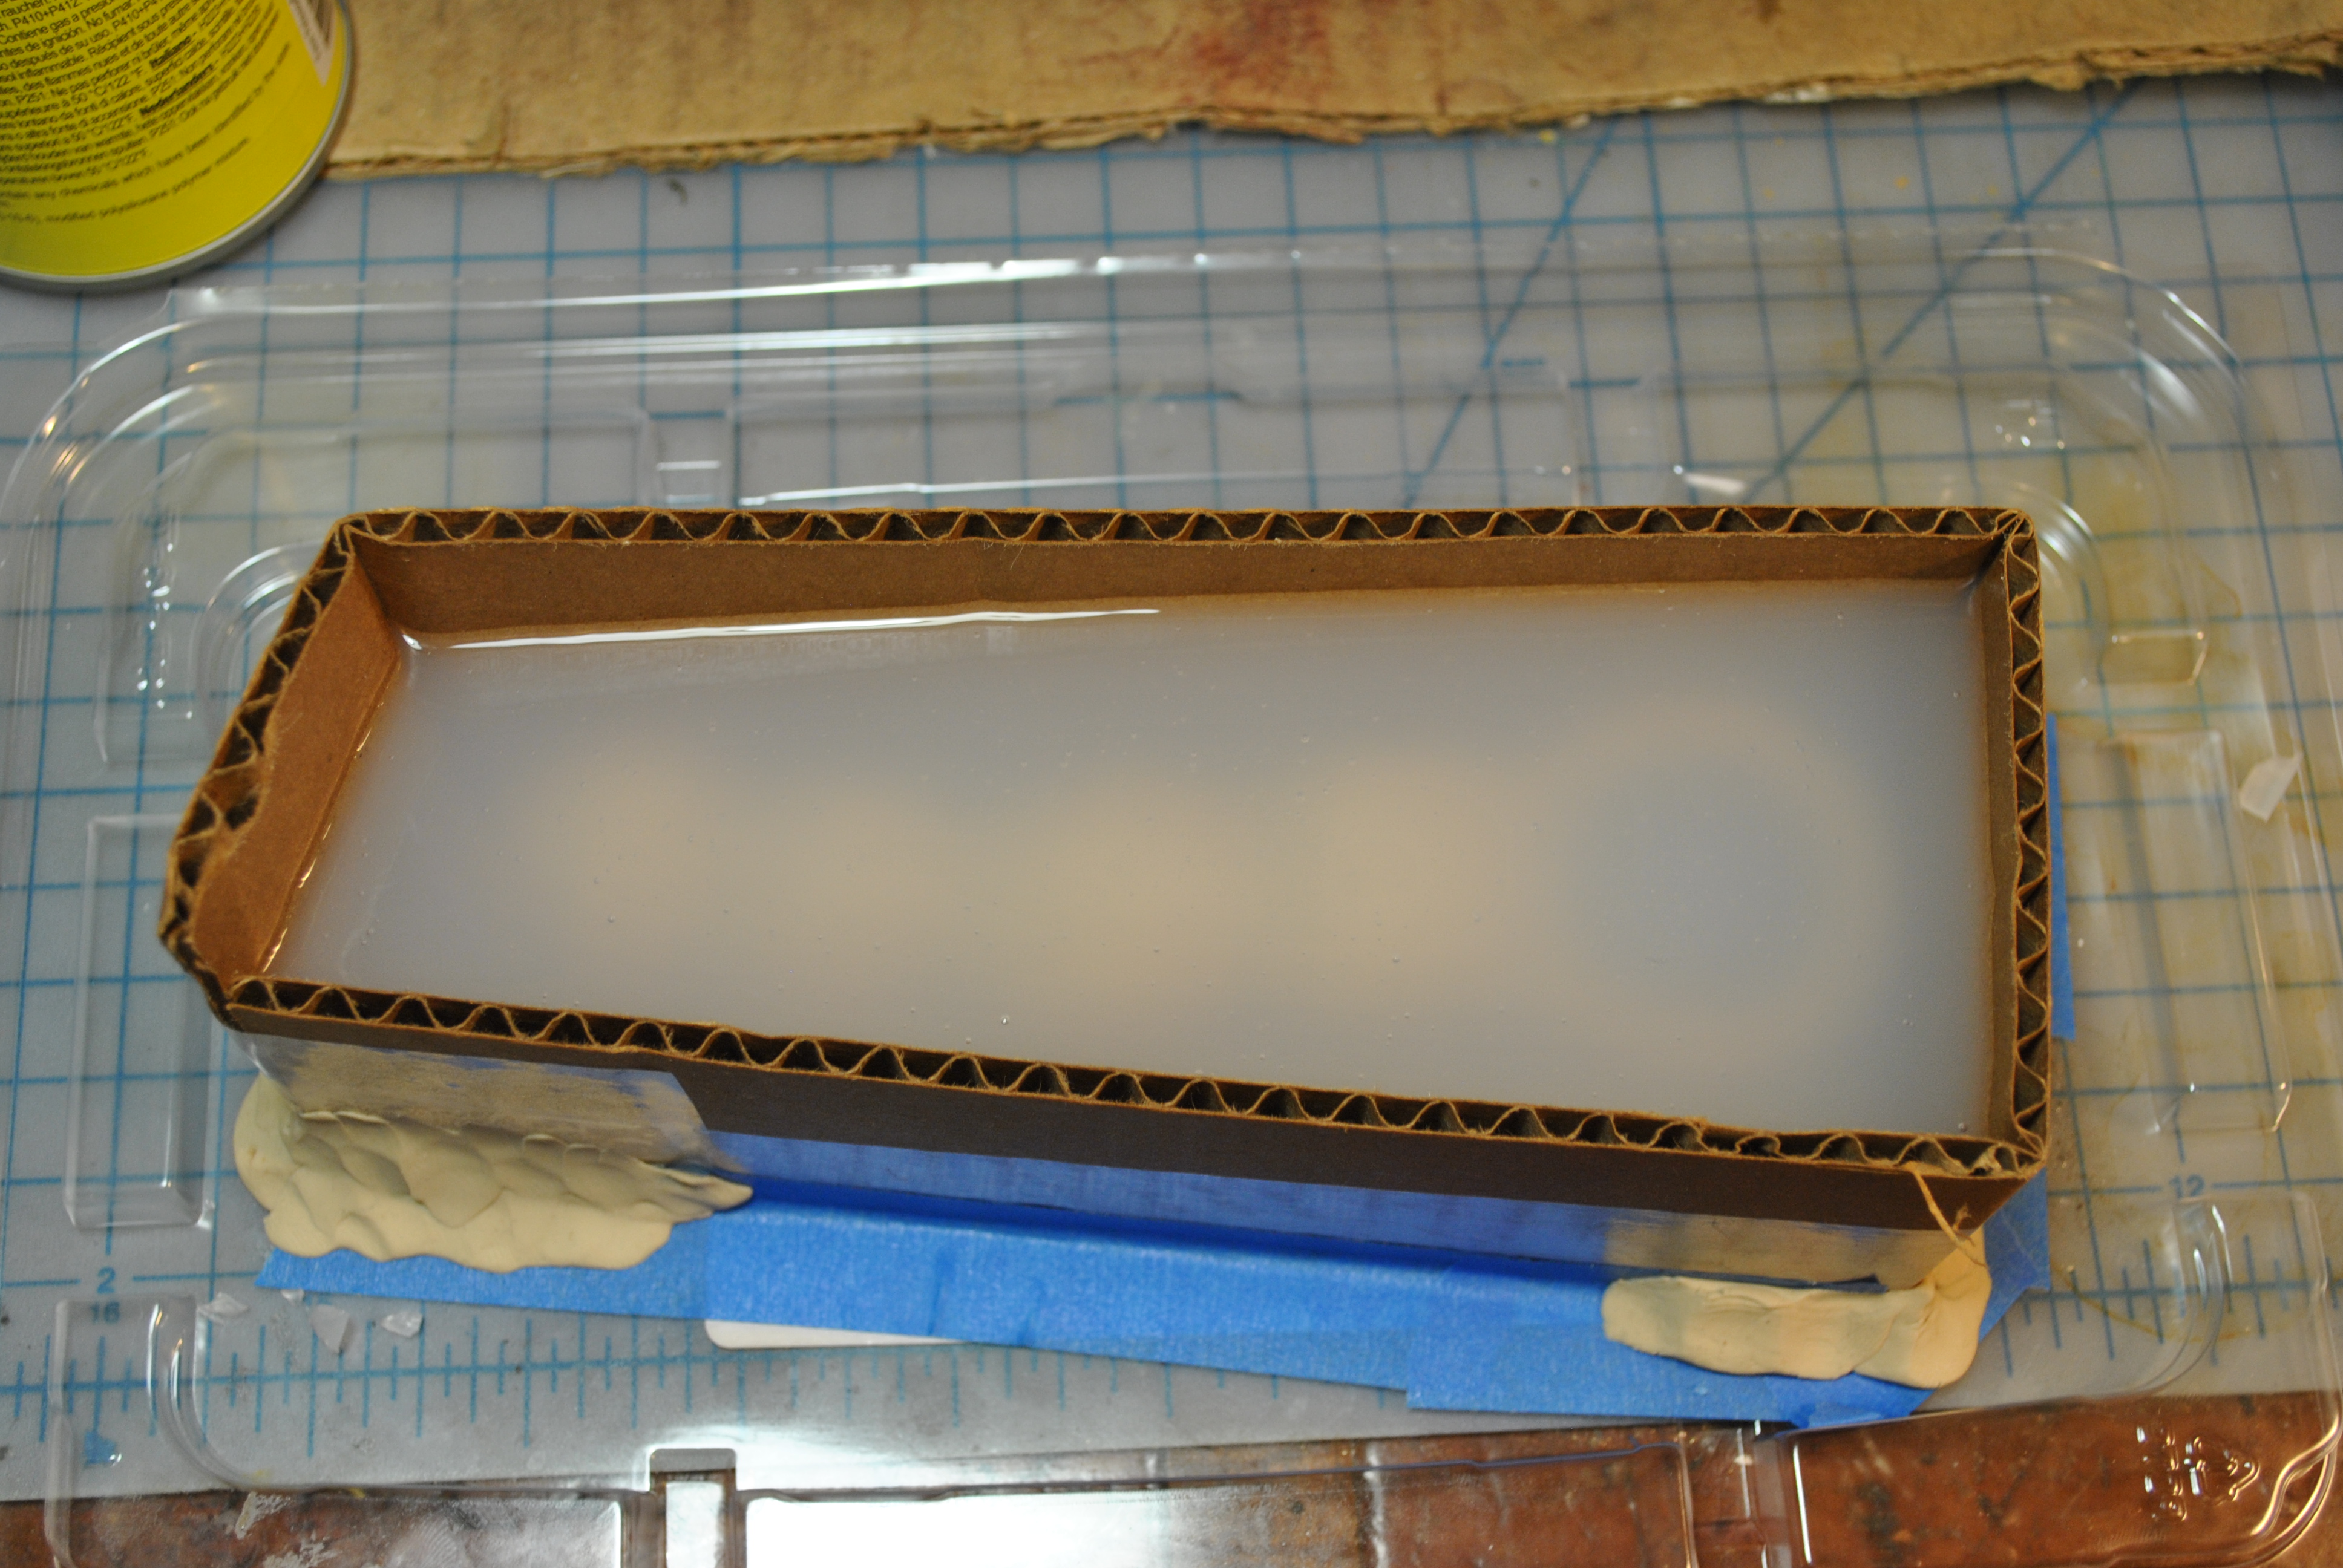
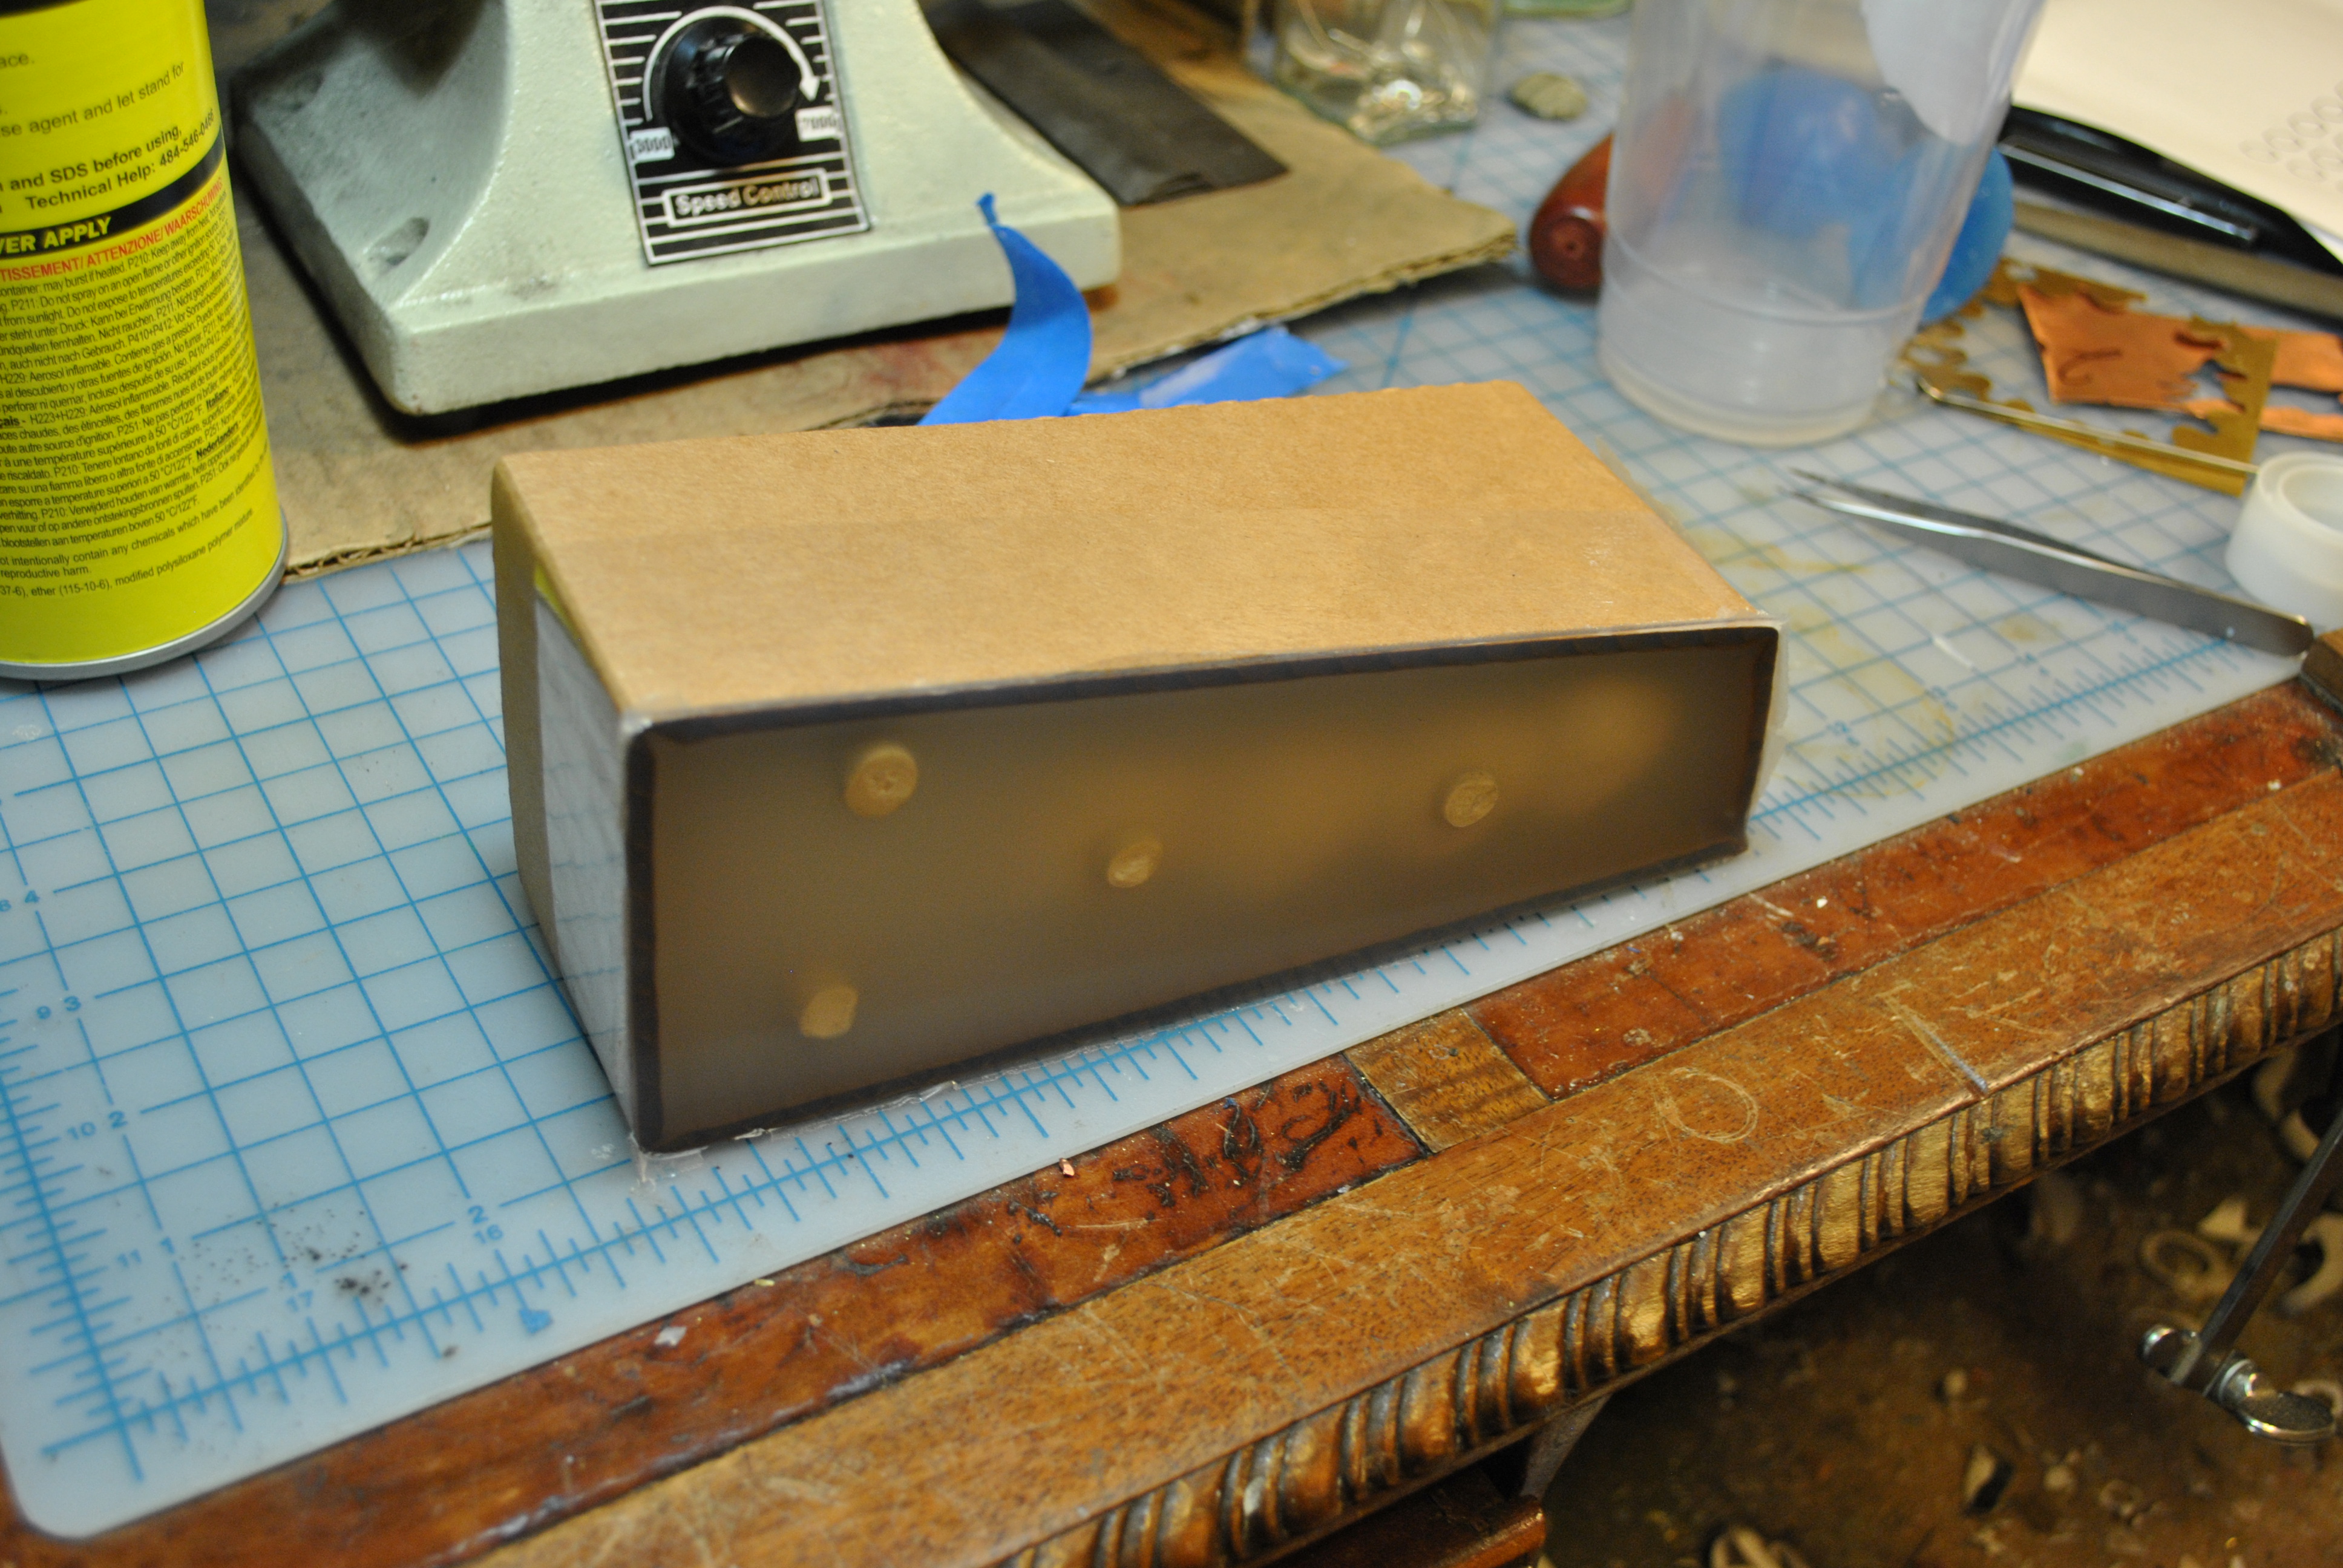
Then I built a little box around the toy. I found it helpful to use one single piece of cardboard, so you only have a single seam to close up around the edges. Be sure you fully seal all the way around the bottom, I used blue painters tape, and some extra clay to keep the corners strong. I used packing tape to seal up the one corner seam.

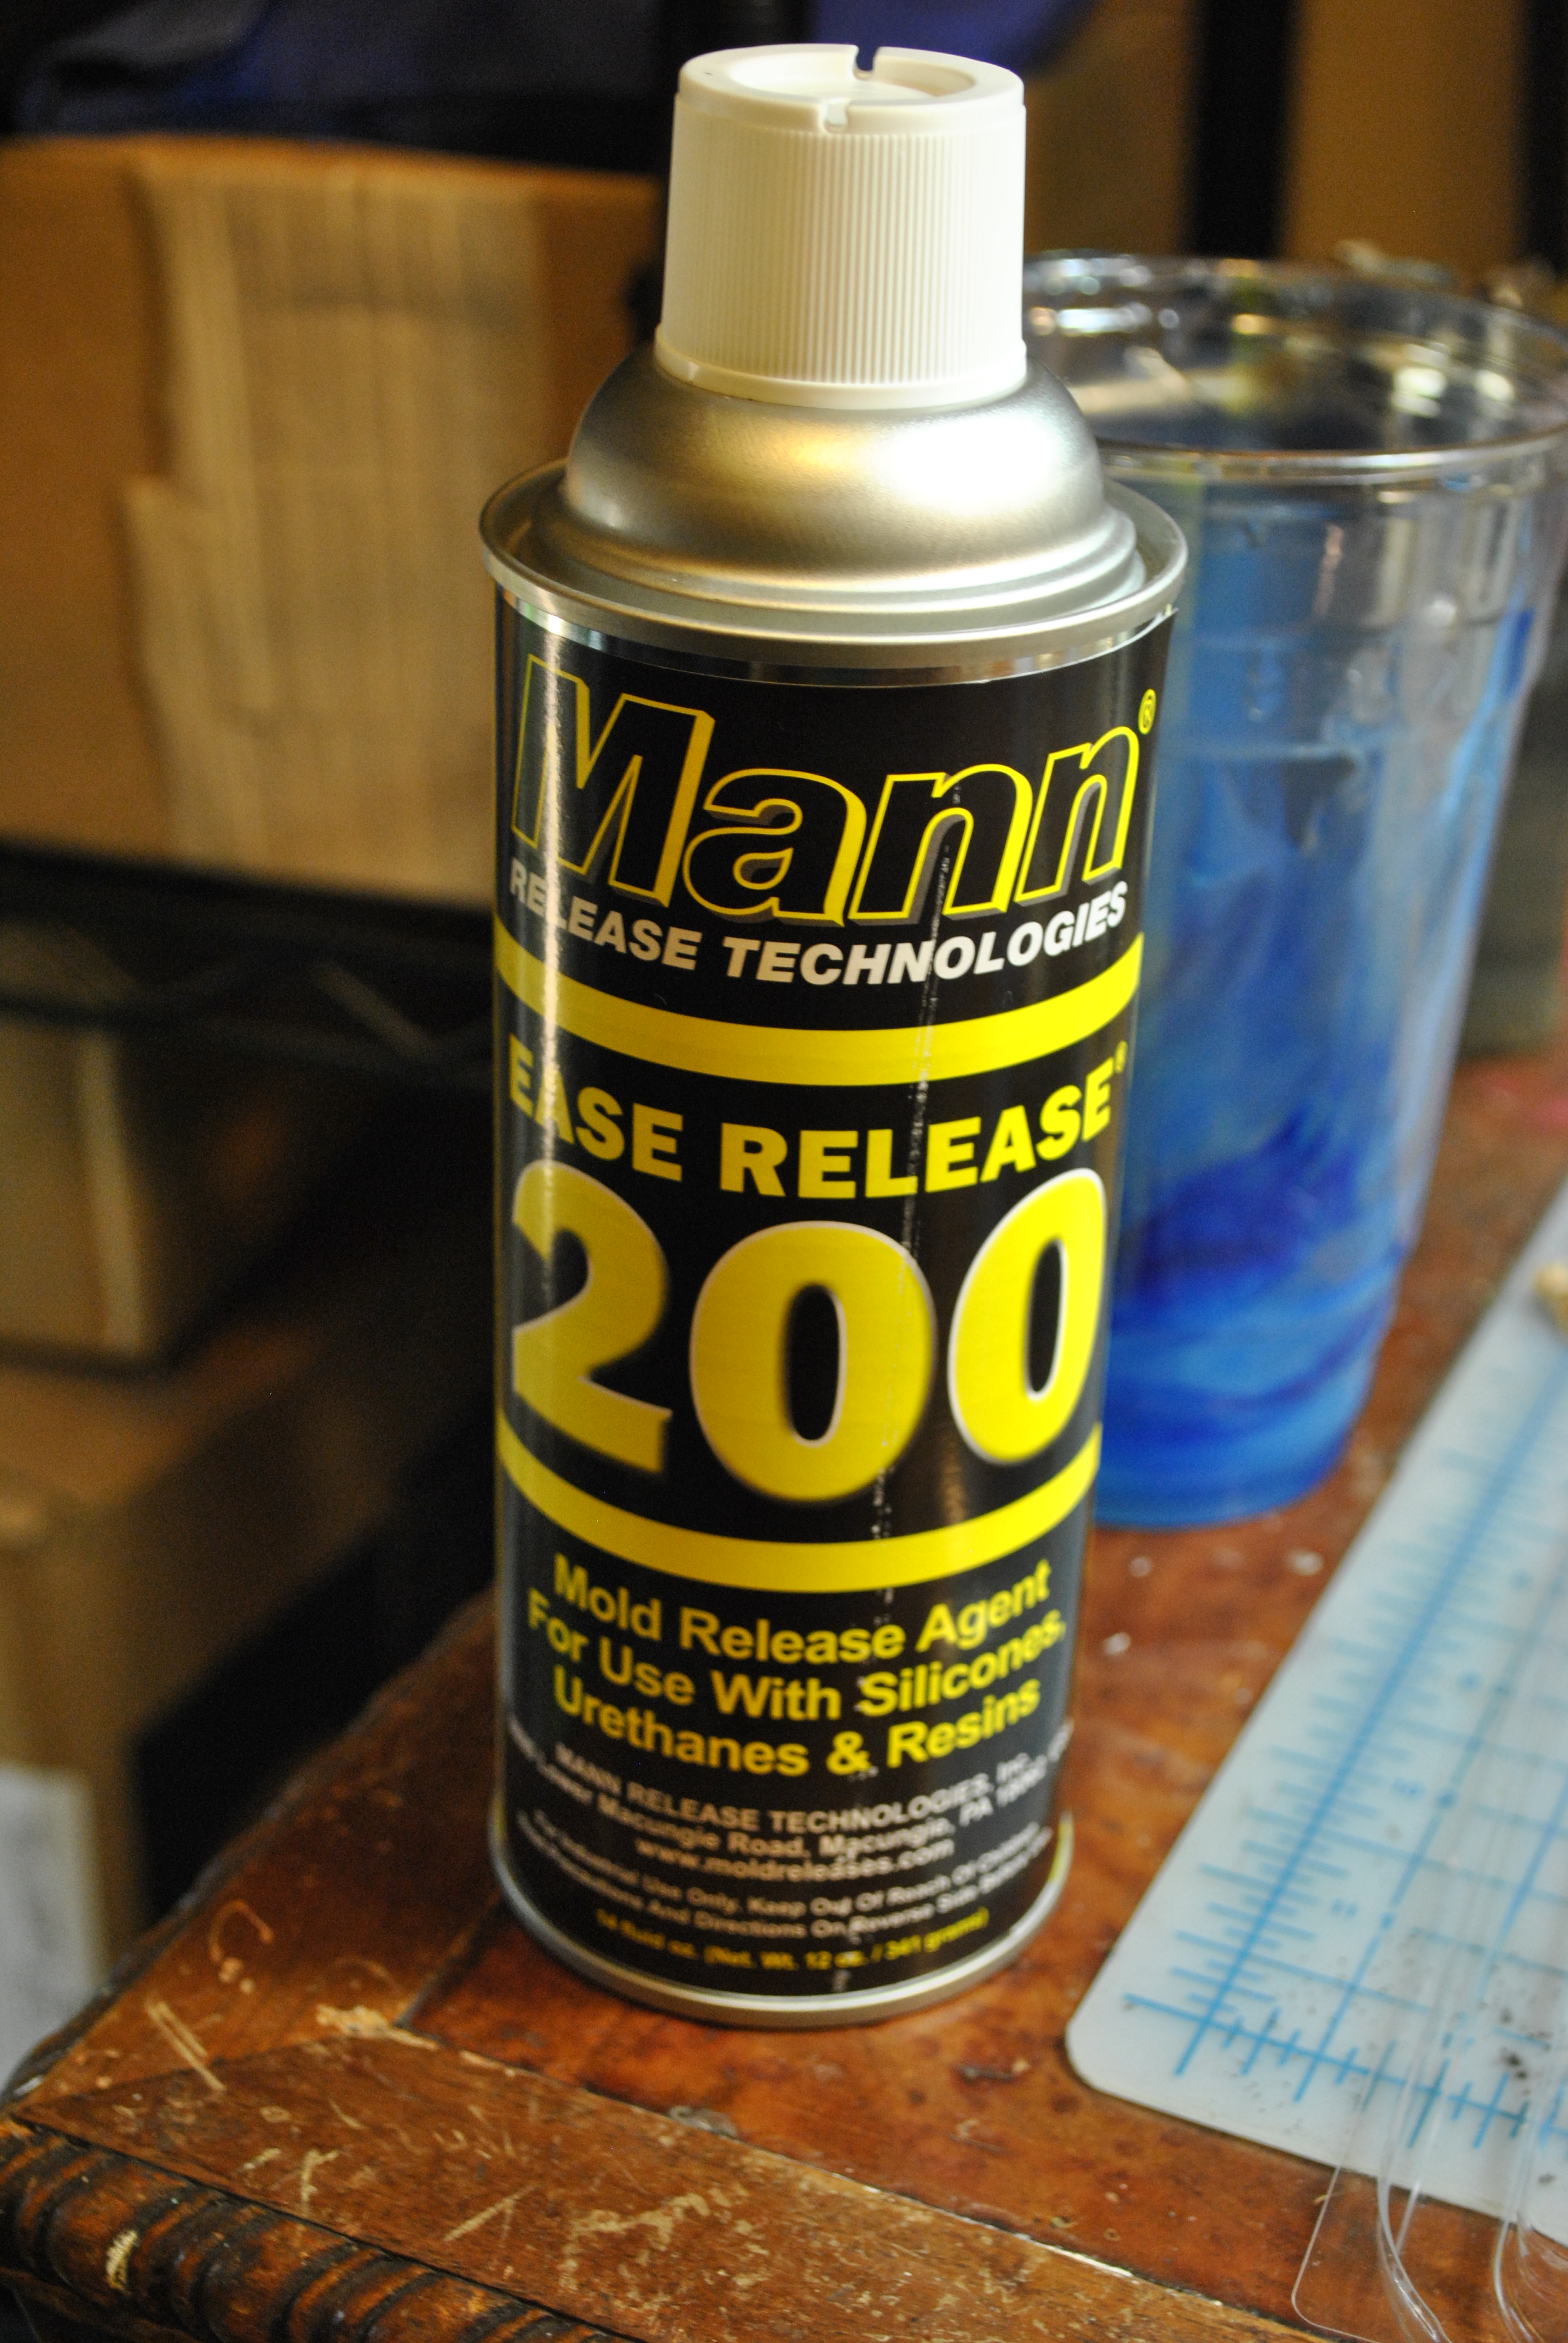
Give all sides of the clay model a good spray of mold release, as well as the box, and the floor. Hold it about 12 inches away from give it a light coat, wait 5 minutes and then do it again. MAKE SURE YOU GET EVERY SURFACE. But don’t put too much on or you will get strange surface artifacts on the final object.

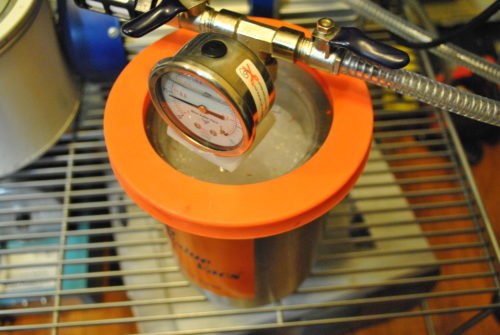
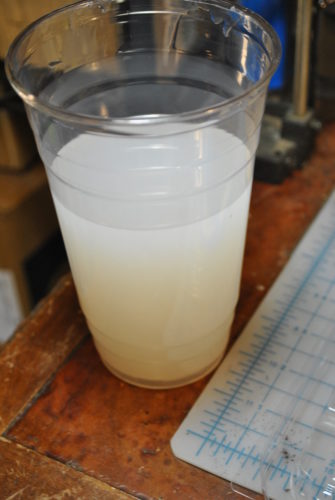
Mix up a big batch of silicon, you can use an online calculator to figure out how much you will need. I use a vacum chamber to get the bubbles out, depending on what you are using for your mold, you may or may not need to do this step.
The finished product. This particular silicone has a pretty decent pot life, so you don’t have to rush, but you shouldn’t wait too long or it will start to harden in the cup.
Next pick a spot, and pour slowly. Be sure to pour a very small stream so that it will not trap bubbles in the silicone. I poured into that little hole on the left, and took my time allowing it to slowly fill up all the gaps, while pushing out any air.
Now wait for it to set up, I waited overnight. Things like set time, pot life, and other important facts about your silicone will be on the box when you buy it.

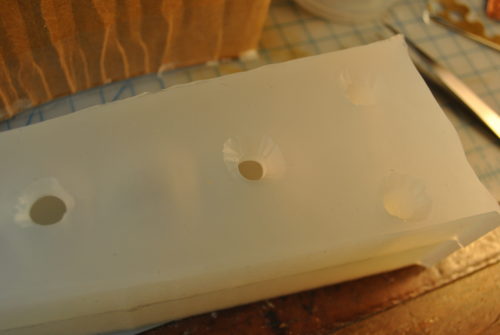
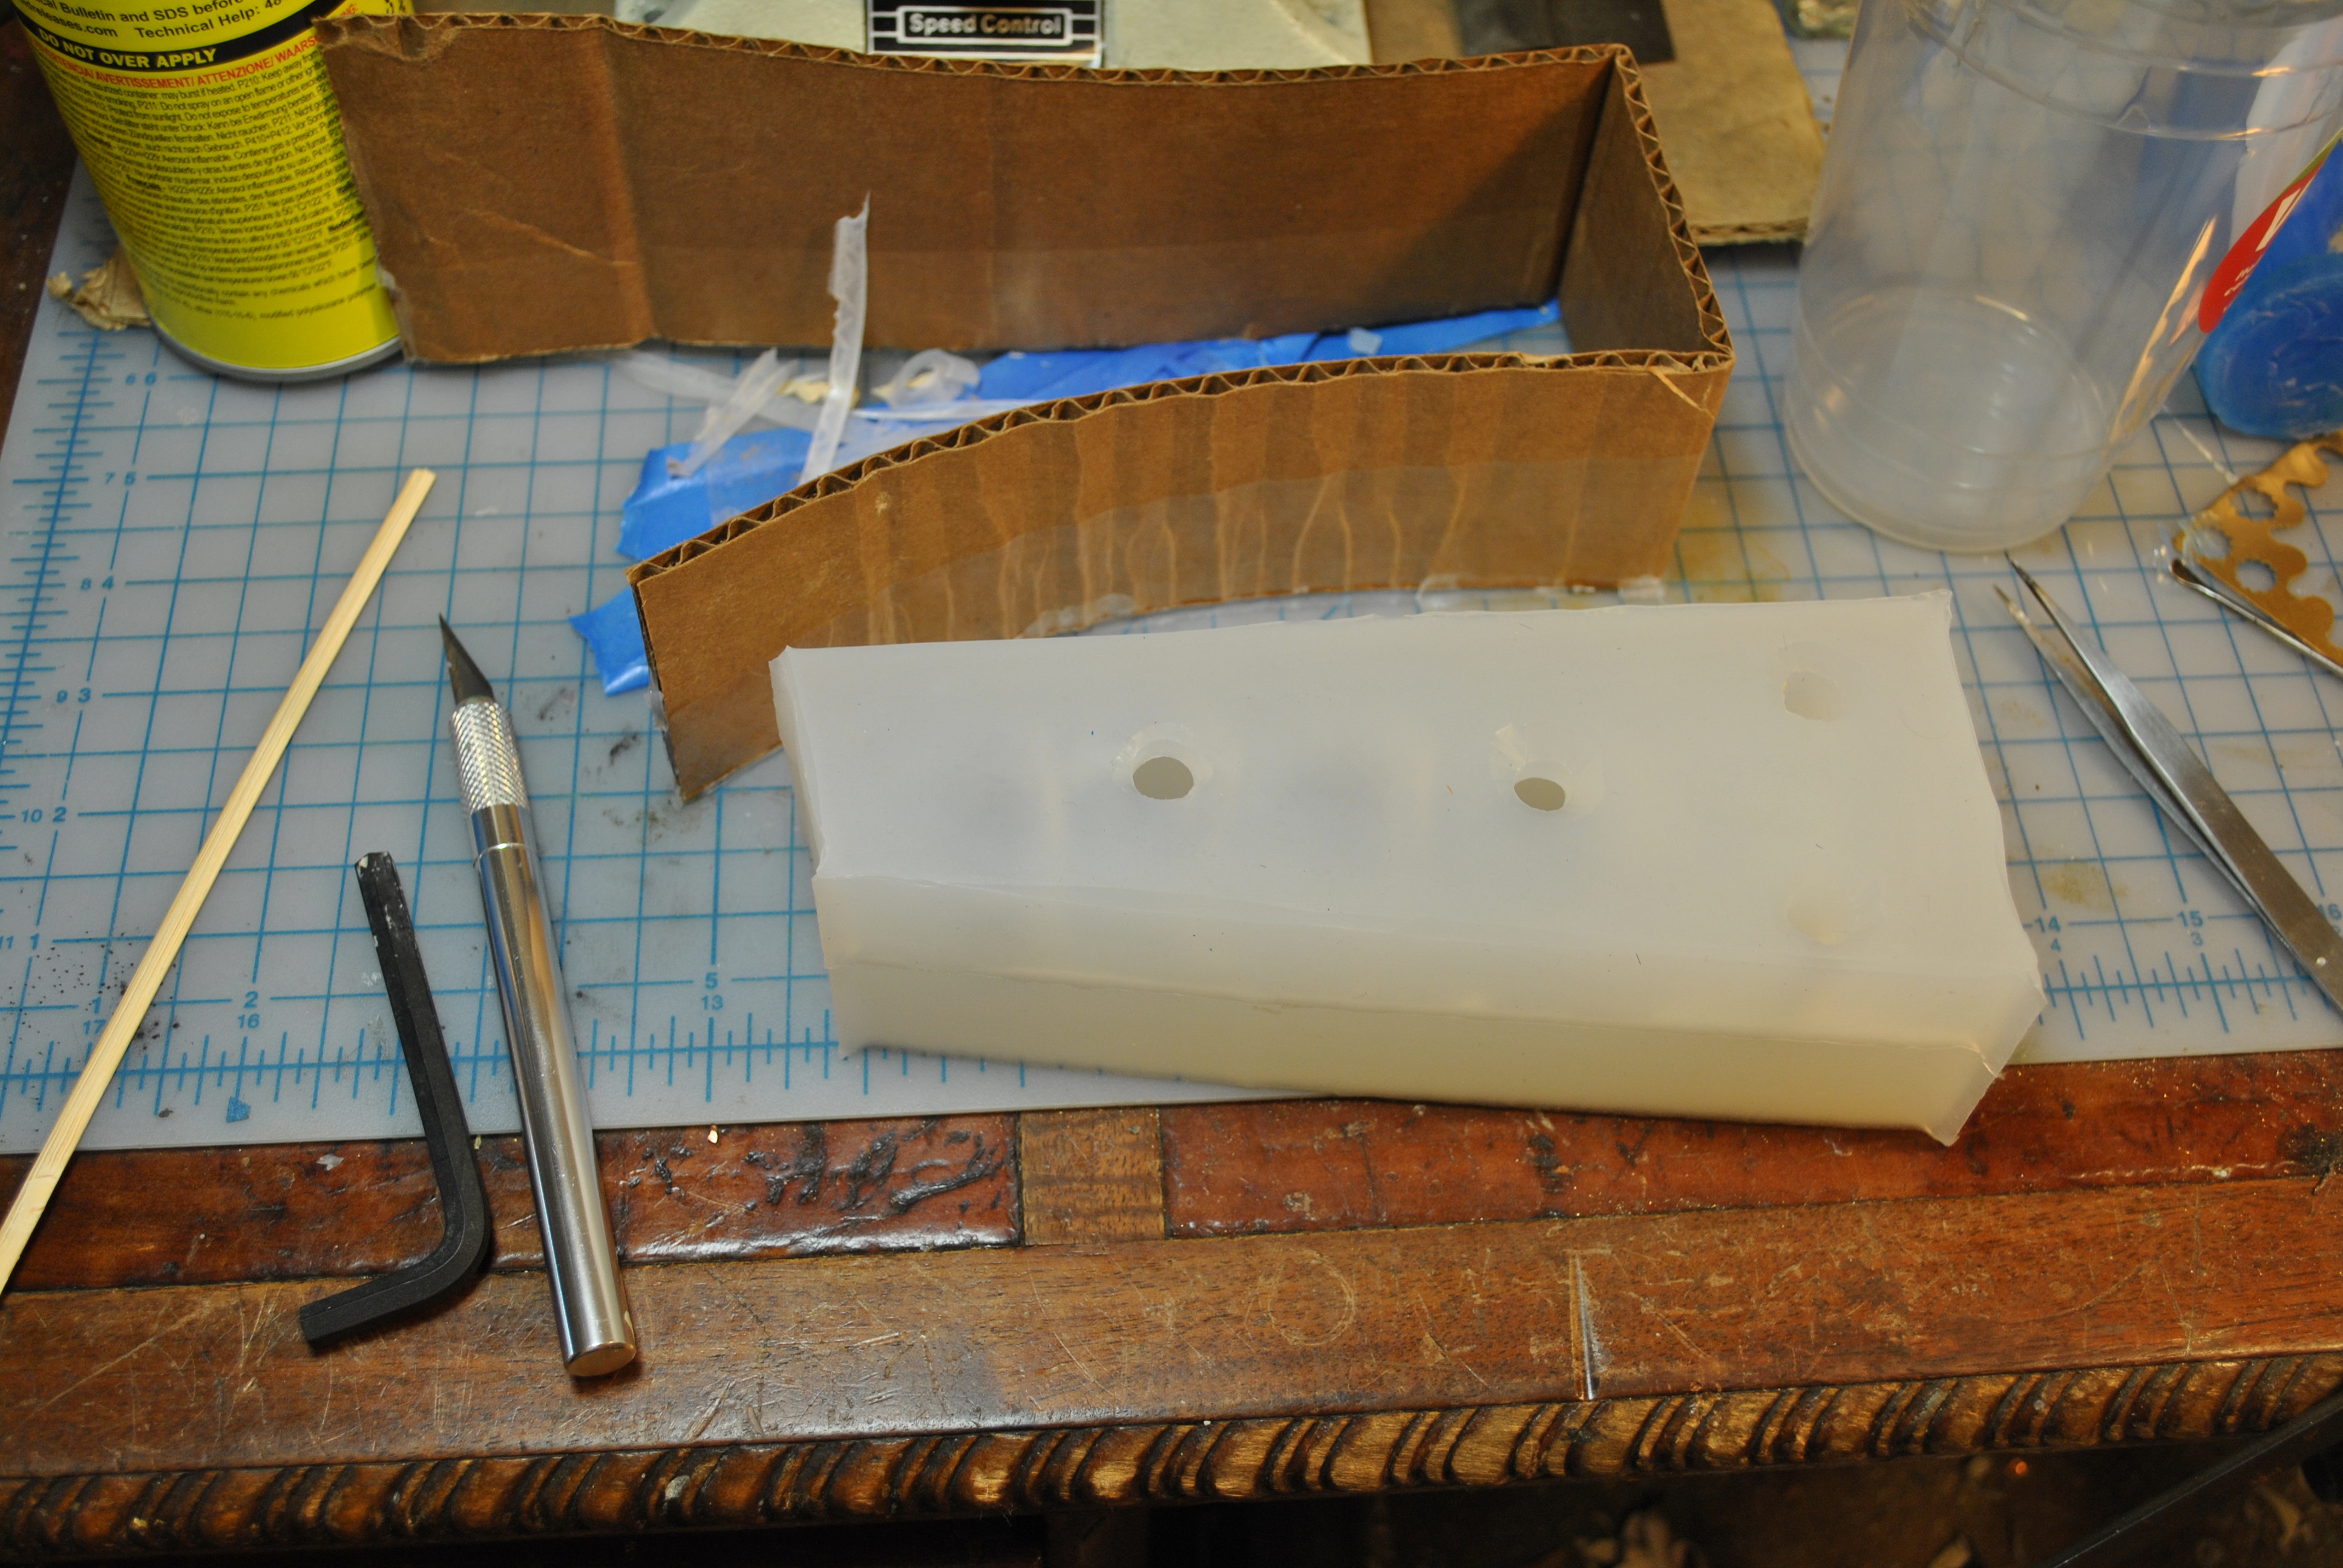
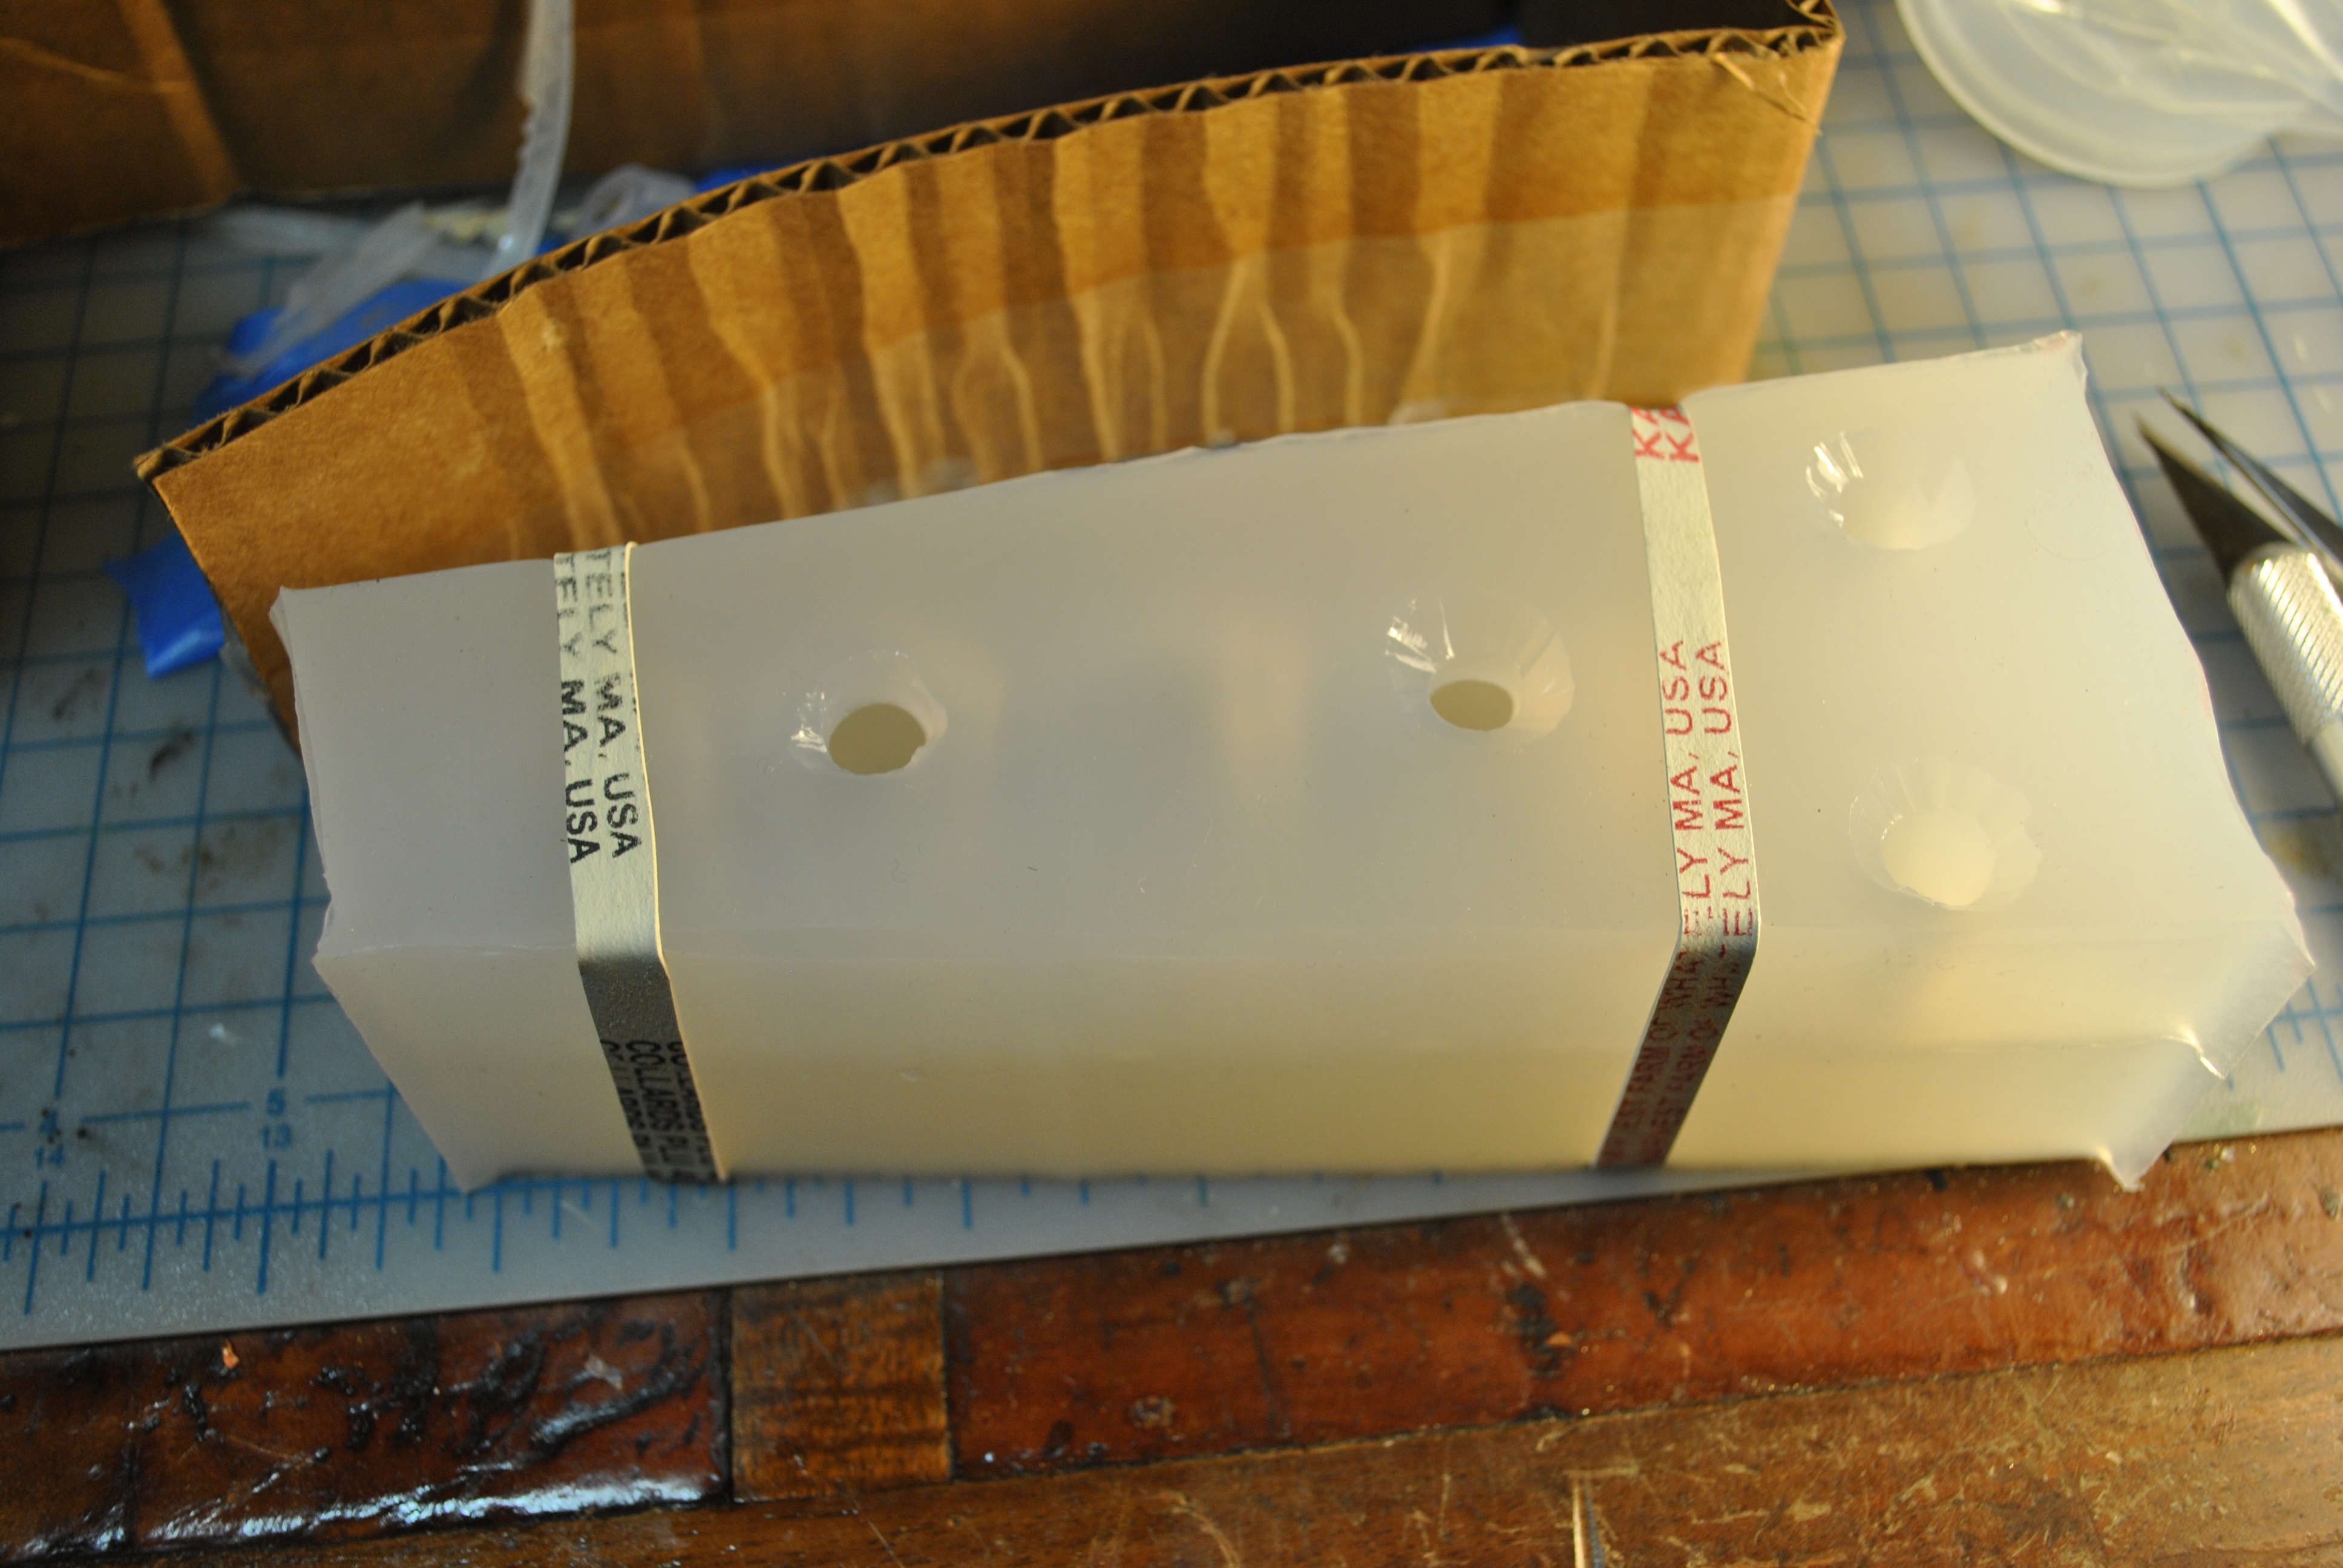
after the silicone has set I cut in some key holes so that when I cast the other side it will be hard to mis-align the mold. I used an X-acto knife to cut them out.

Mix up another big batch of silicone, make sure you spray on some more mold release, and do the same thing again.

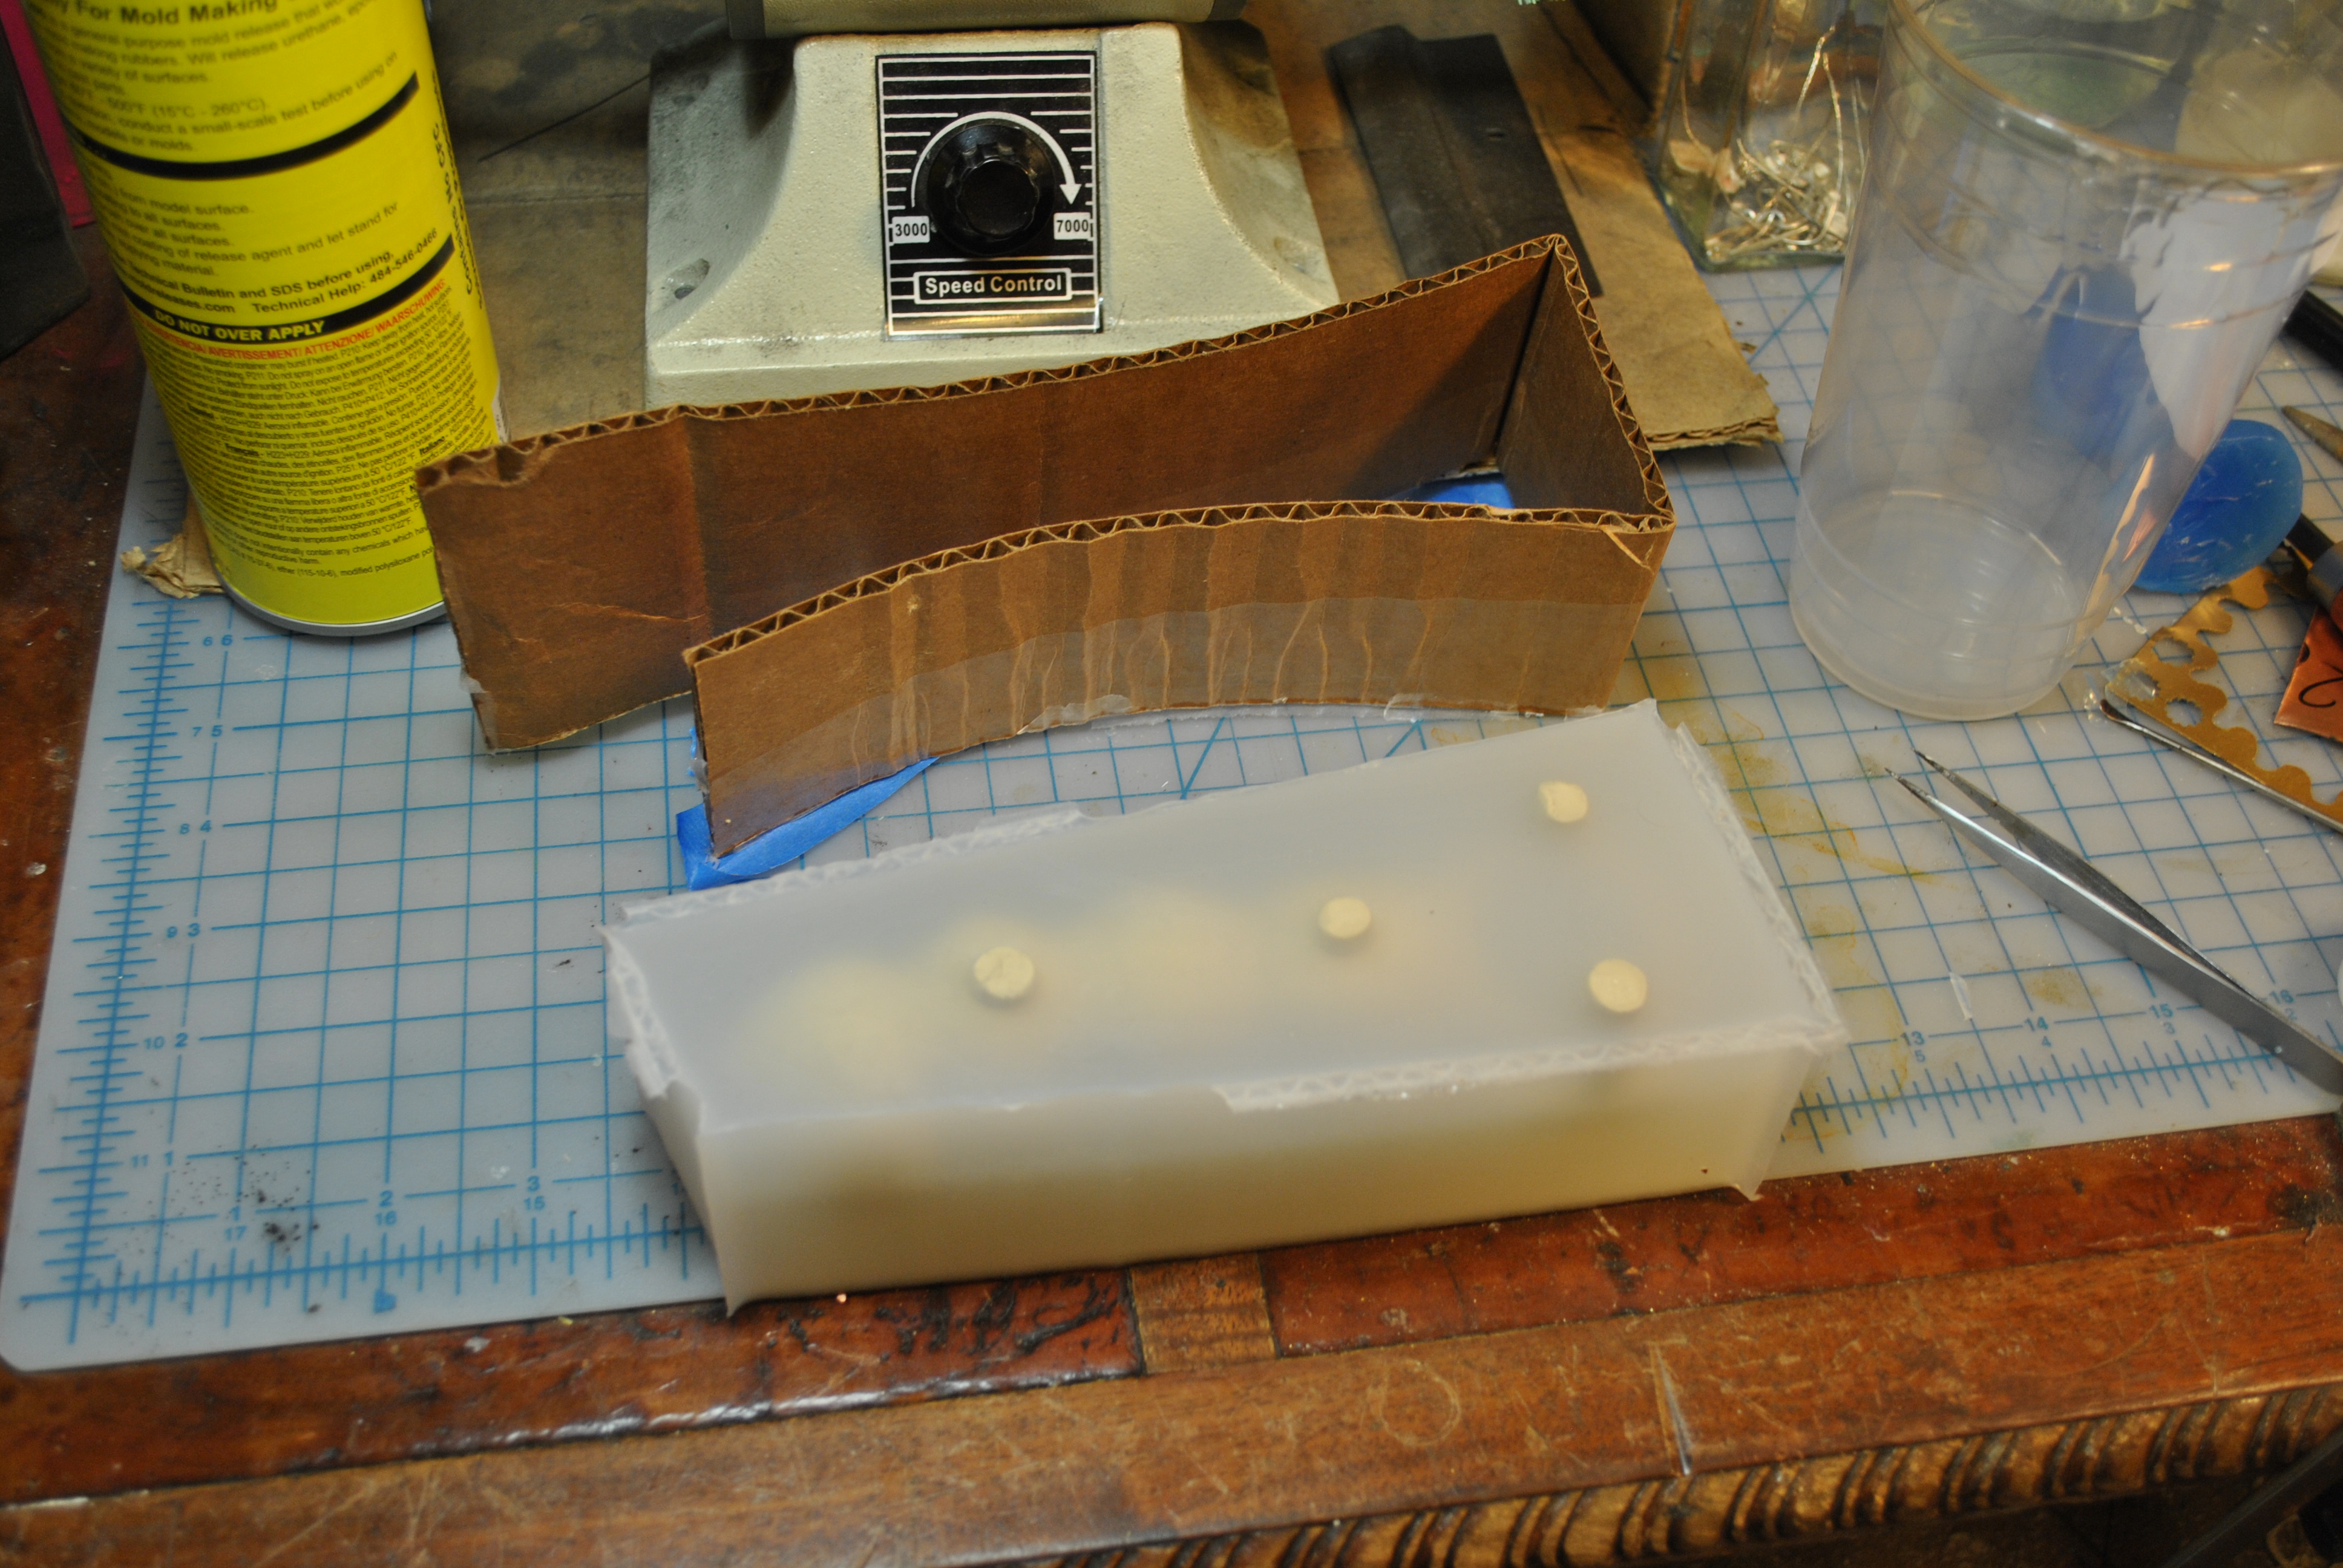
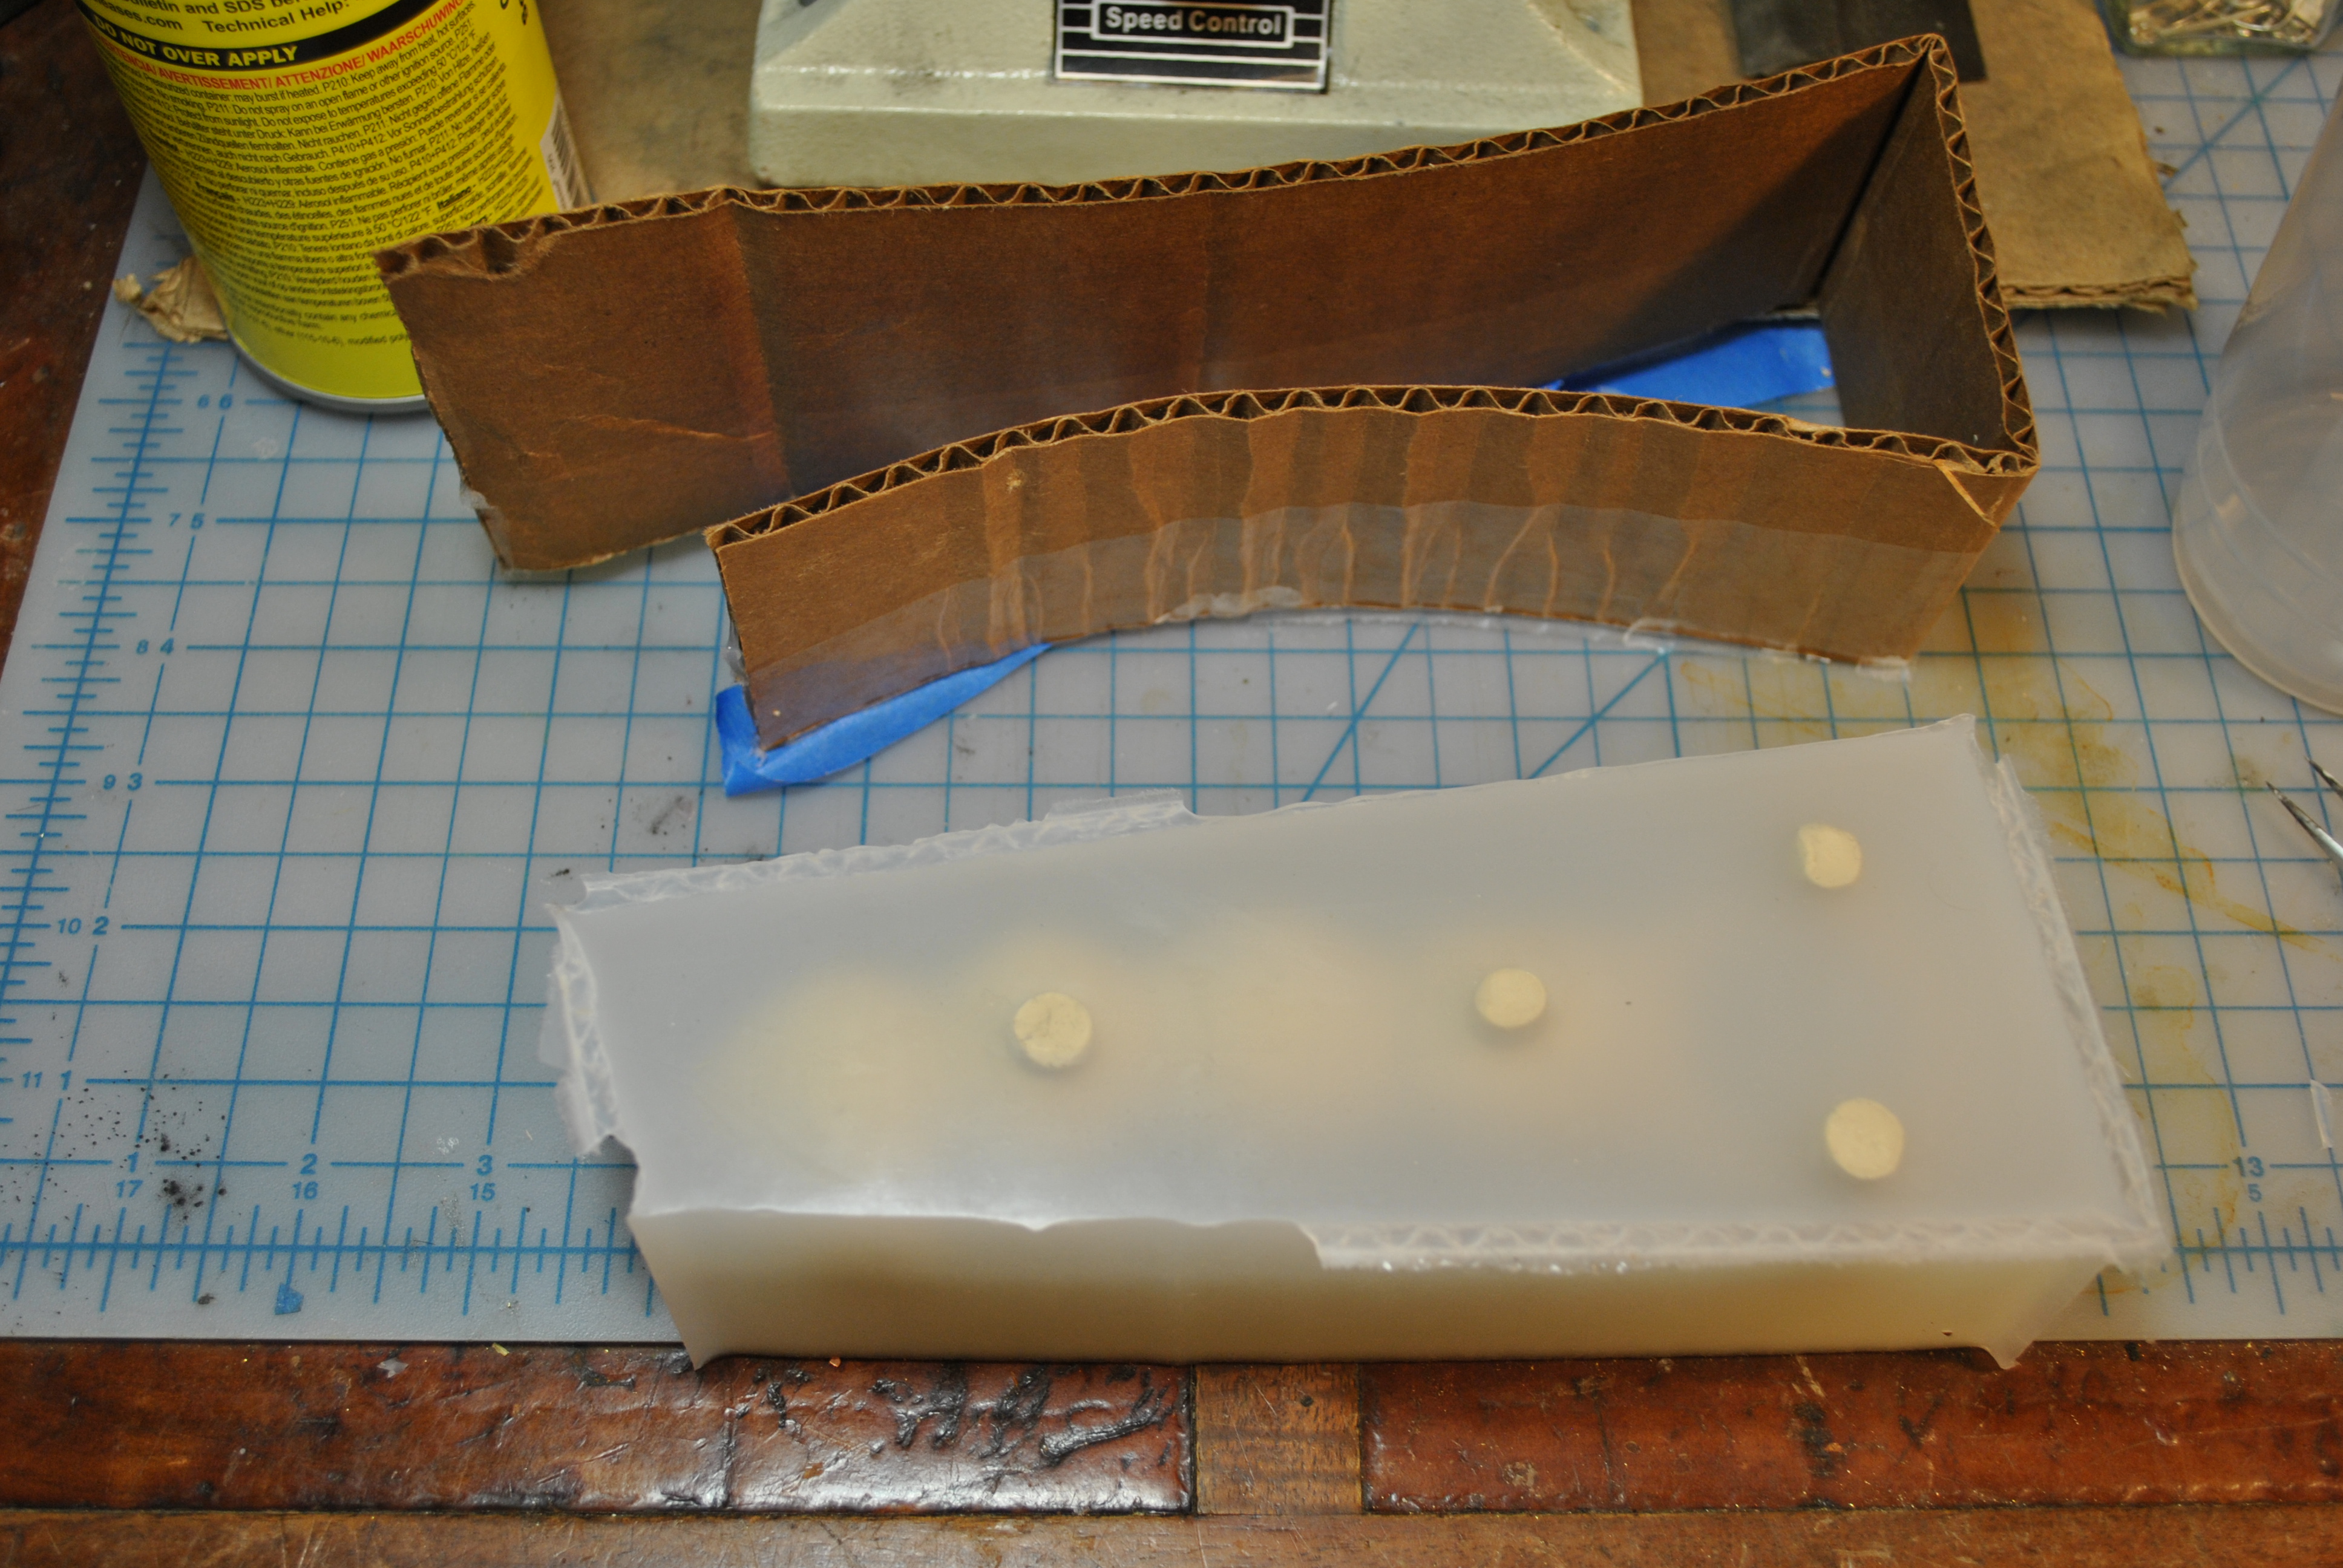
After it sets up, remove the cardboard and see how your mold came out.


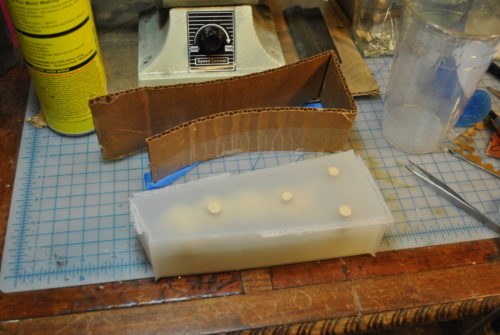
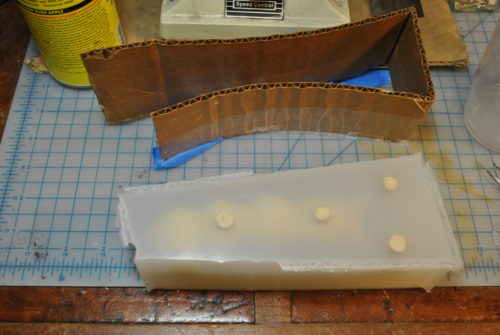
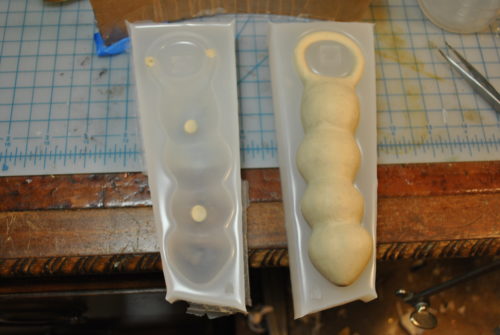
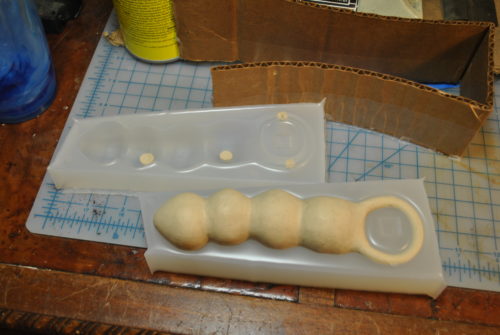
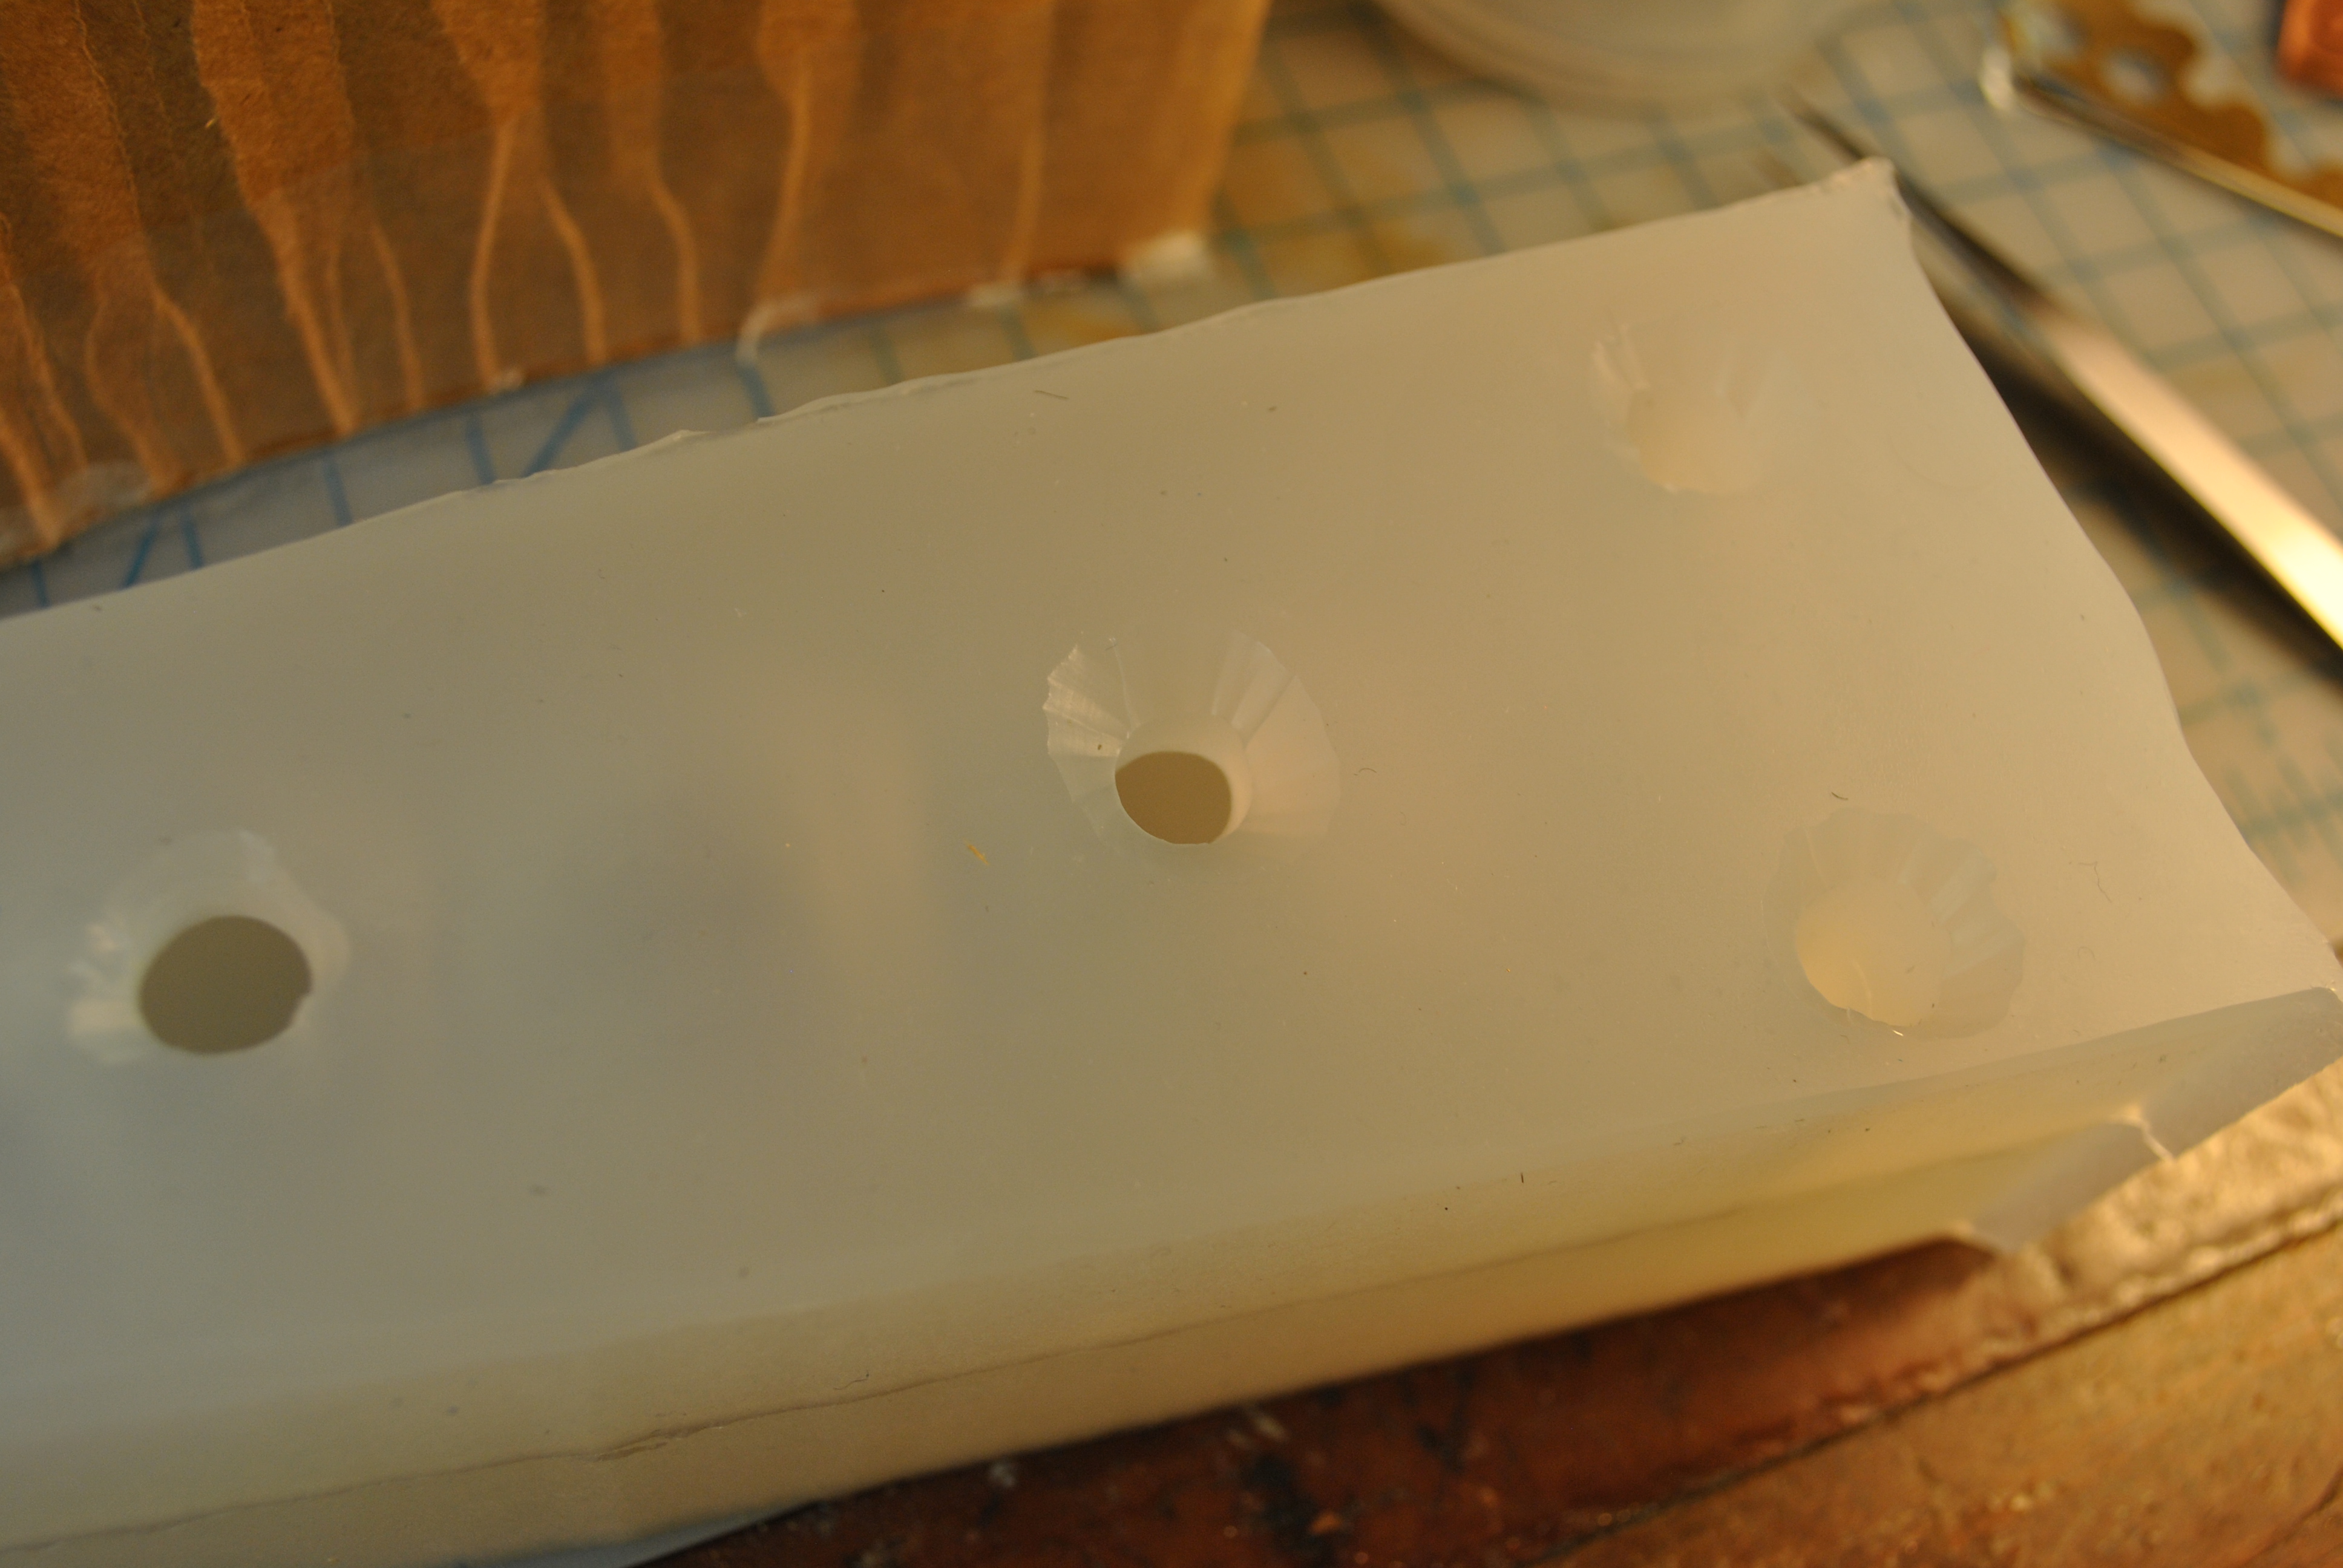
After I used an X-acto knife to clean up the holes, and the edges.

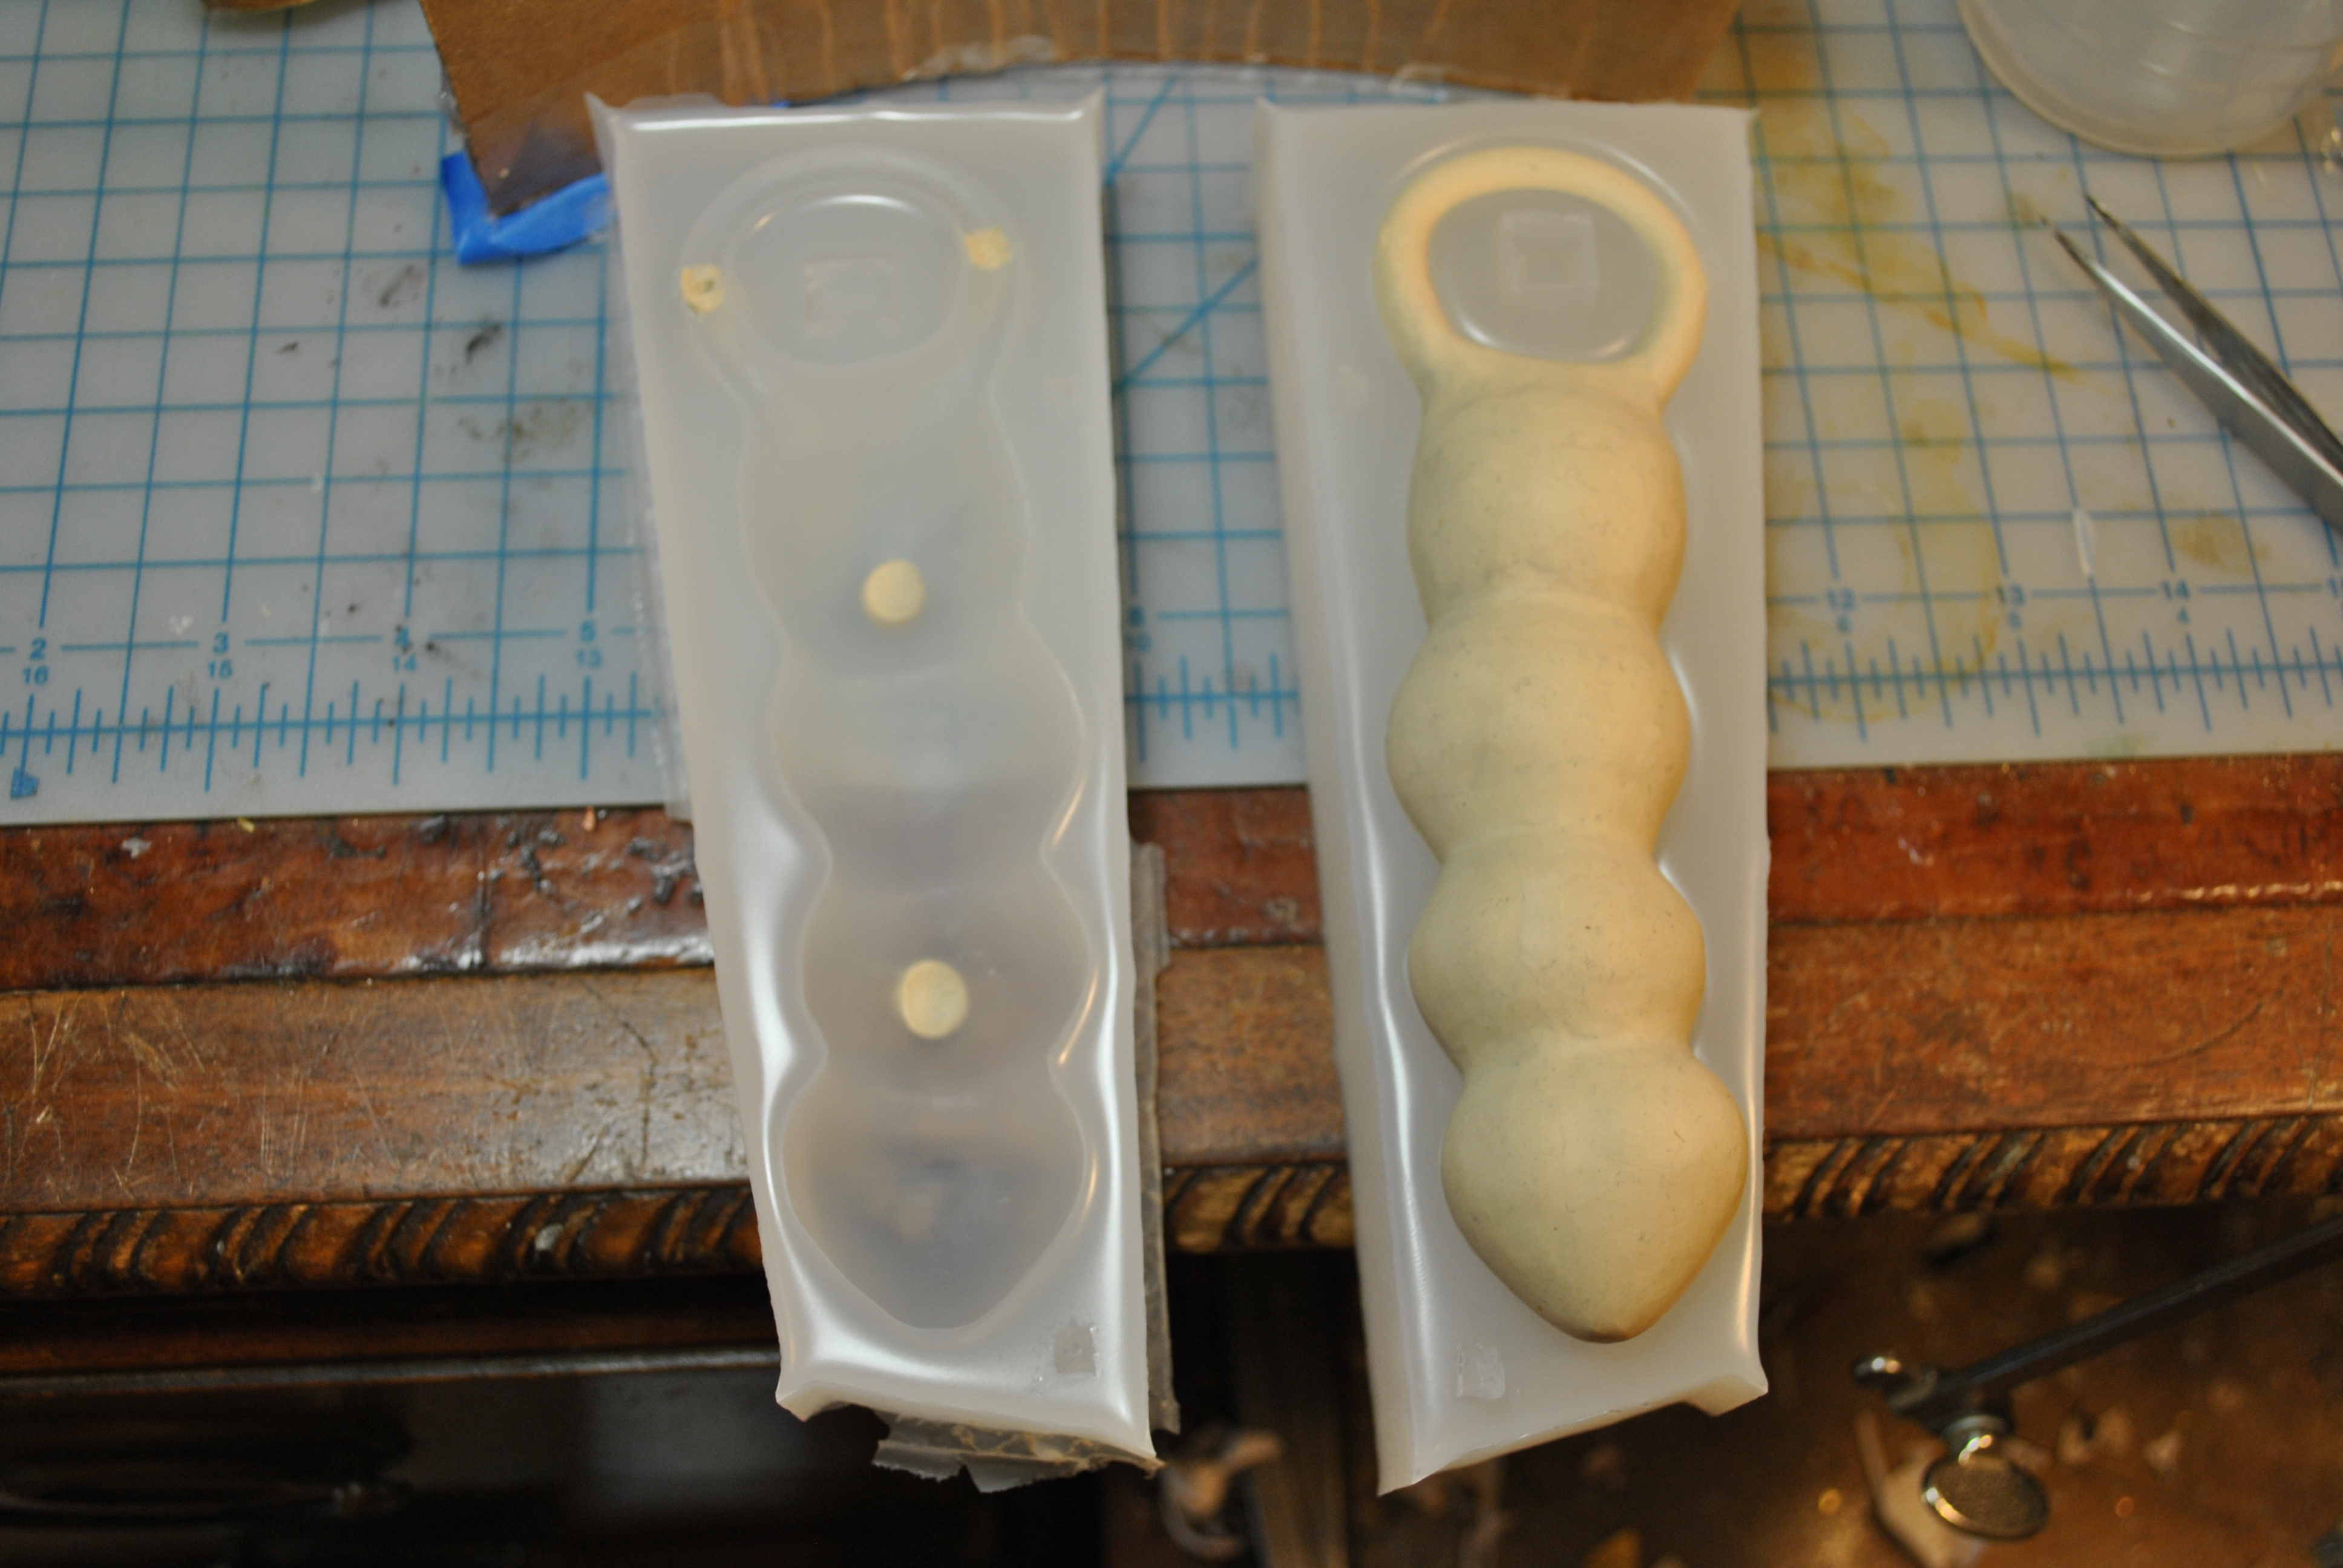
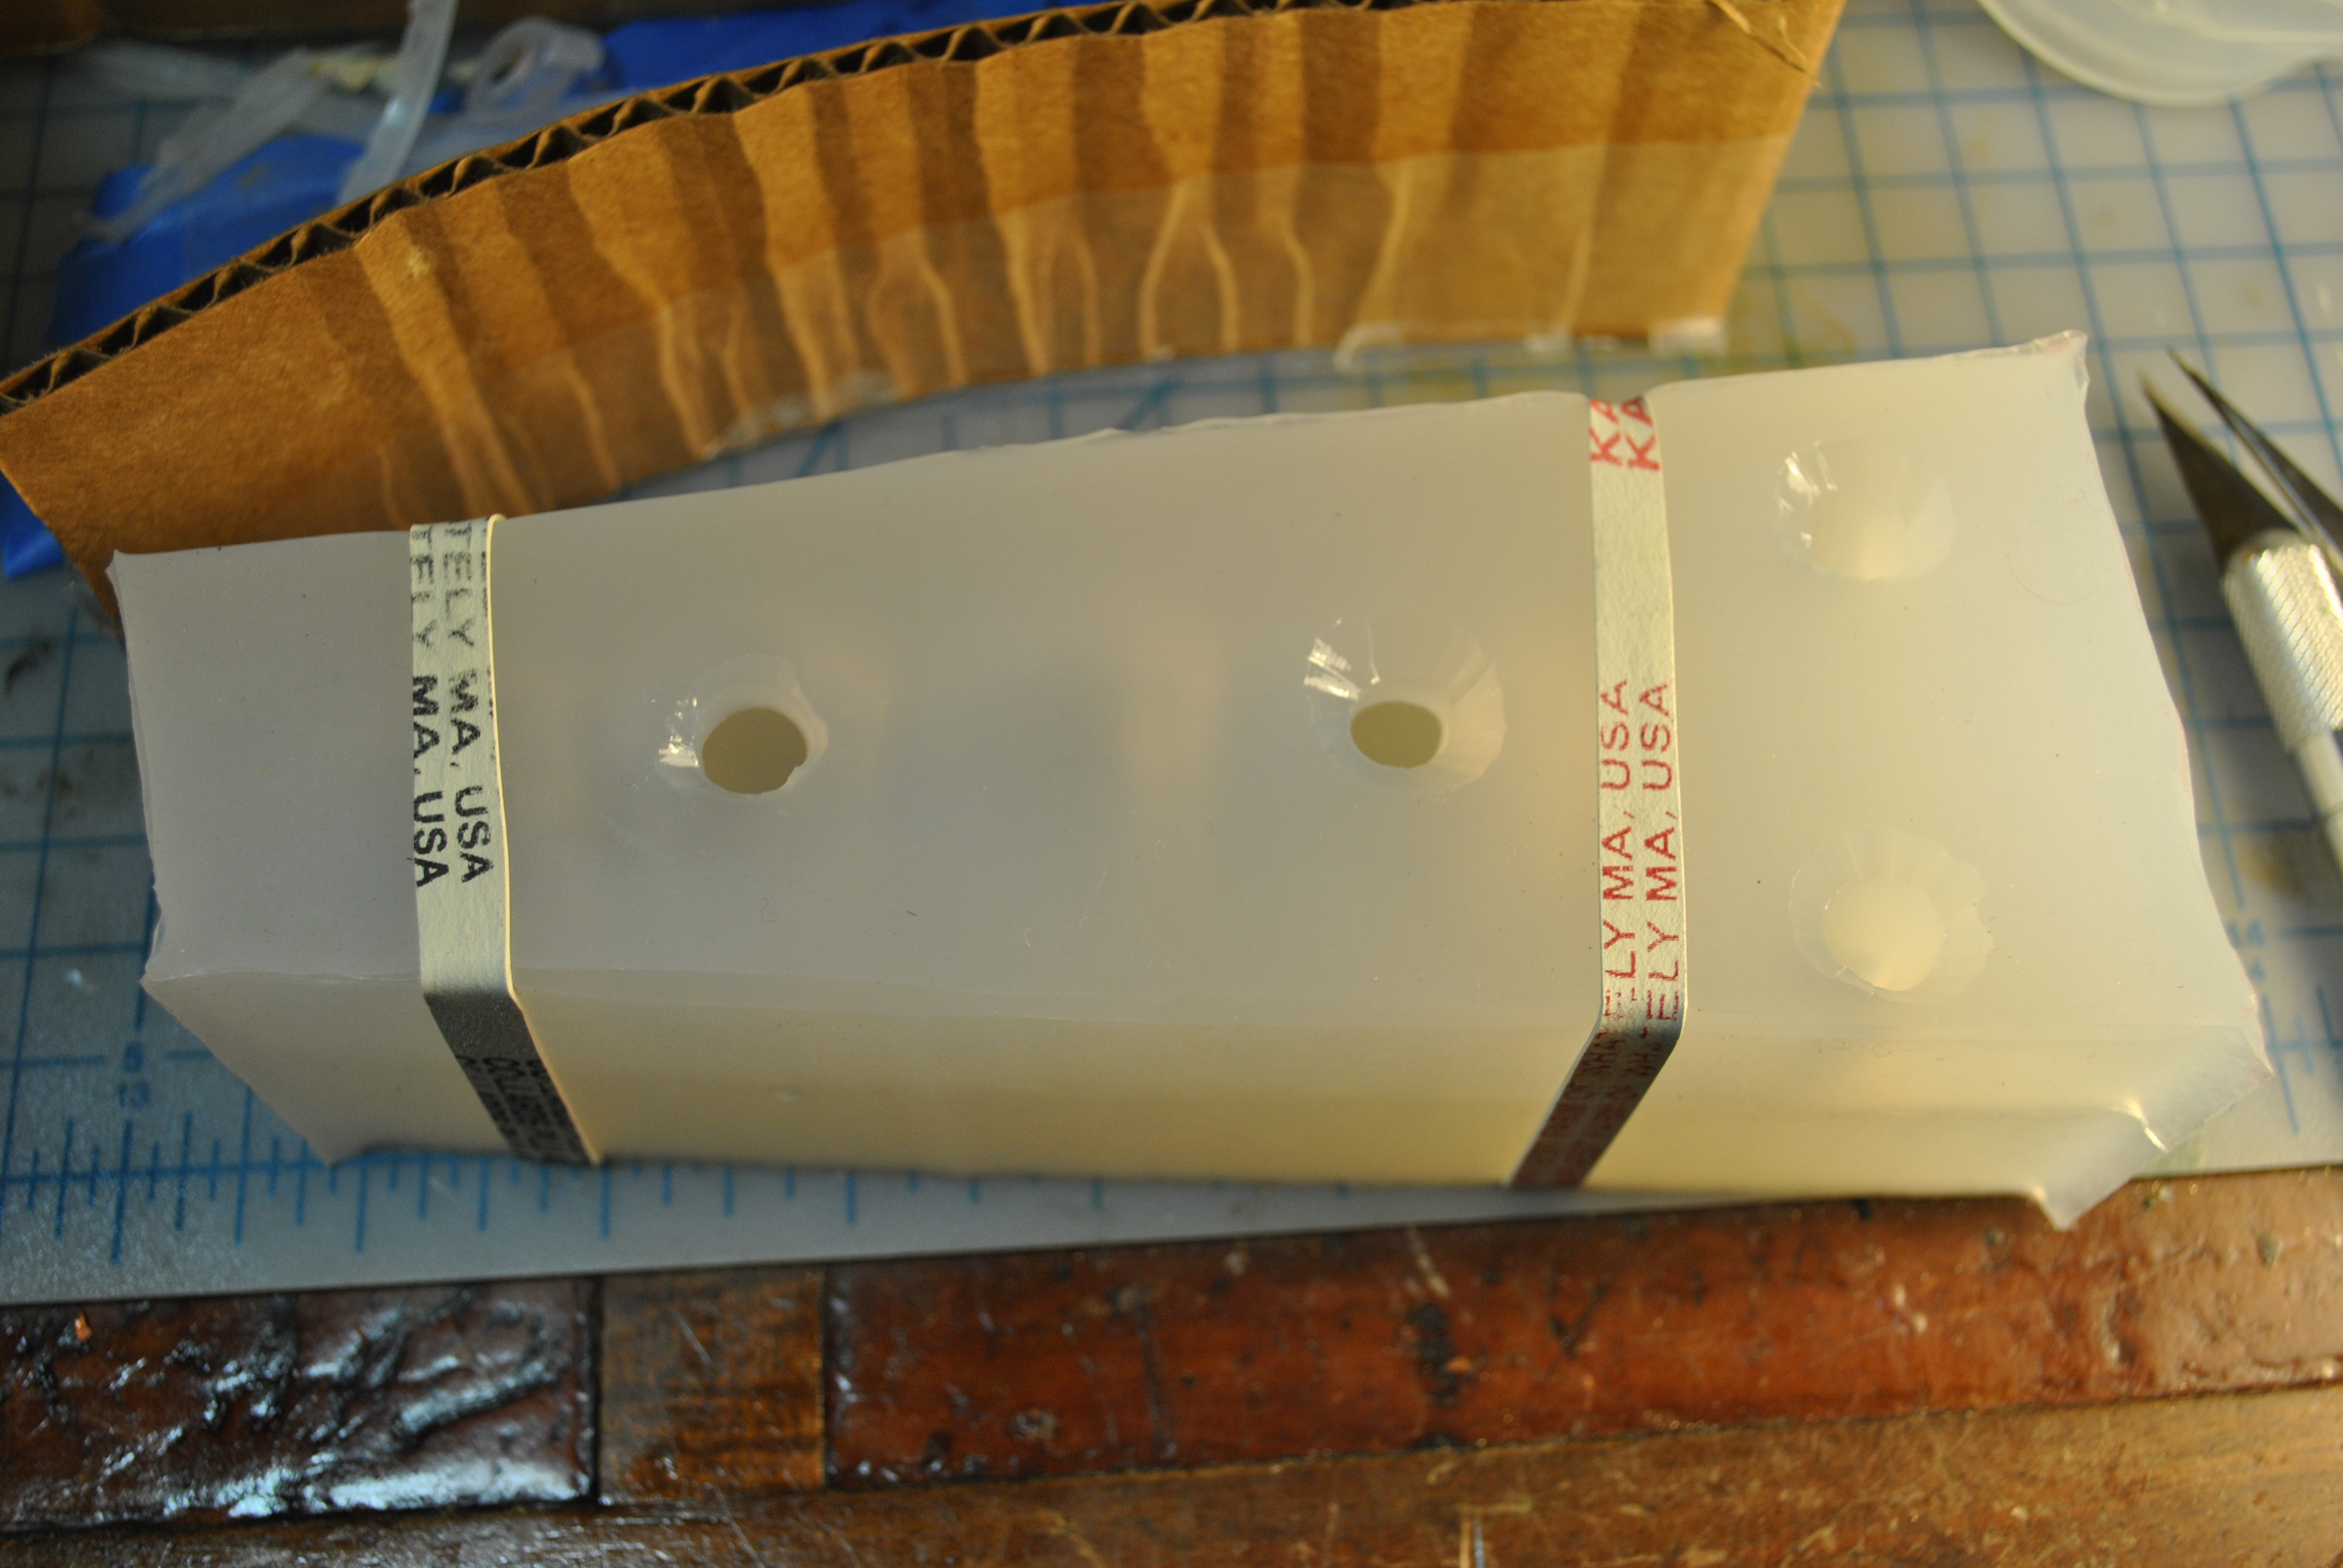
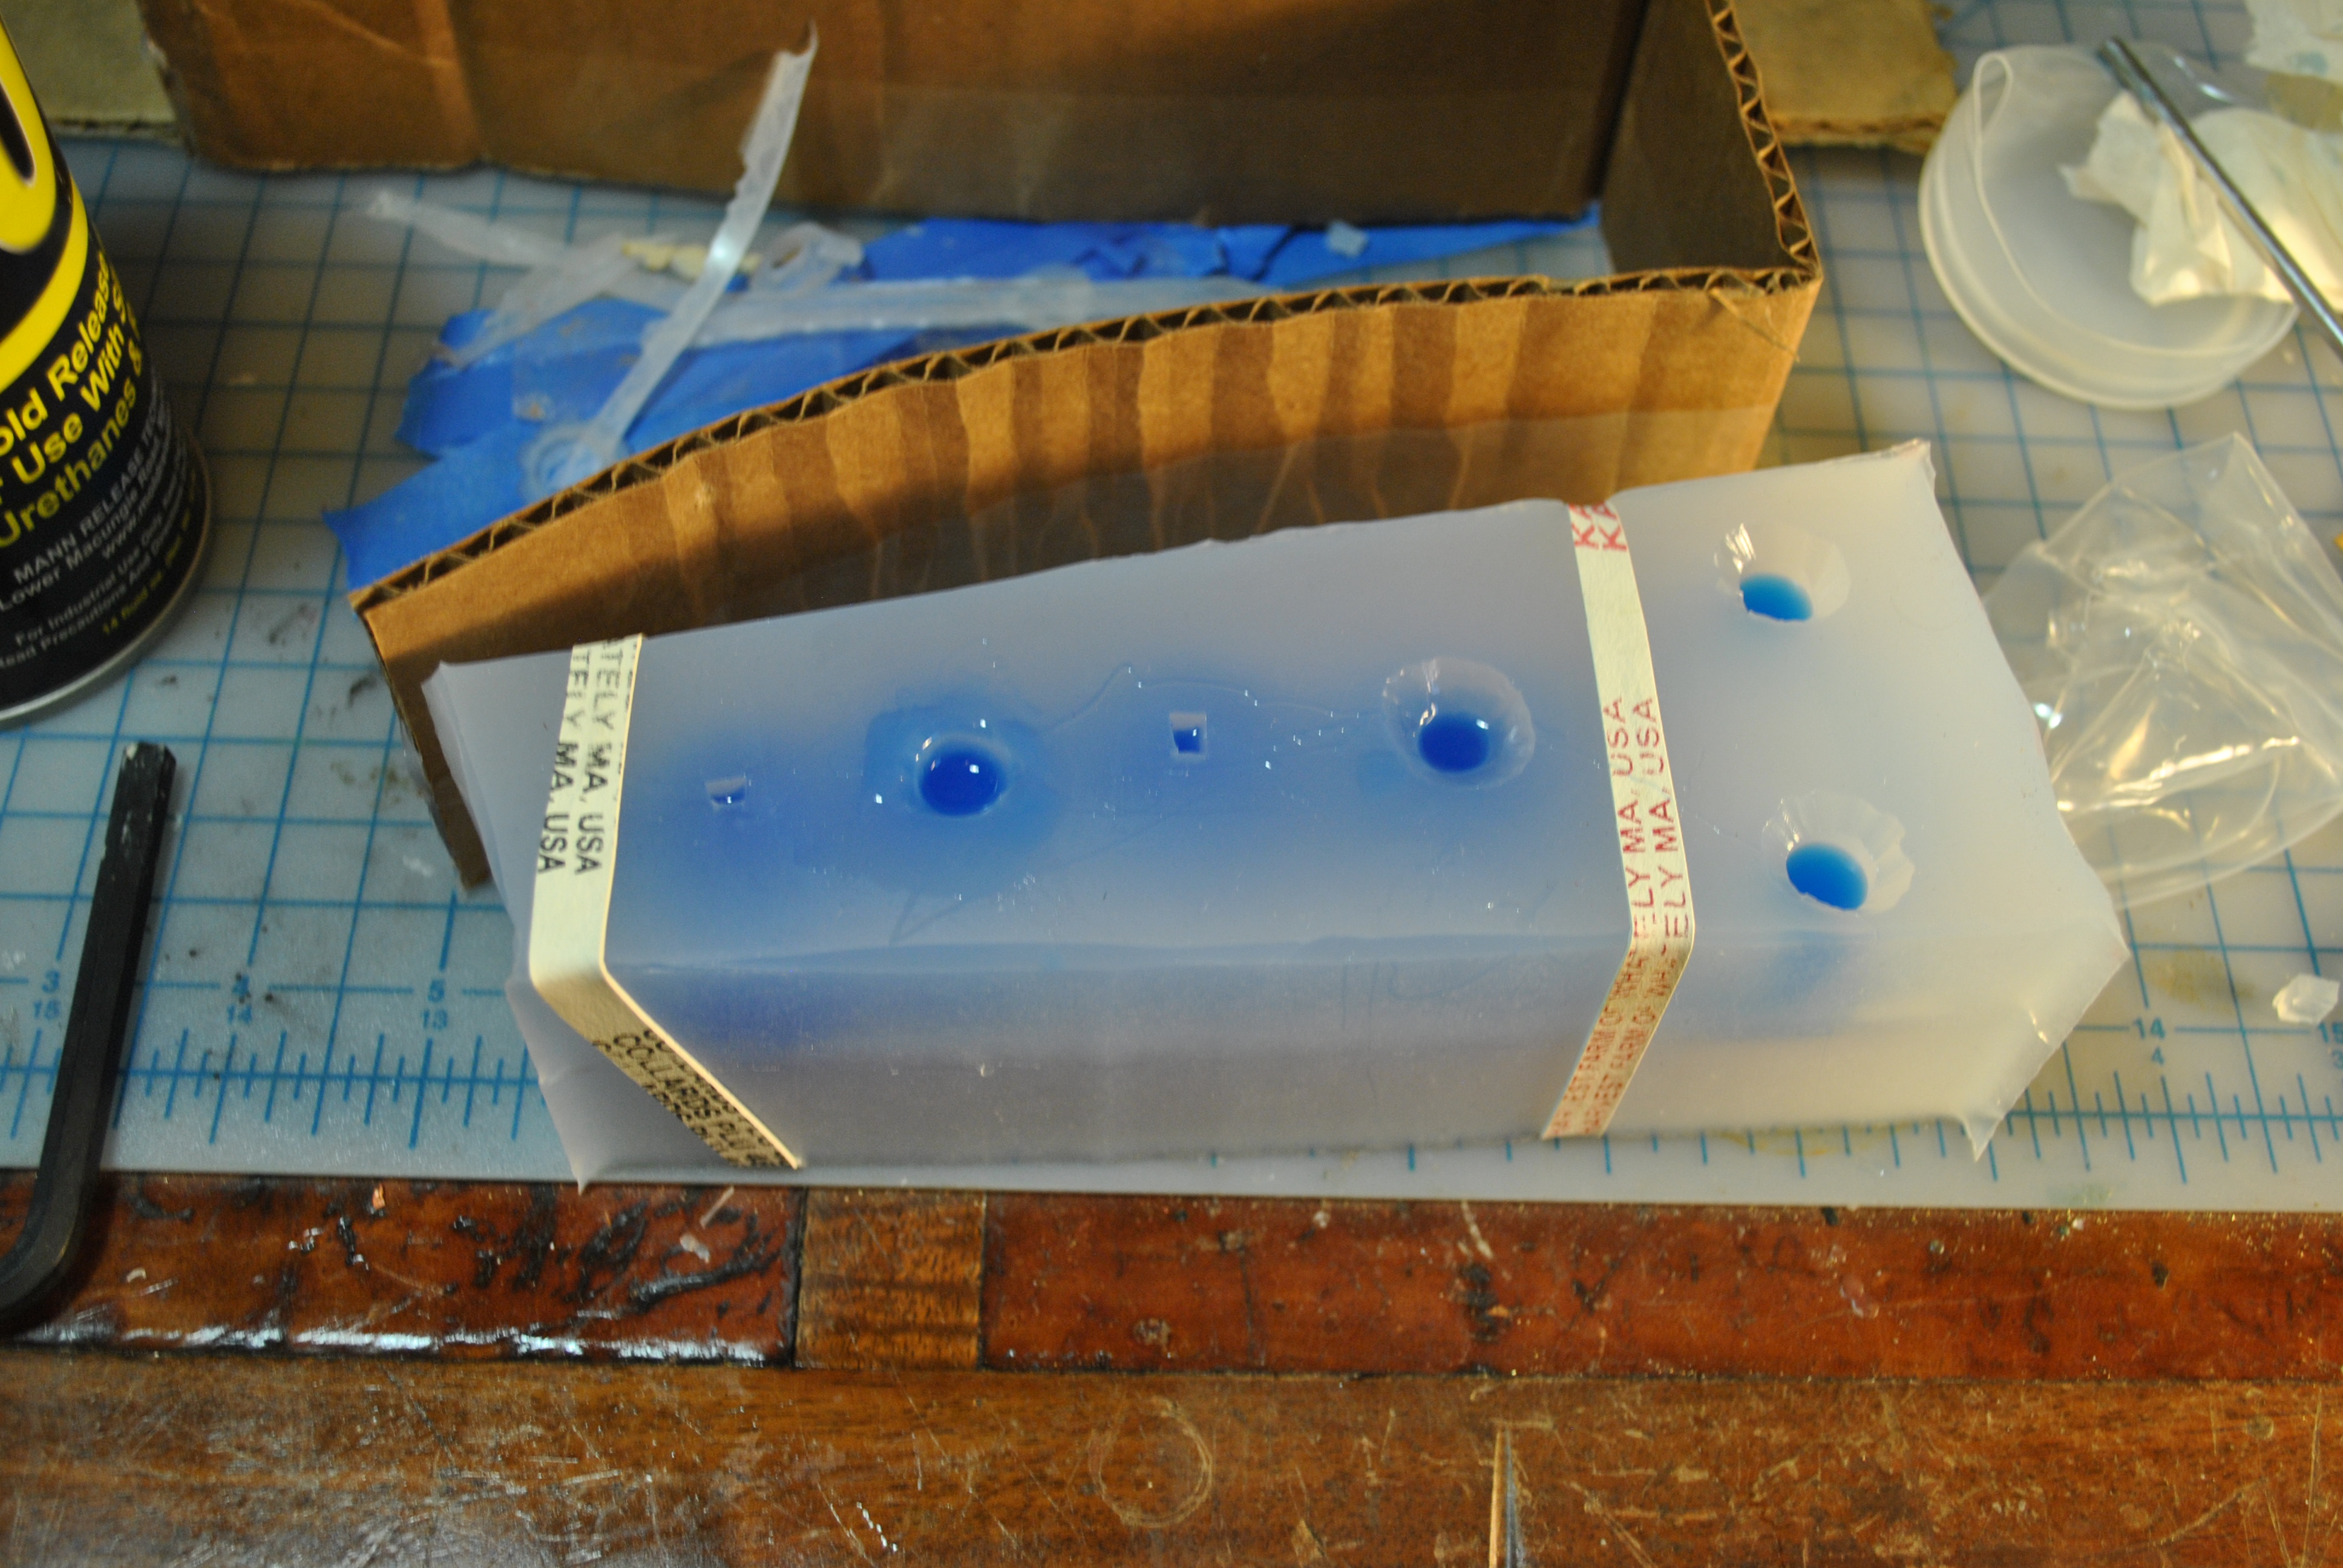
Clean out your mold, make sure you get all the clay, and all the dust, and everything else. Spray the inside with mold release, and then close up your mold, and I use rubber bands to make sure it stays put together.


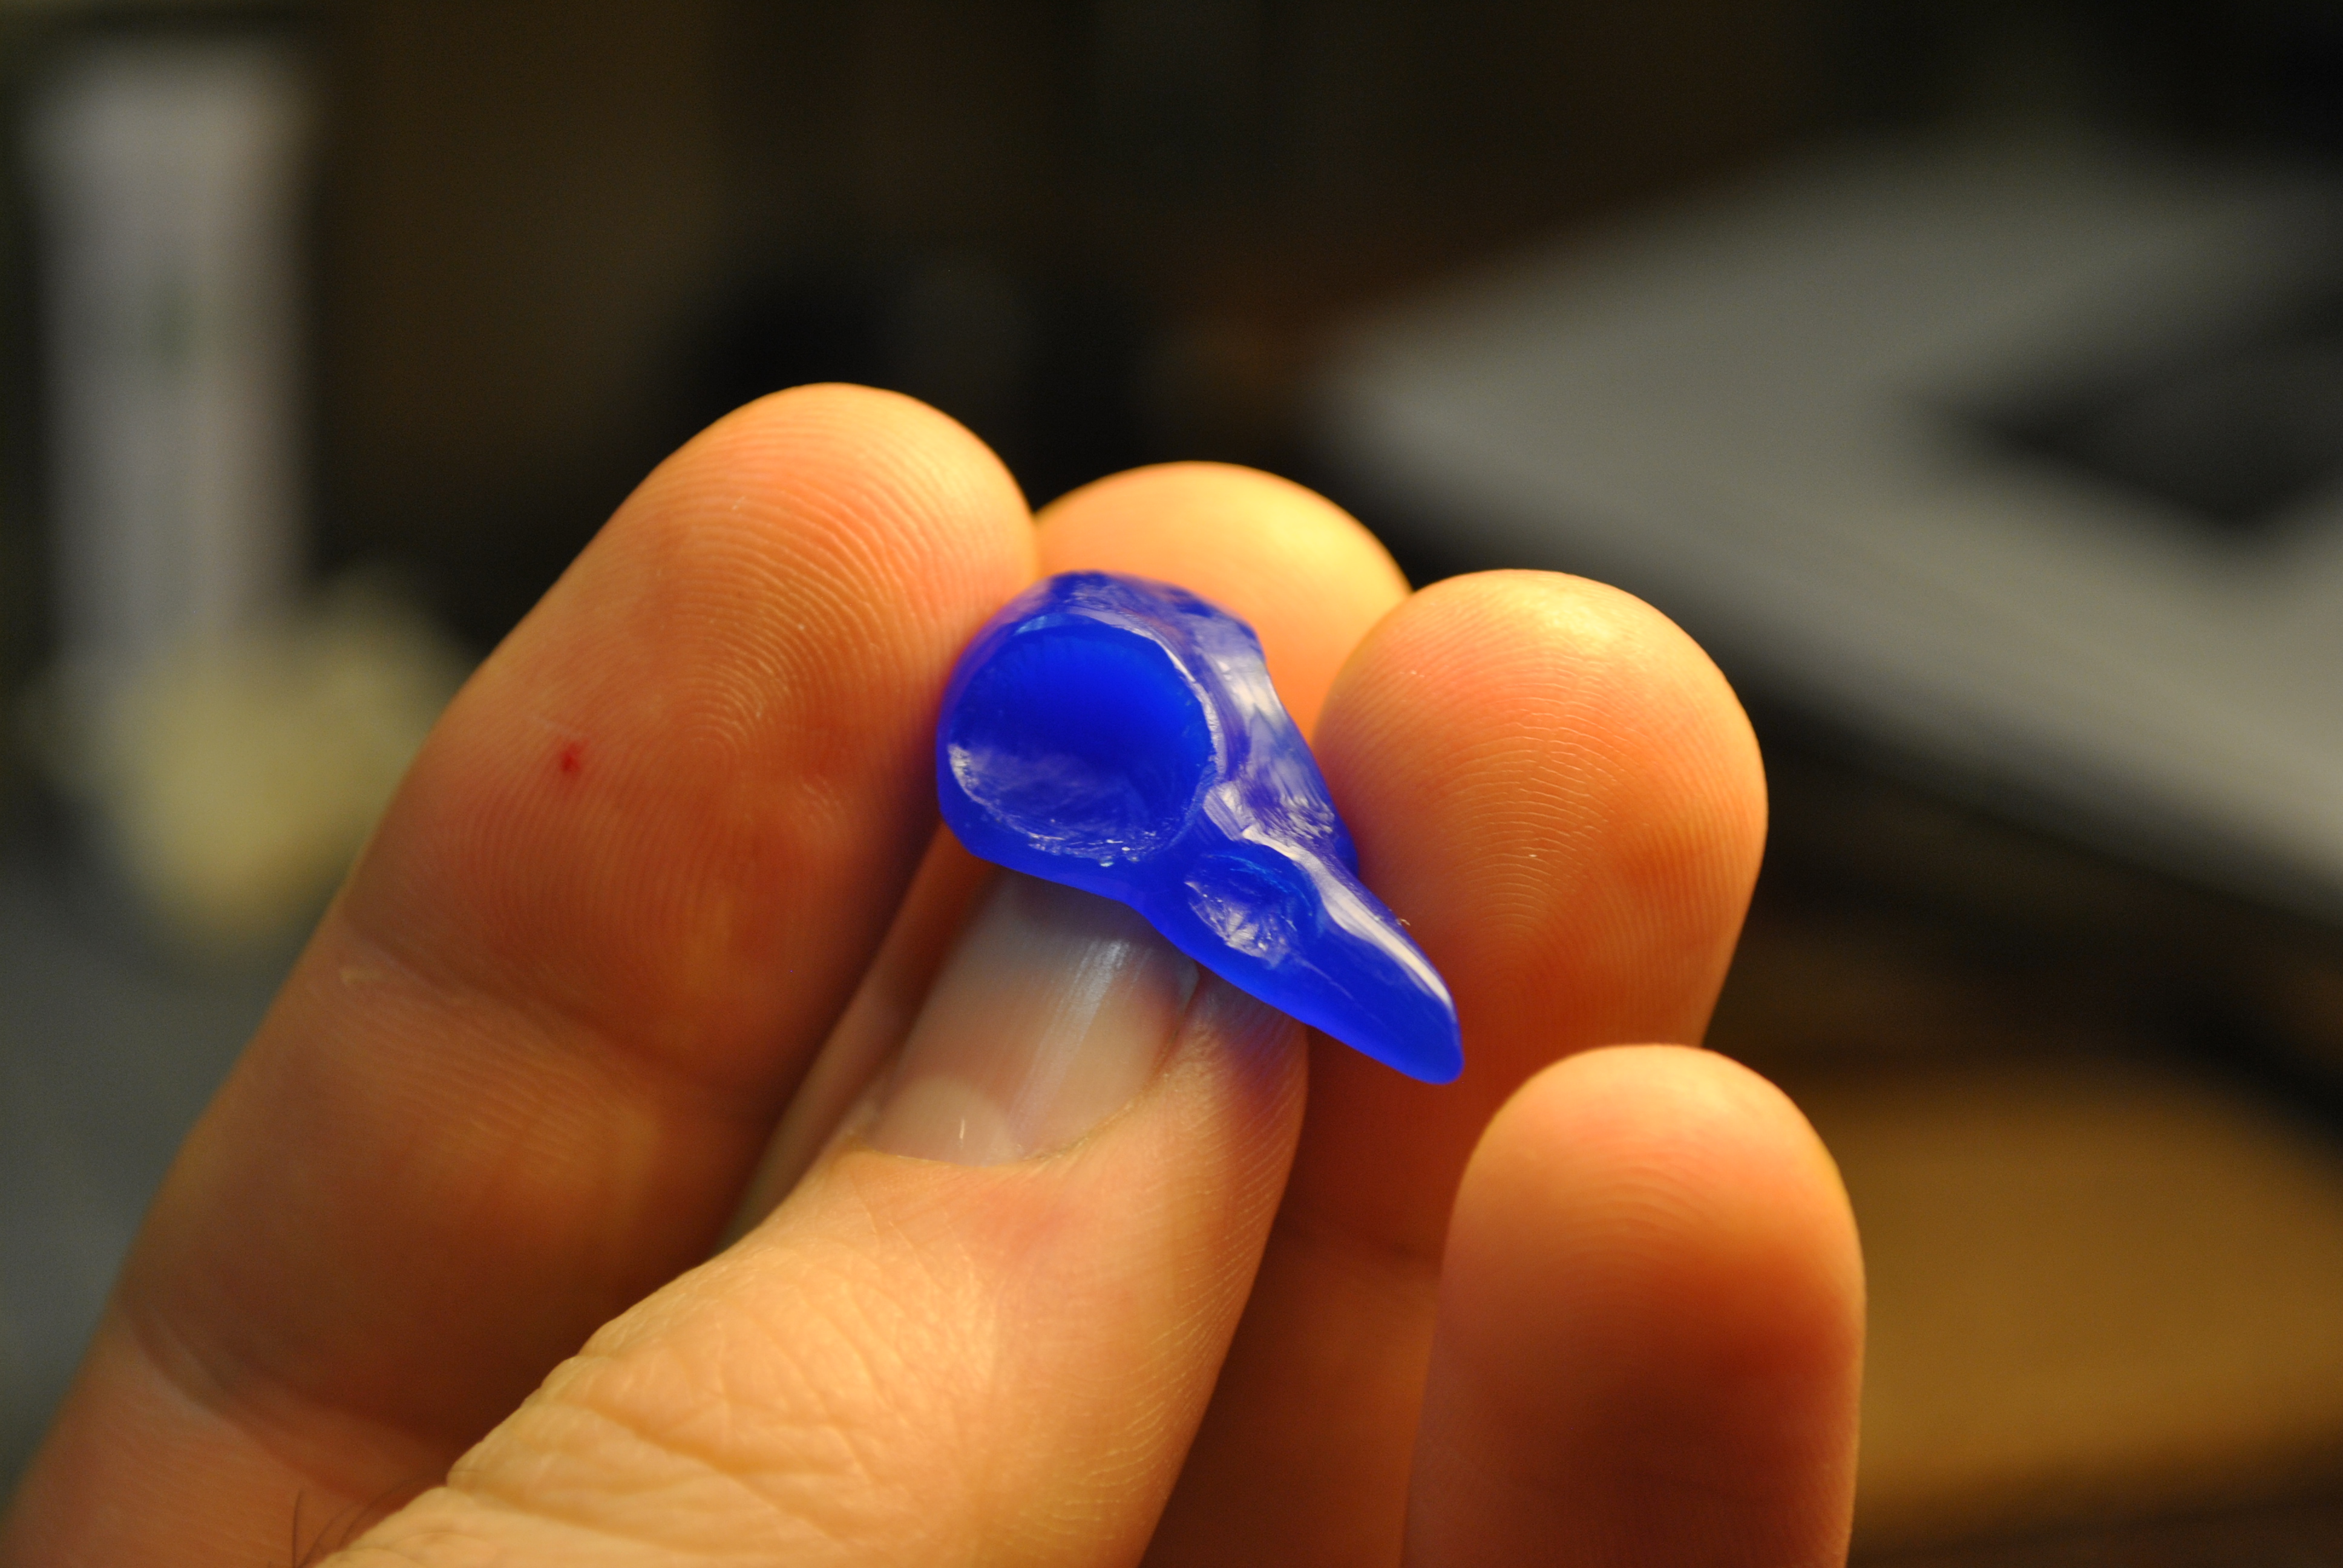
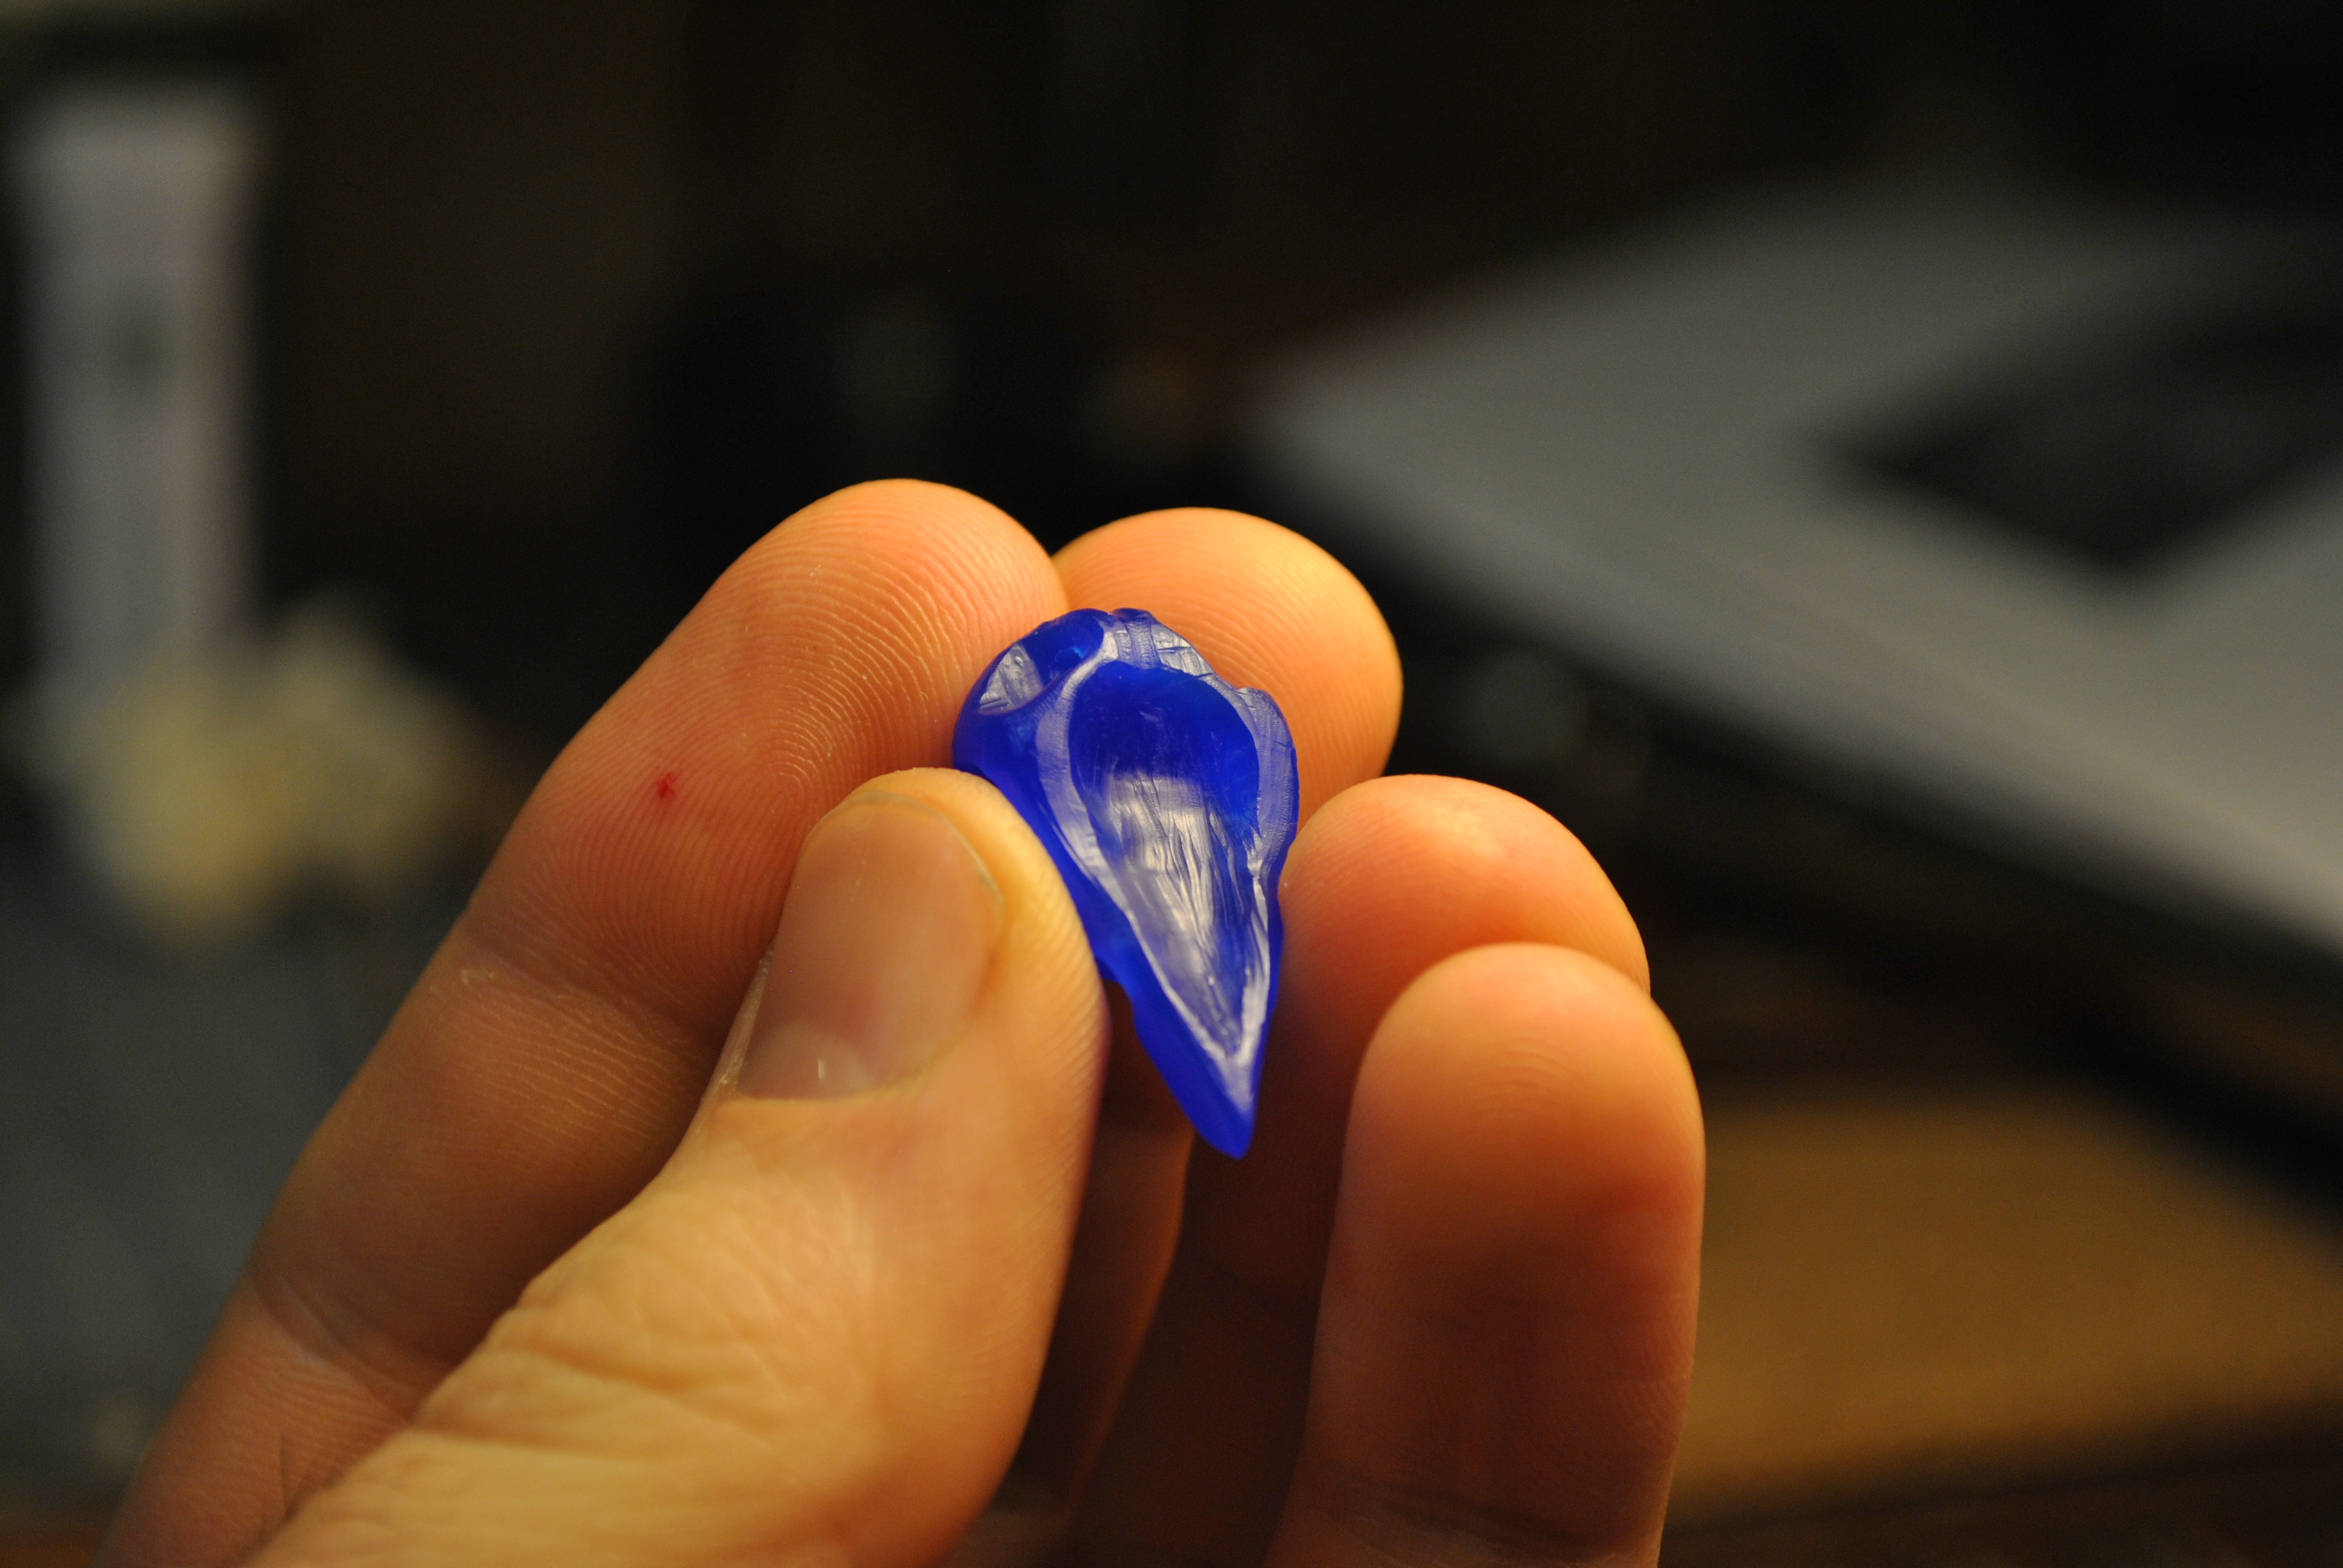
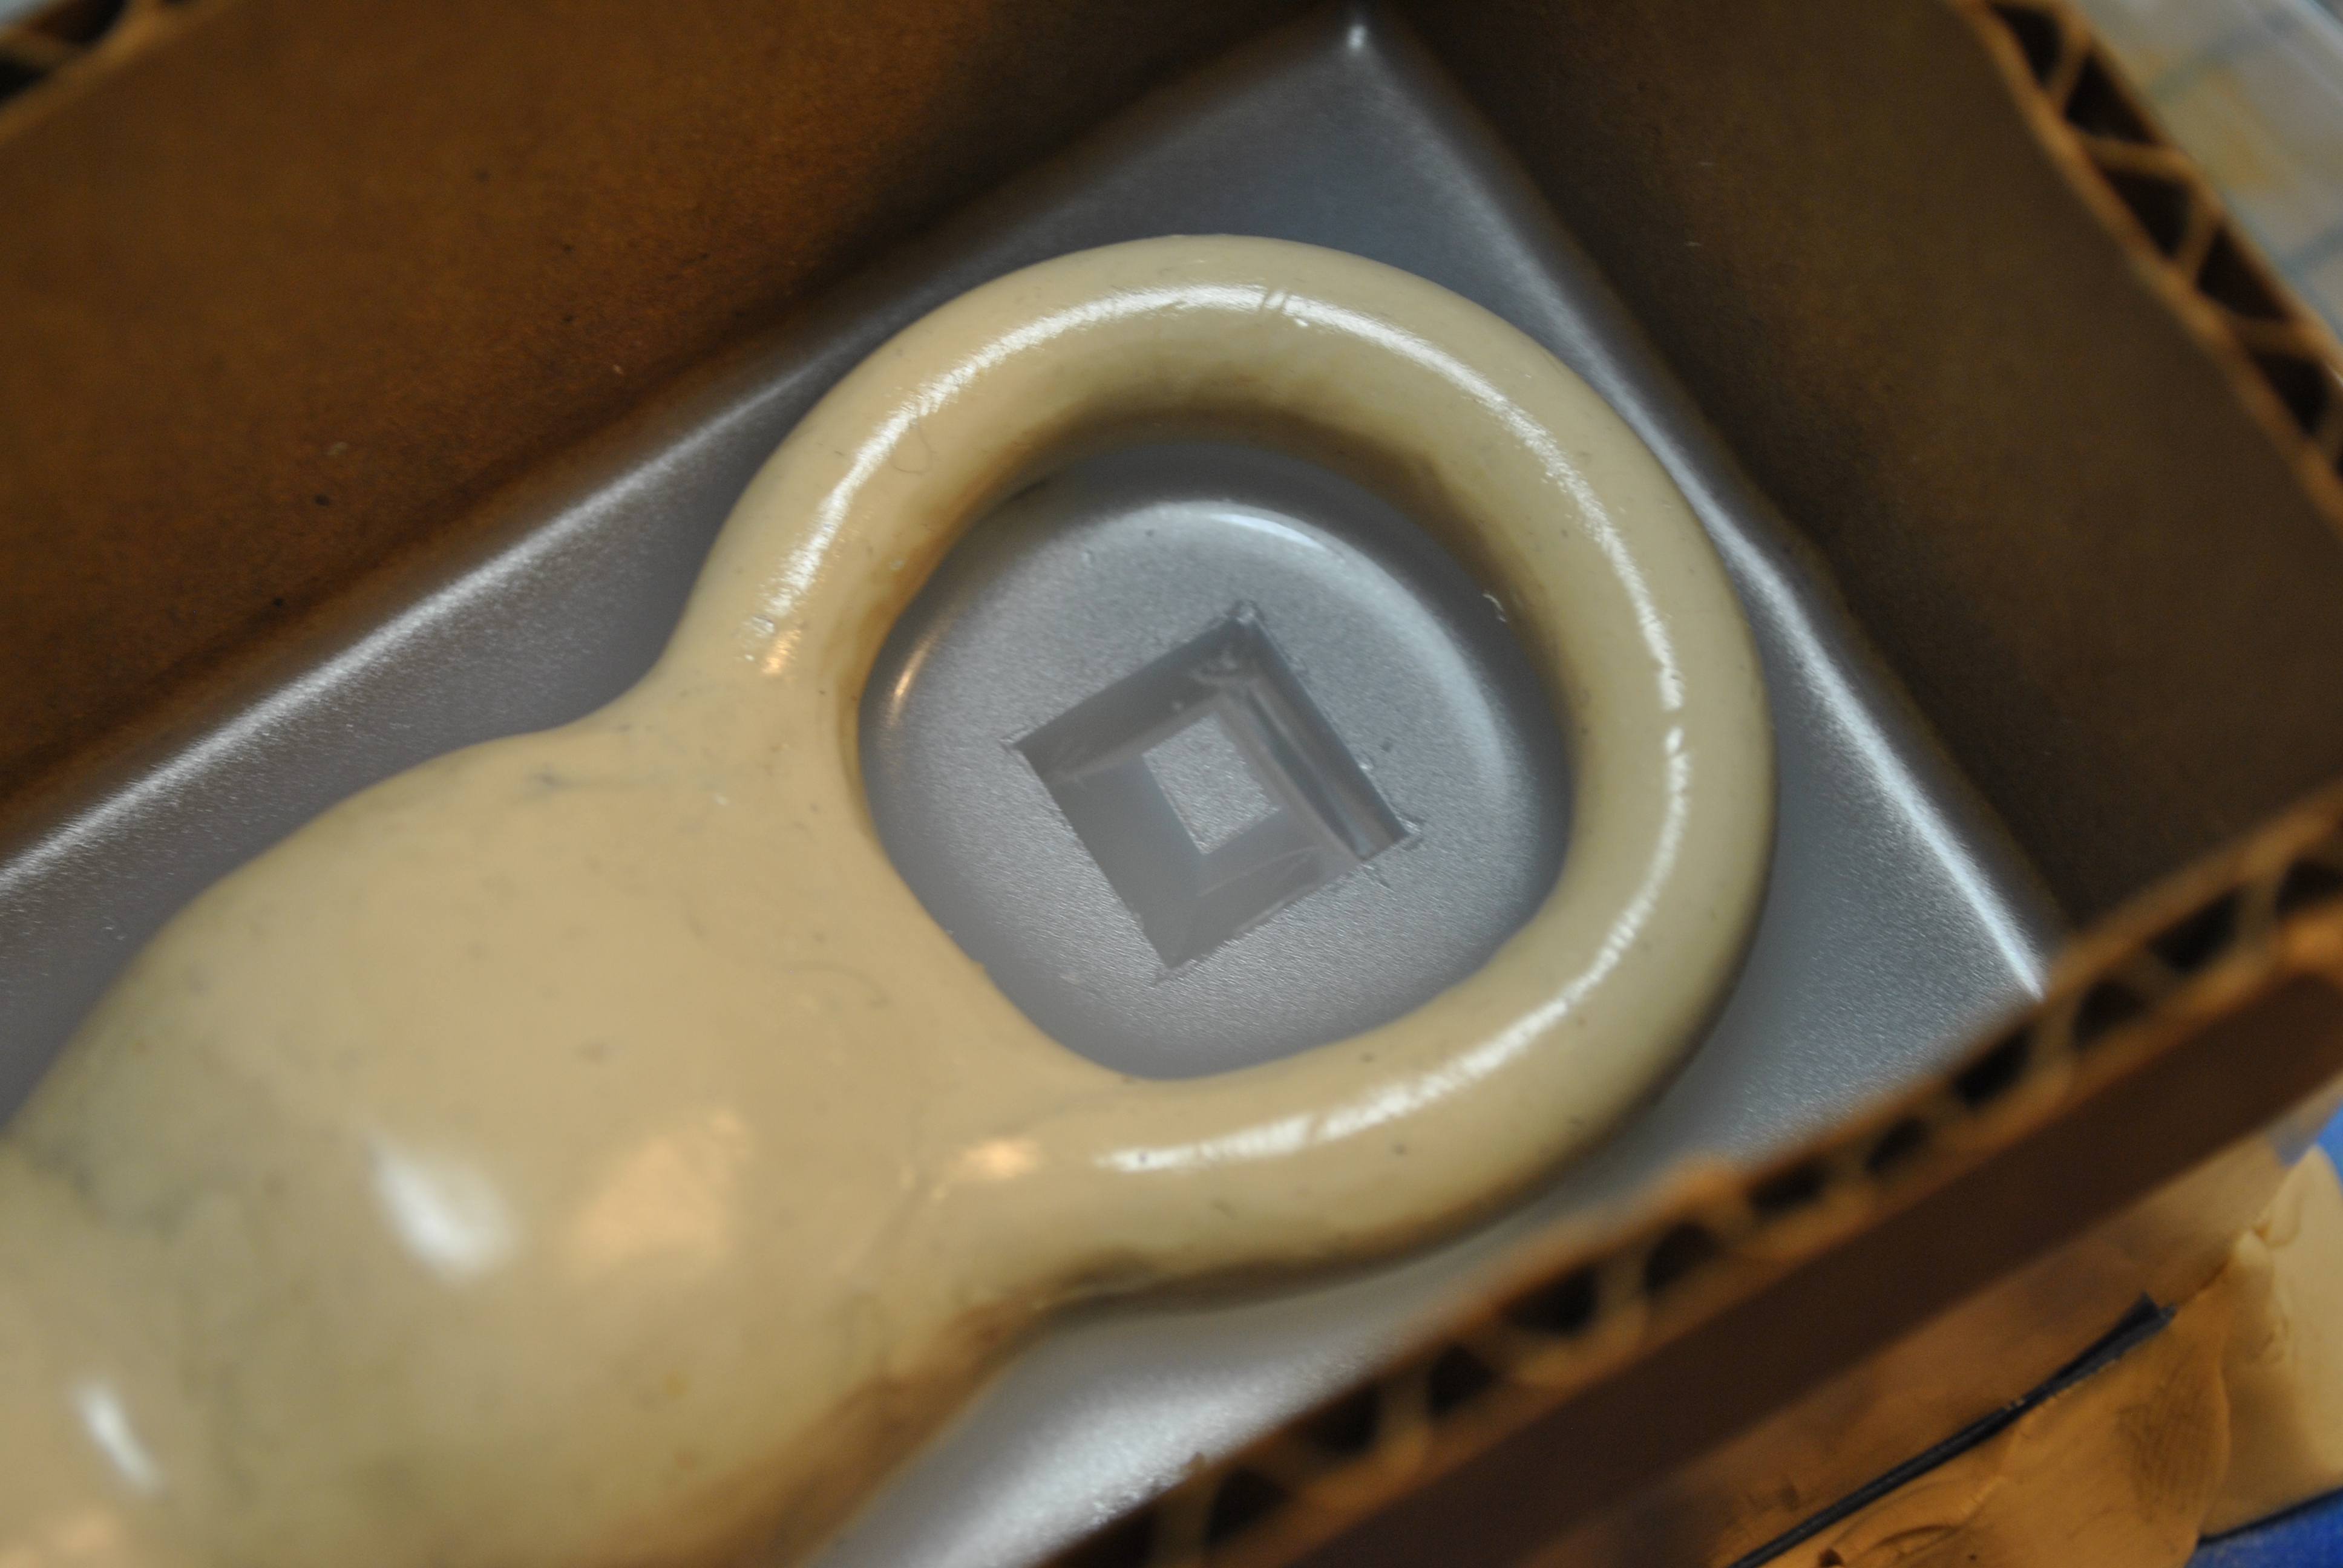
I used some pigment to make the next batch of dragon skin 30 blue. Removed the air bubbles, and slowly slowly filled the mold making sure to allow the air bubbles to escape. I ended up having to cut two small air holes (the square blue holes below) to let the last little bit of air out.
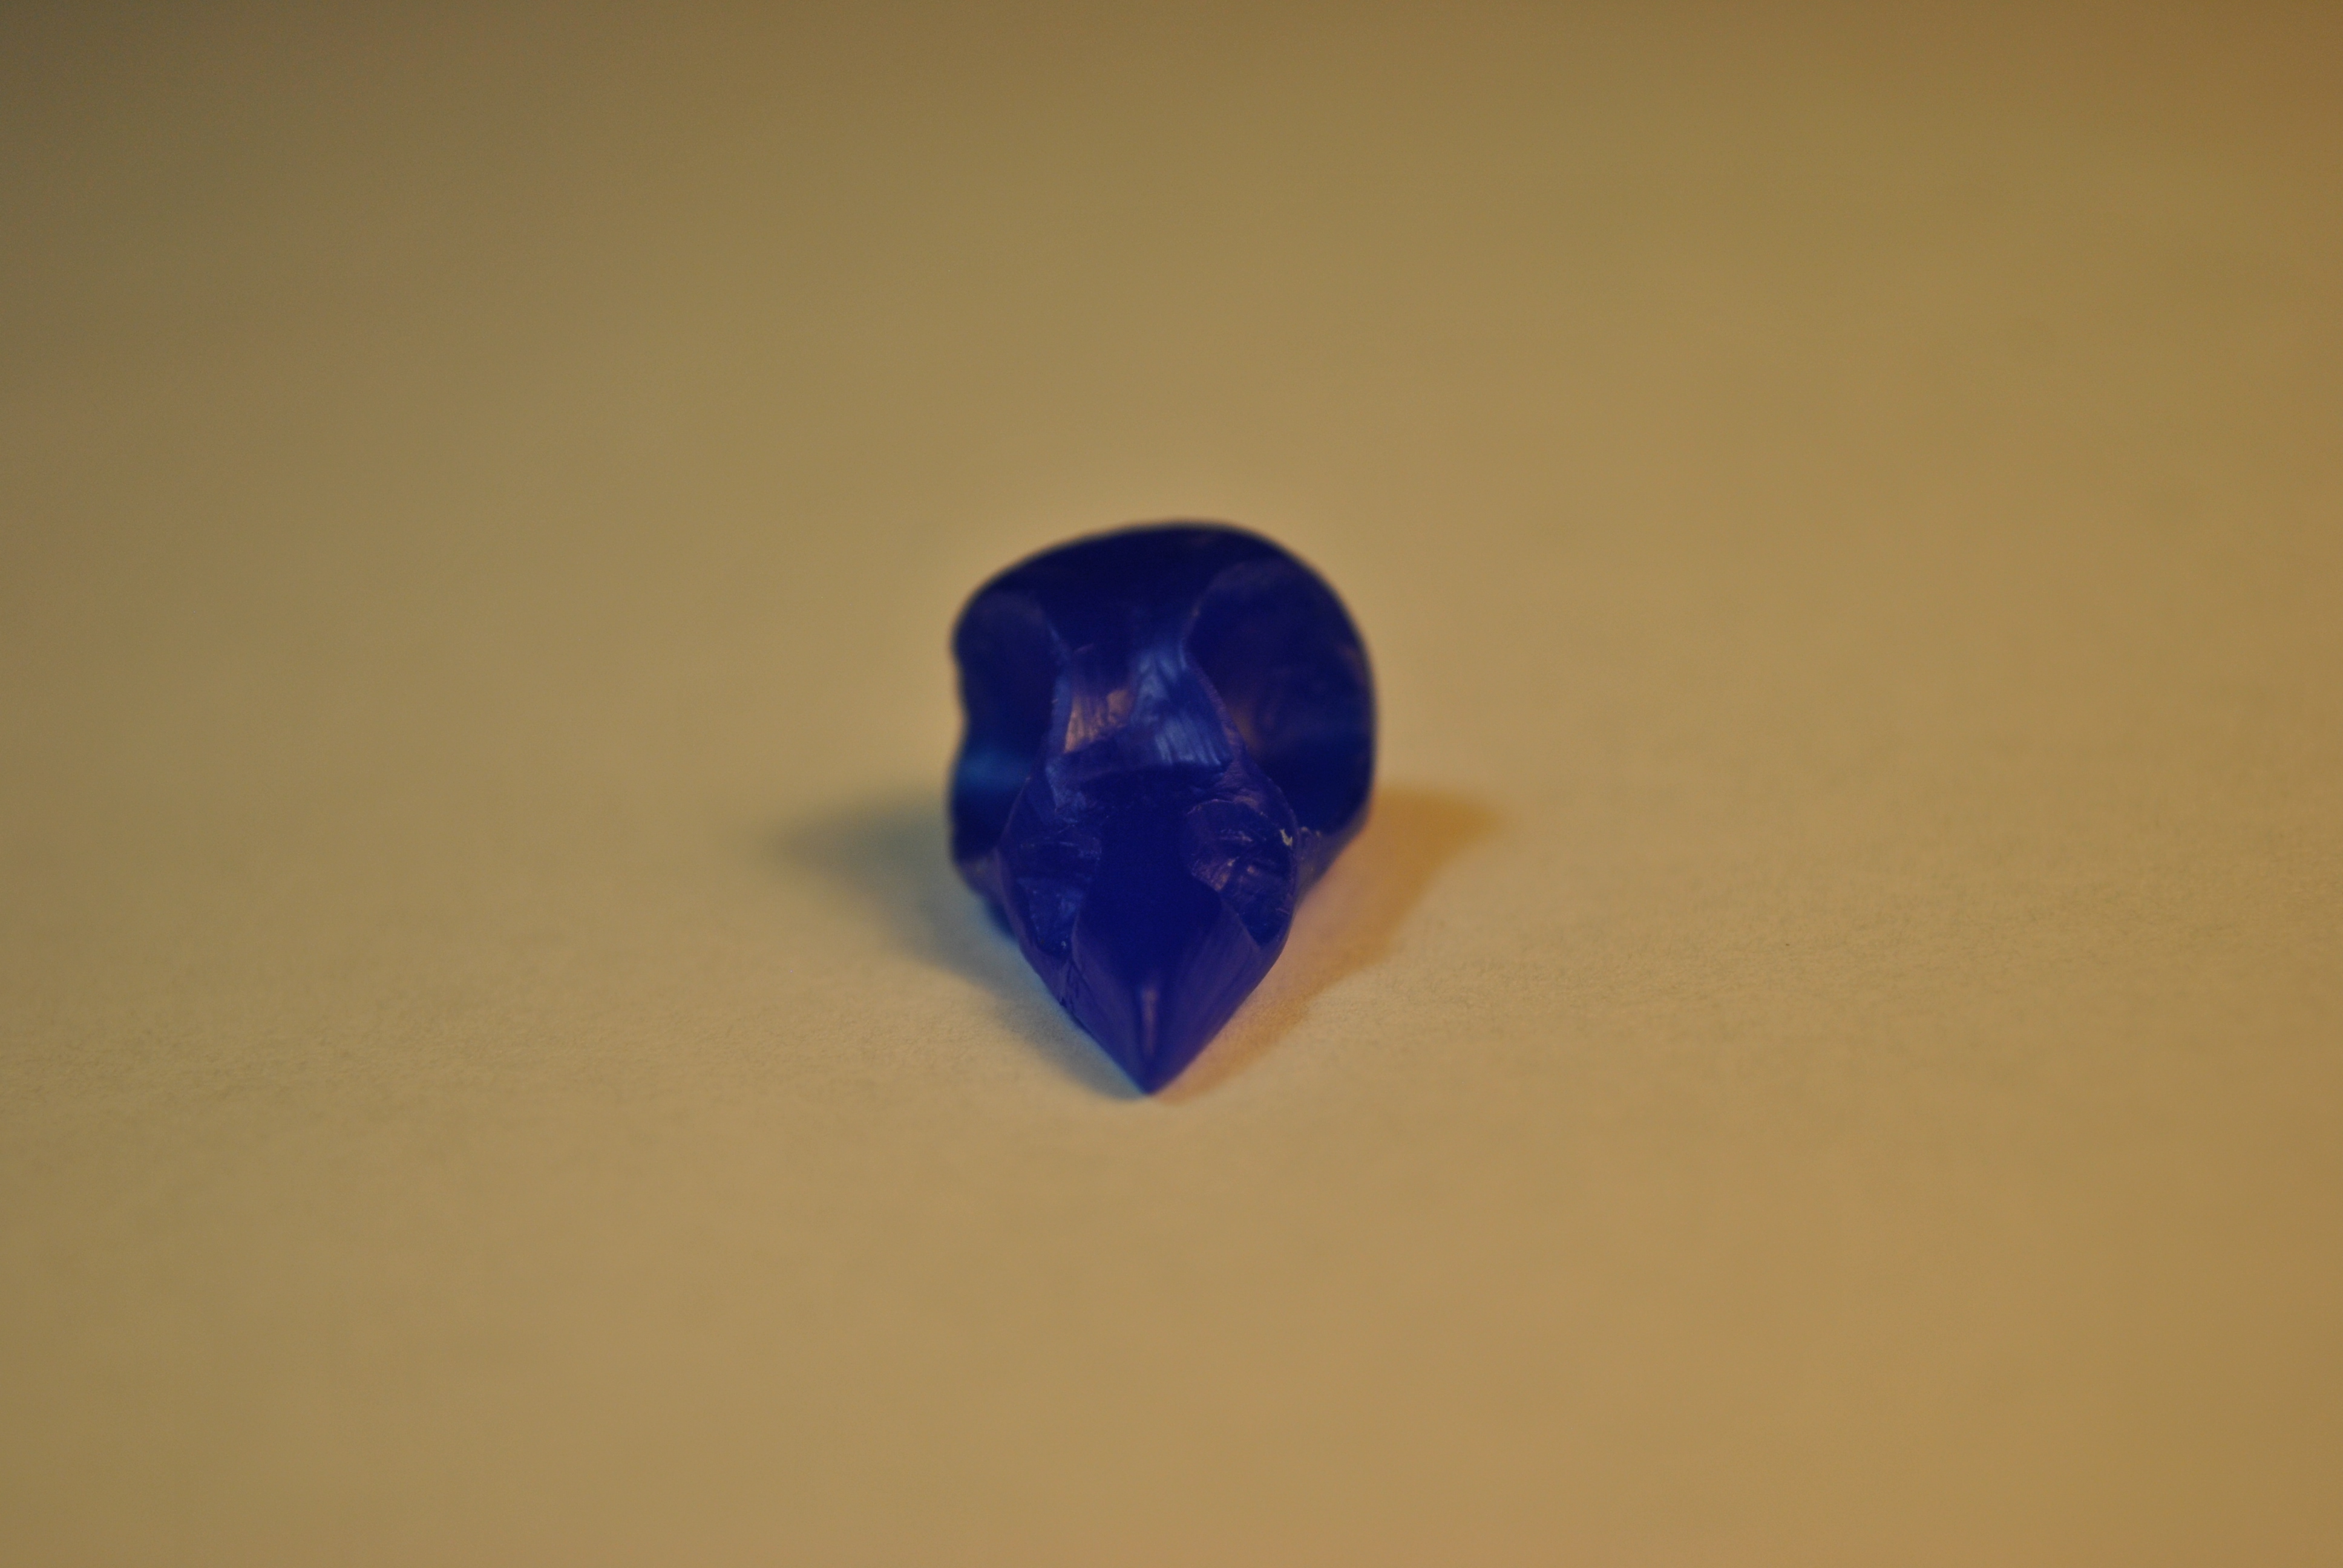
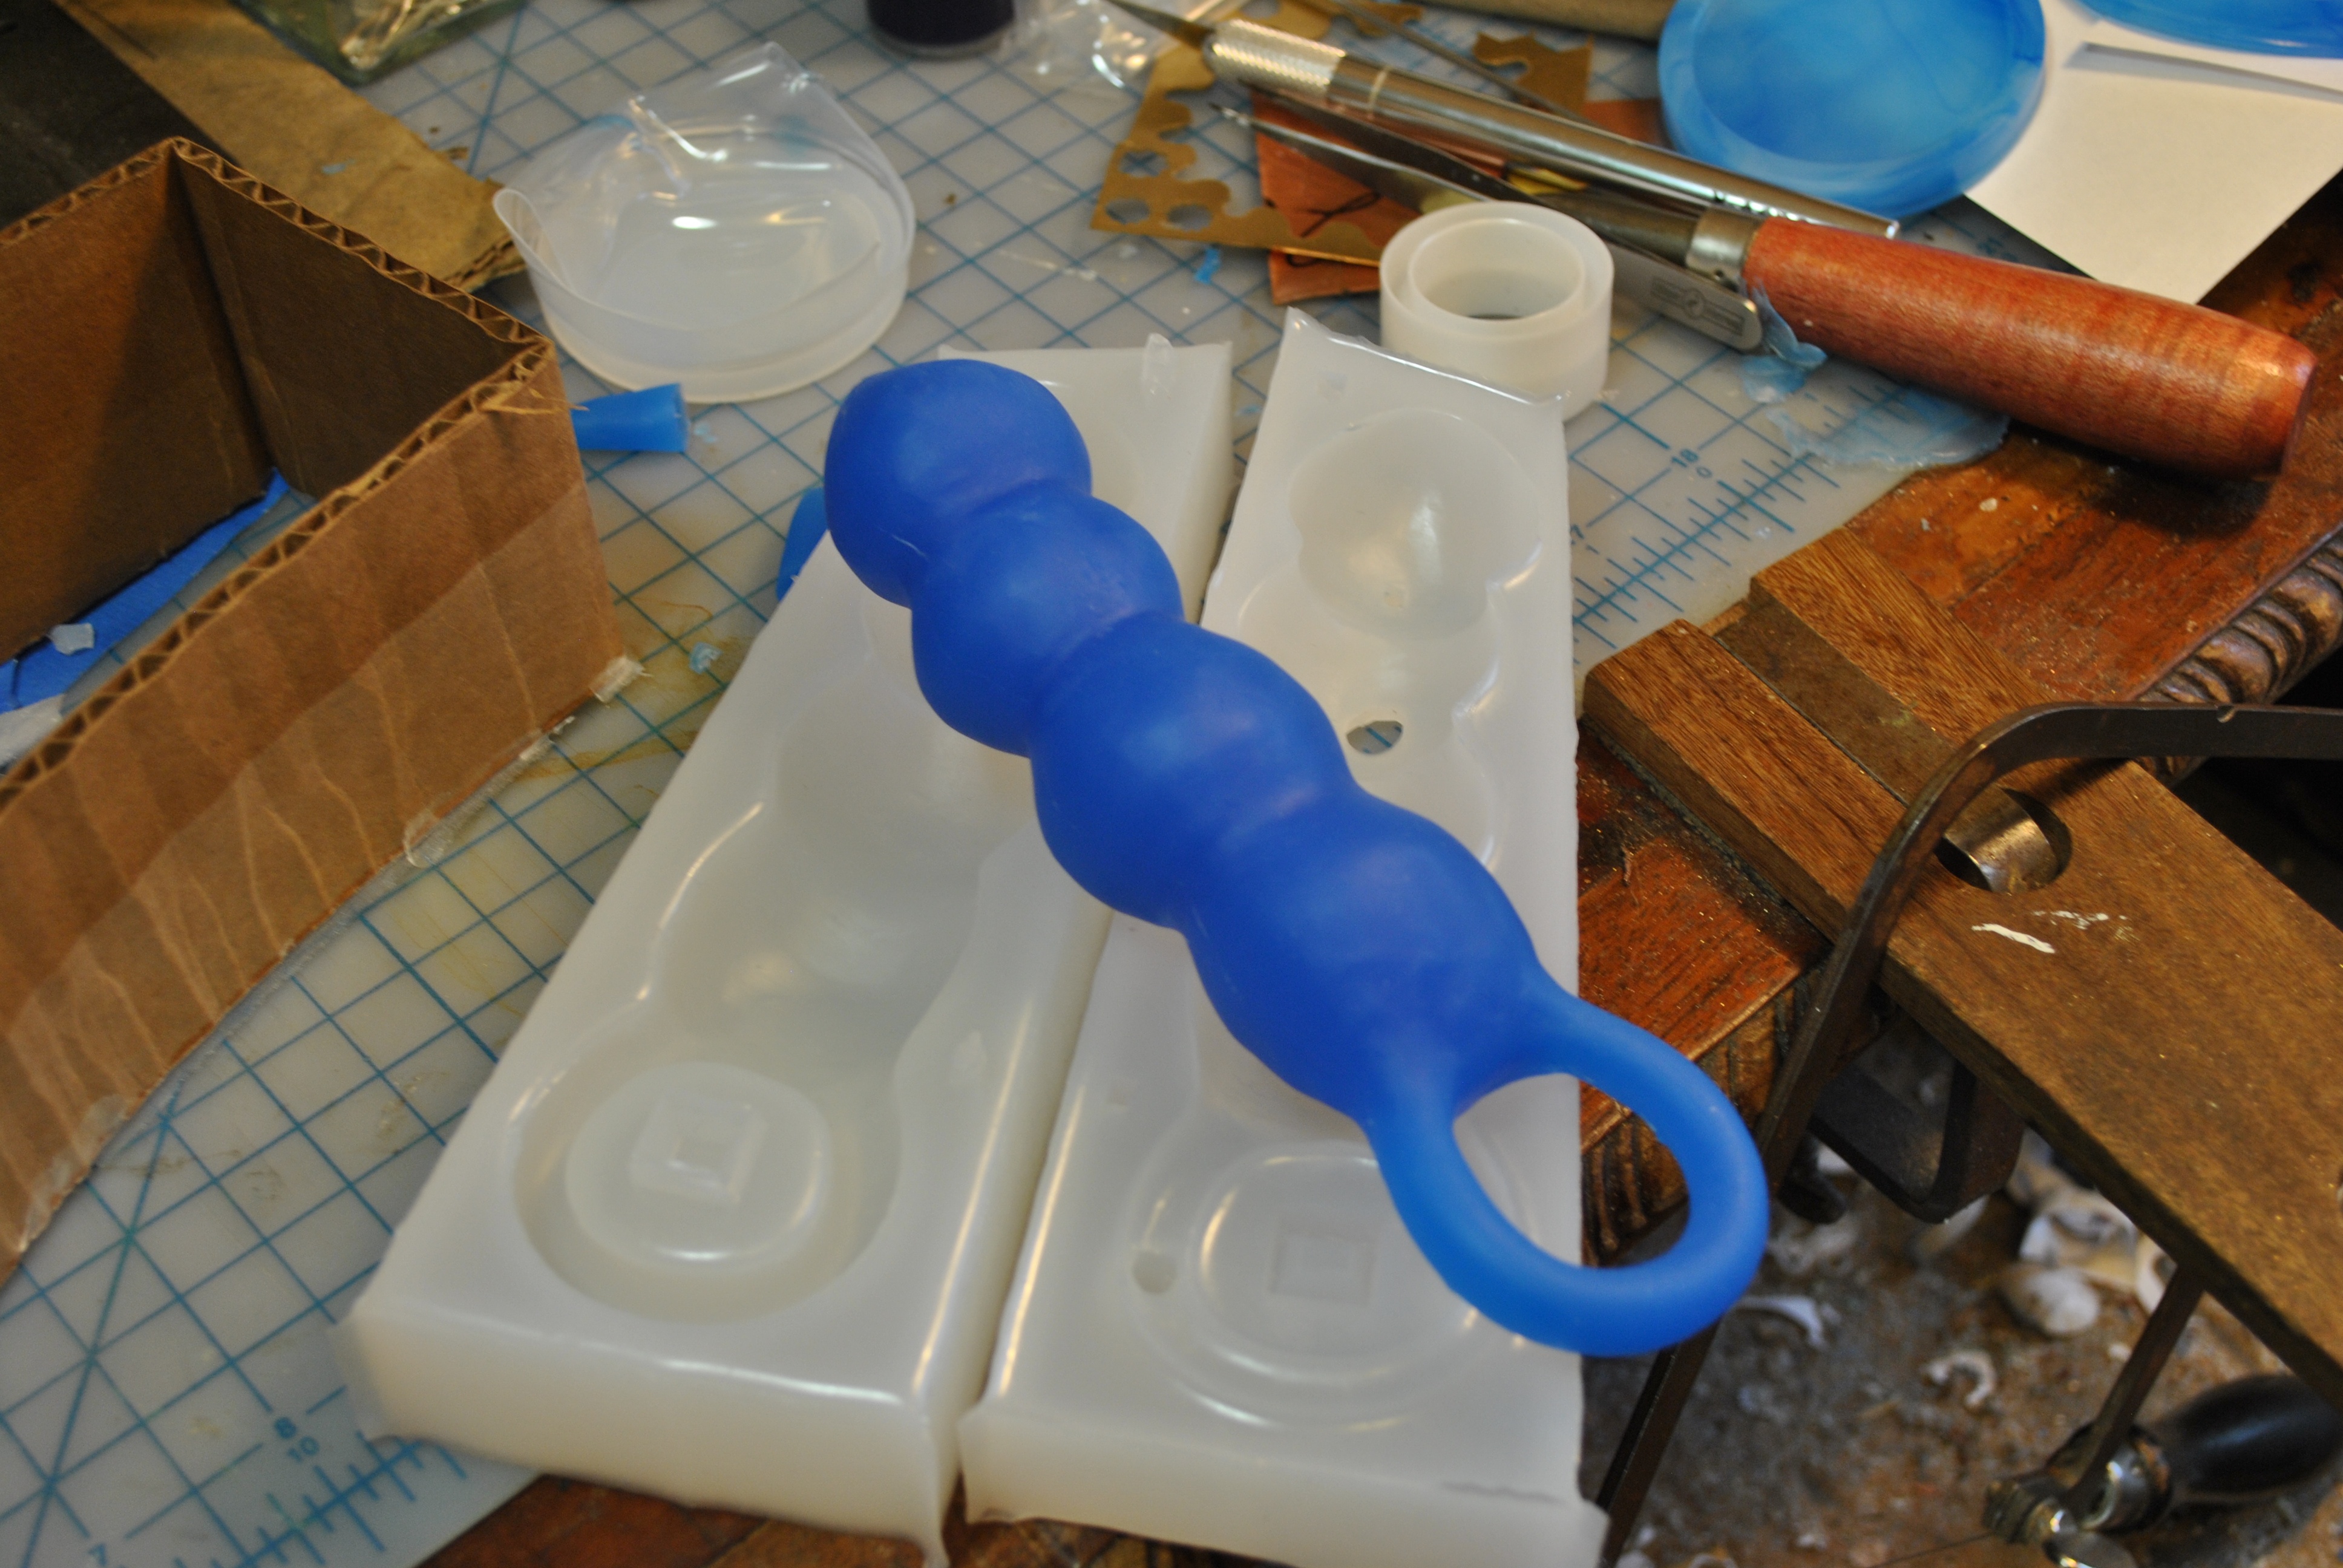
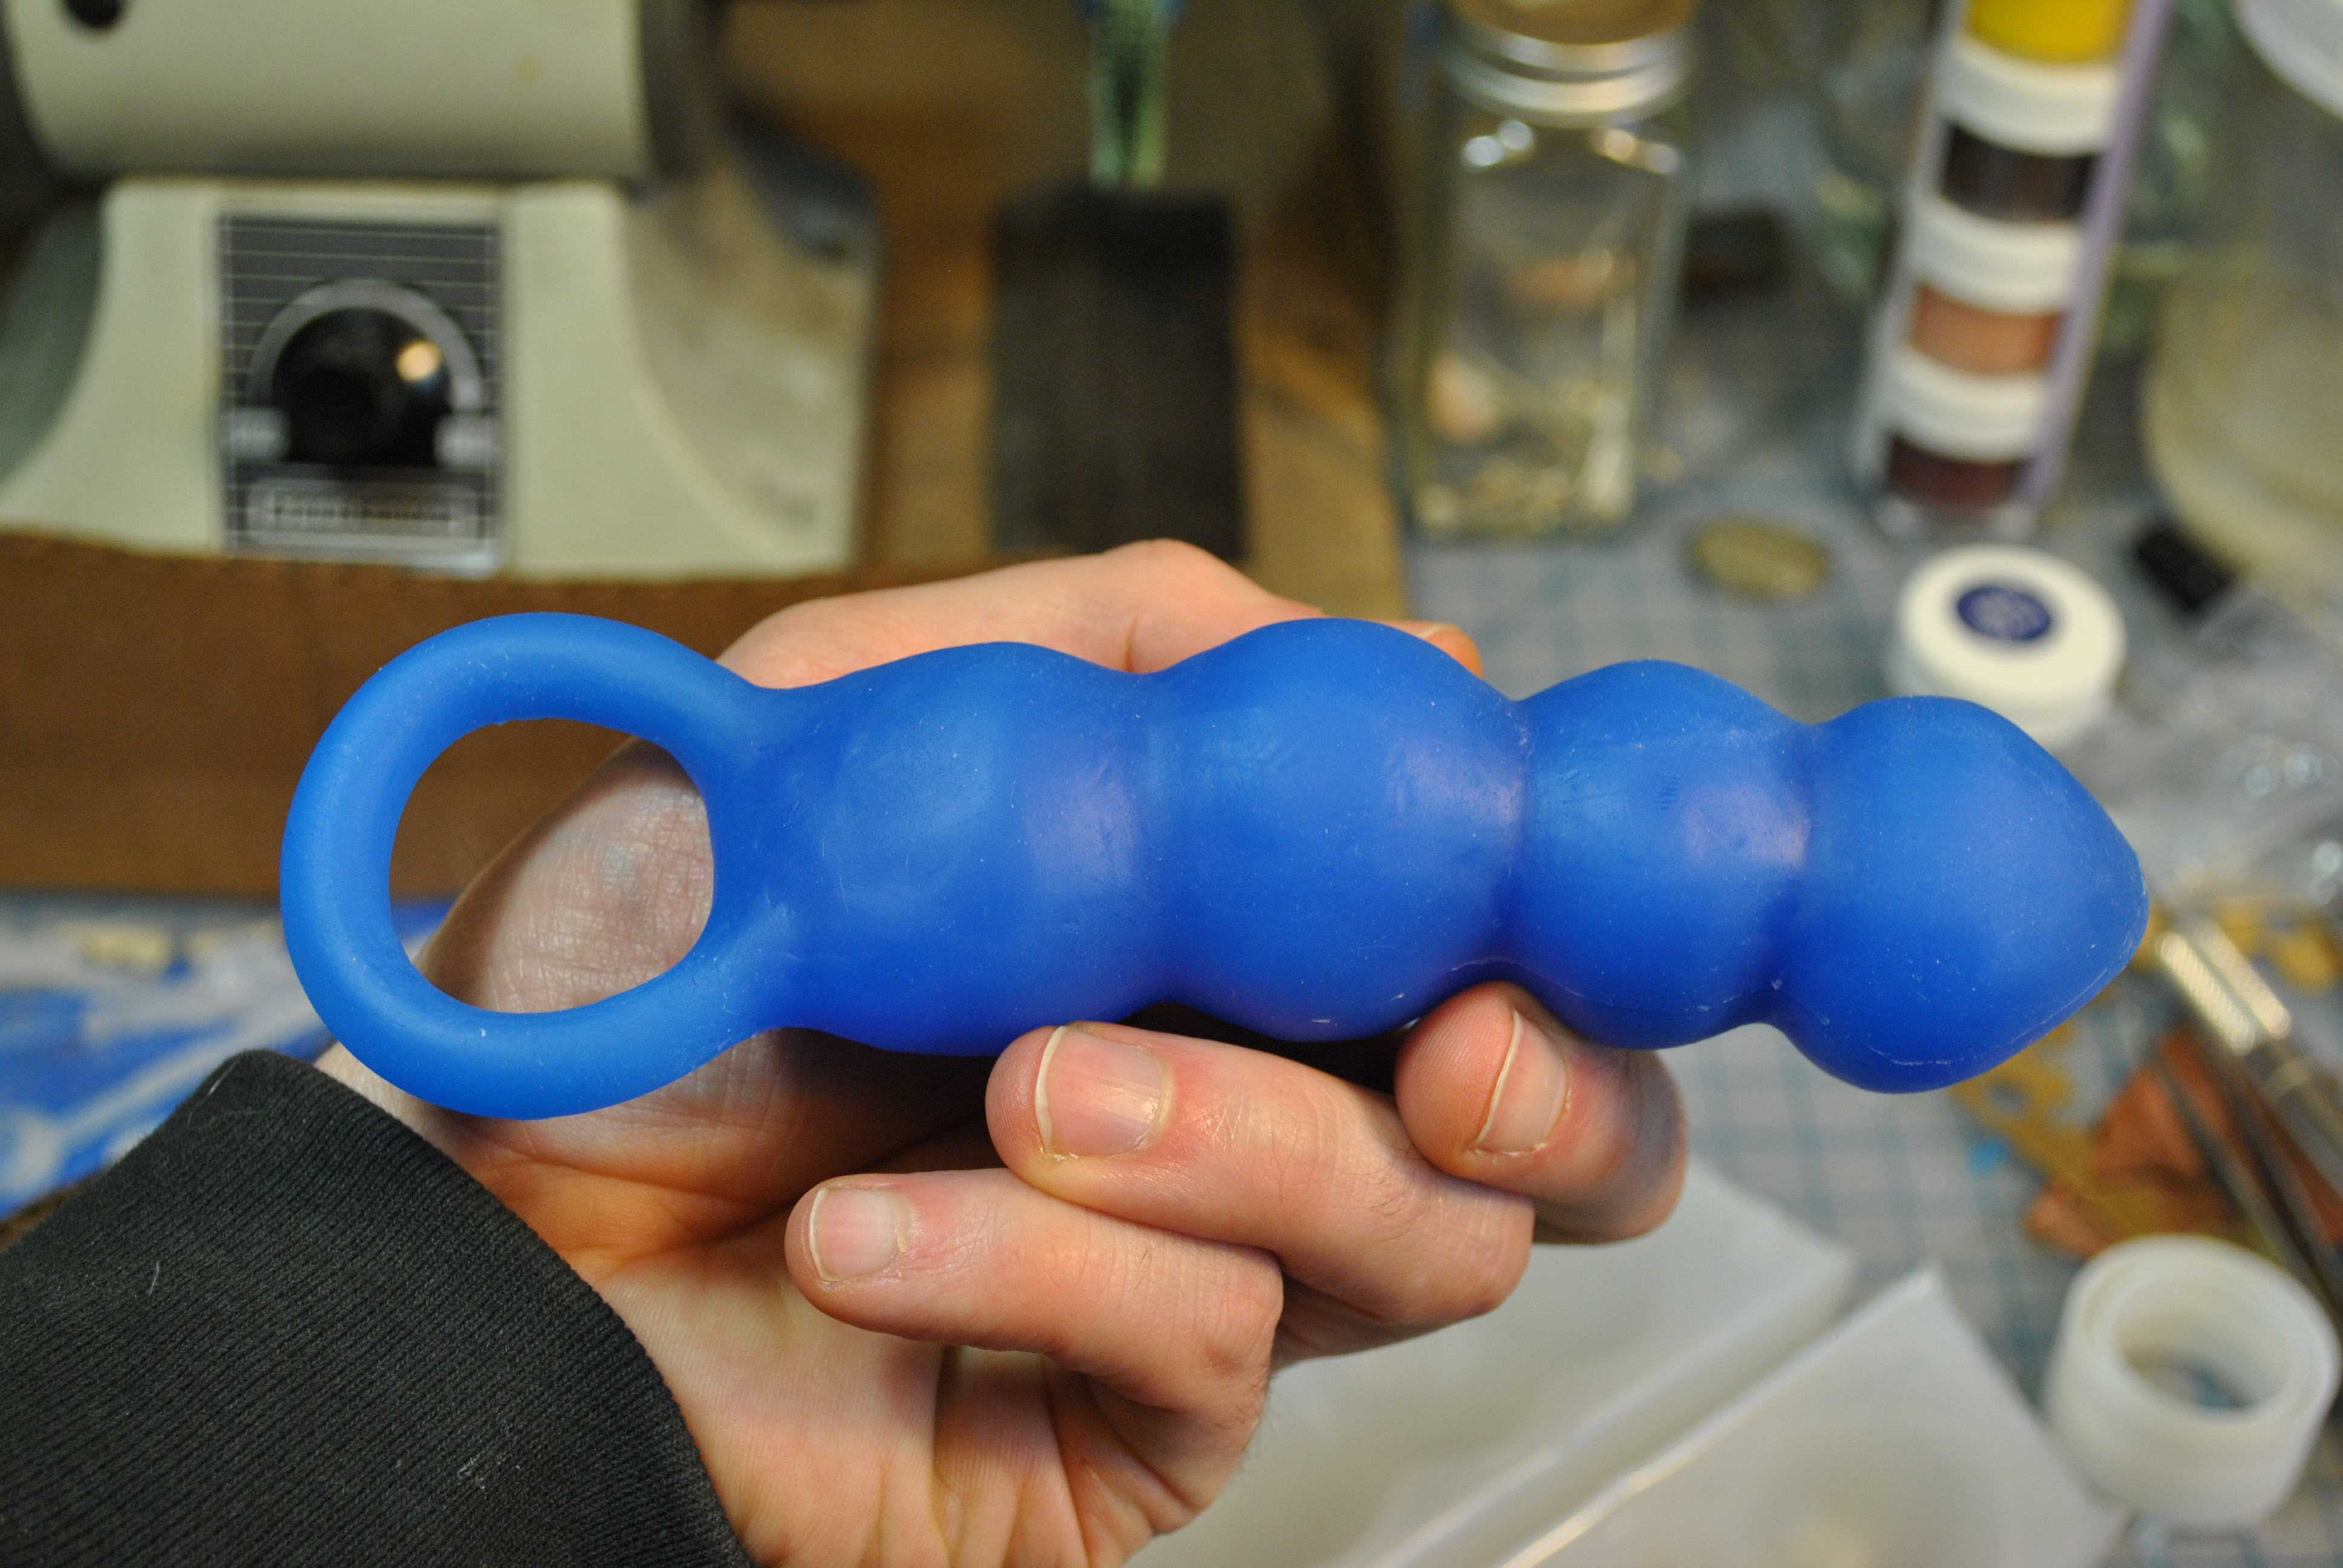
 Give the sides of the mold a couple taps, and let it set up overnight. When you wake up, take the rubber bands off and see your new baby!

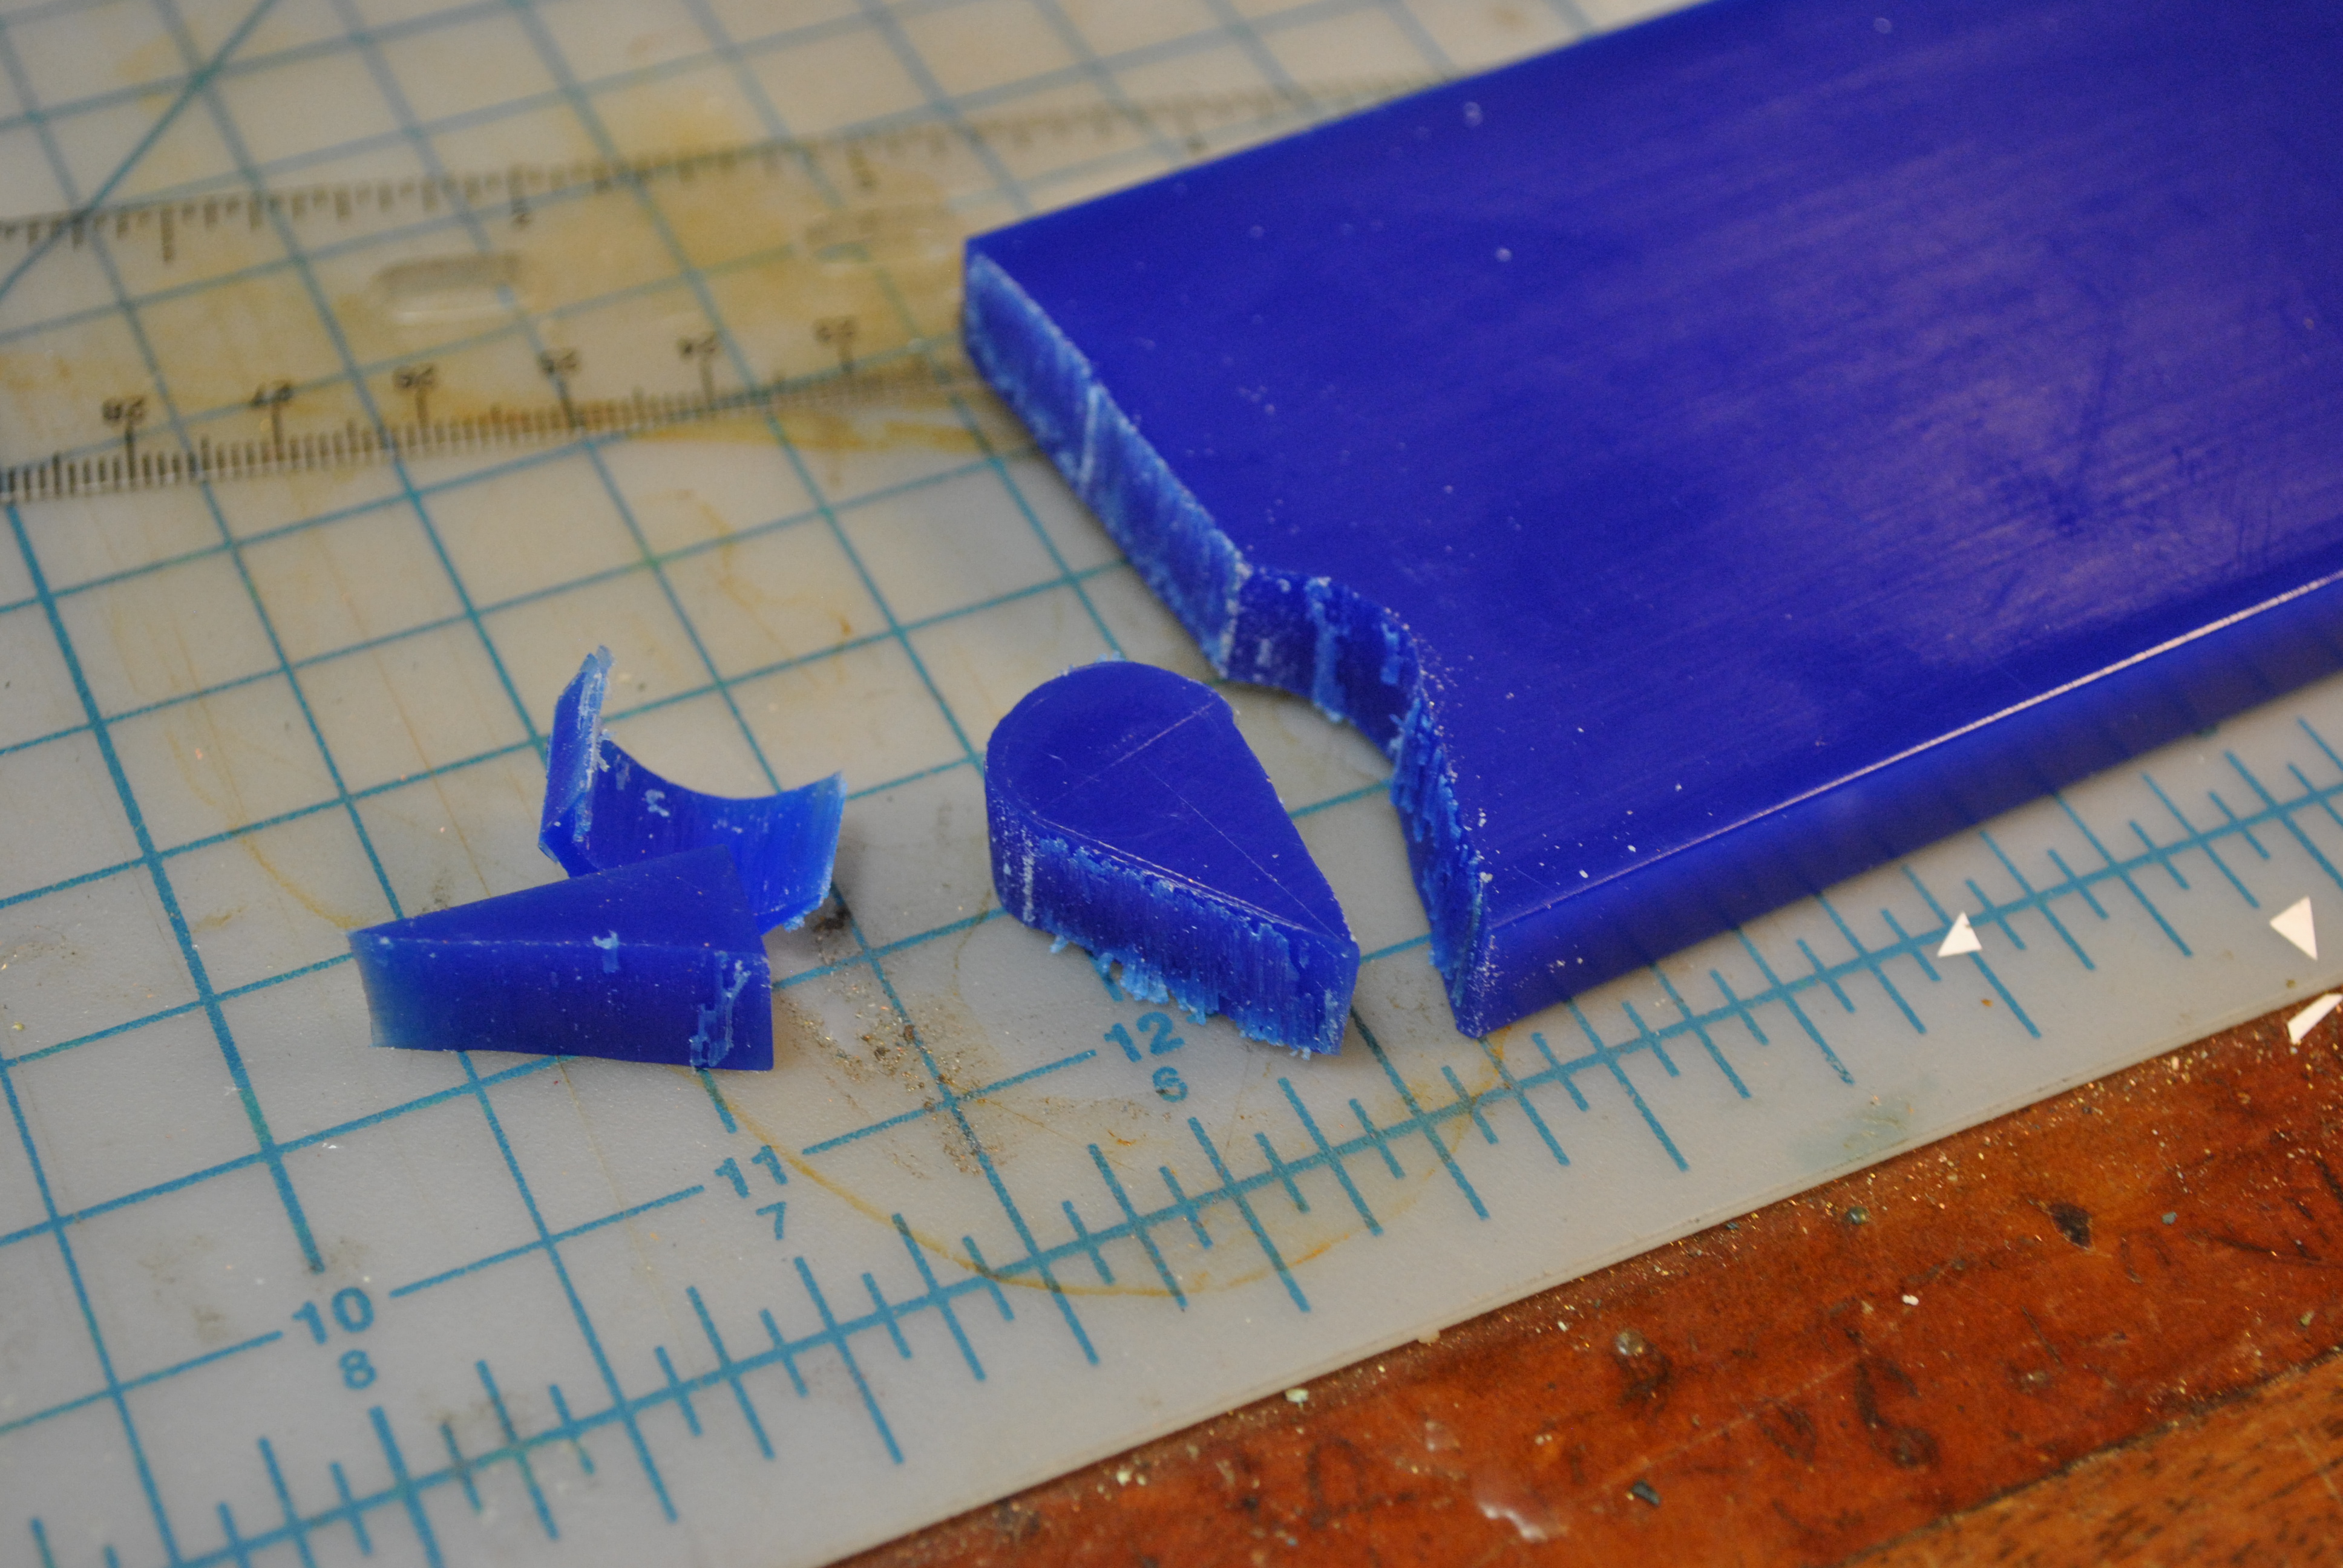
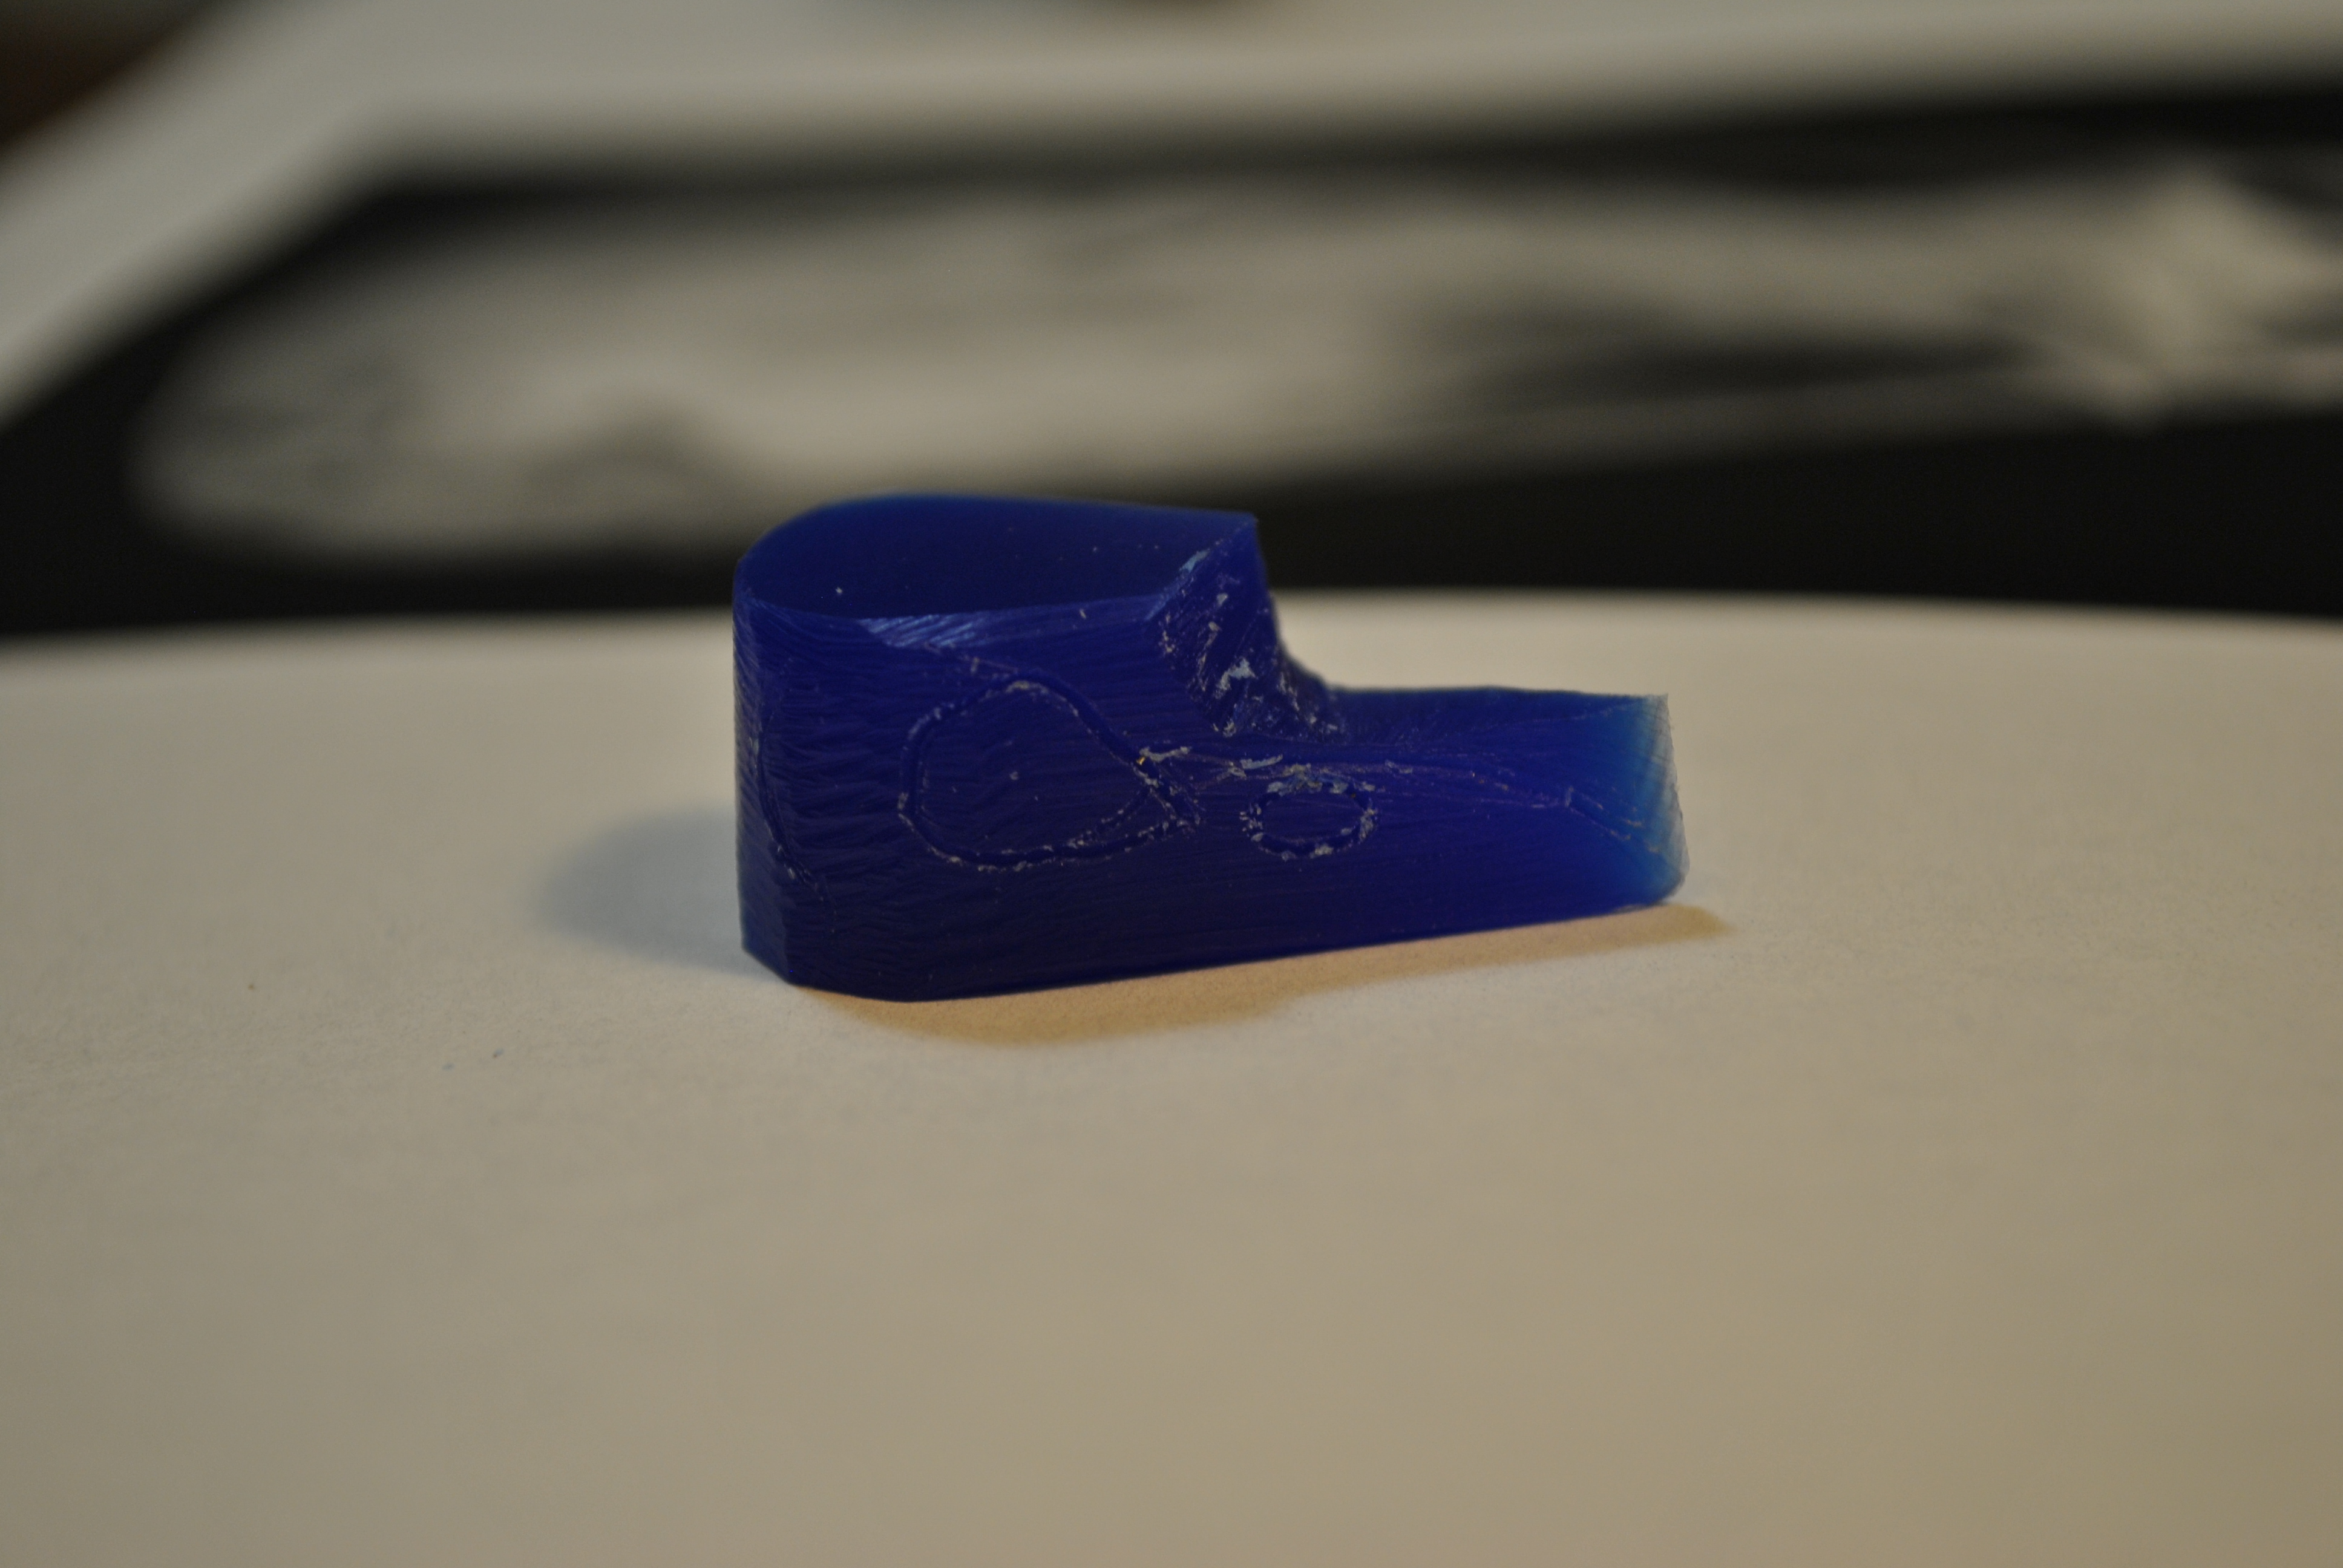
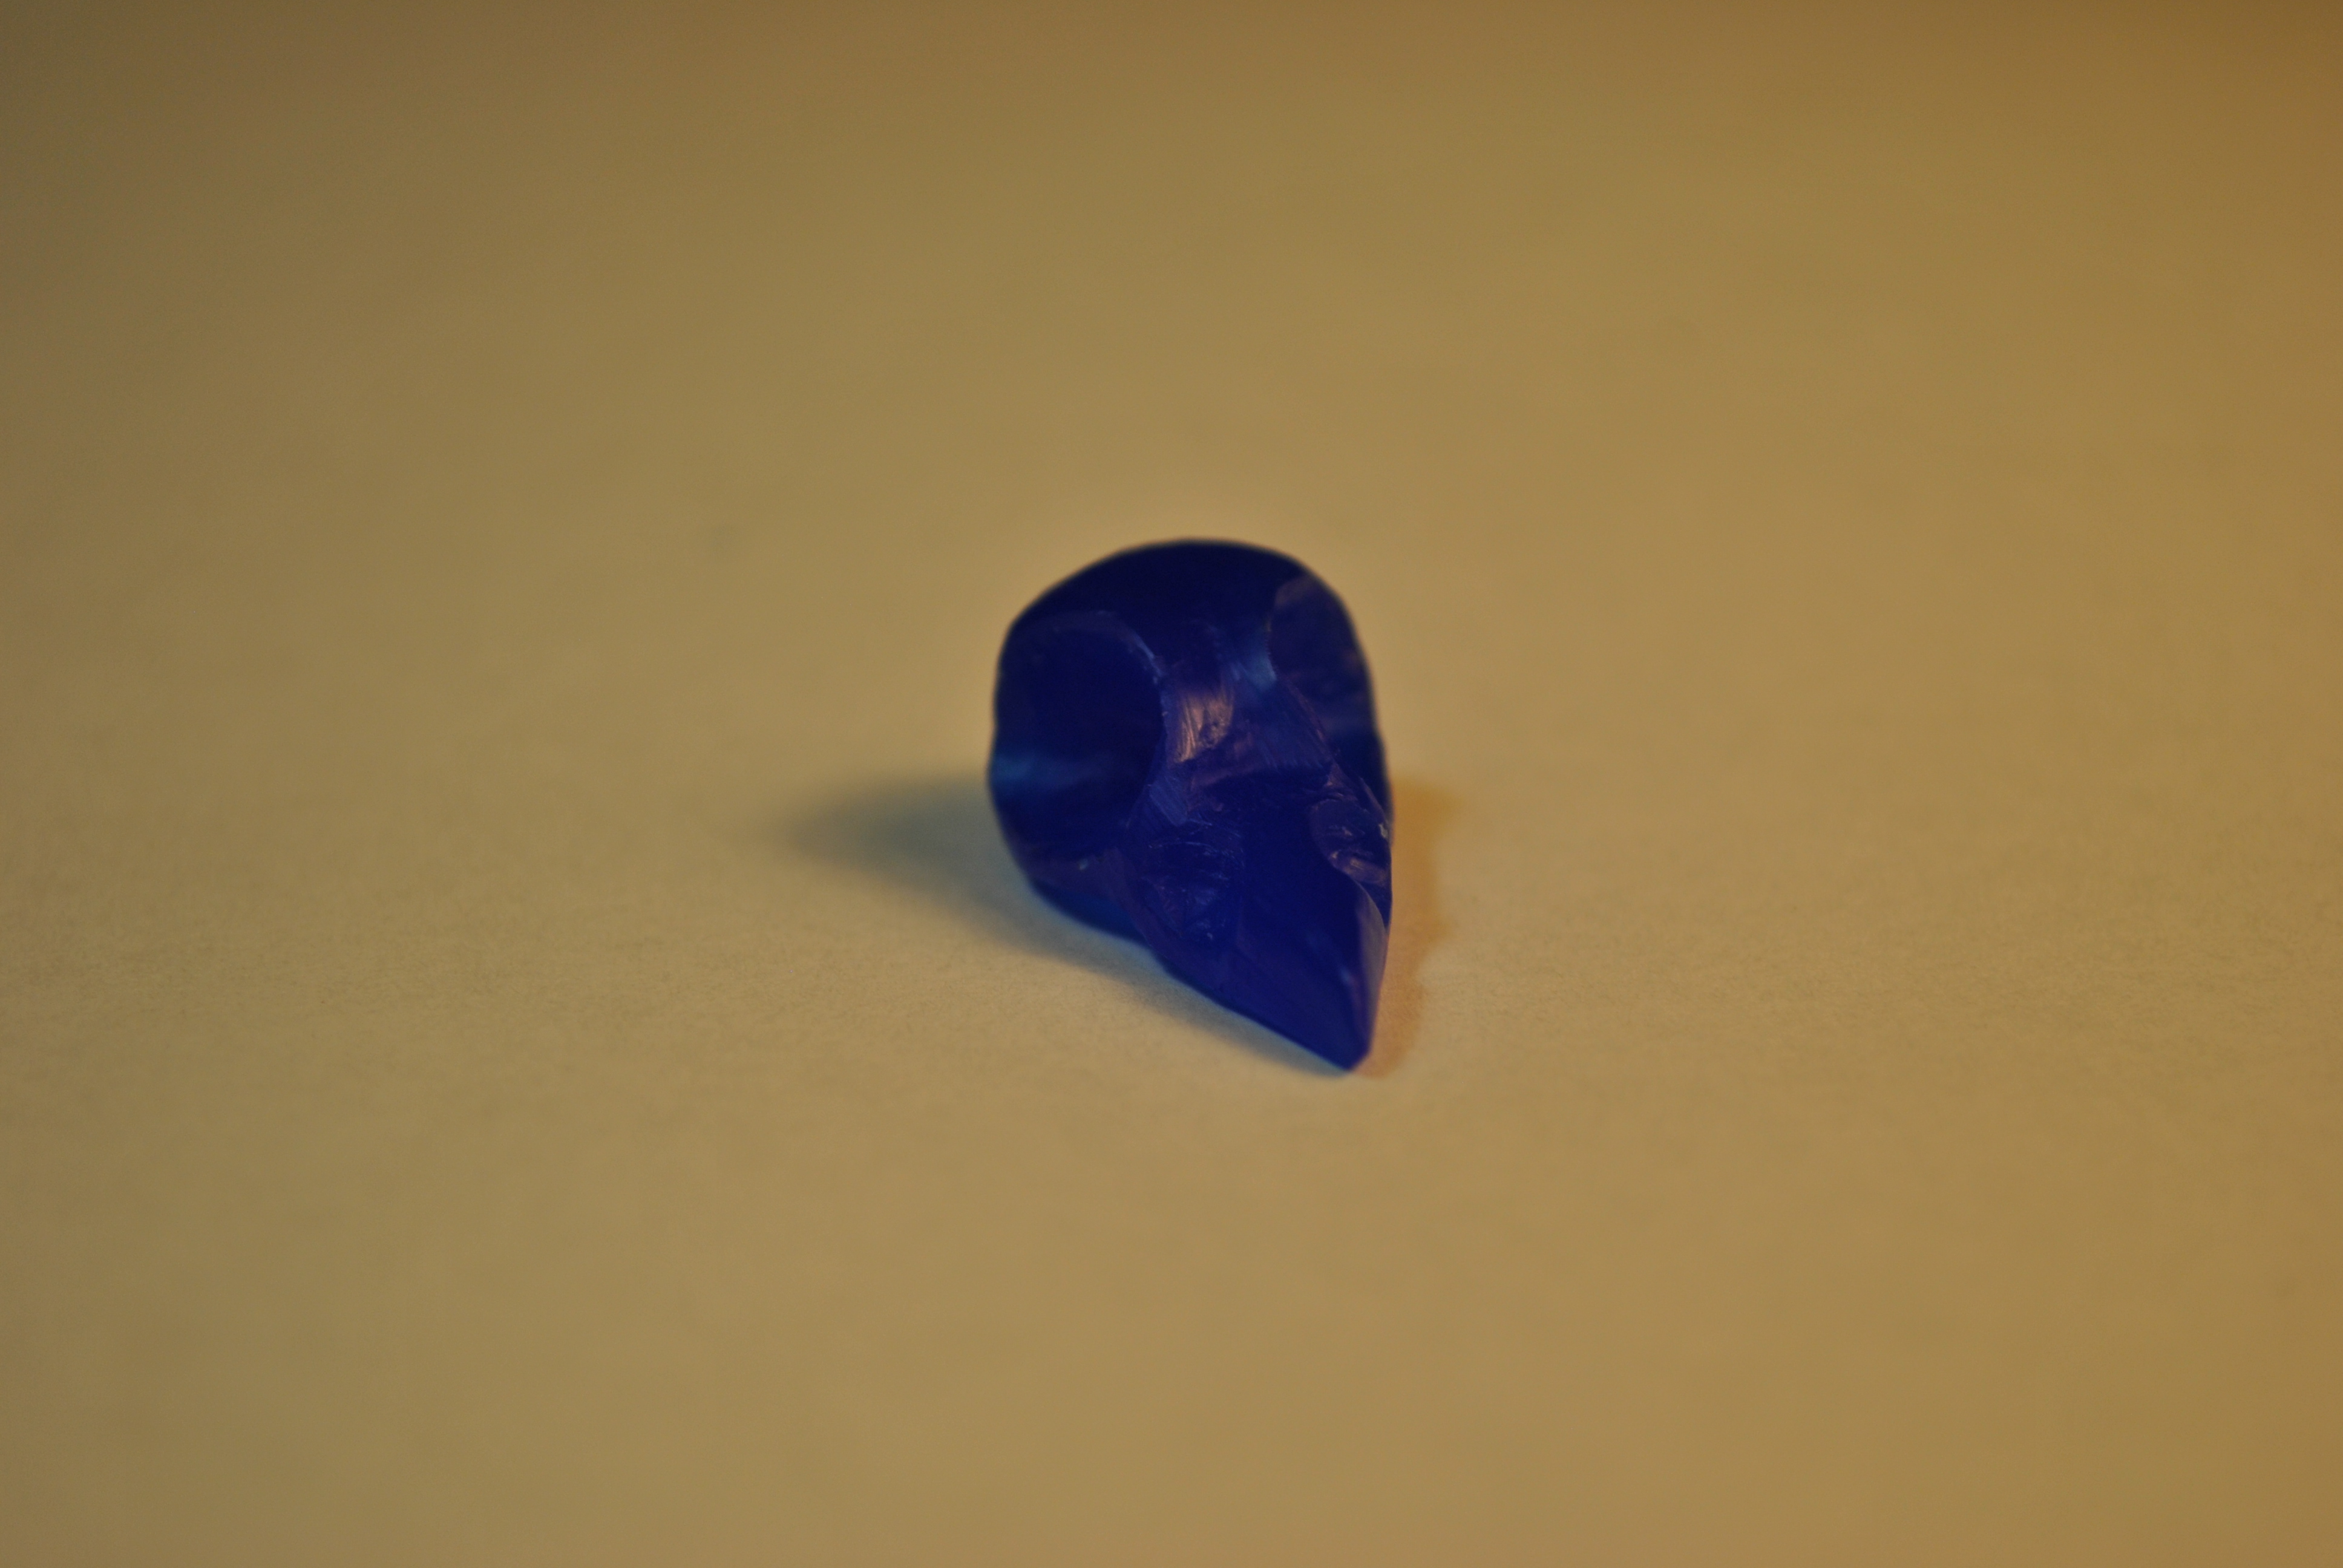
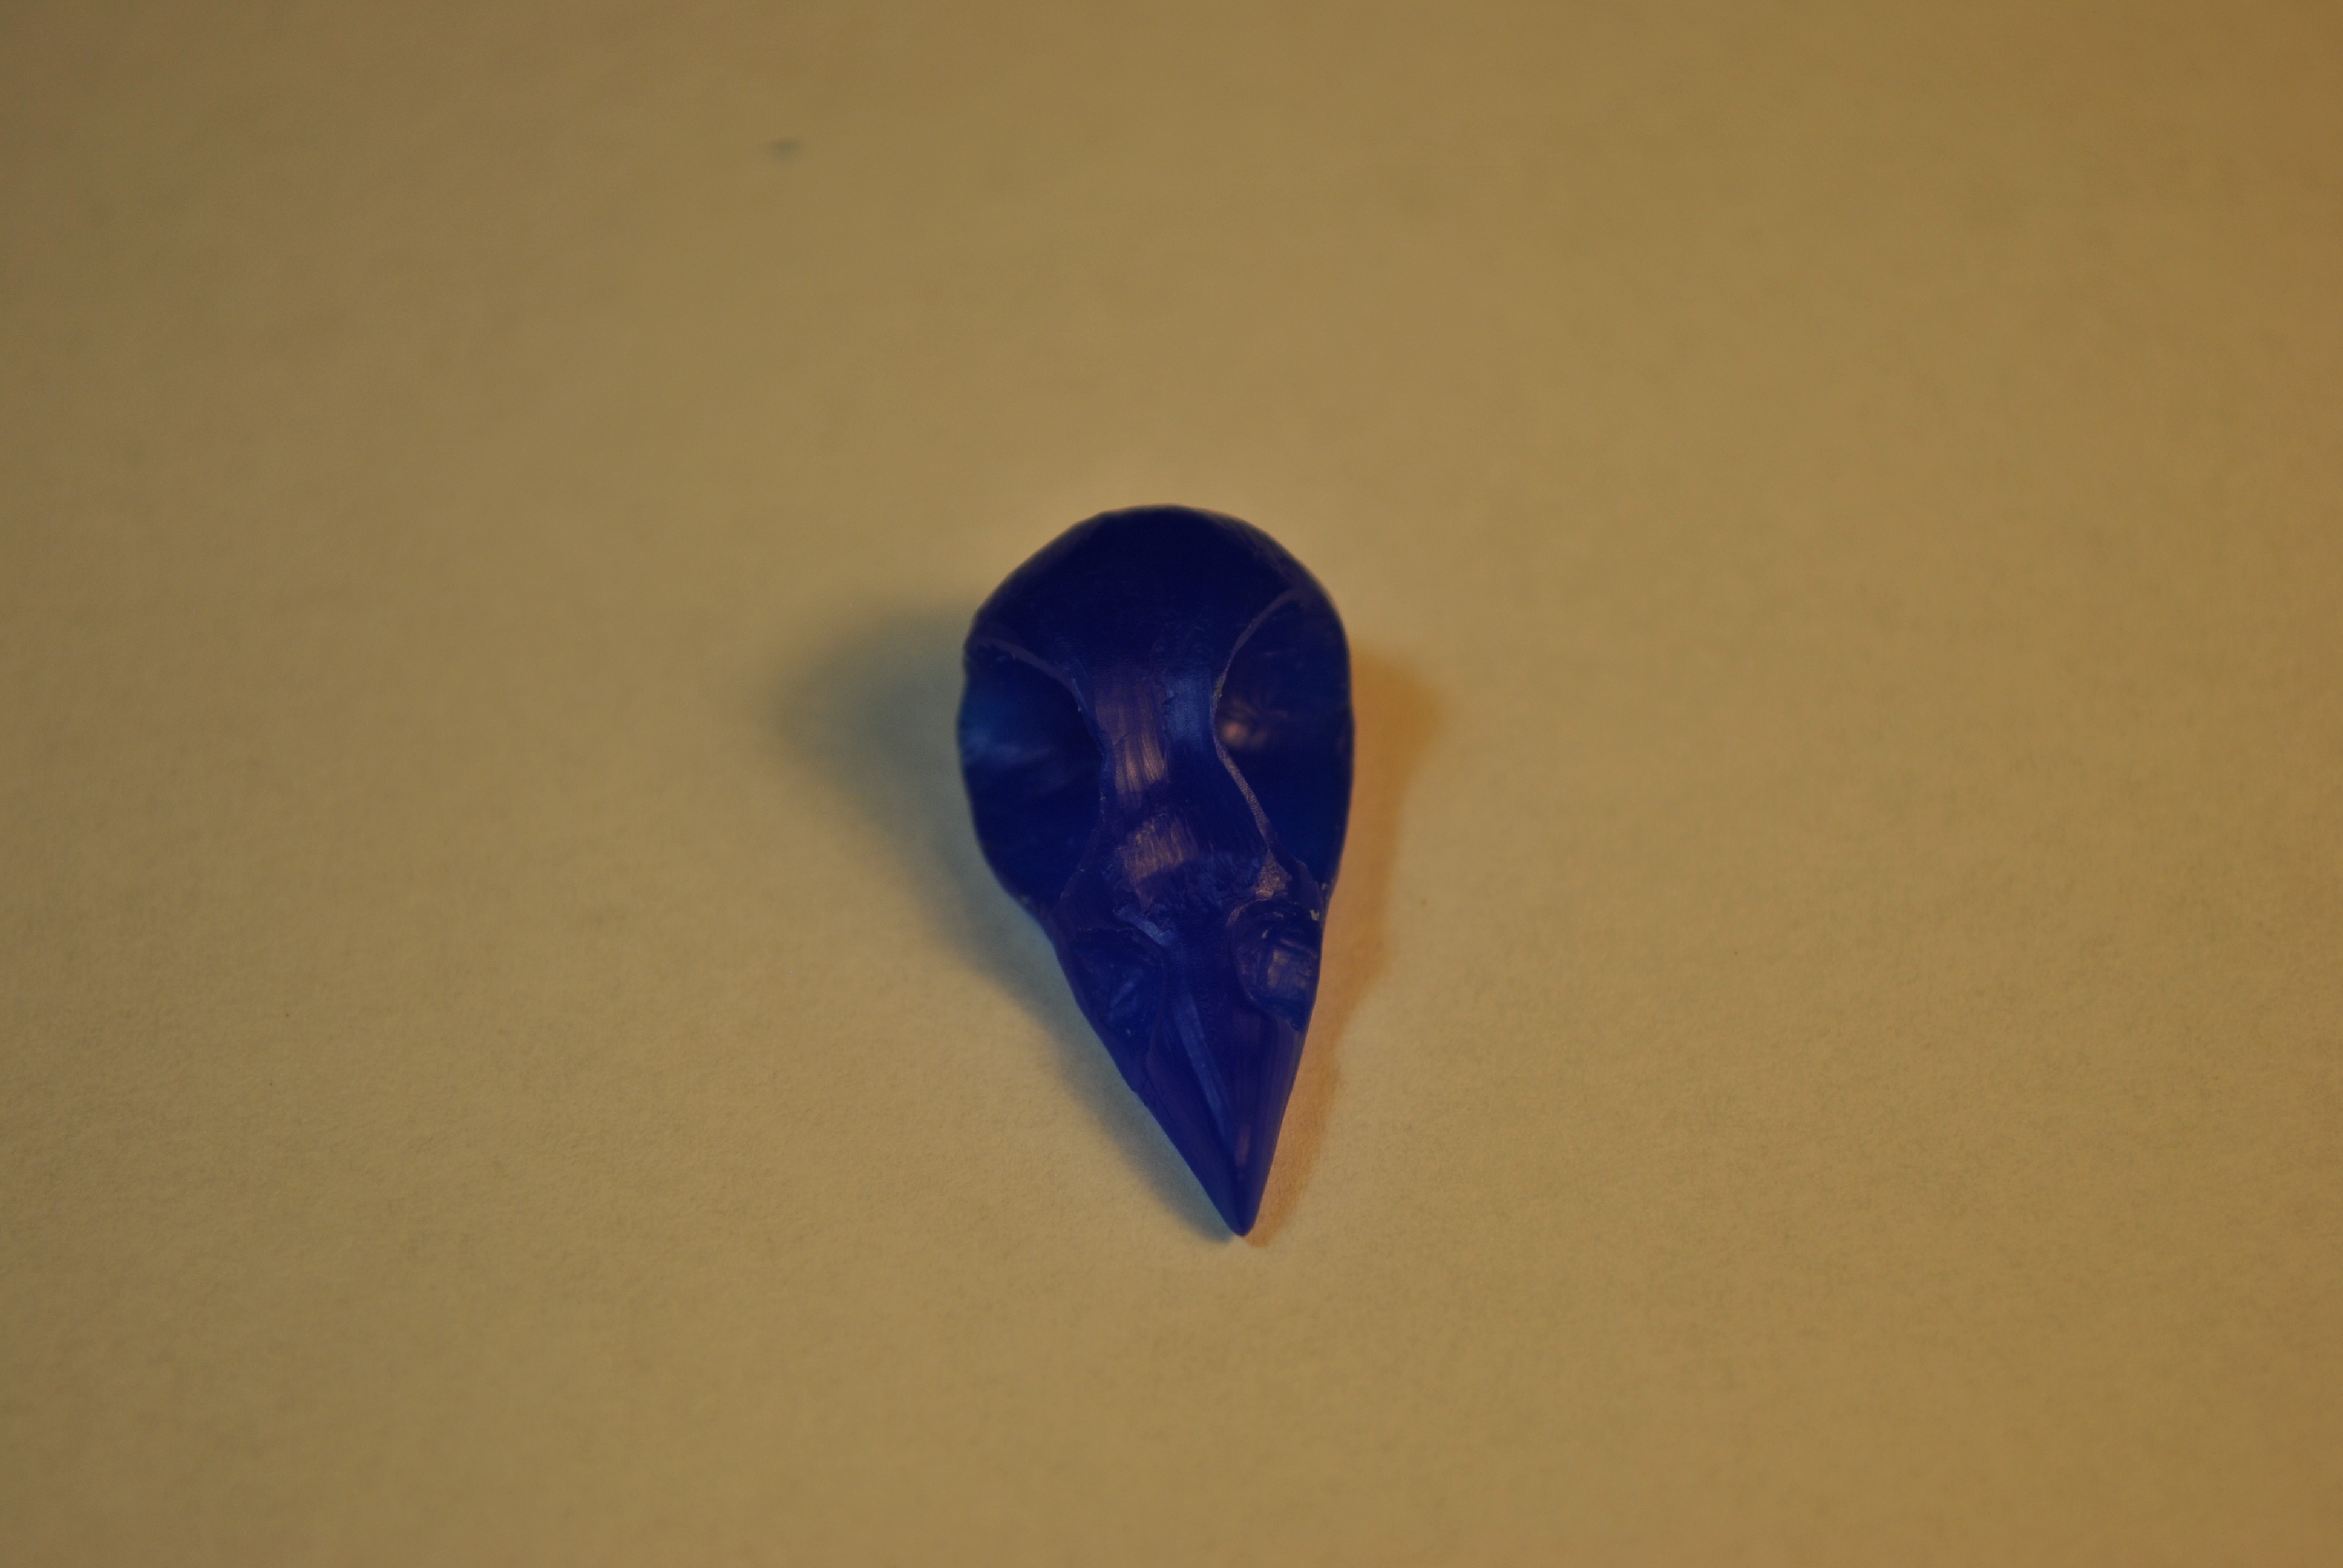
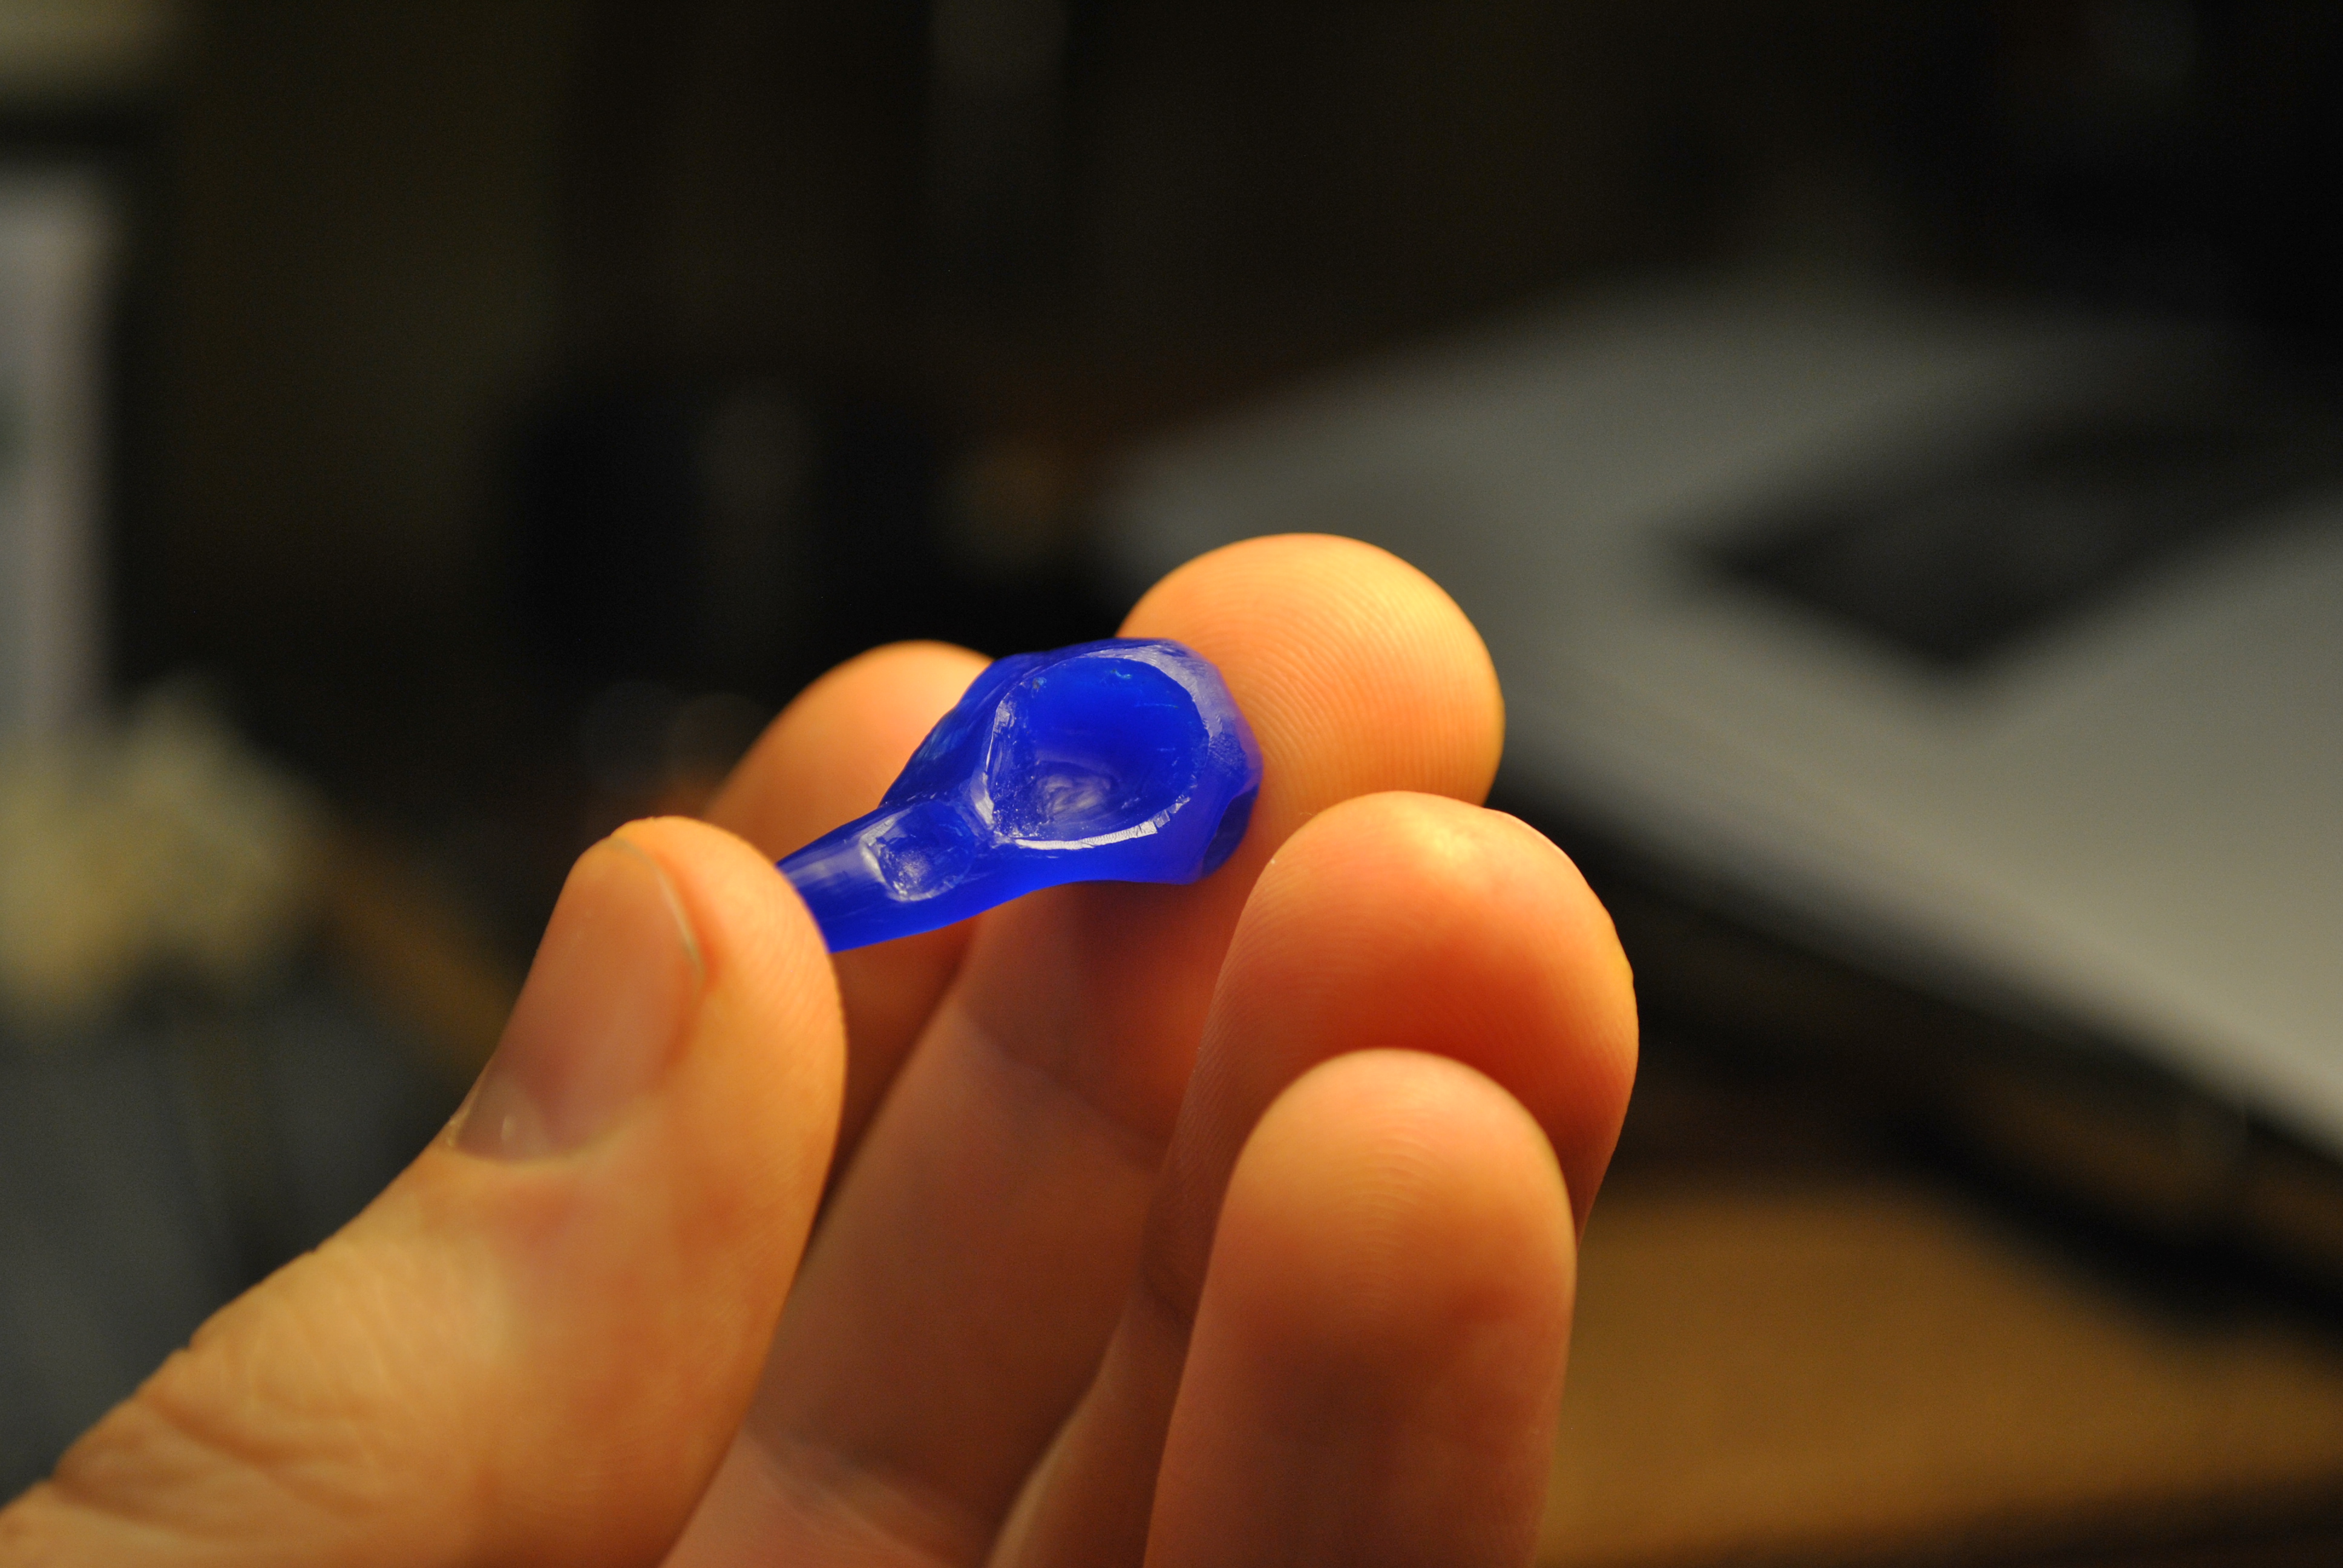
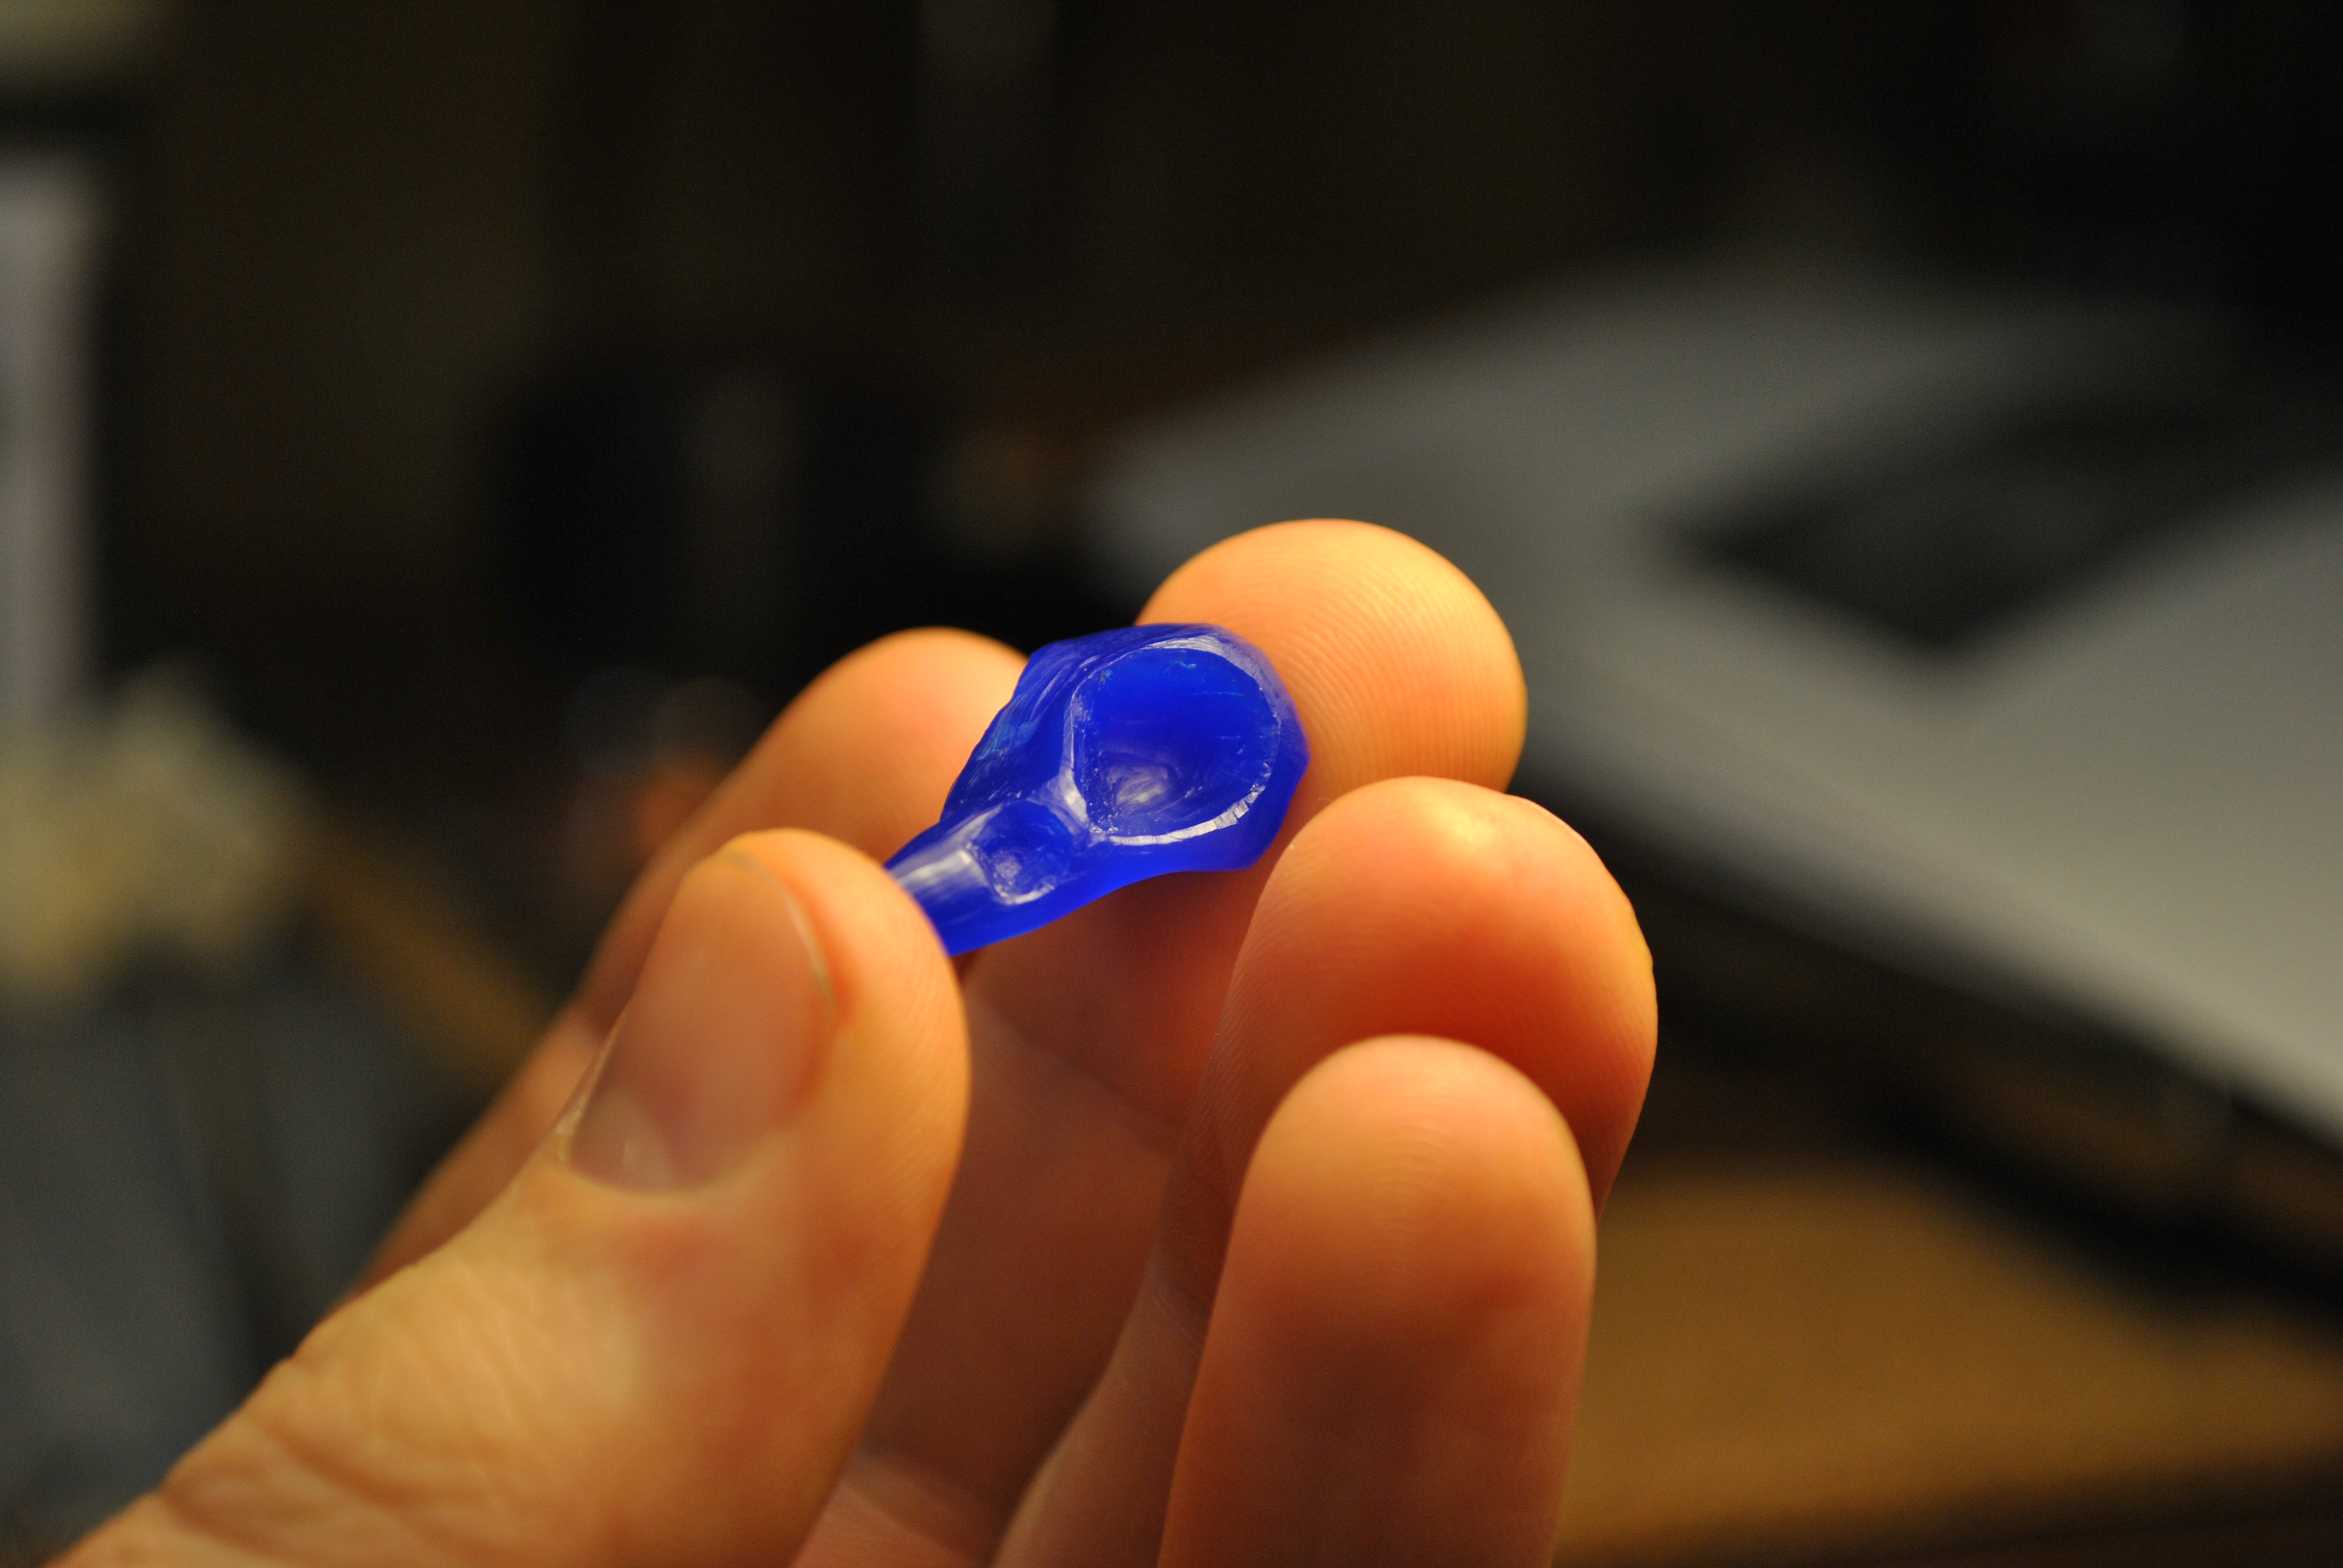
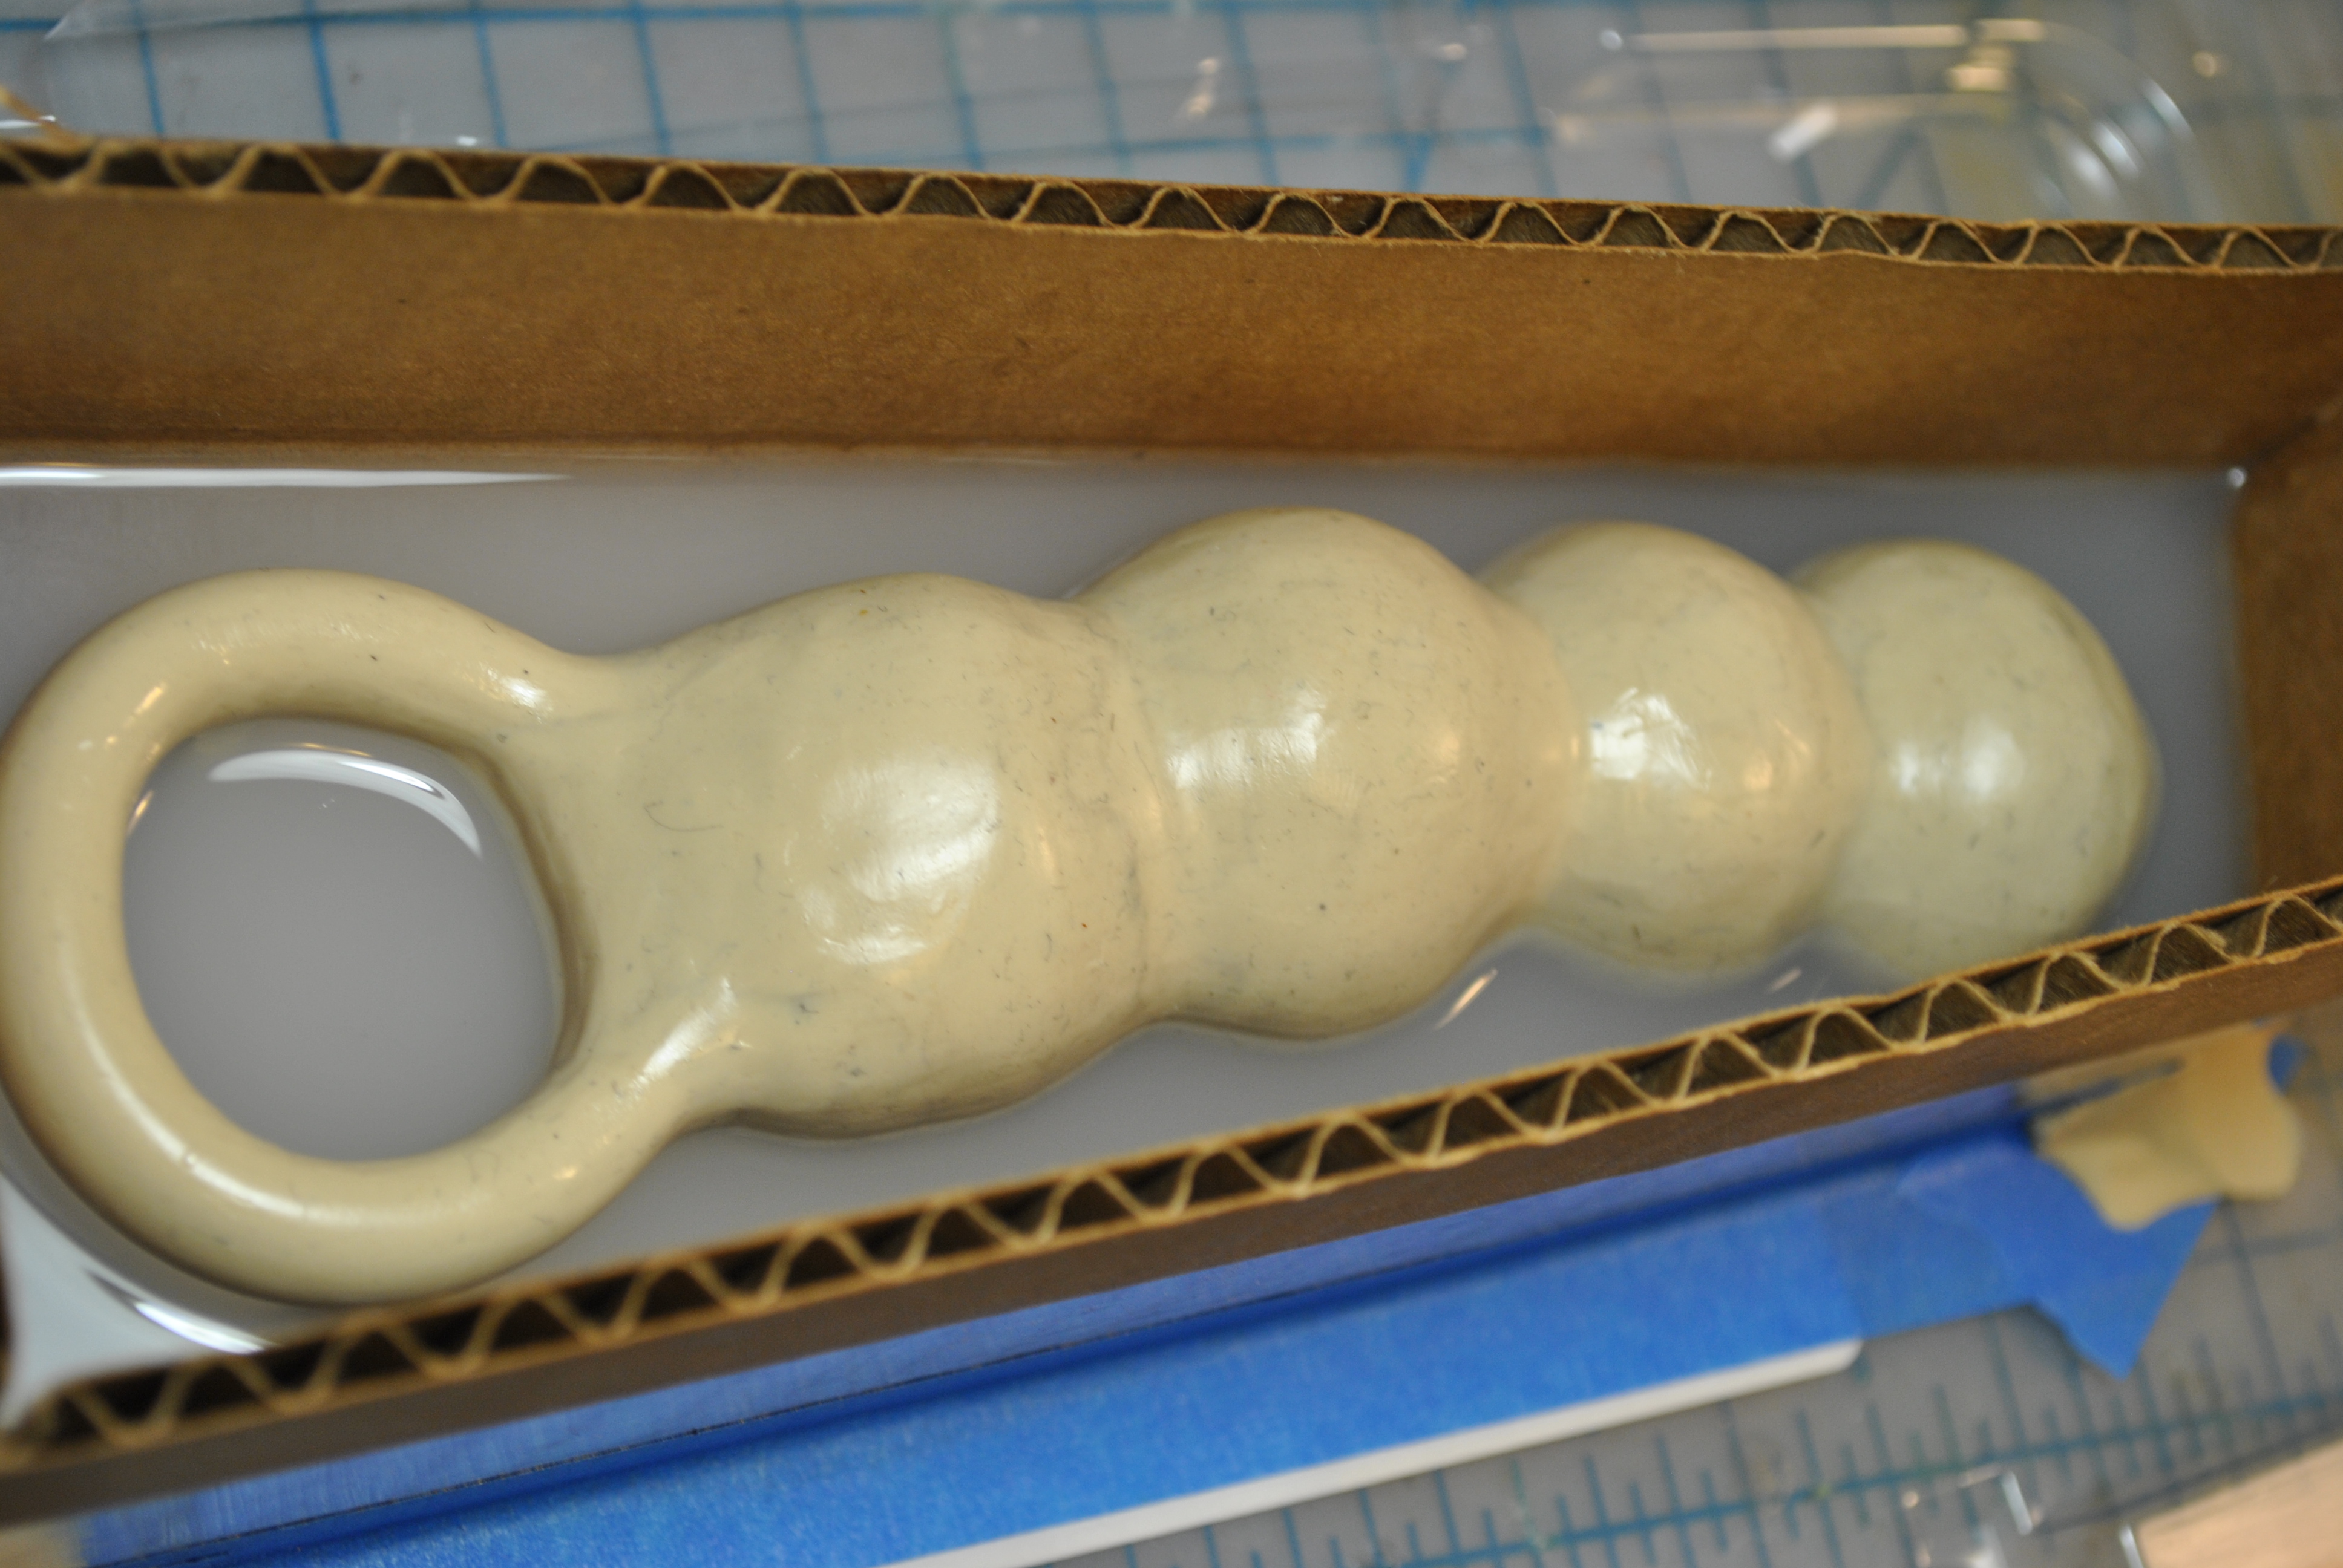
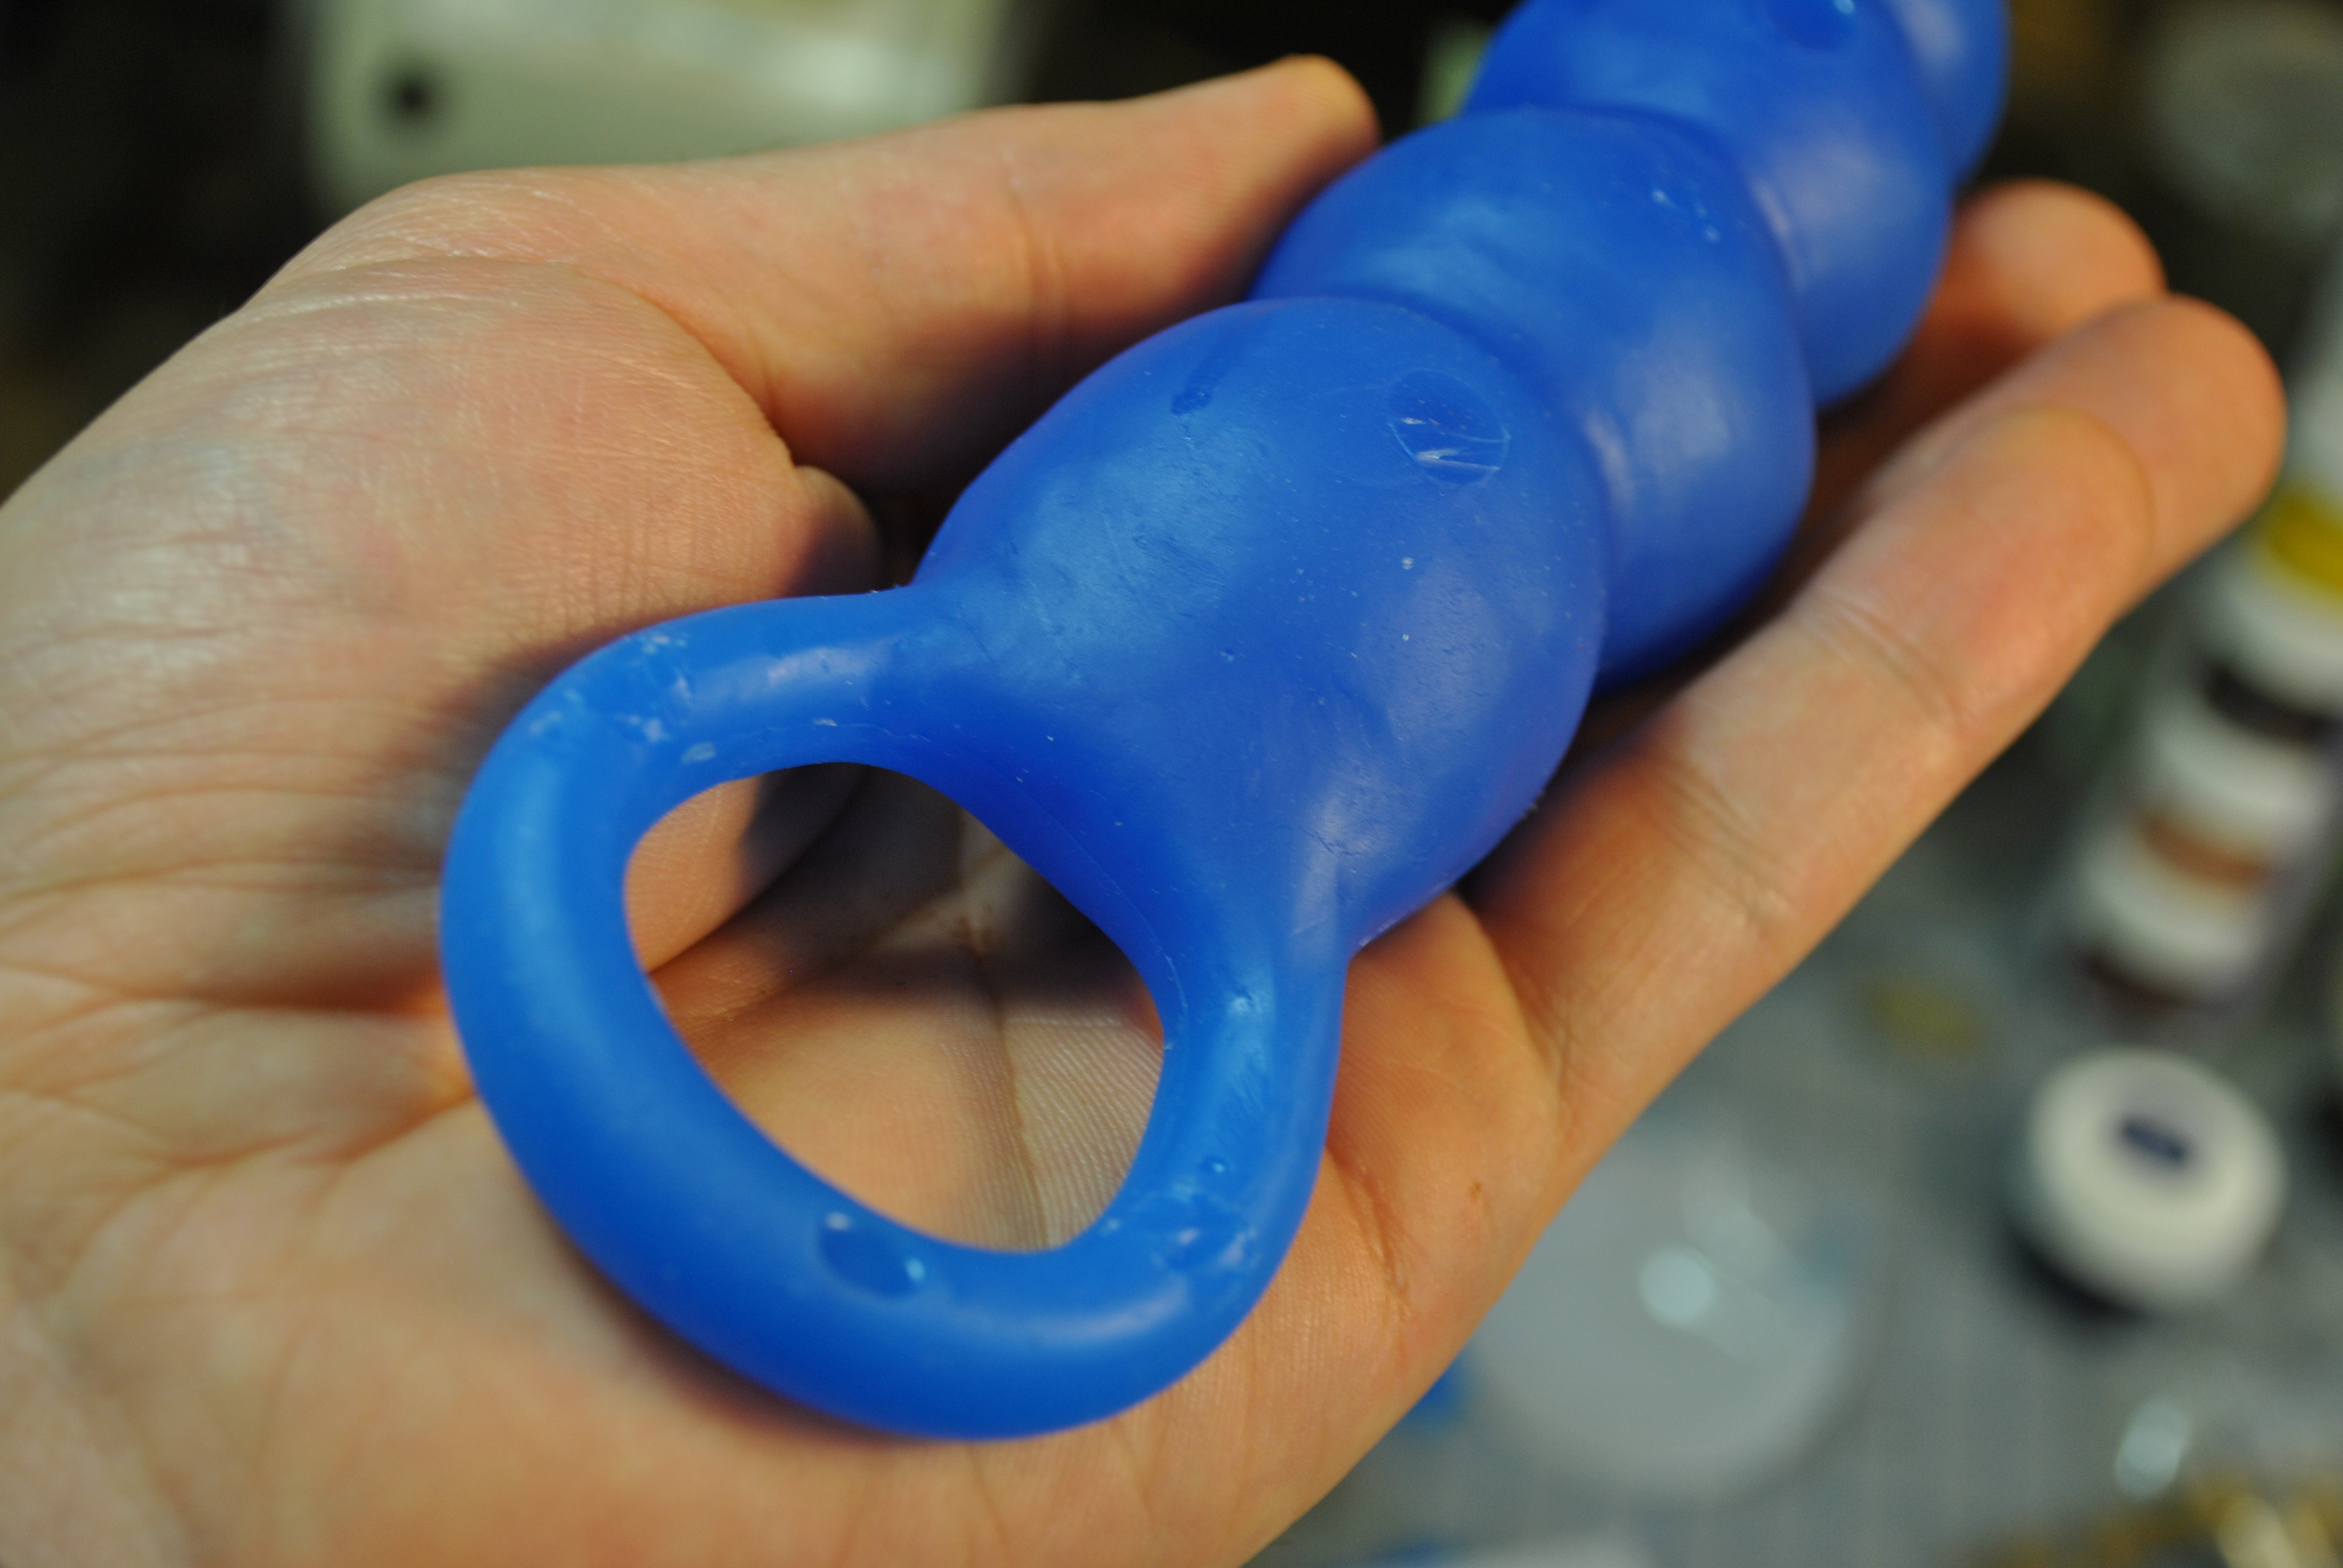
I used an razor blade to cut the spru’s off, and clean up around the pour holes.


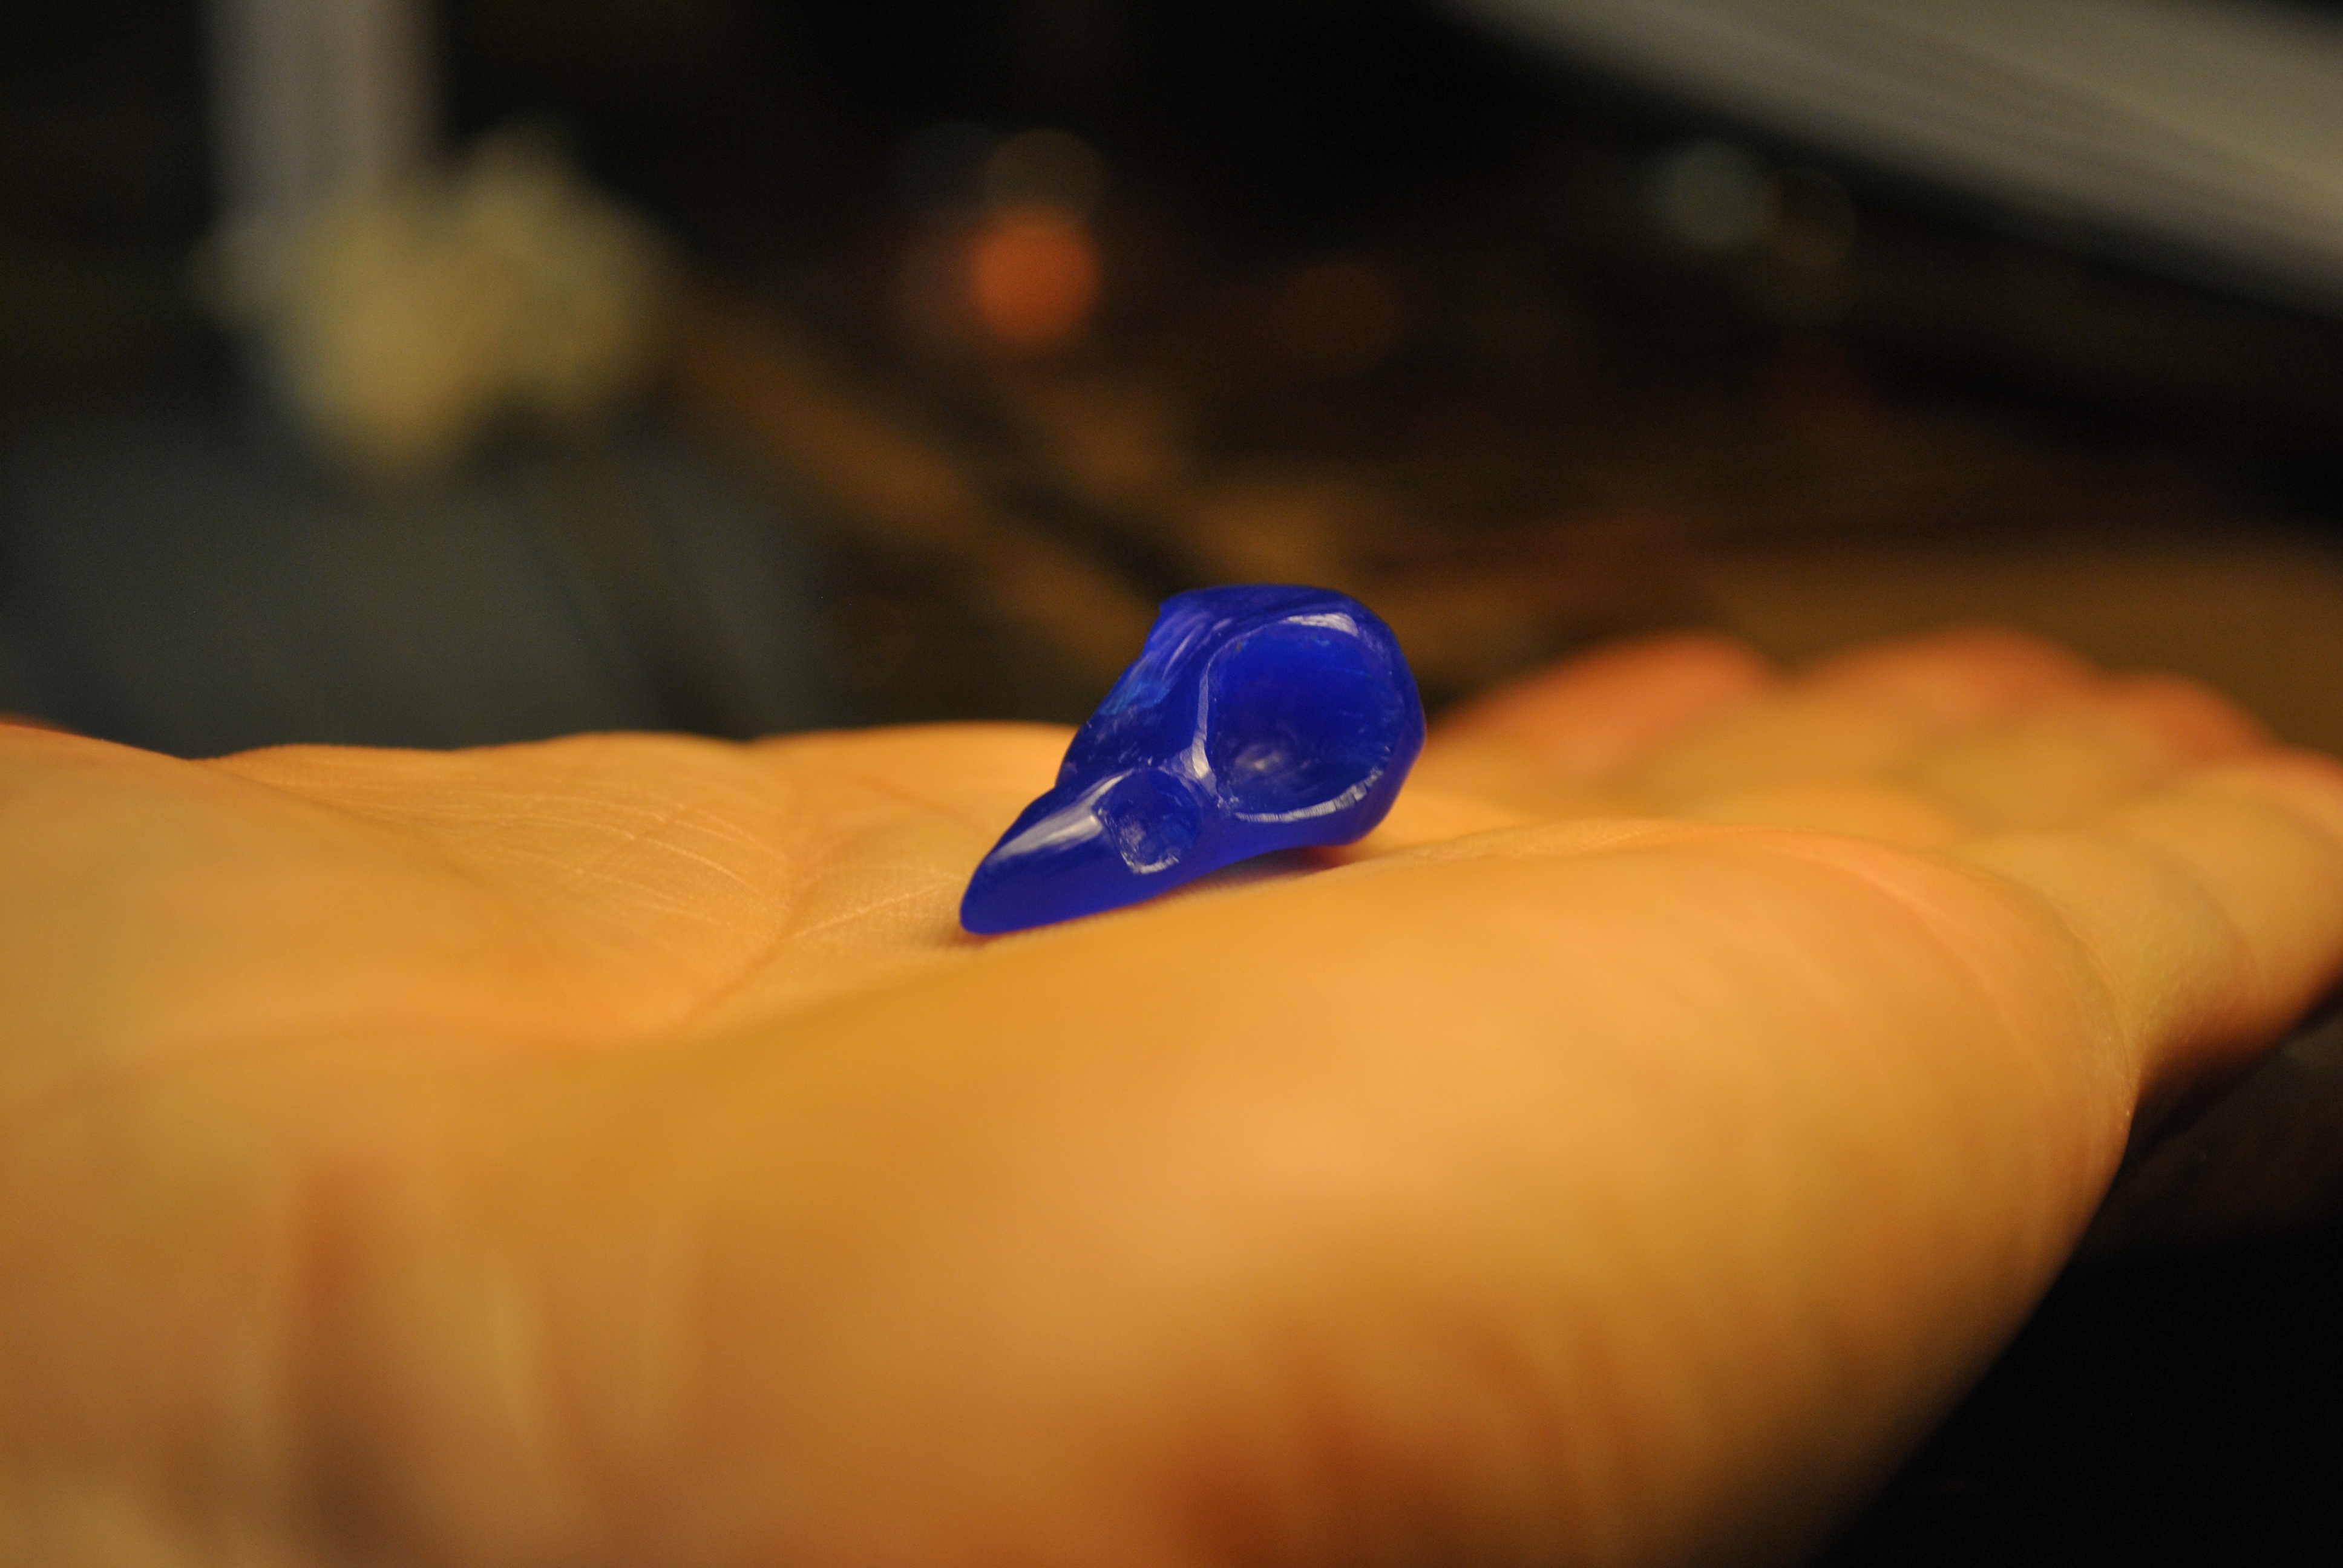
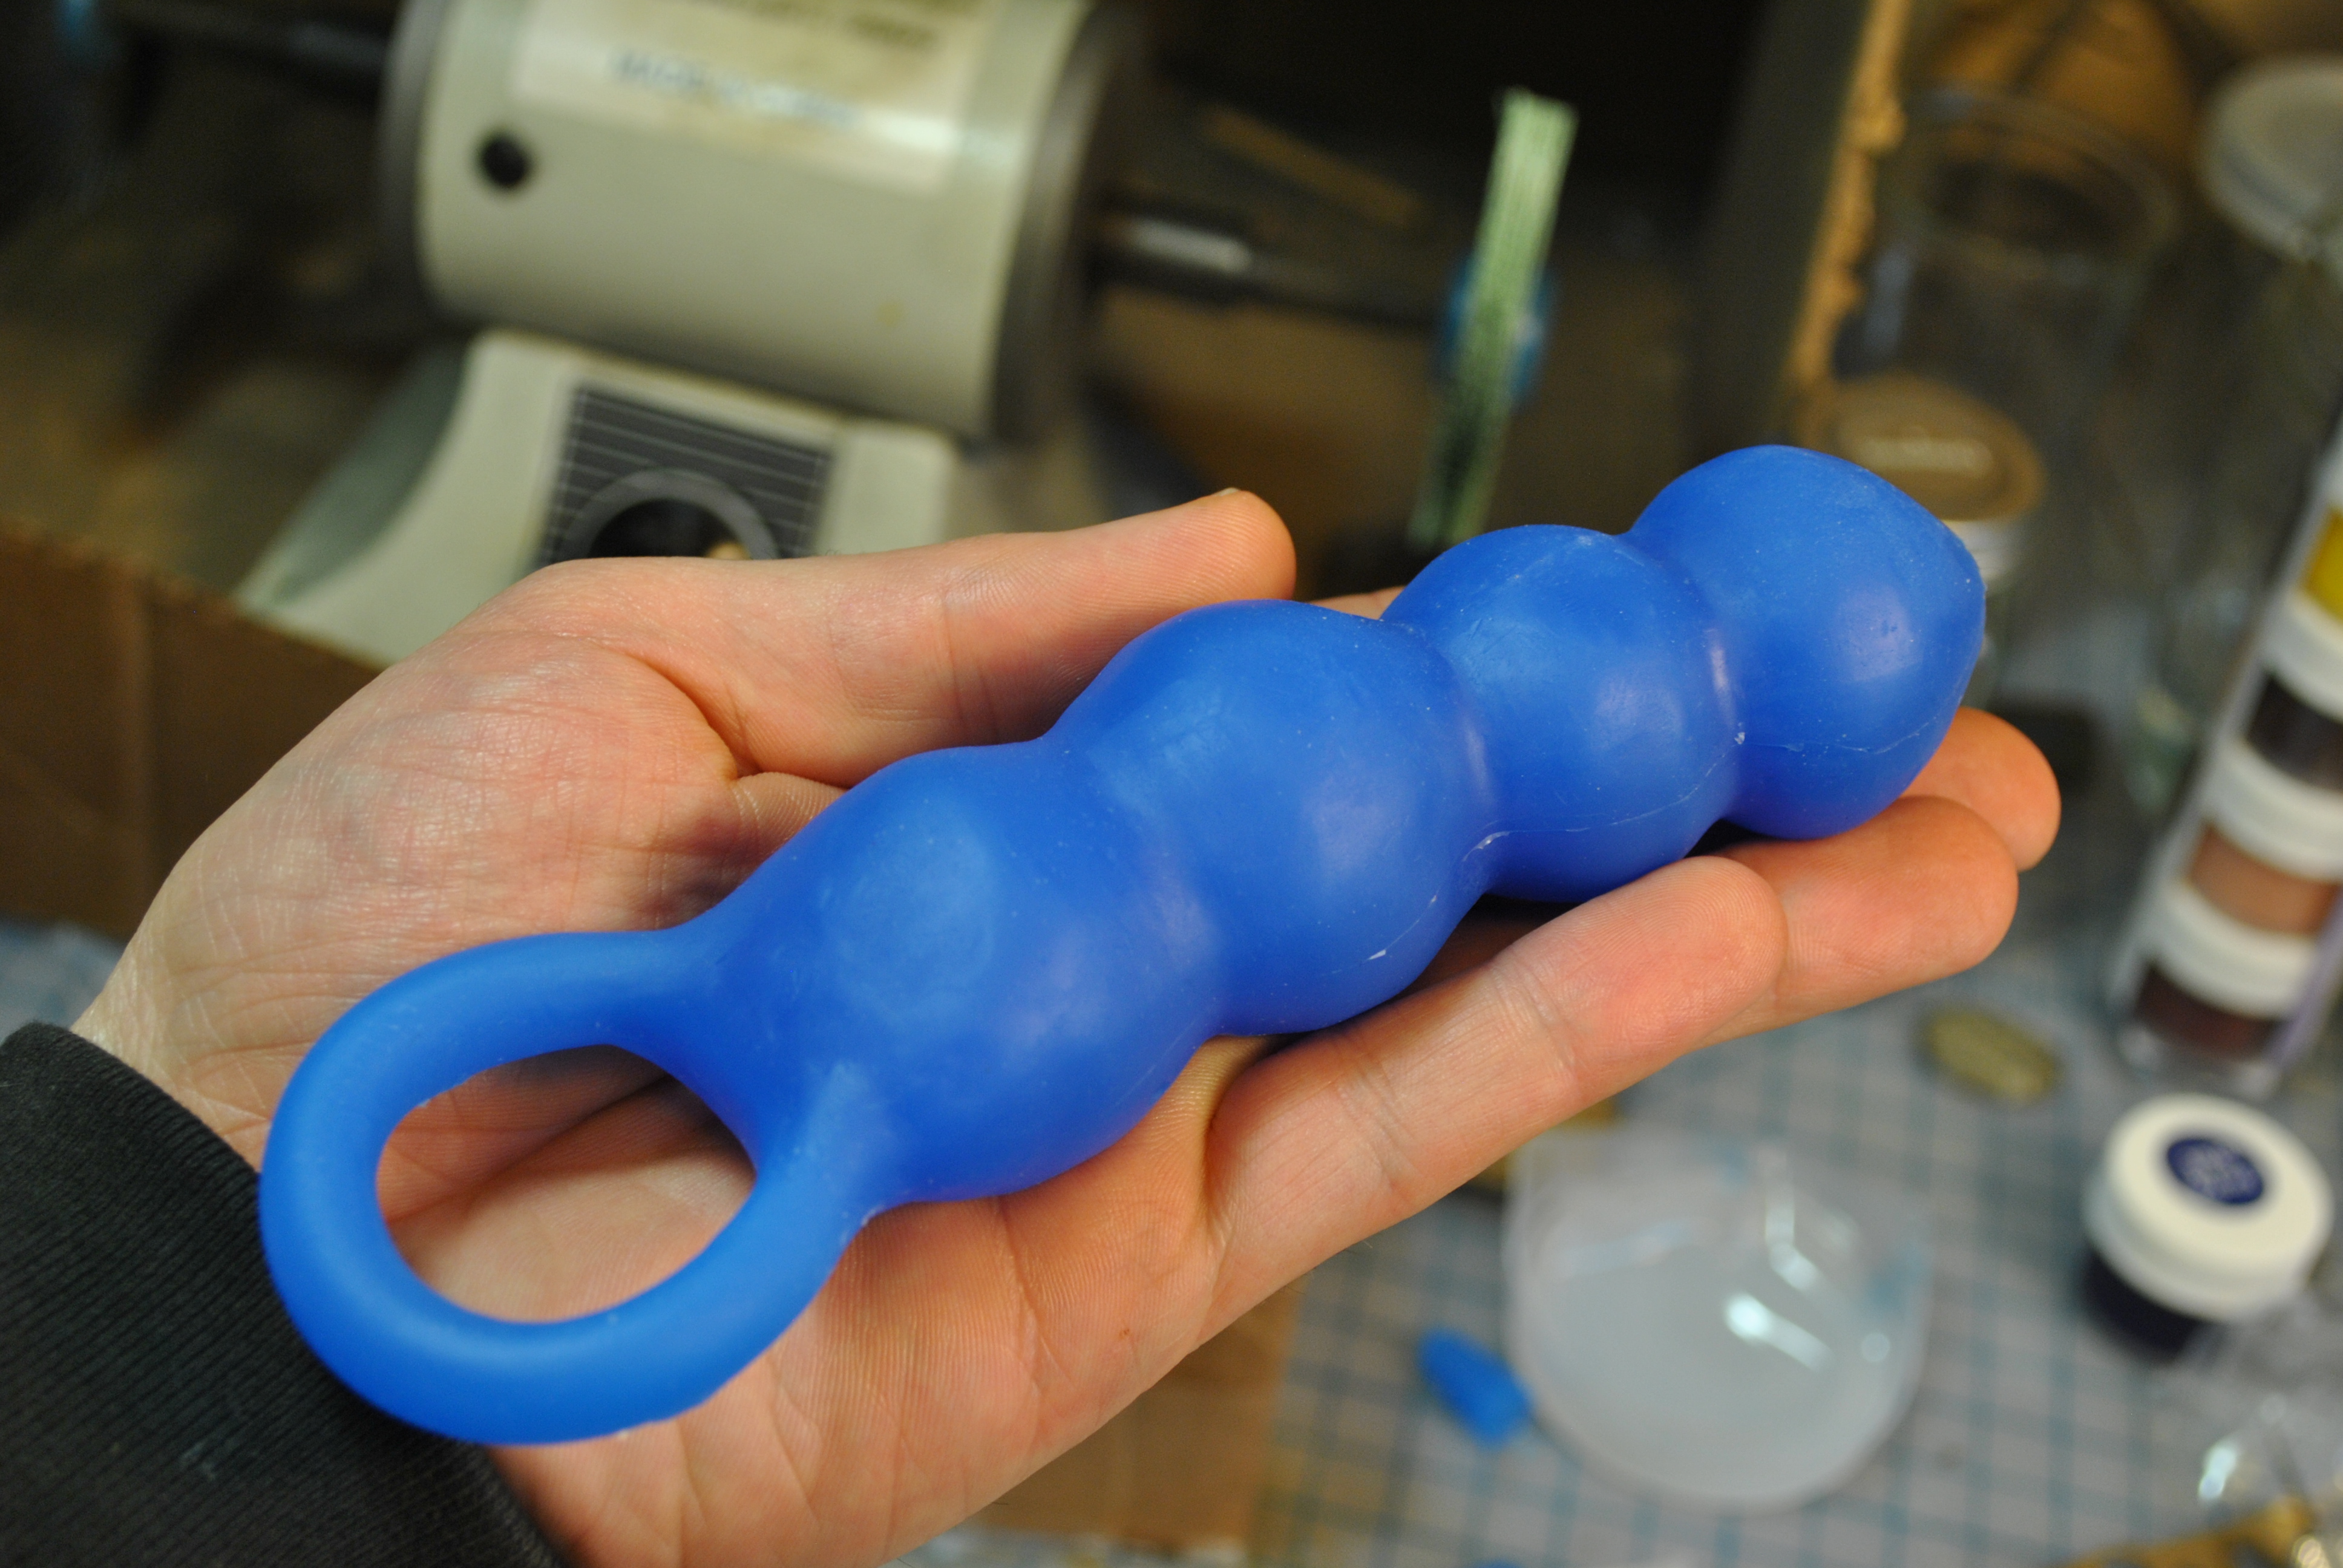
As you can see this left some small defects. They are pretty smooth, but I am going to try a third casting where I use a different technique to try and make it so that the entire mold can be filled from one end. Resulting in far fewing pour holes, and better air bubble removal.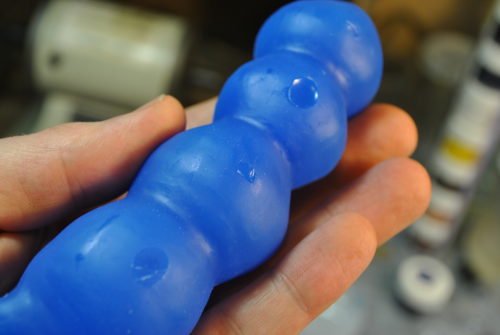


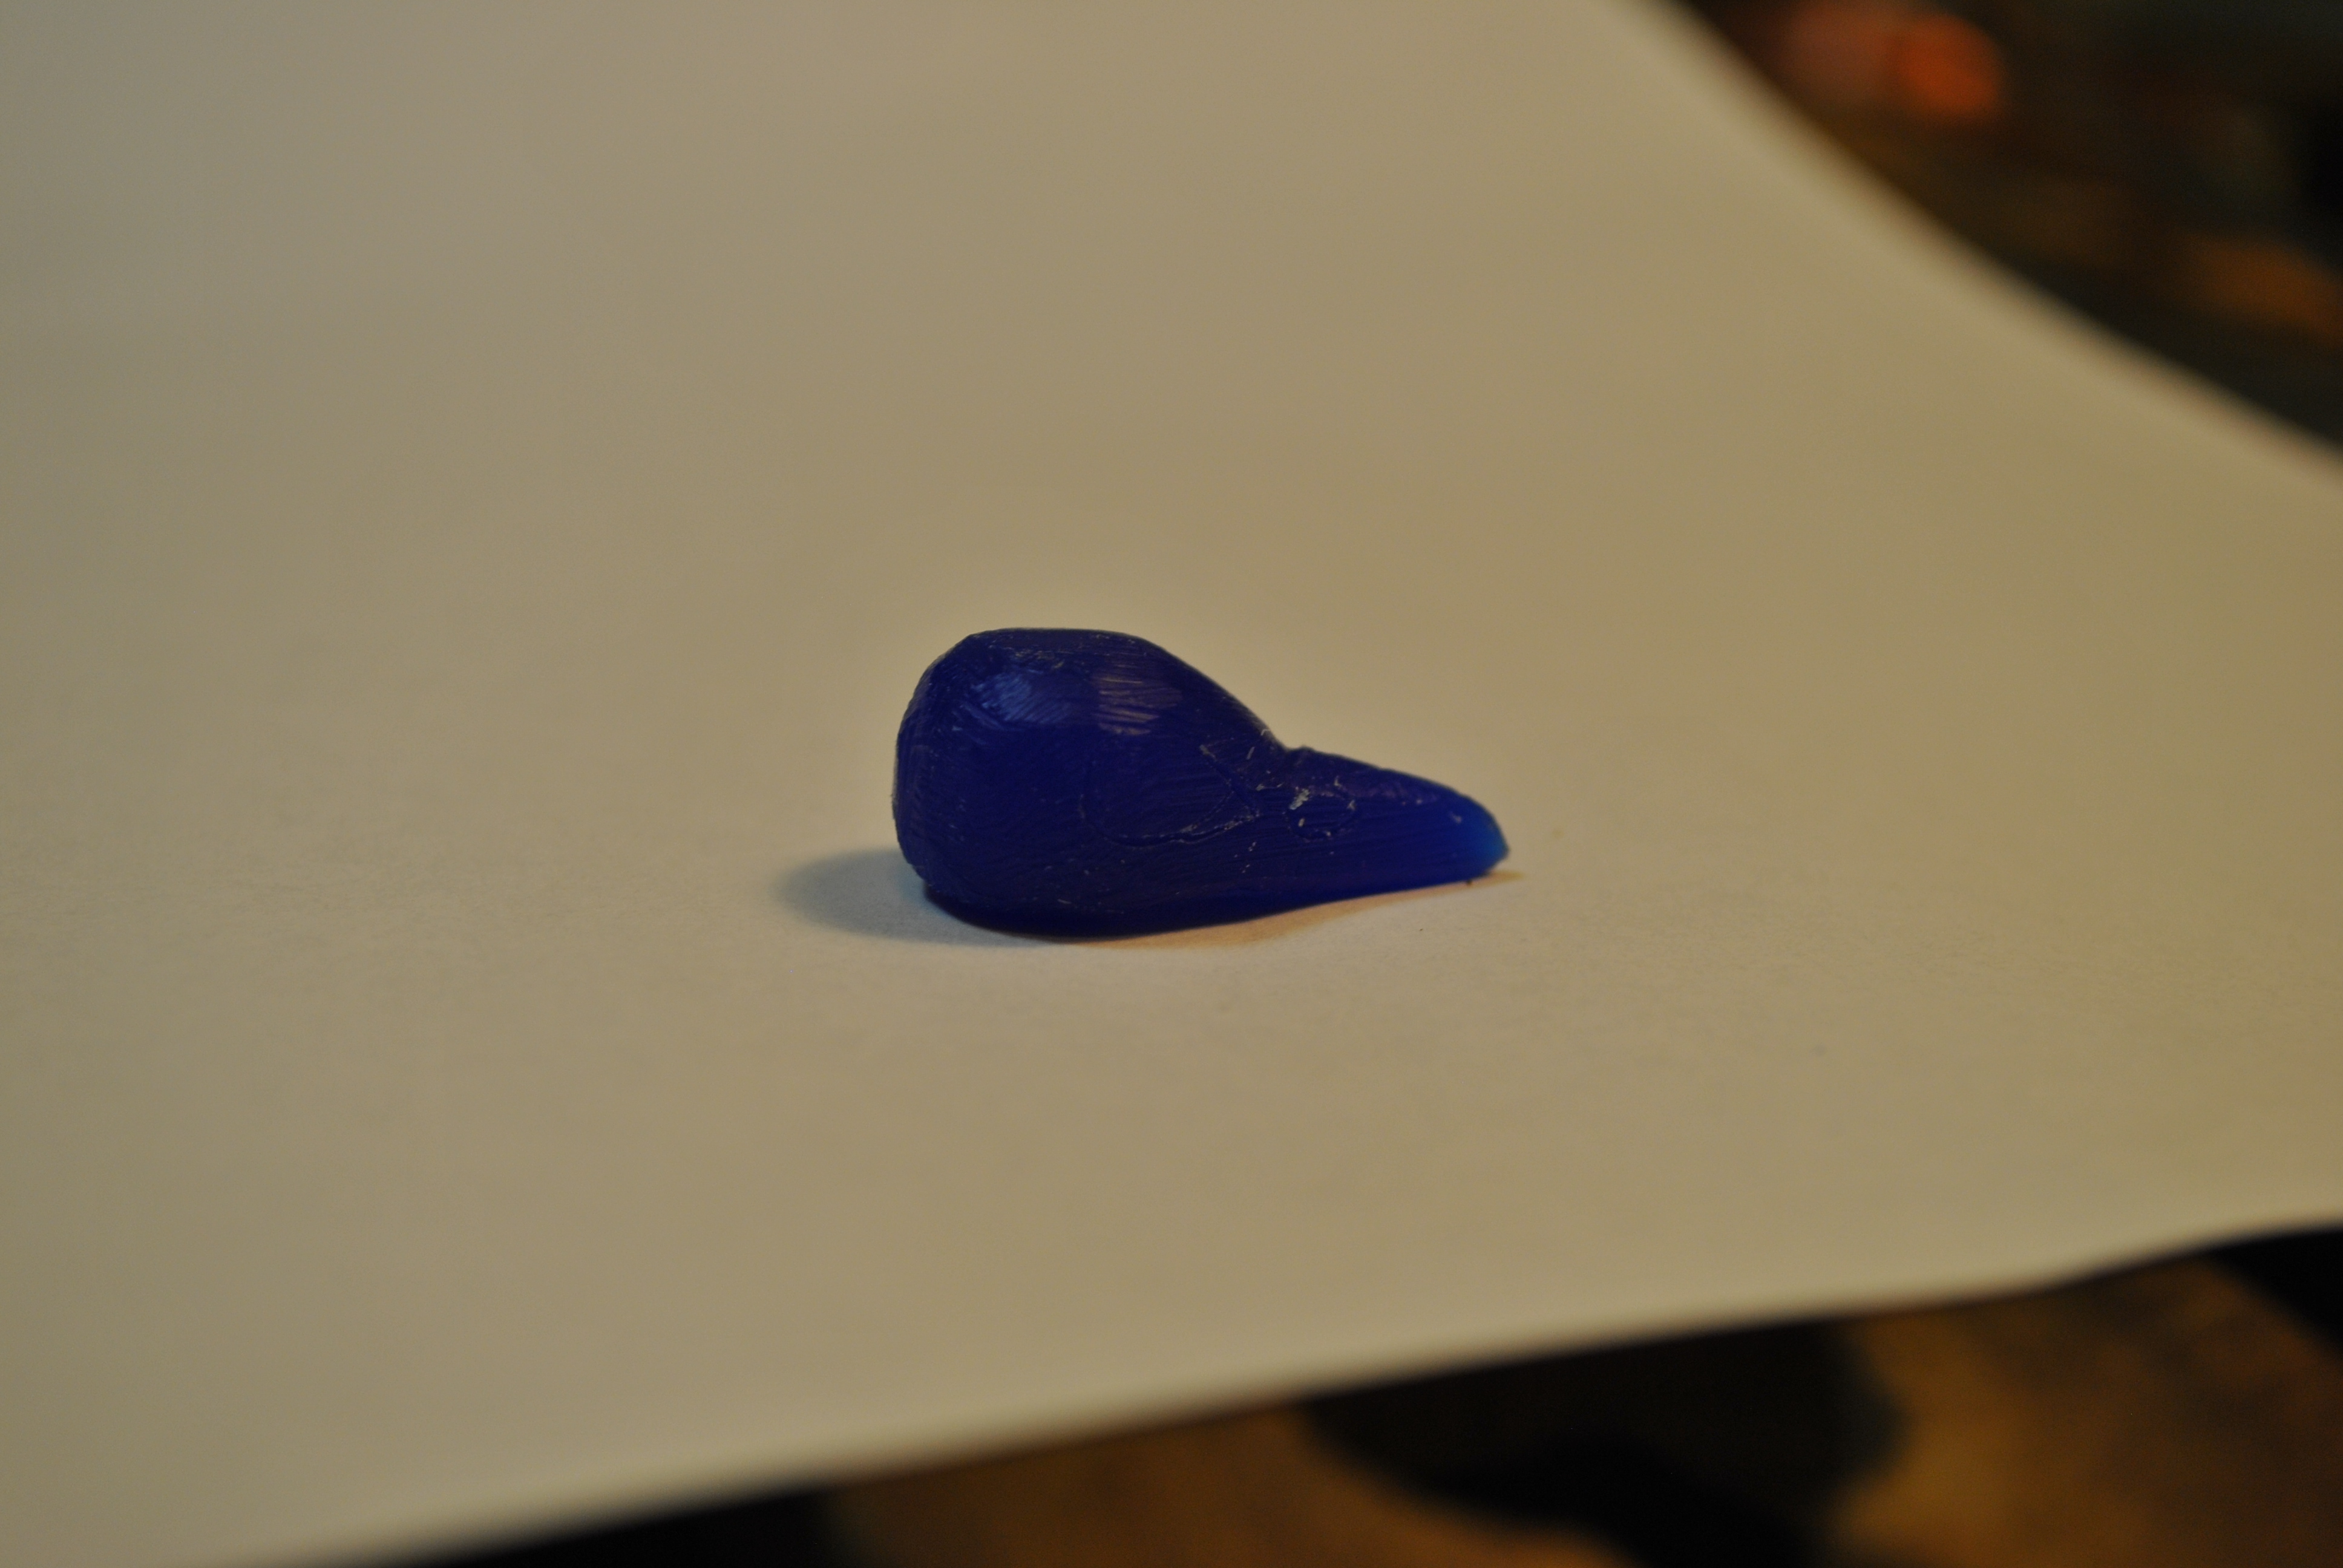
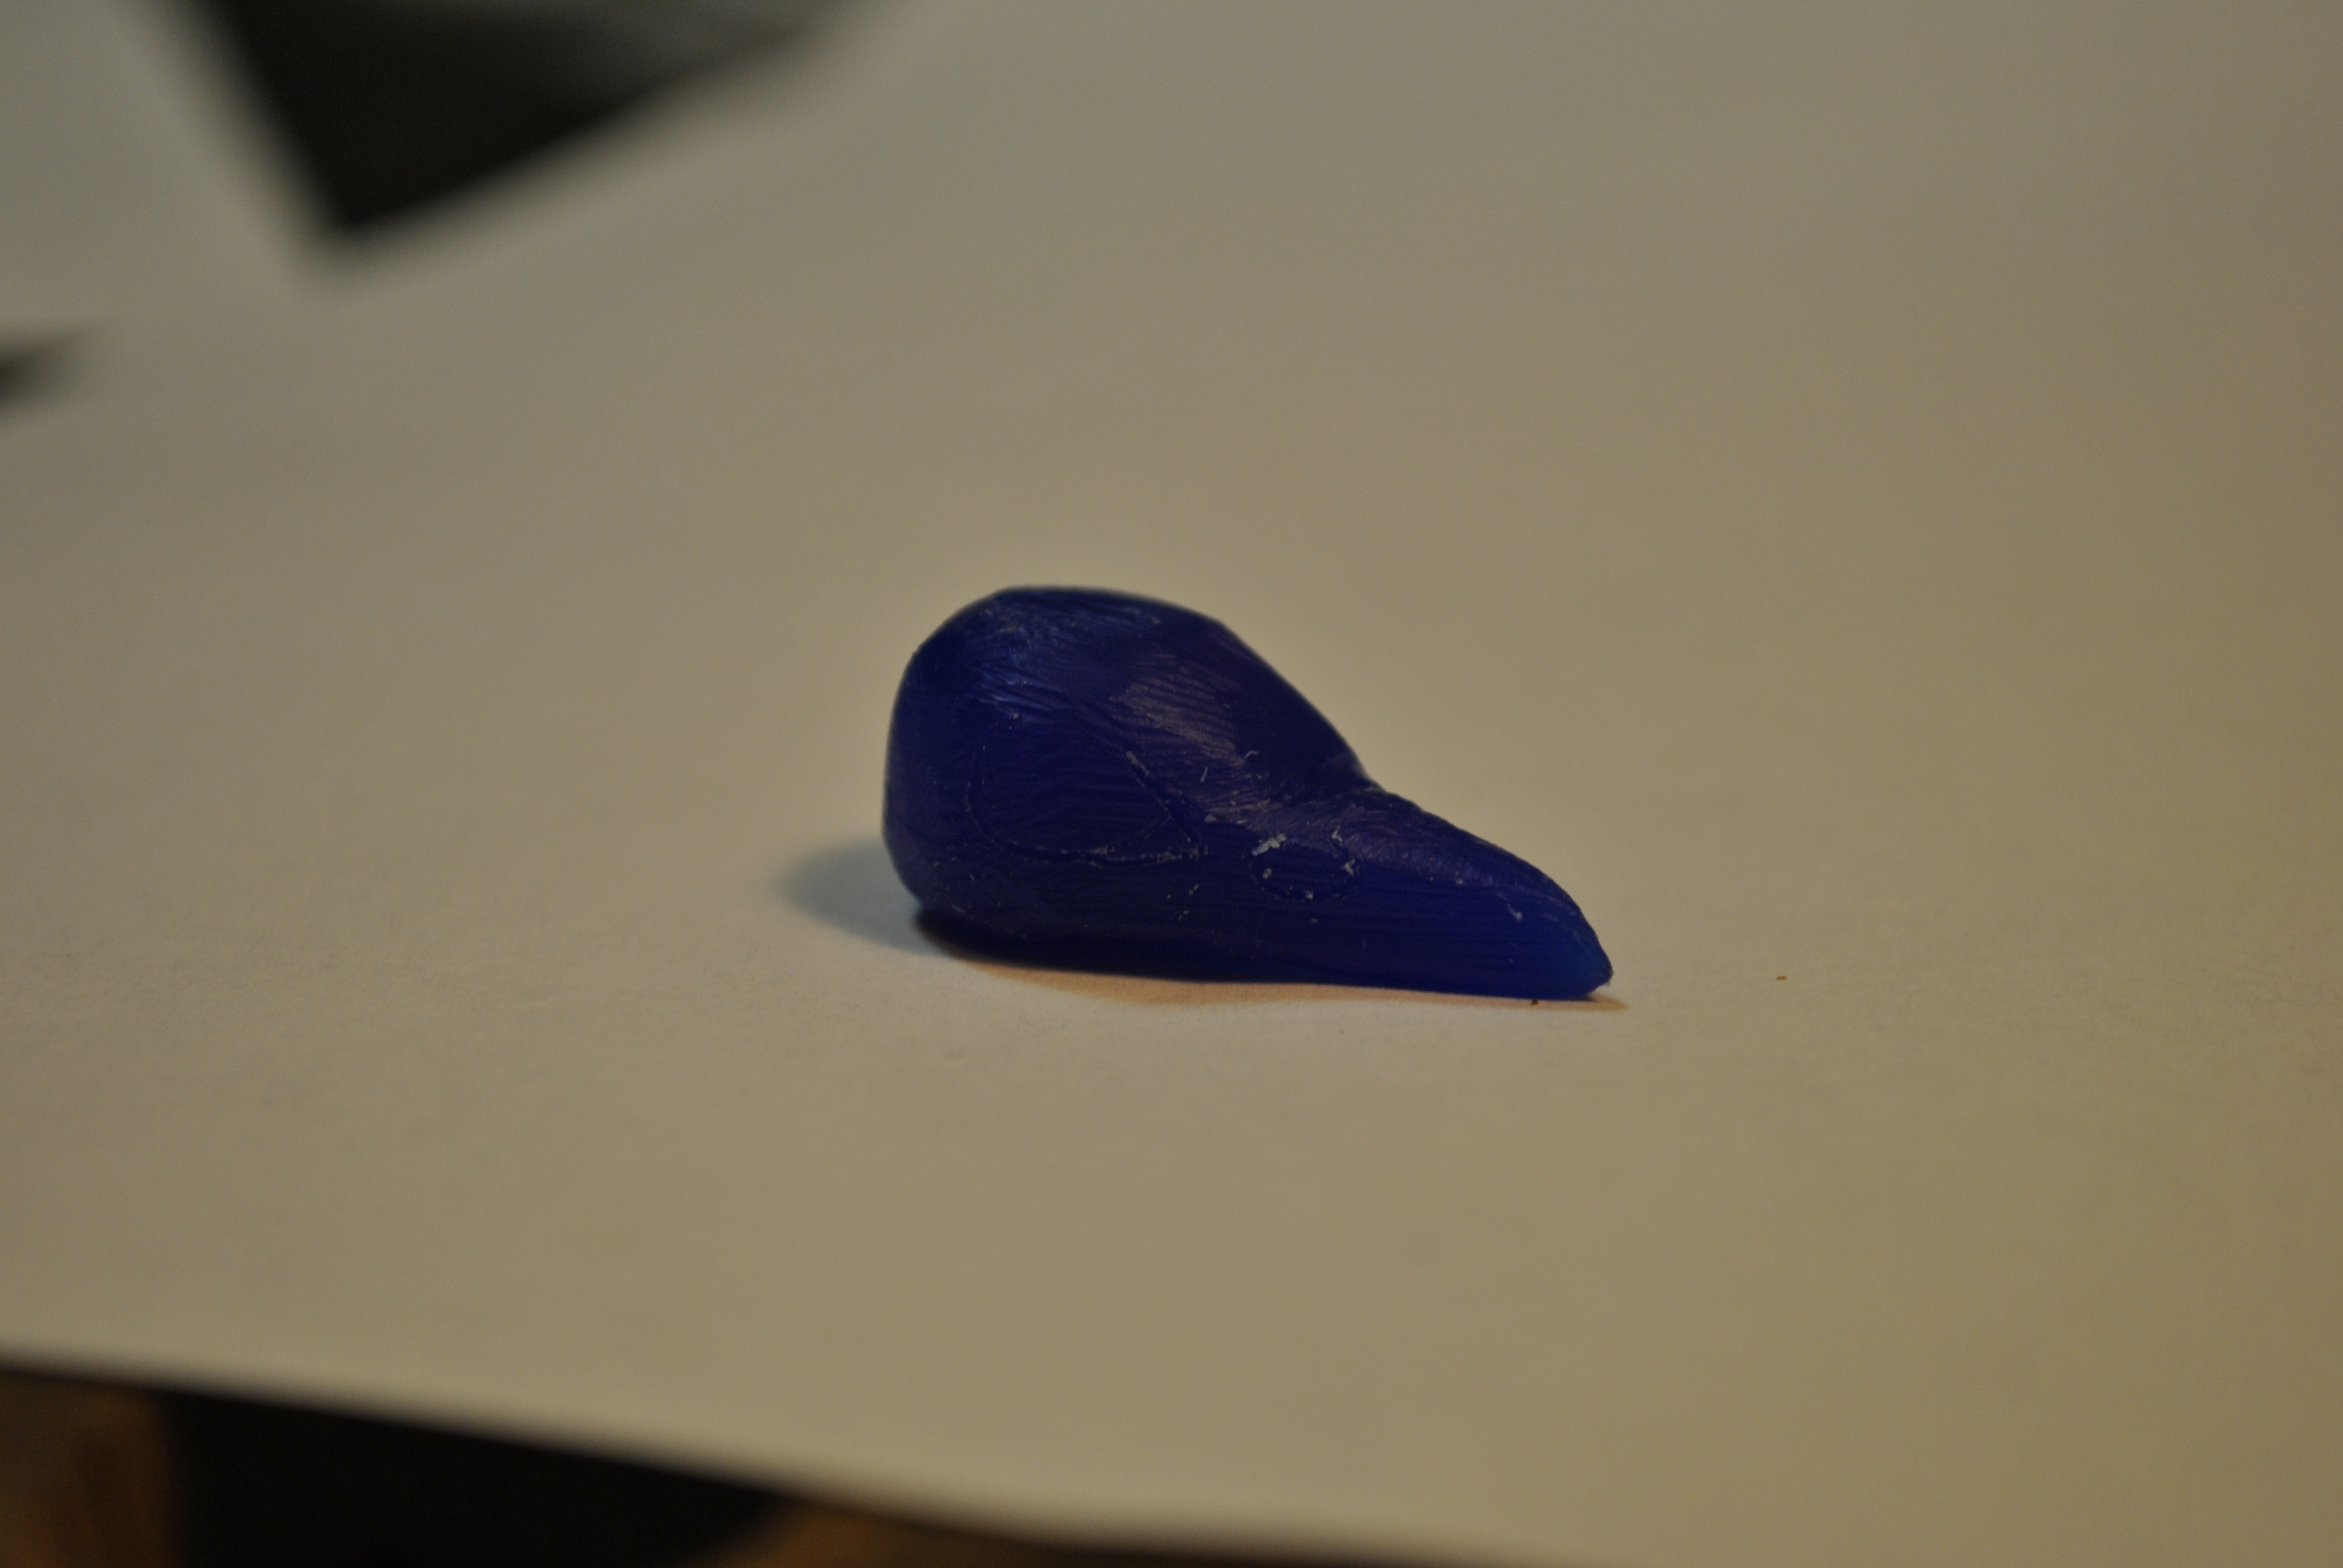
And just like that, you have your own sex toy! The total cost for this project was about $50. Which is what you would pay for a high end sex toy. The fun bit is though that you can re-use the clay to sculpt anything you want, and you can make as many of these toys as you want (as you now have the mold). So future toys will be much cheaper.
 ‘
‘


