Got this awesome design from a client, I was inspired to try something a little different, a multi-layered riveted design. It turned out better than I would have thought! I also did something different than I normally do and documented the process.

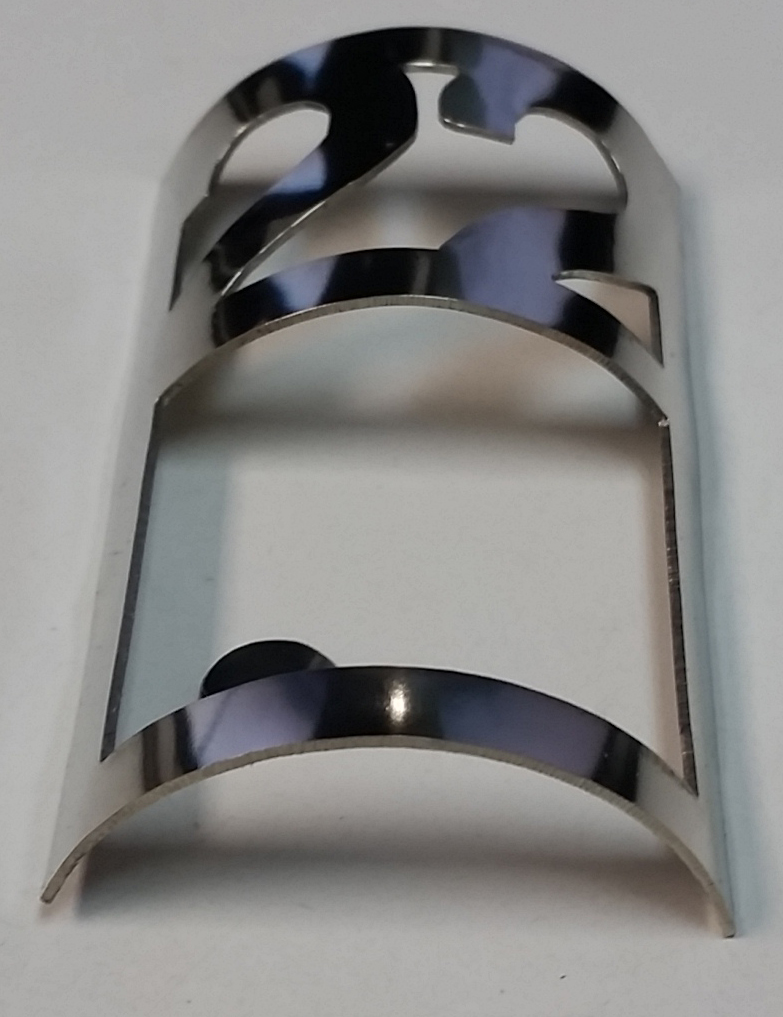
Start with a sheet of 22g brass and the design broken out into the layers.
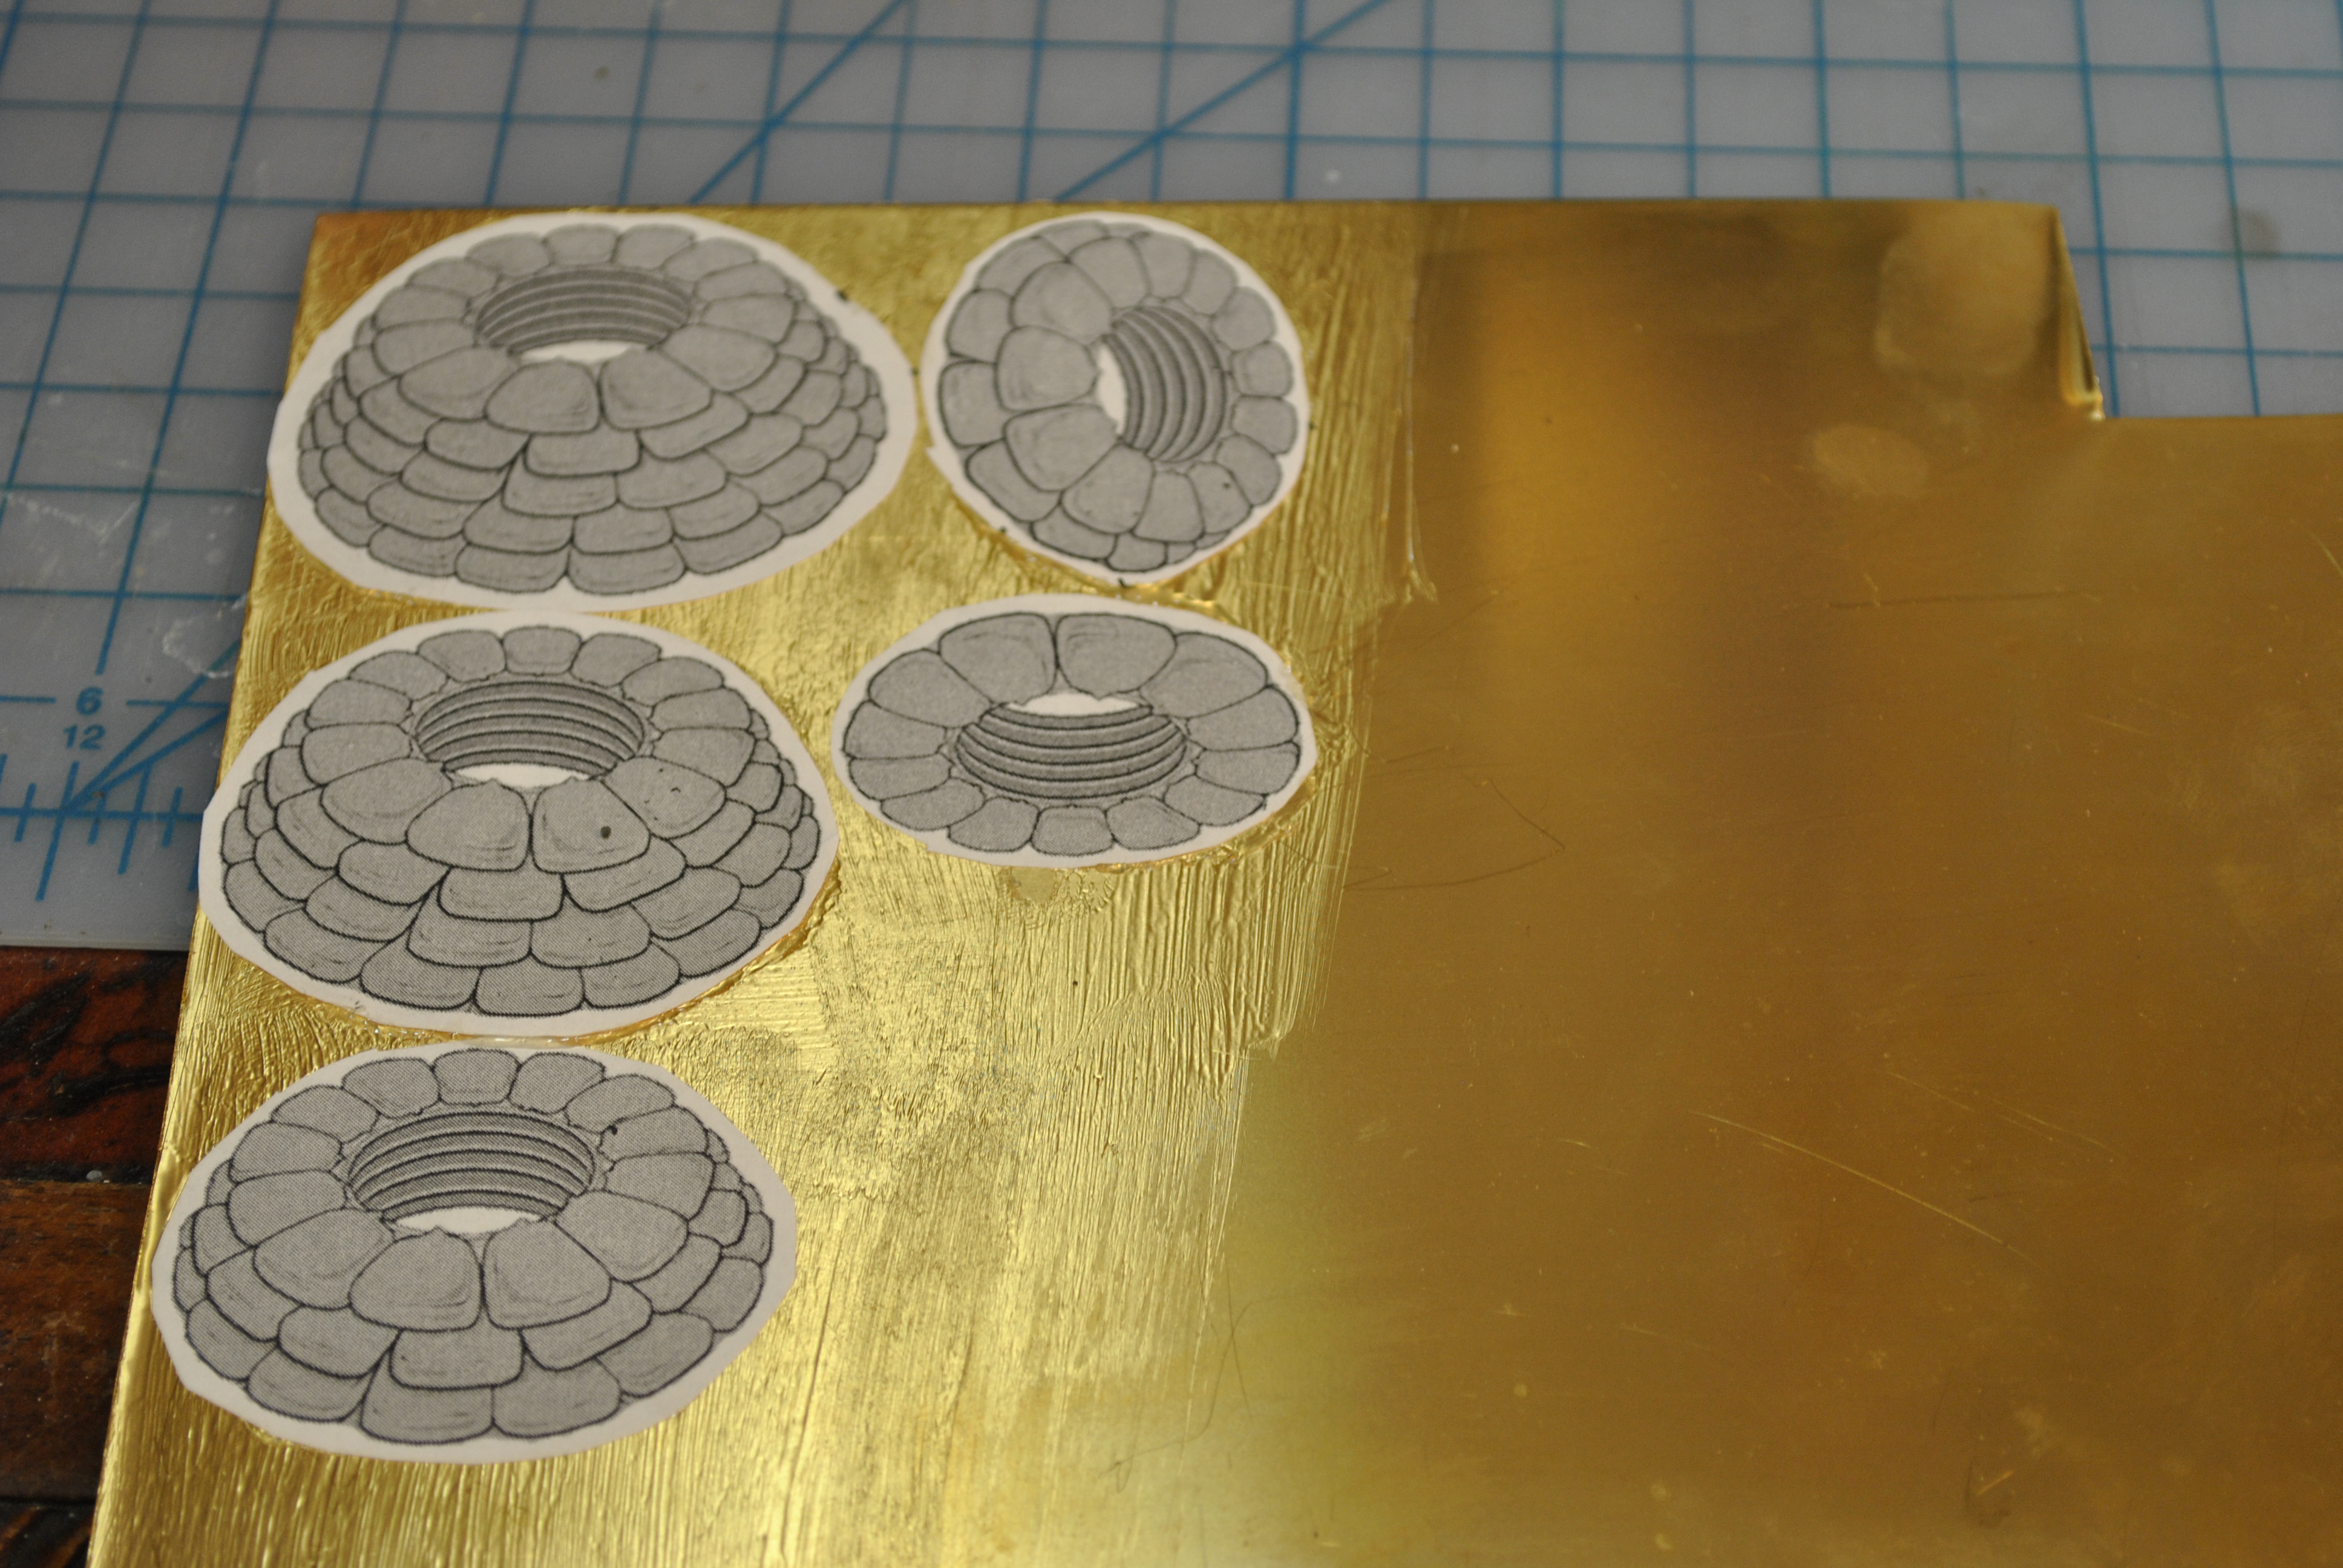
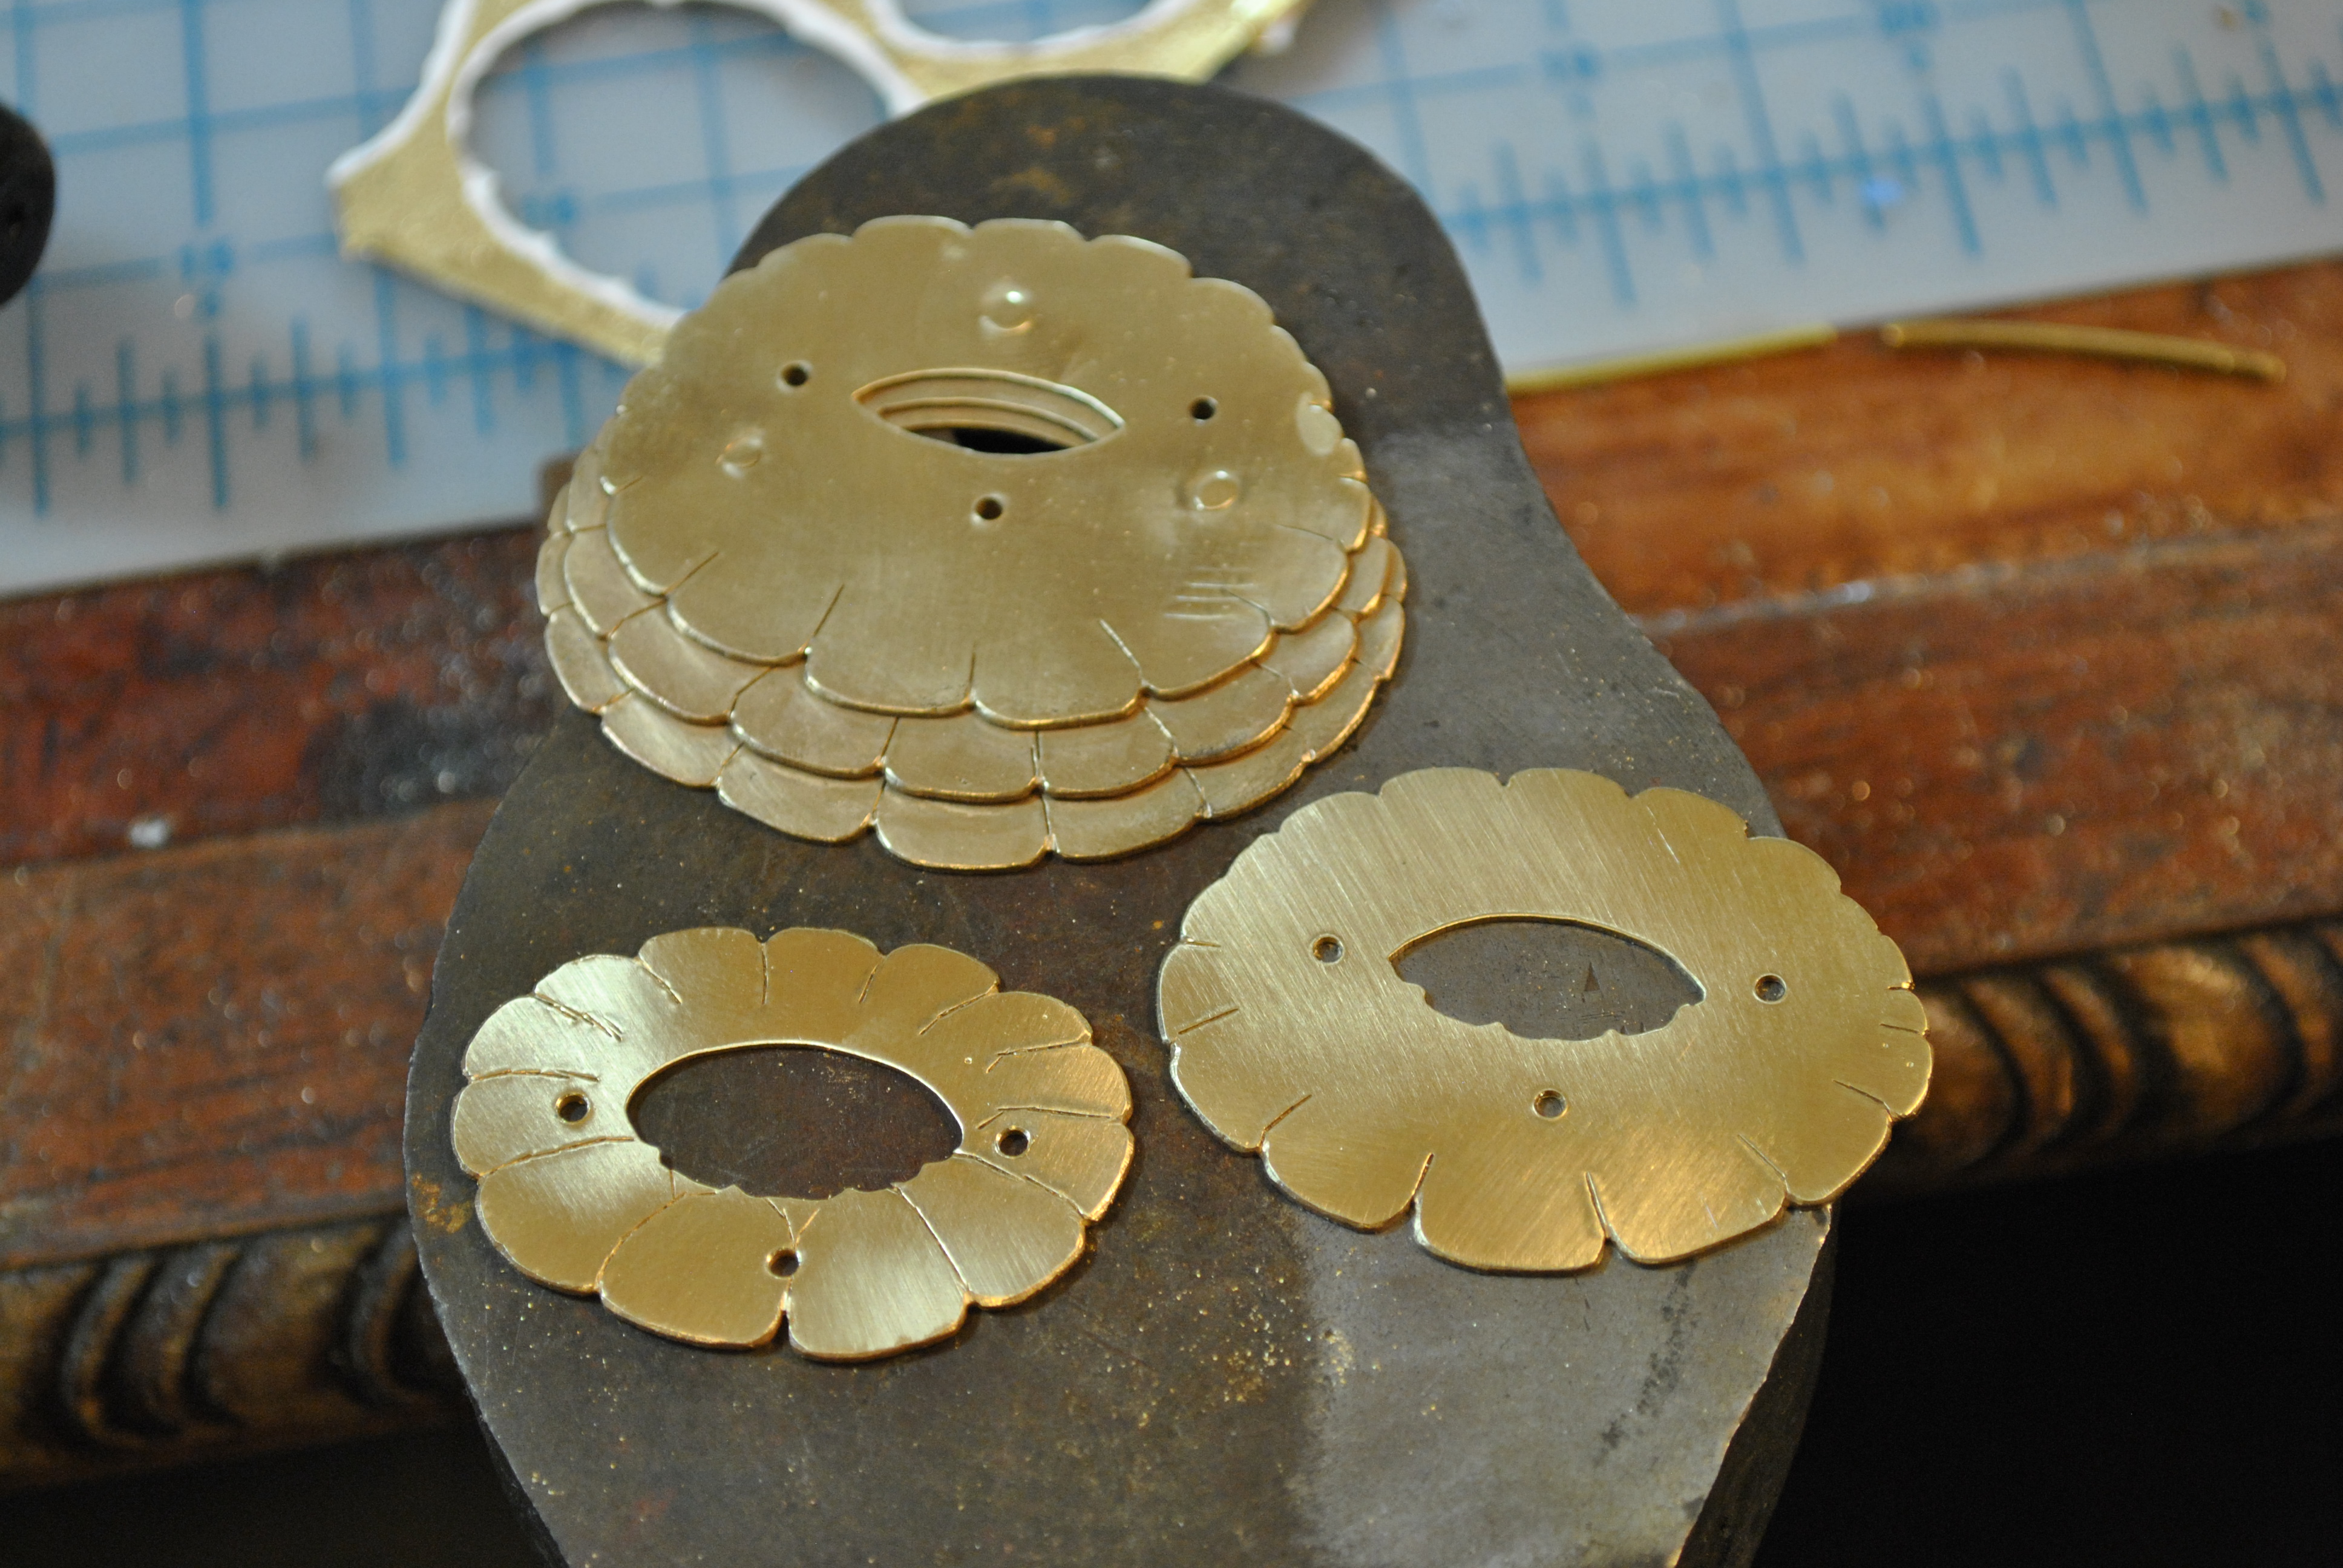
Using rubber cement I attached the cut out designs on the brass sheet.
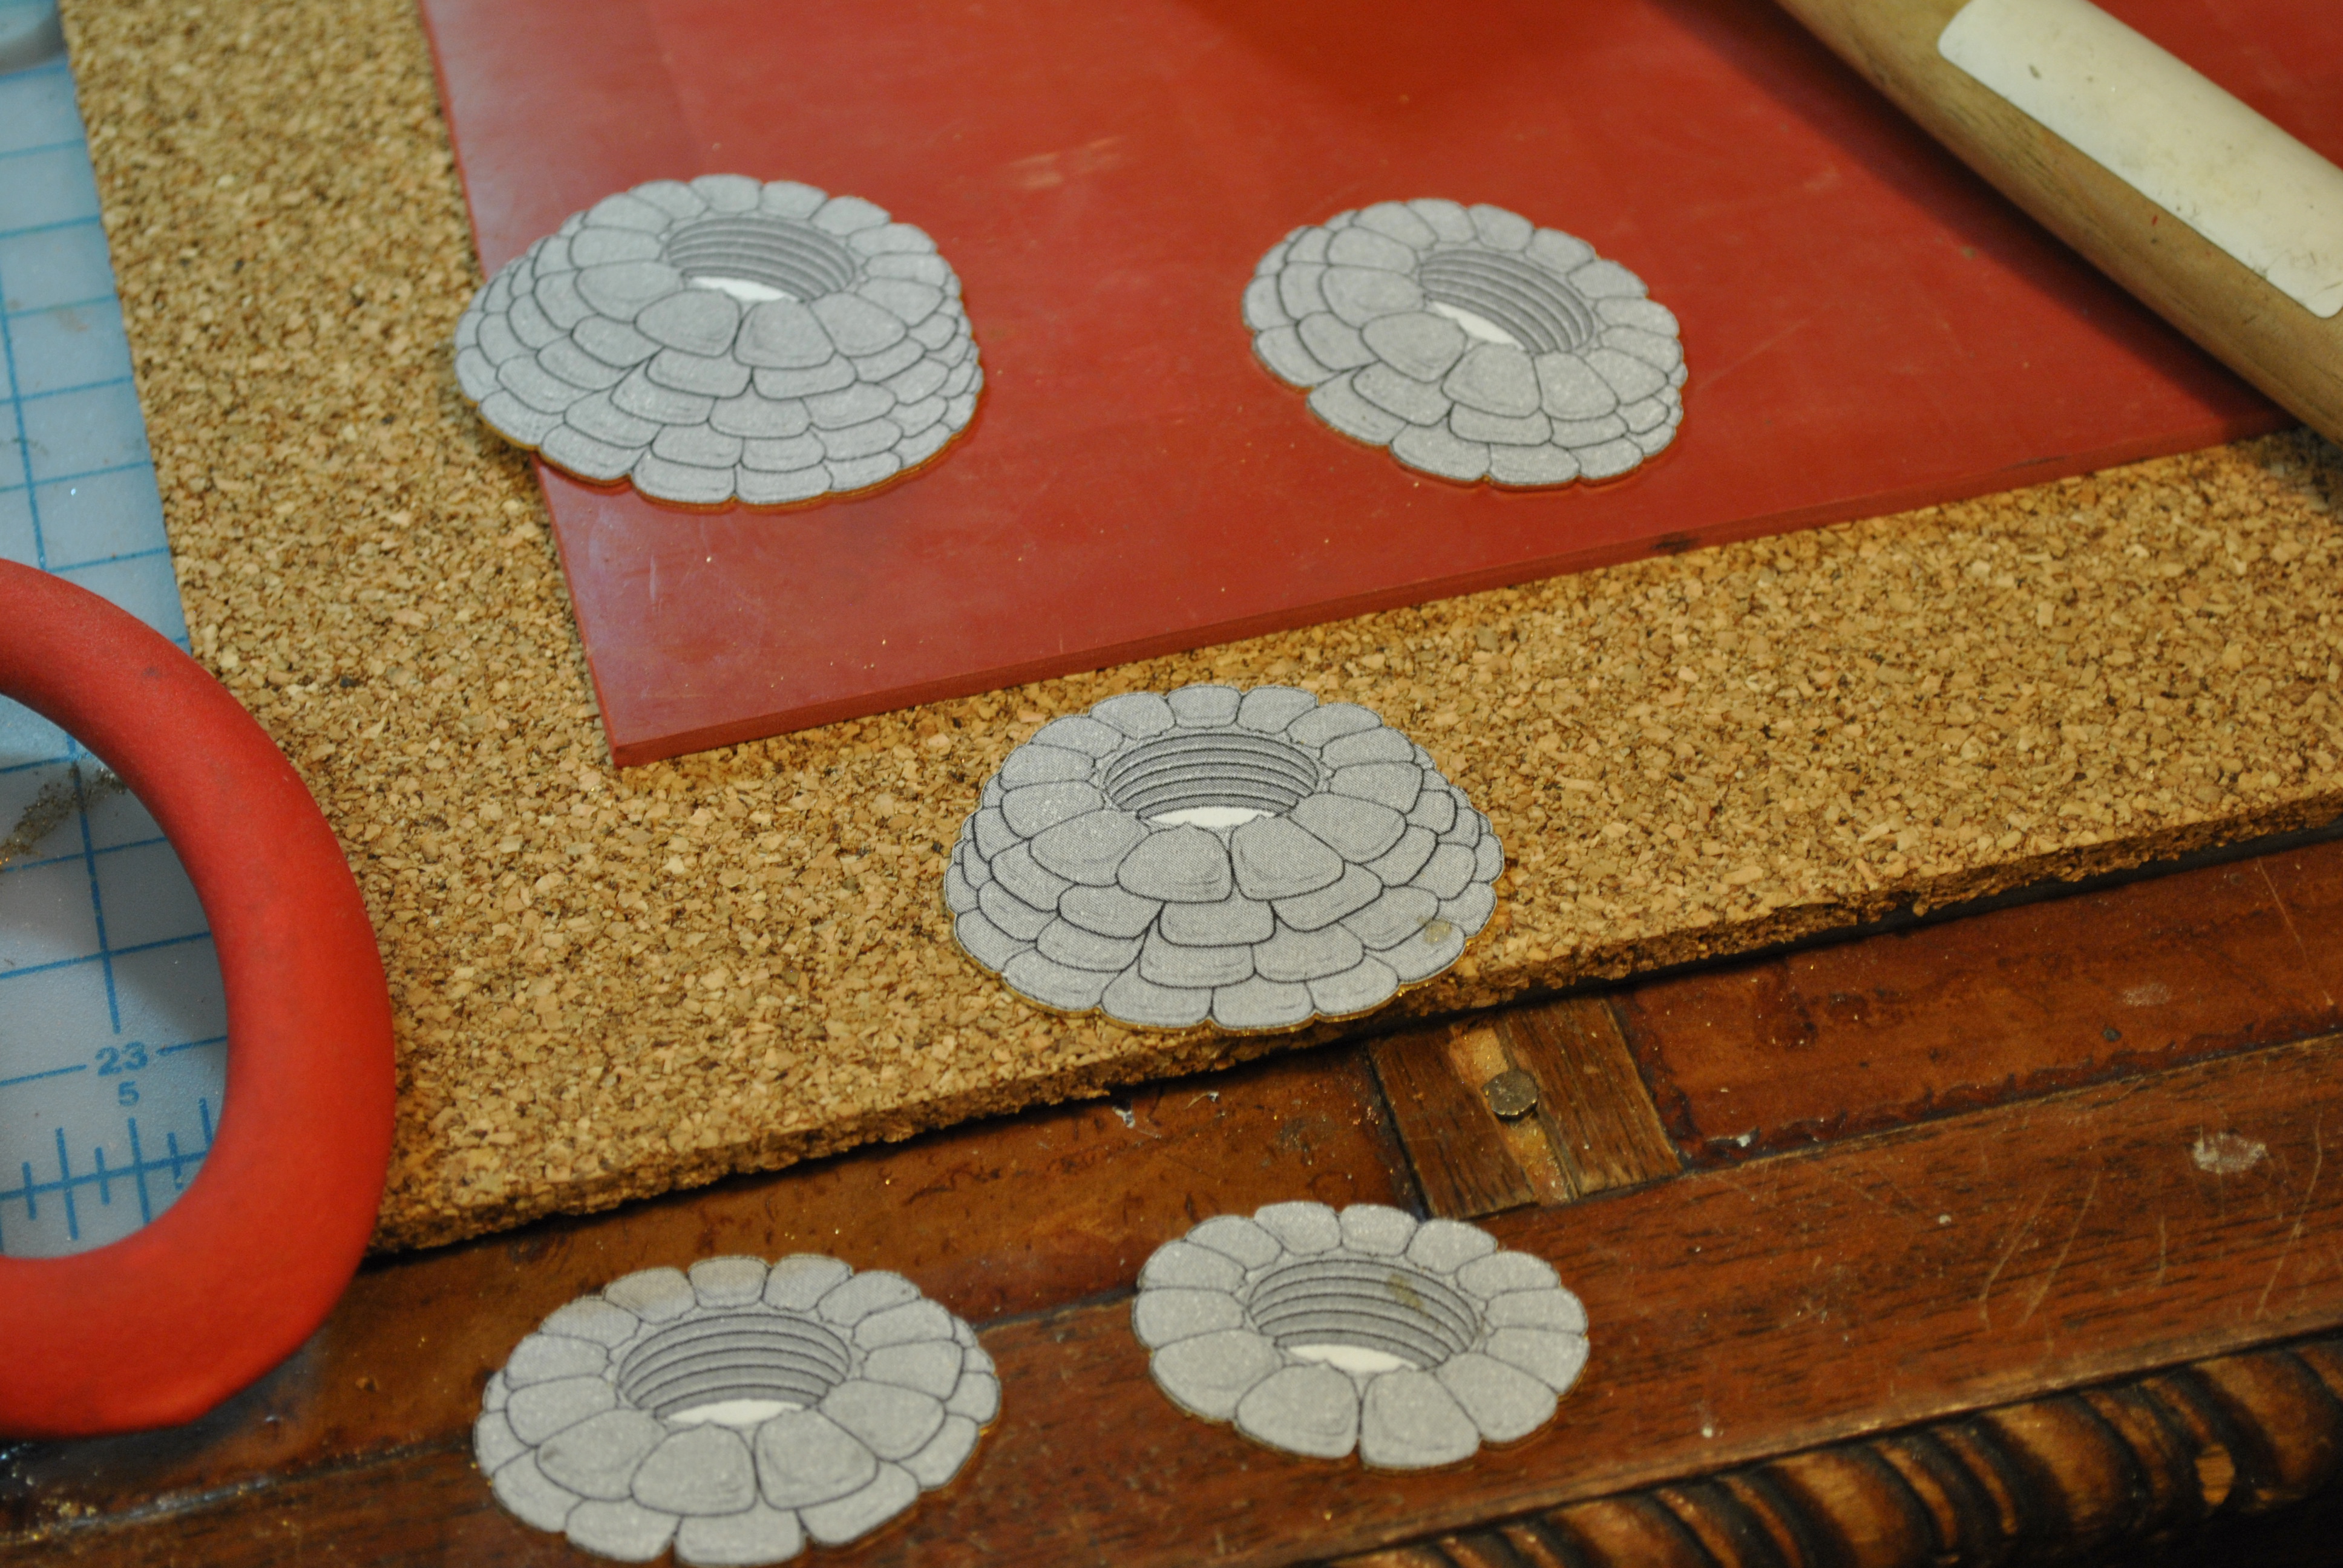
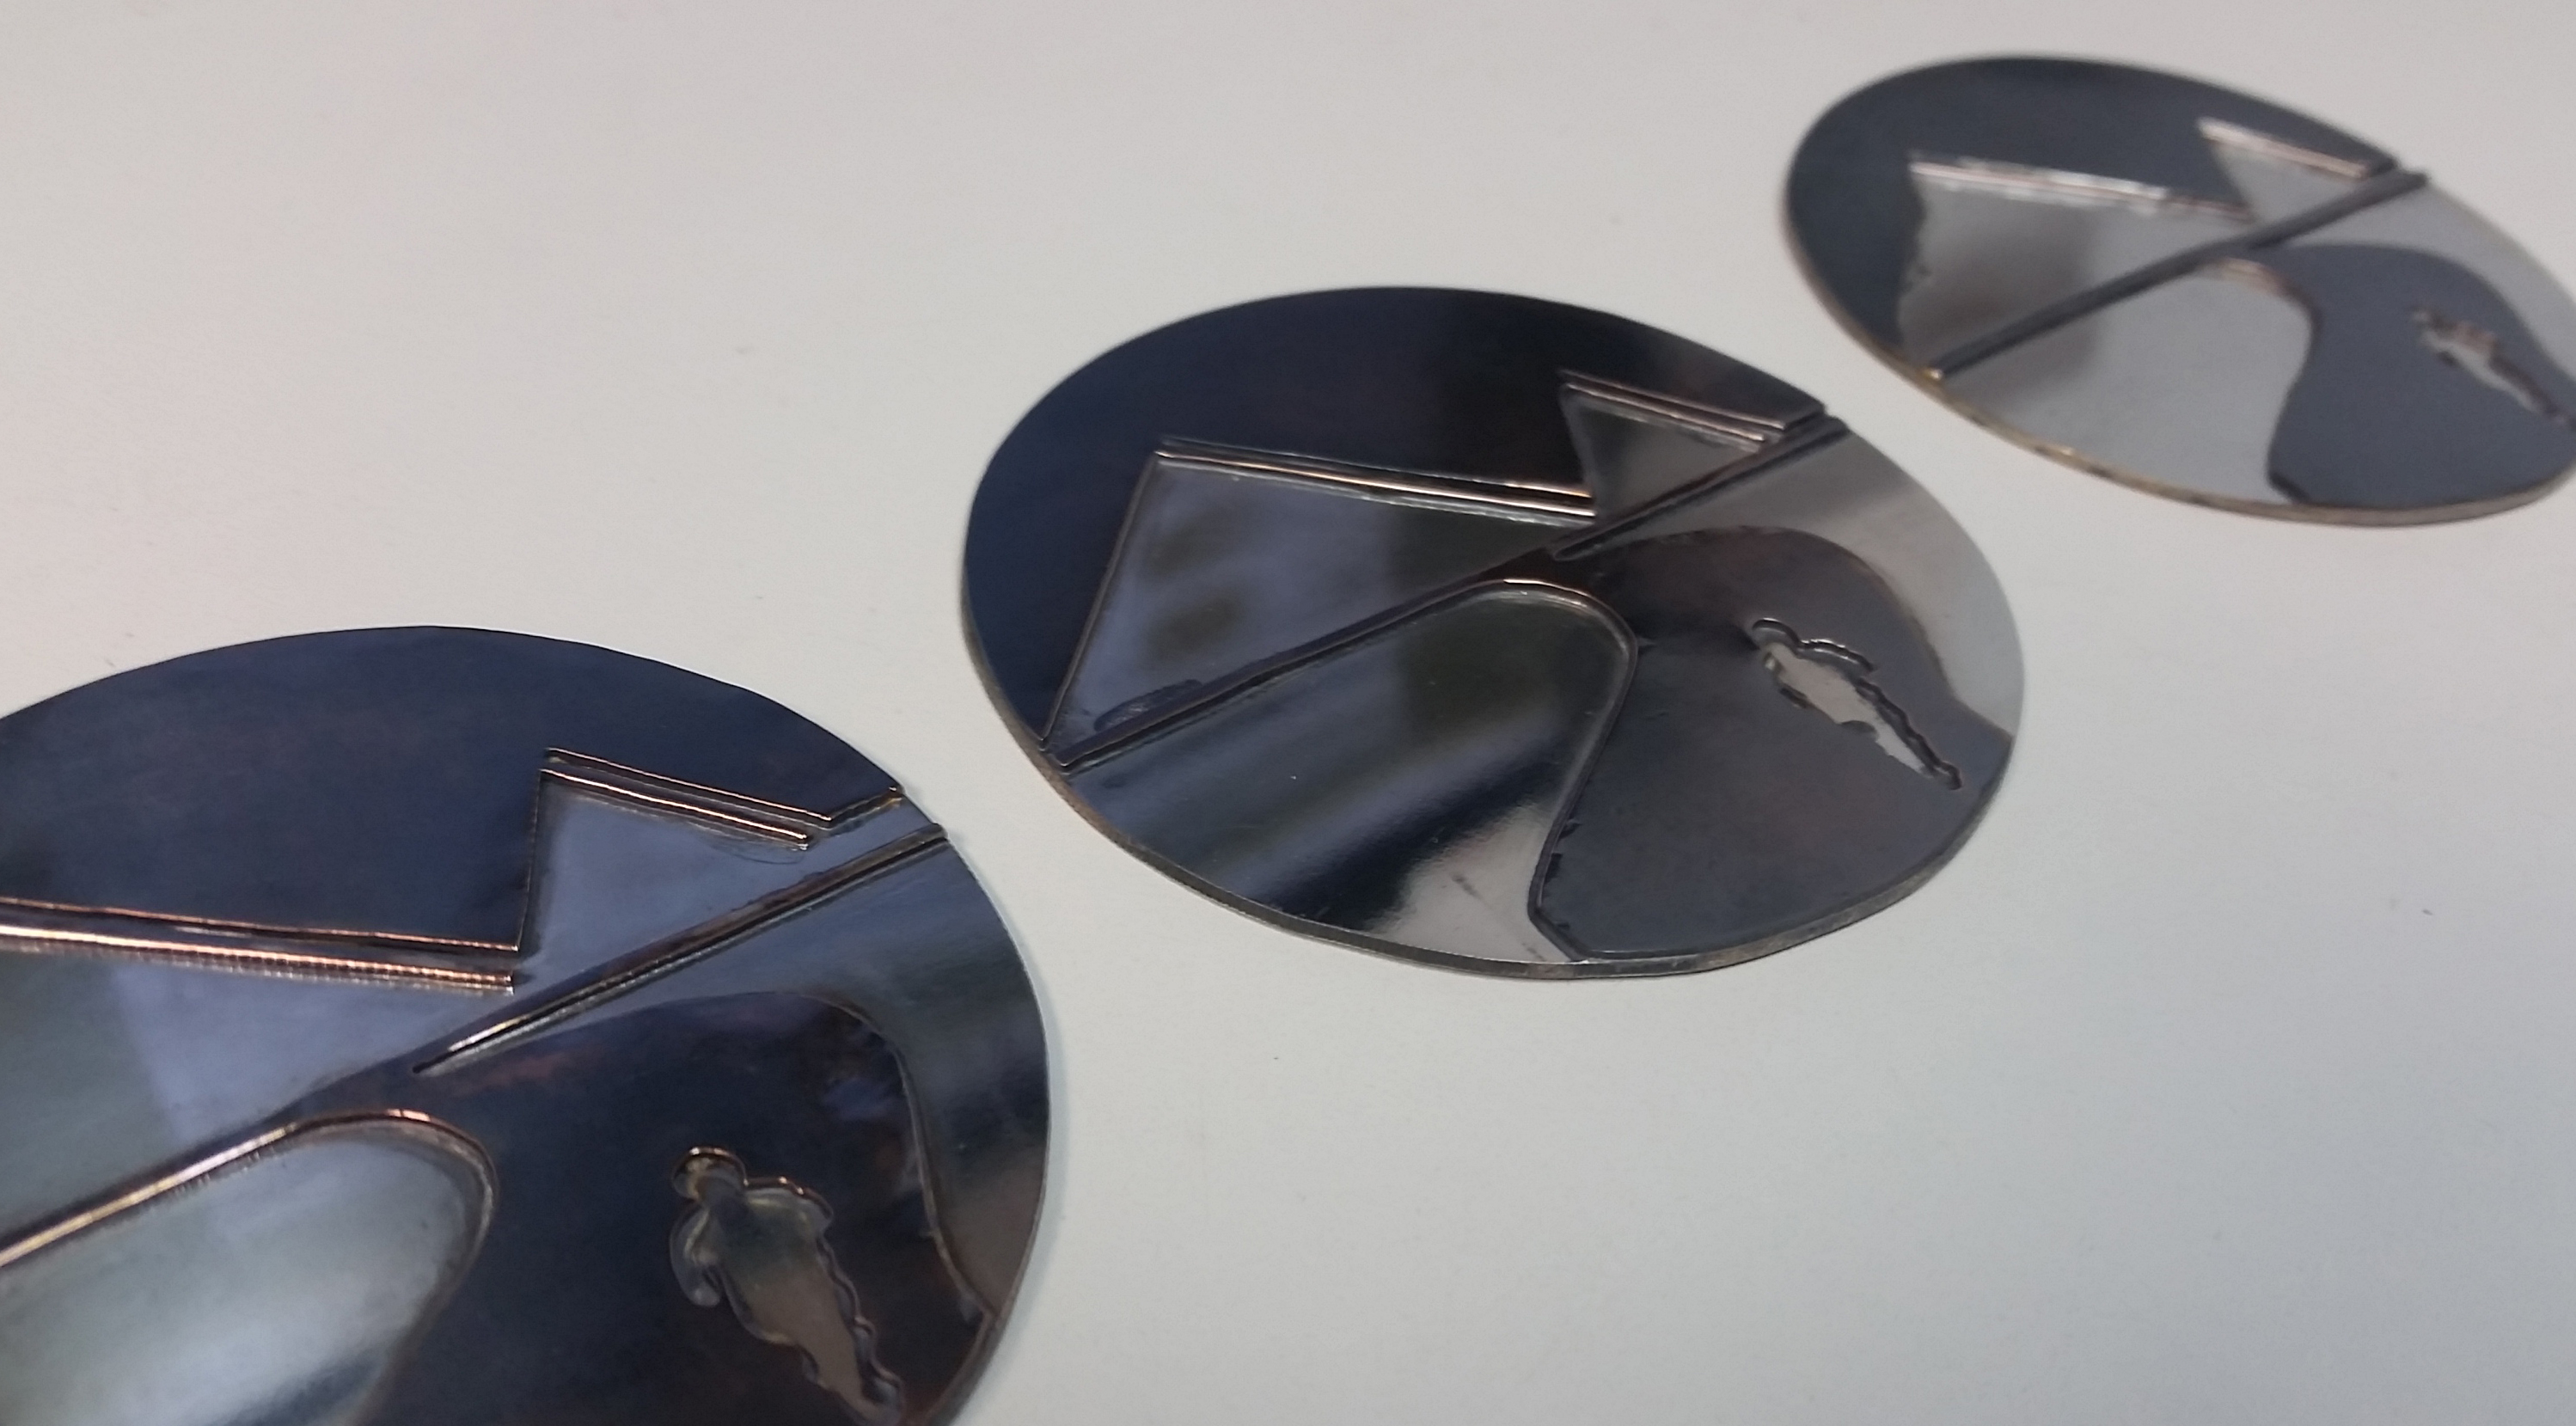
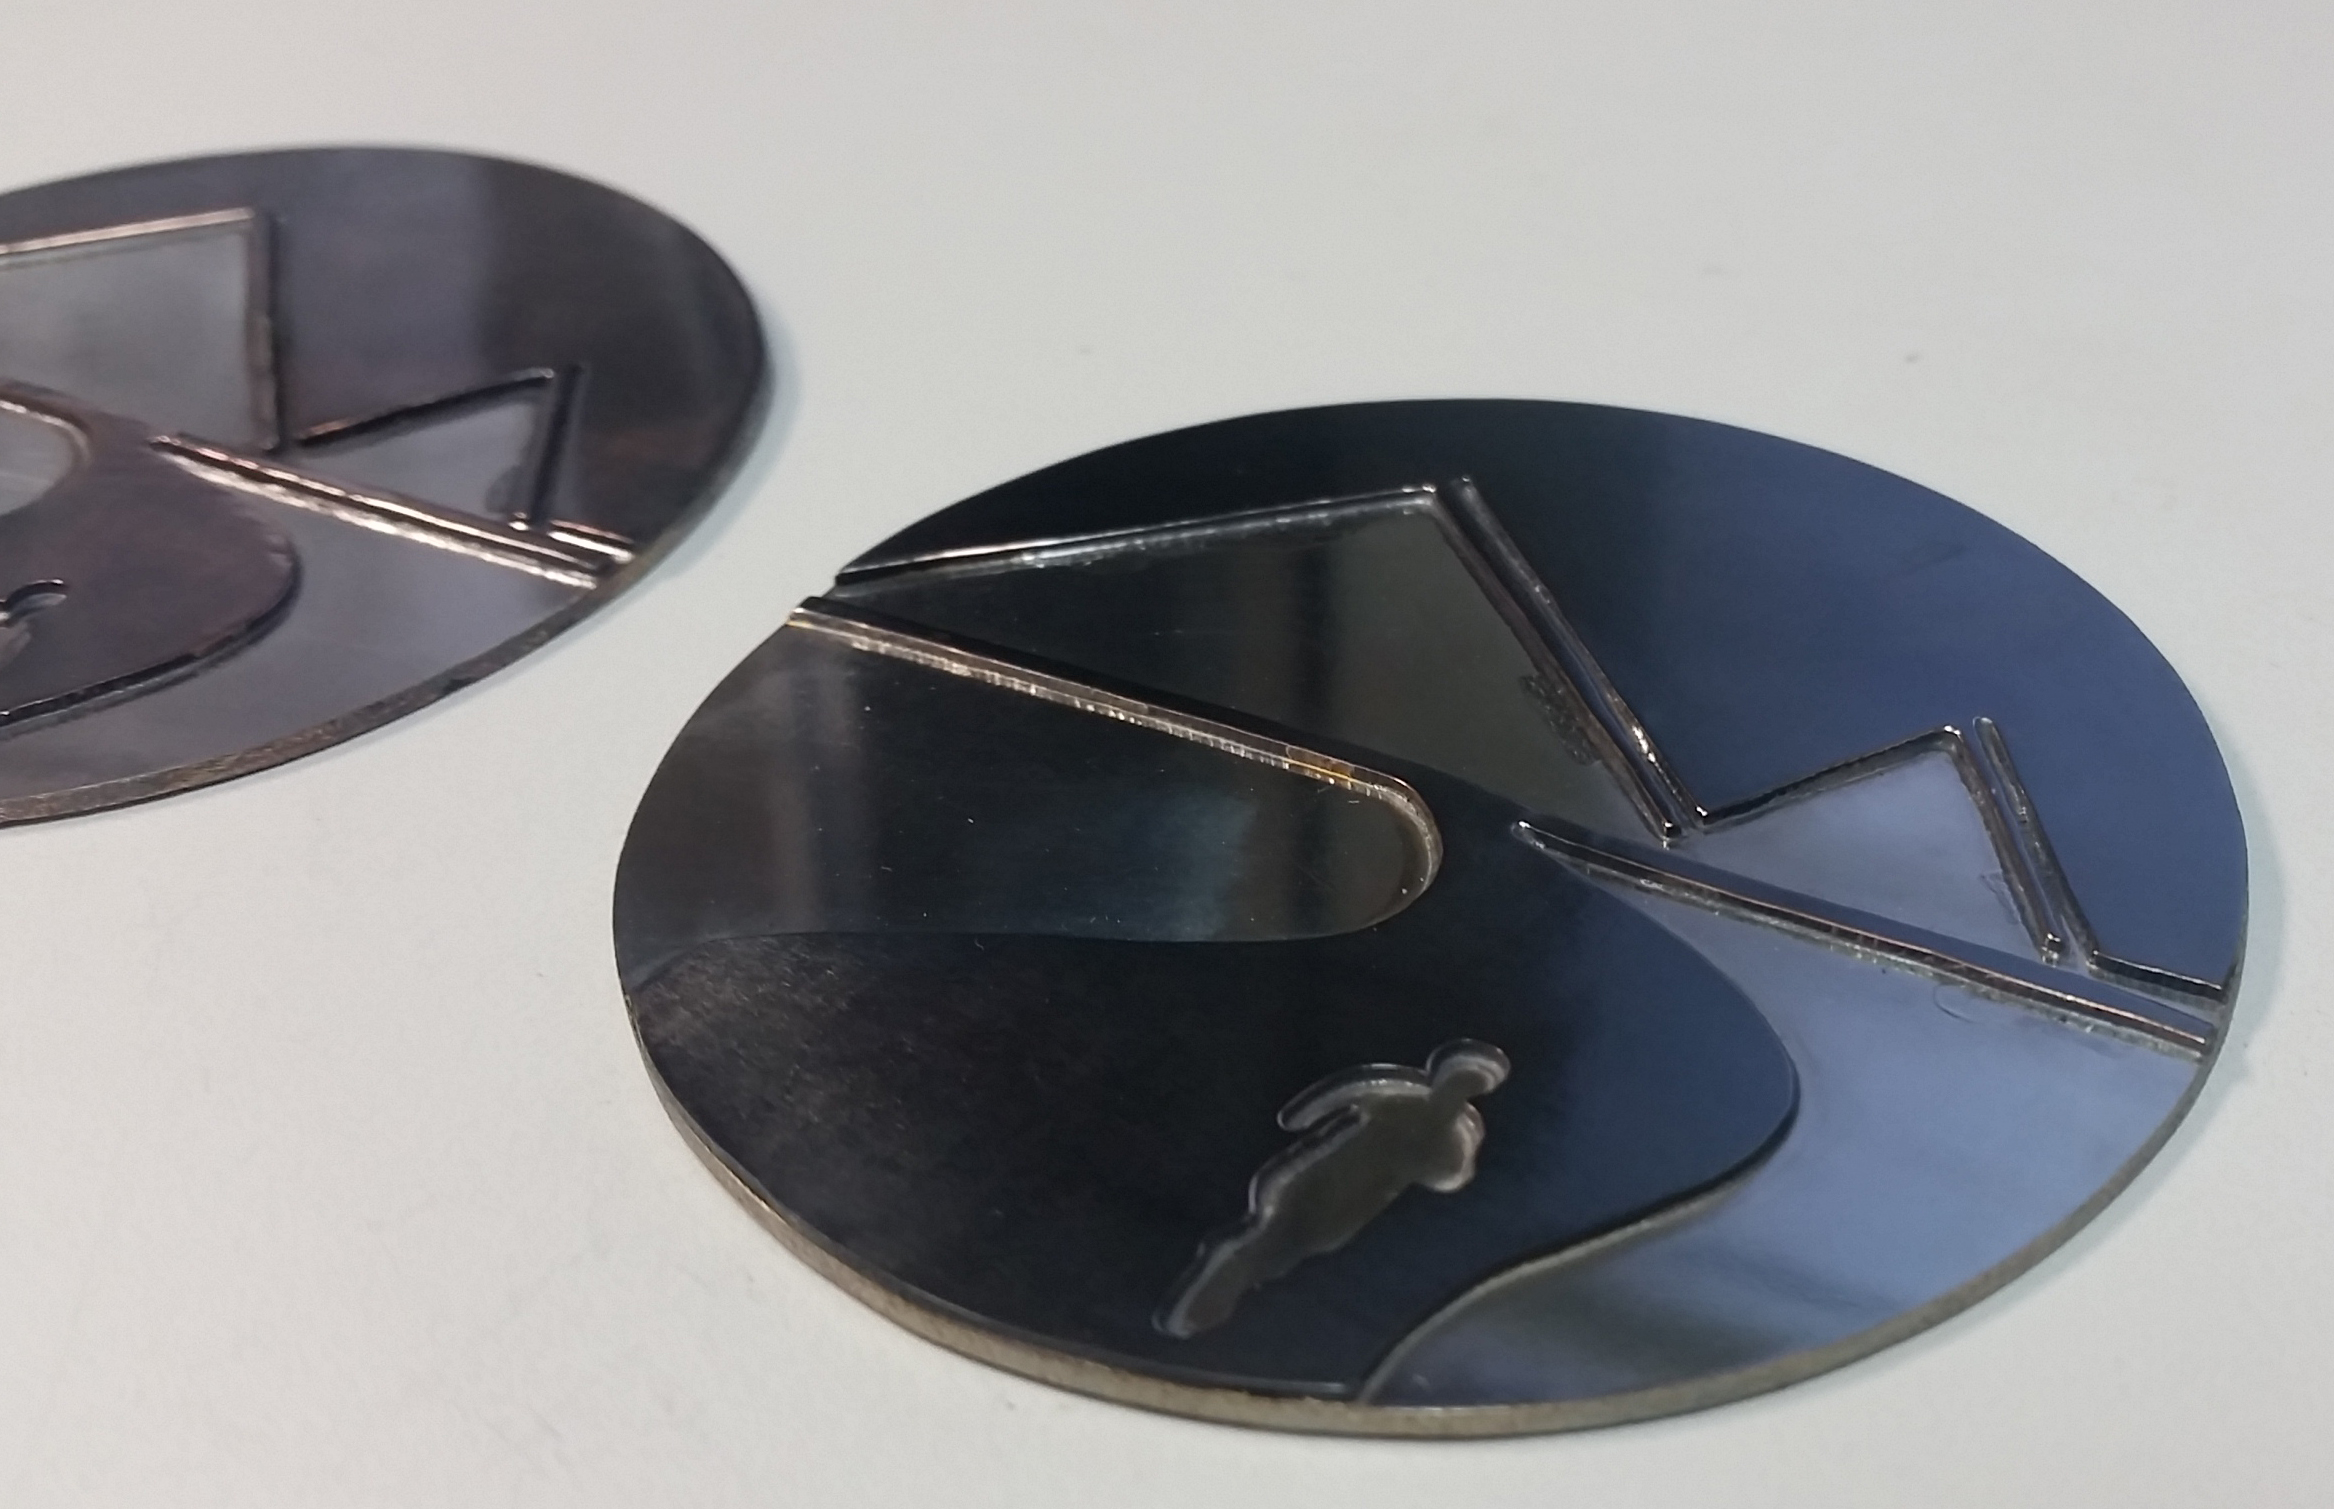
After they were cut out I filed and cut out the interior of the design, what you can’t see in this picture (but you can in the following) is where I etched the lines of the design in and filed the kernels of the corn.
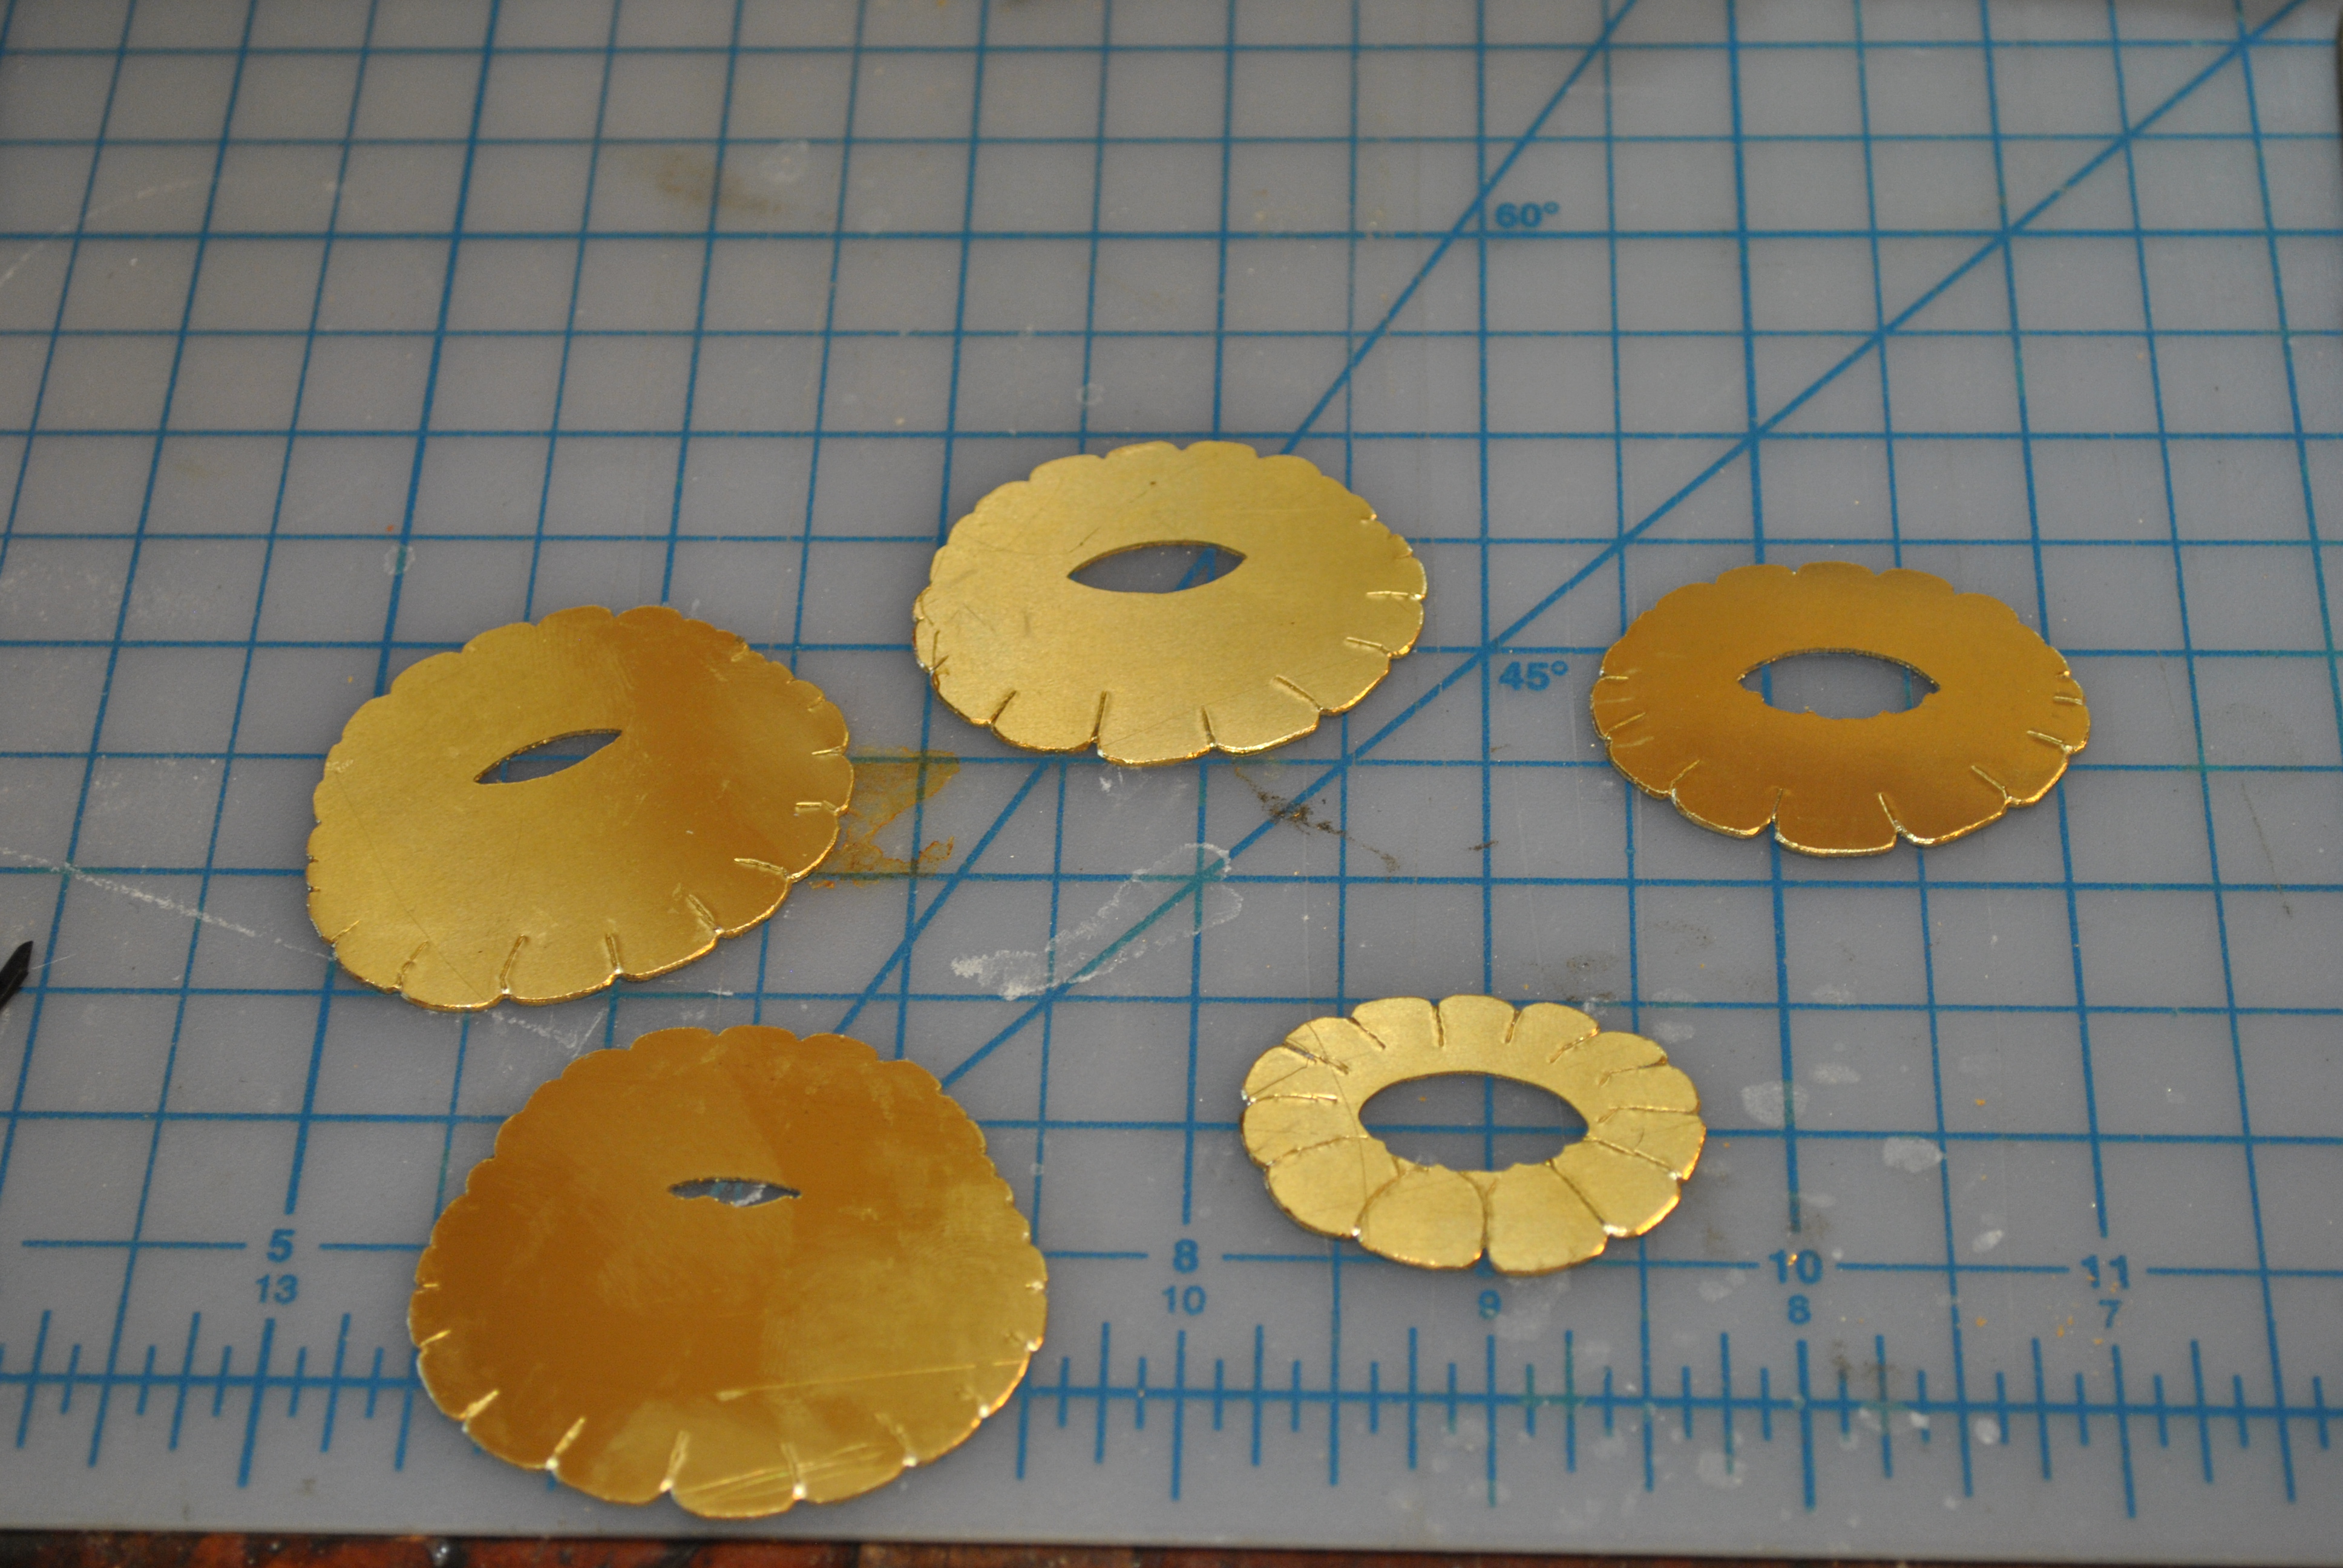
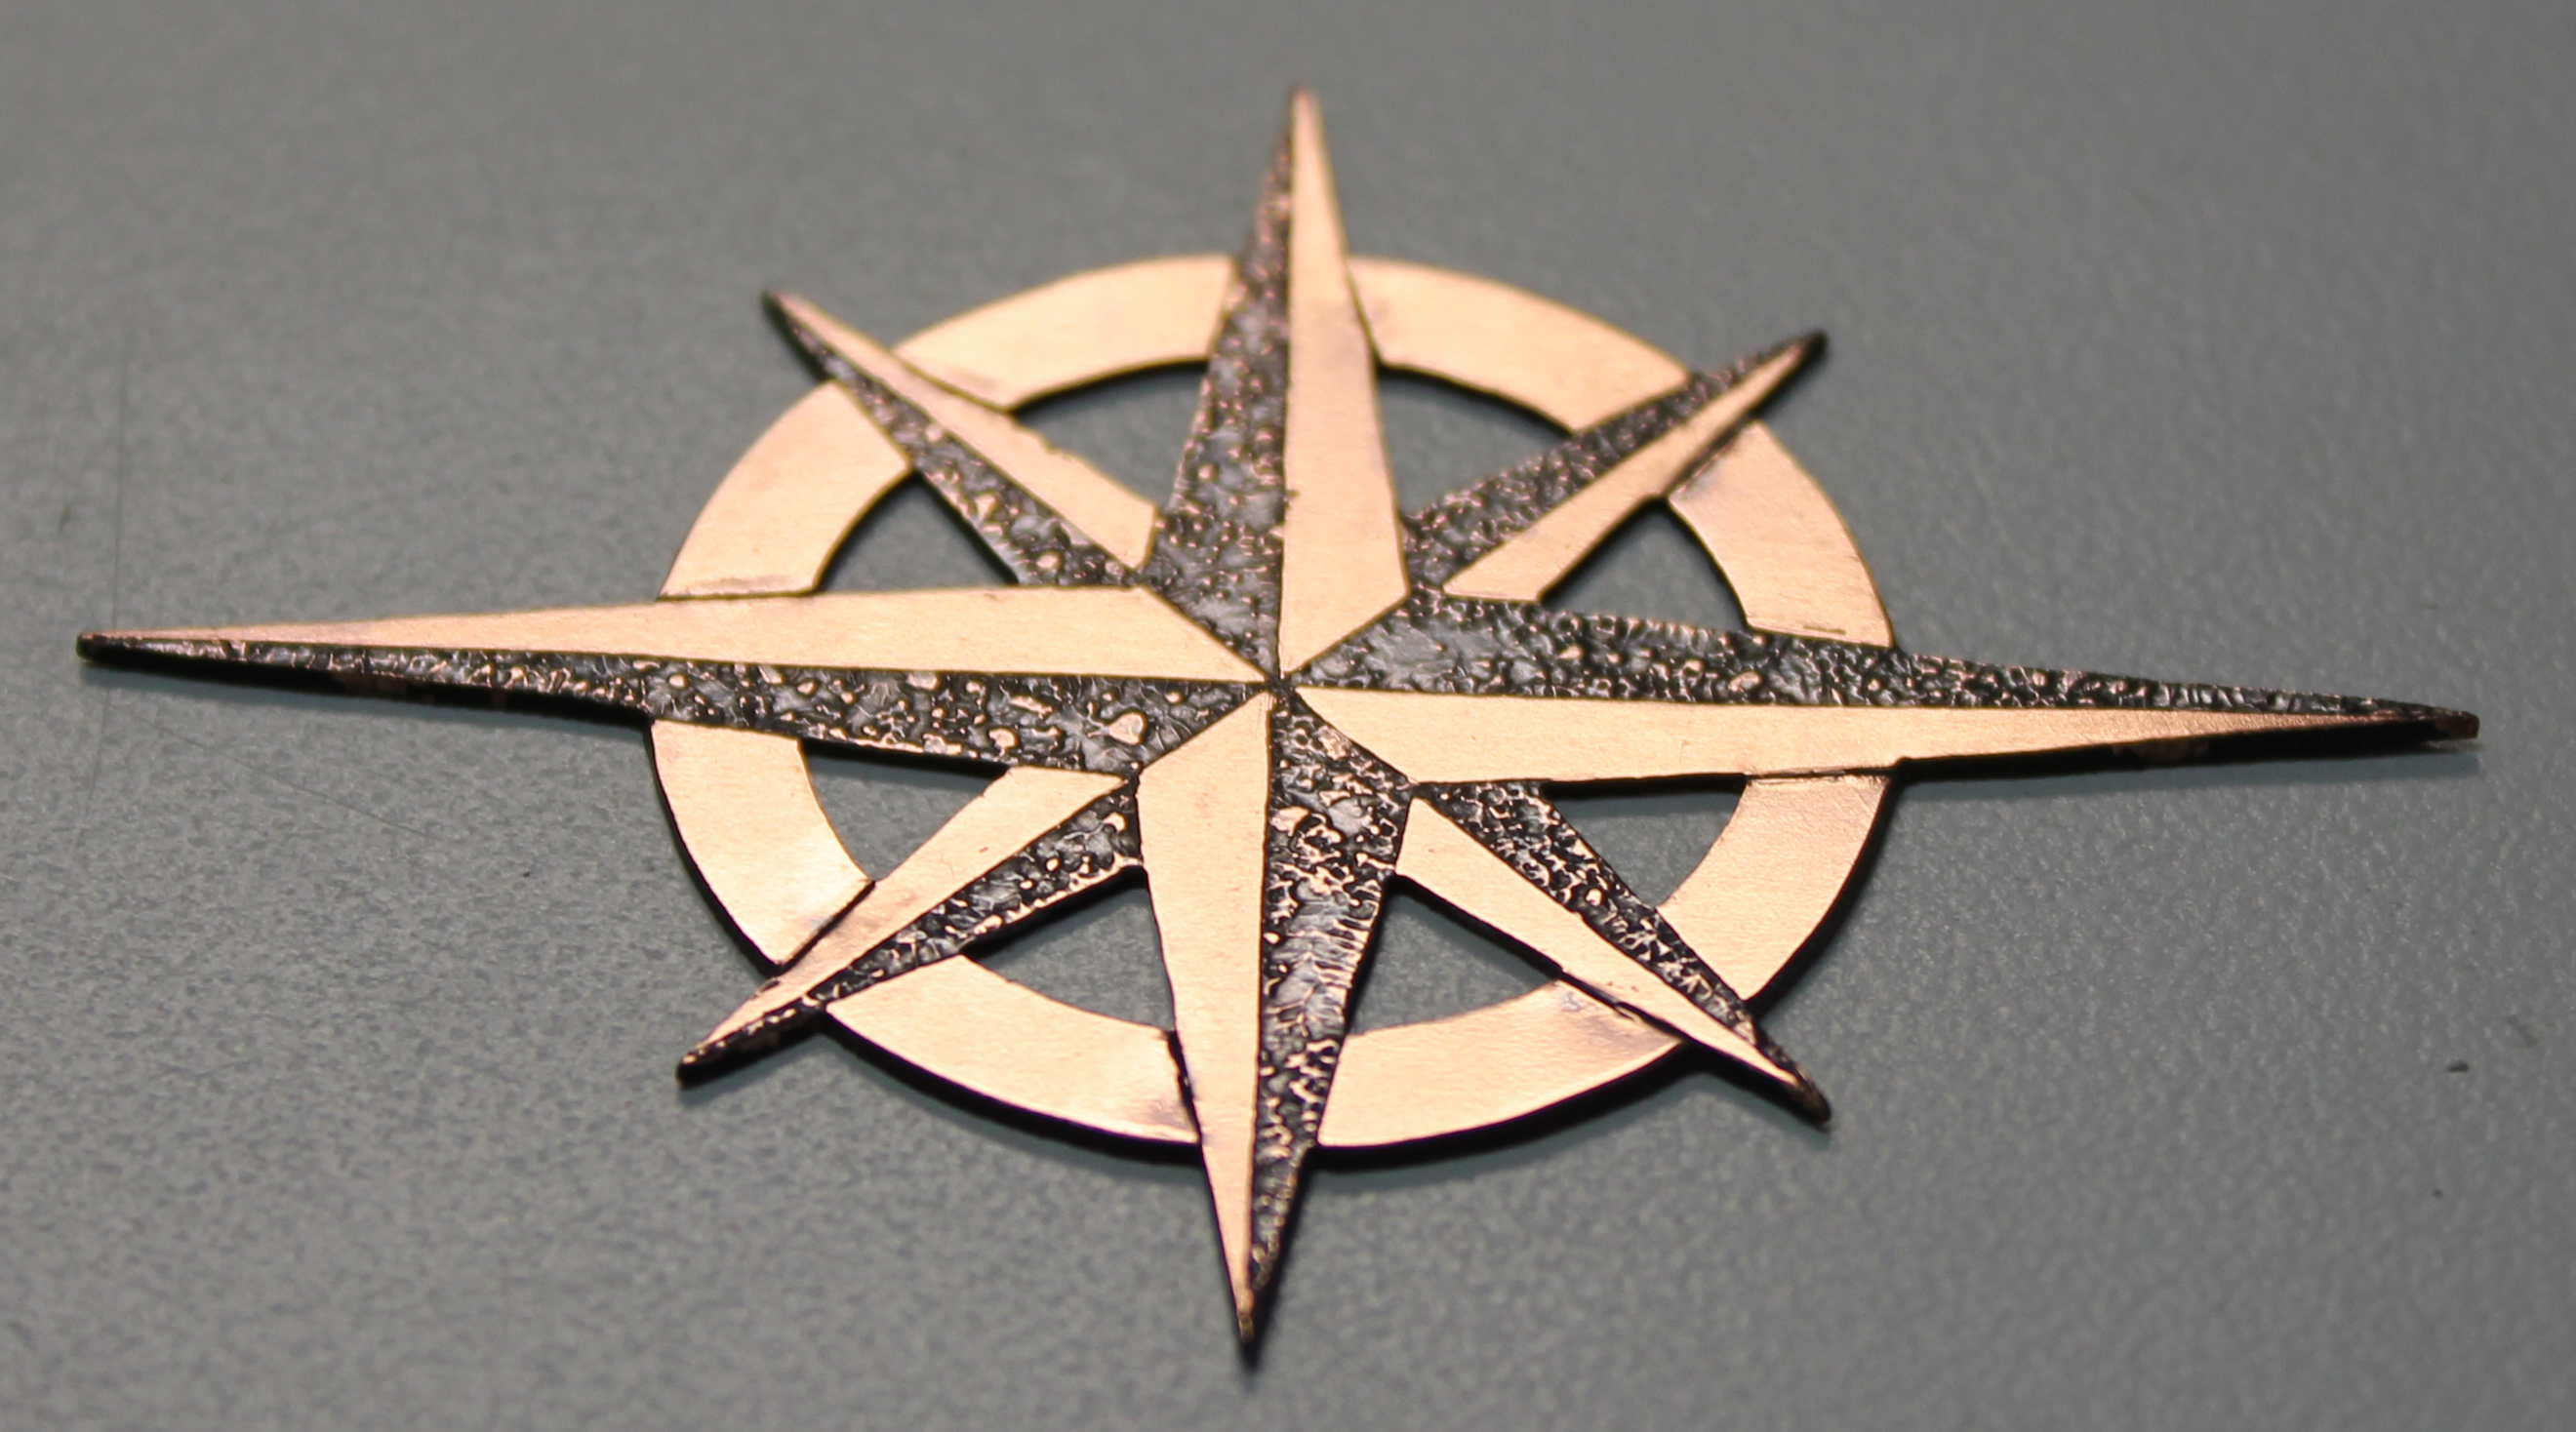
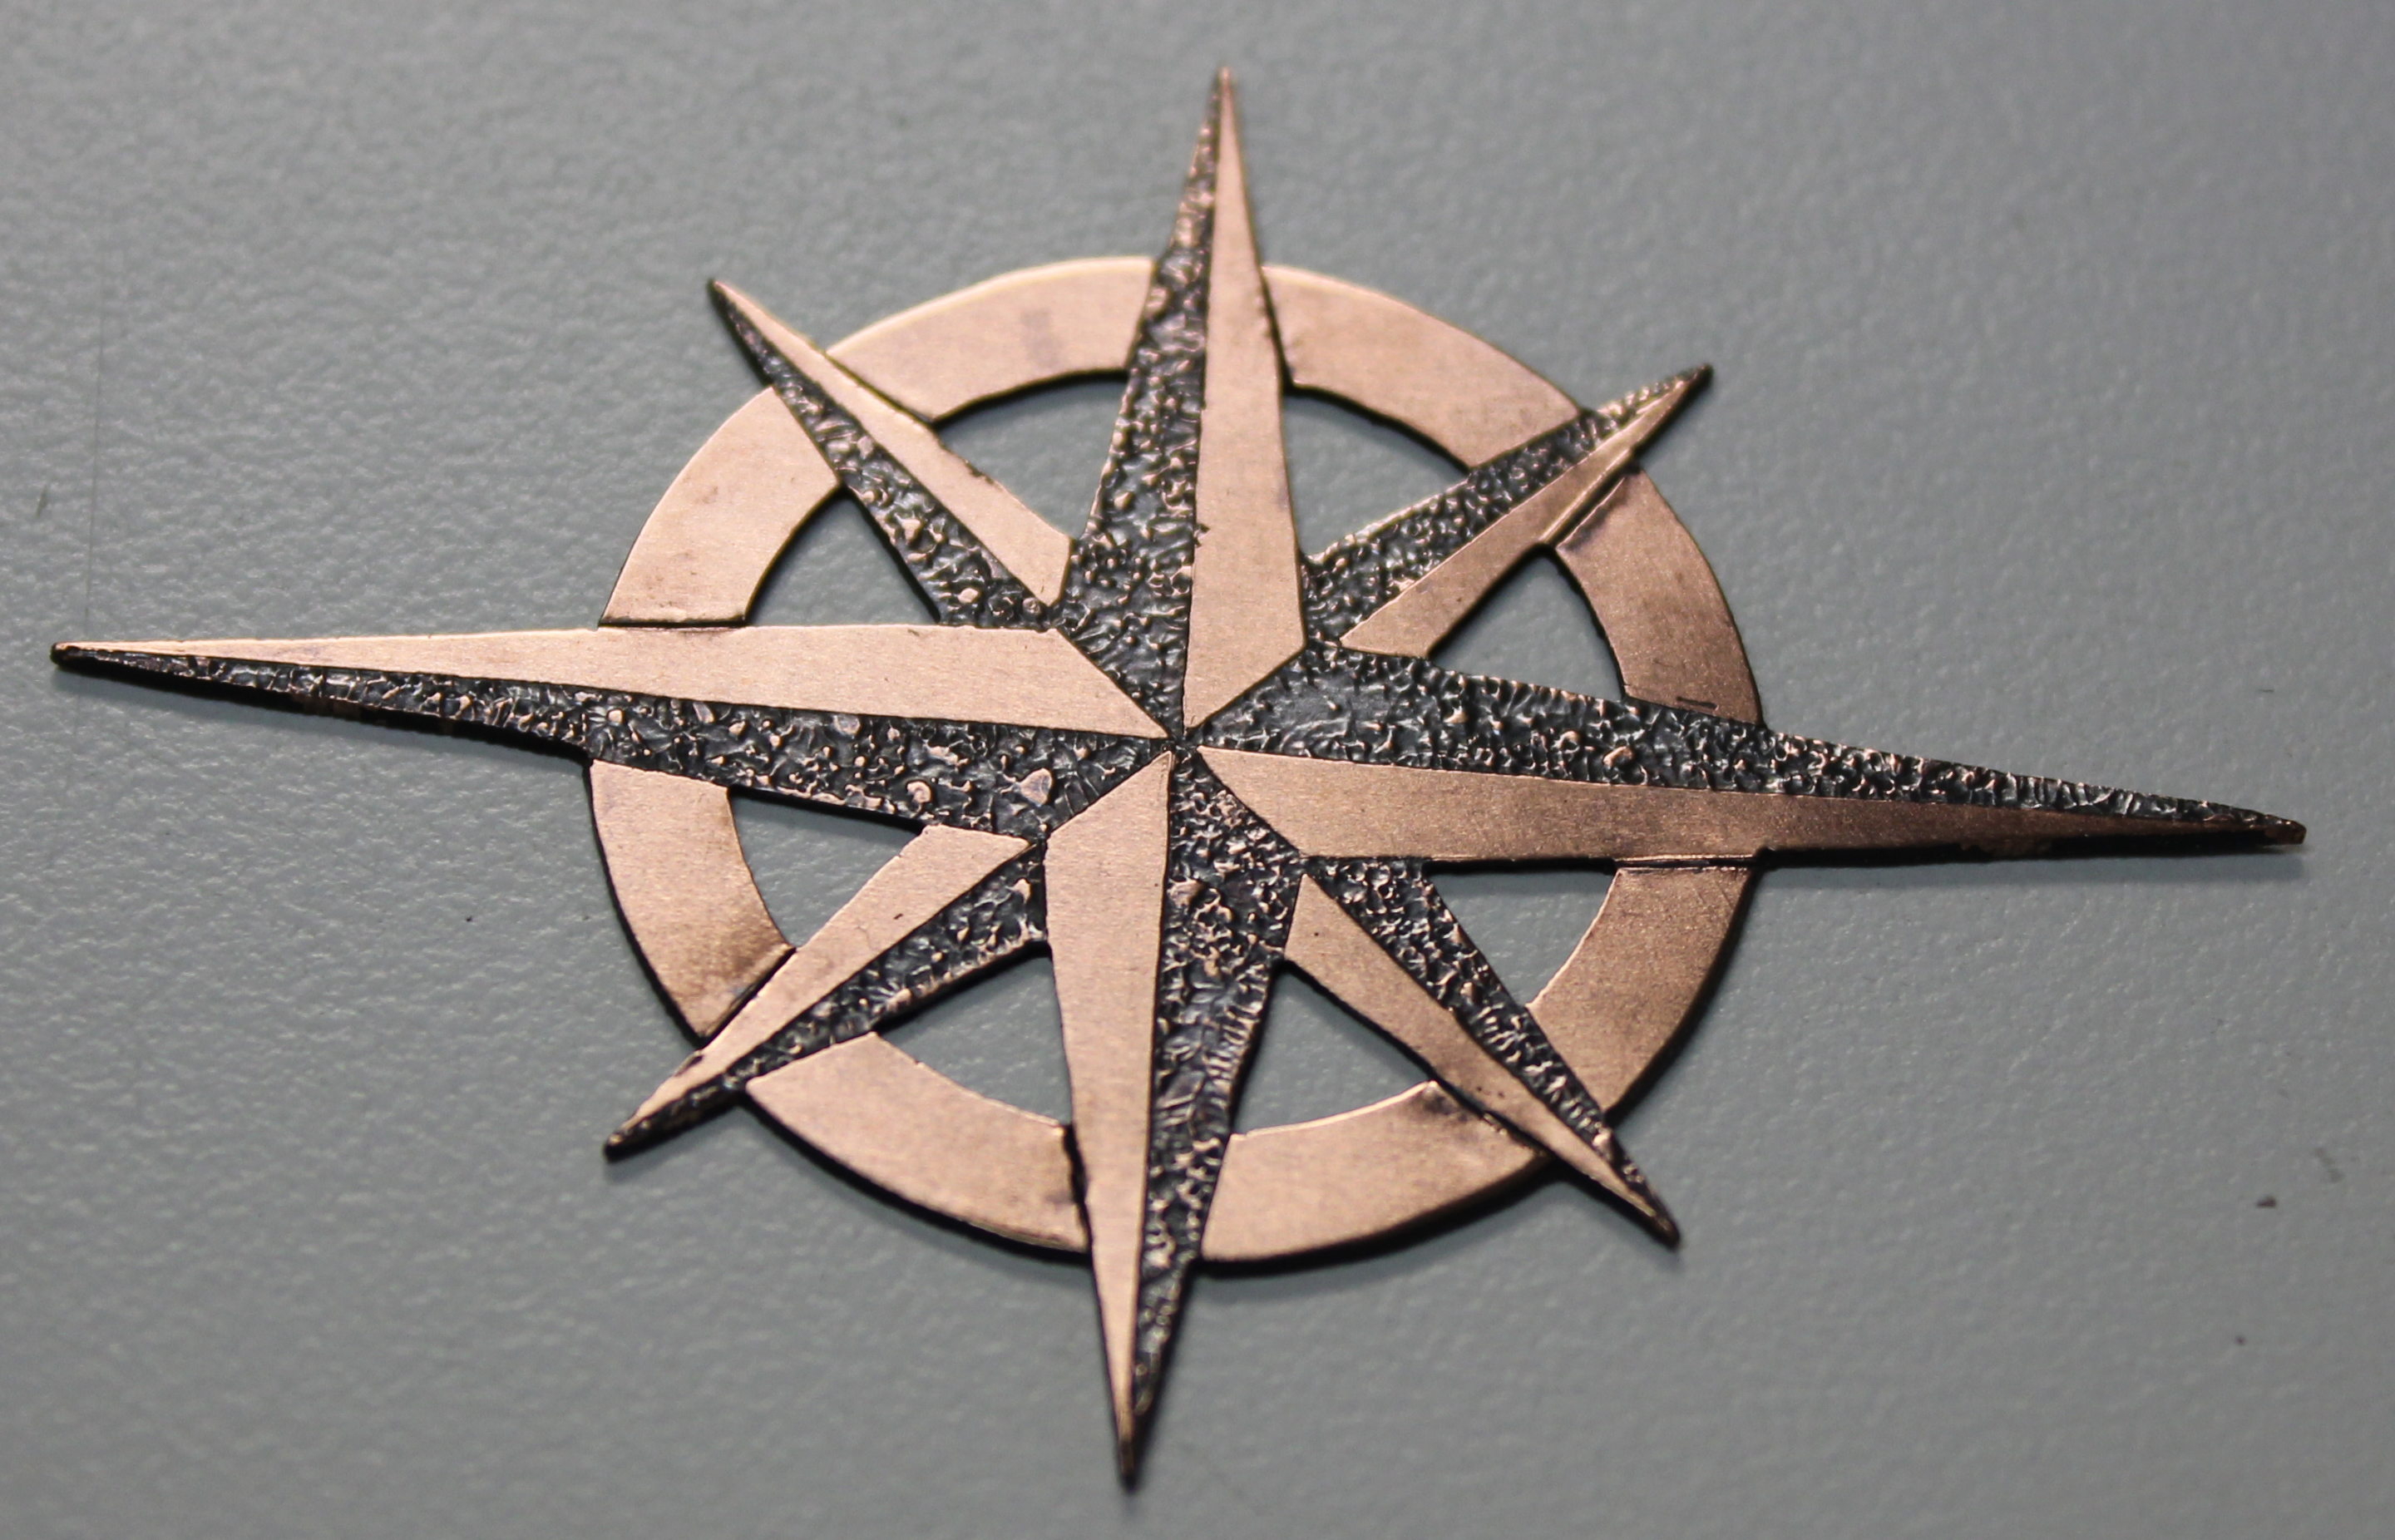
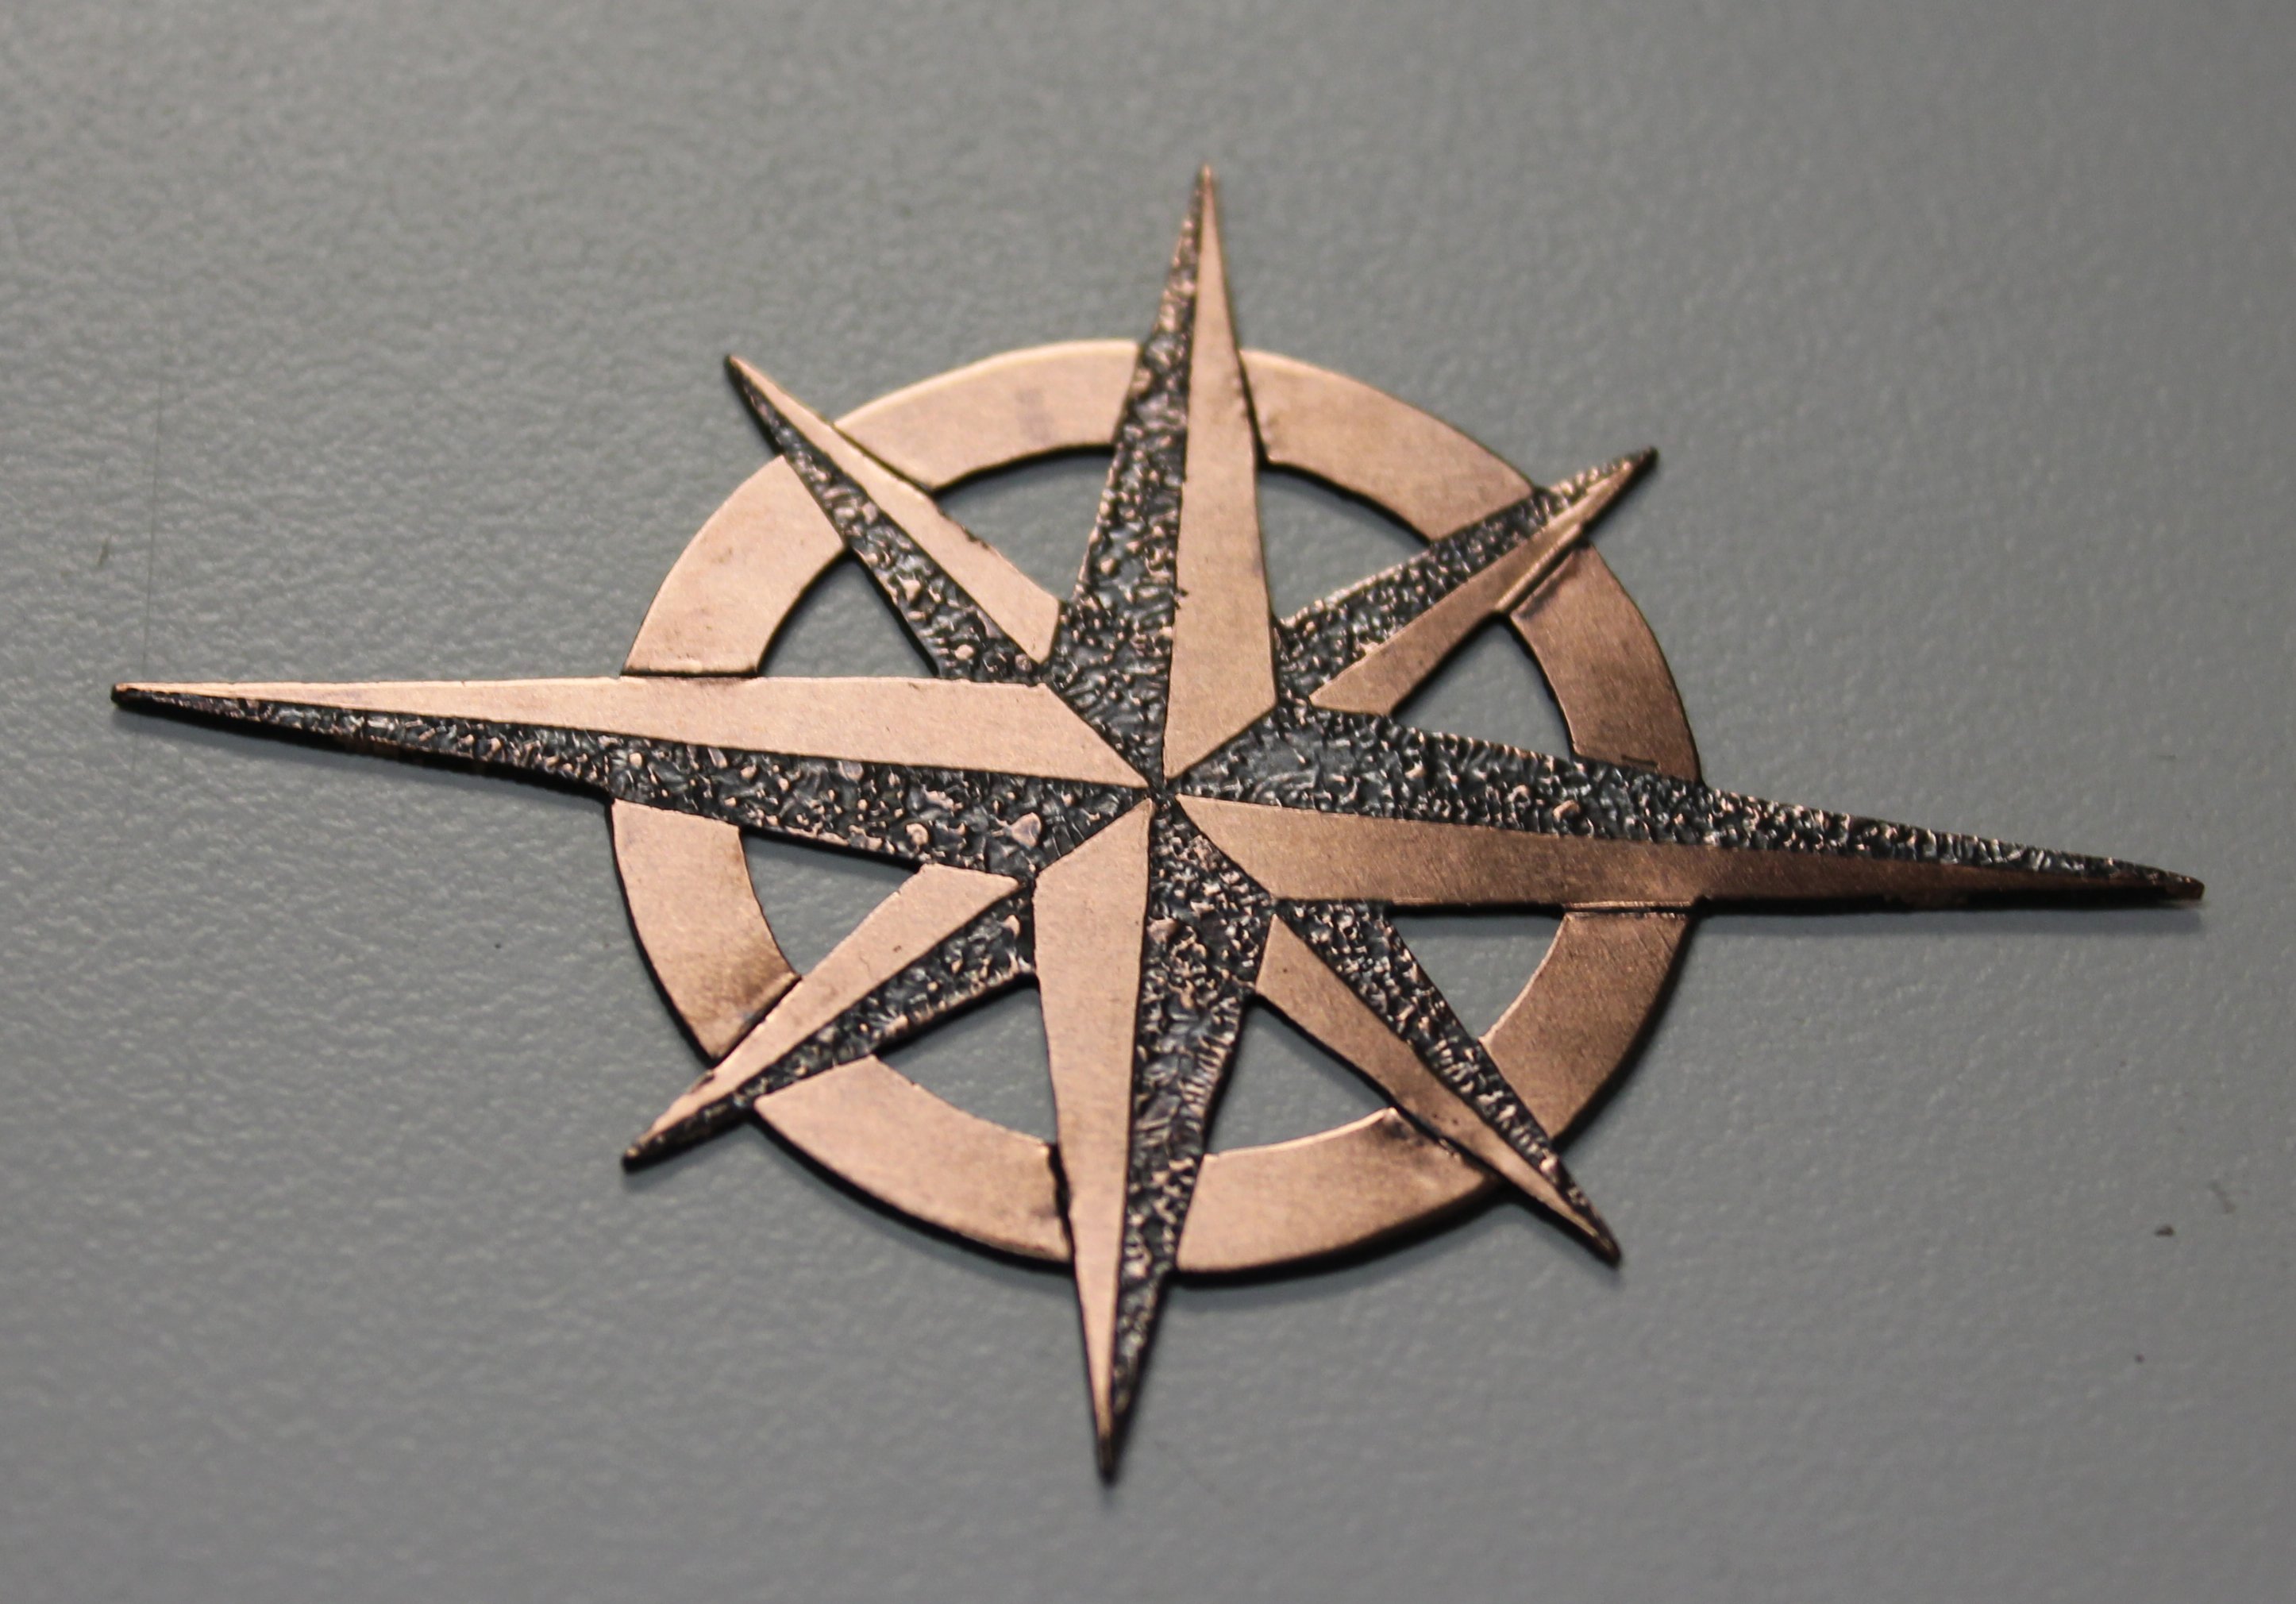
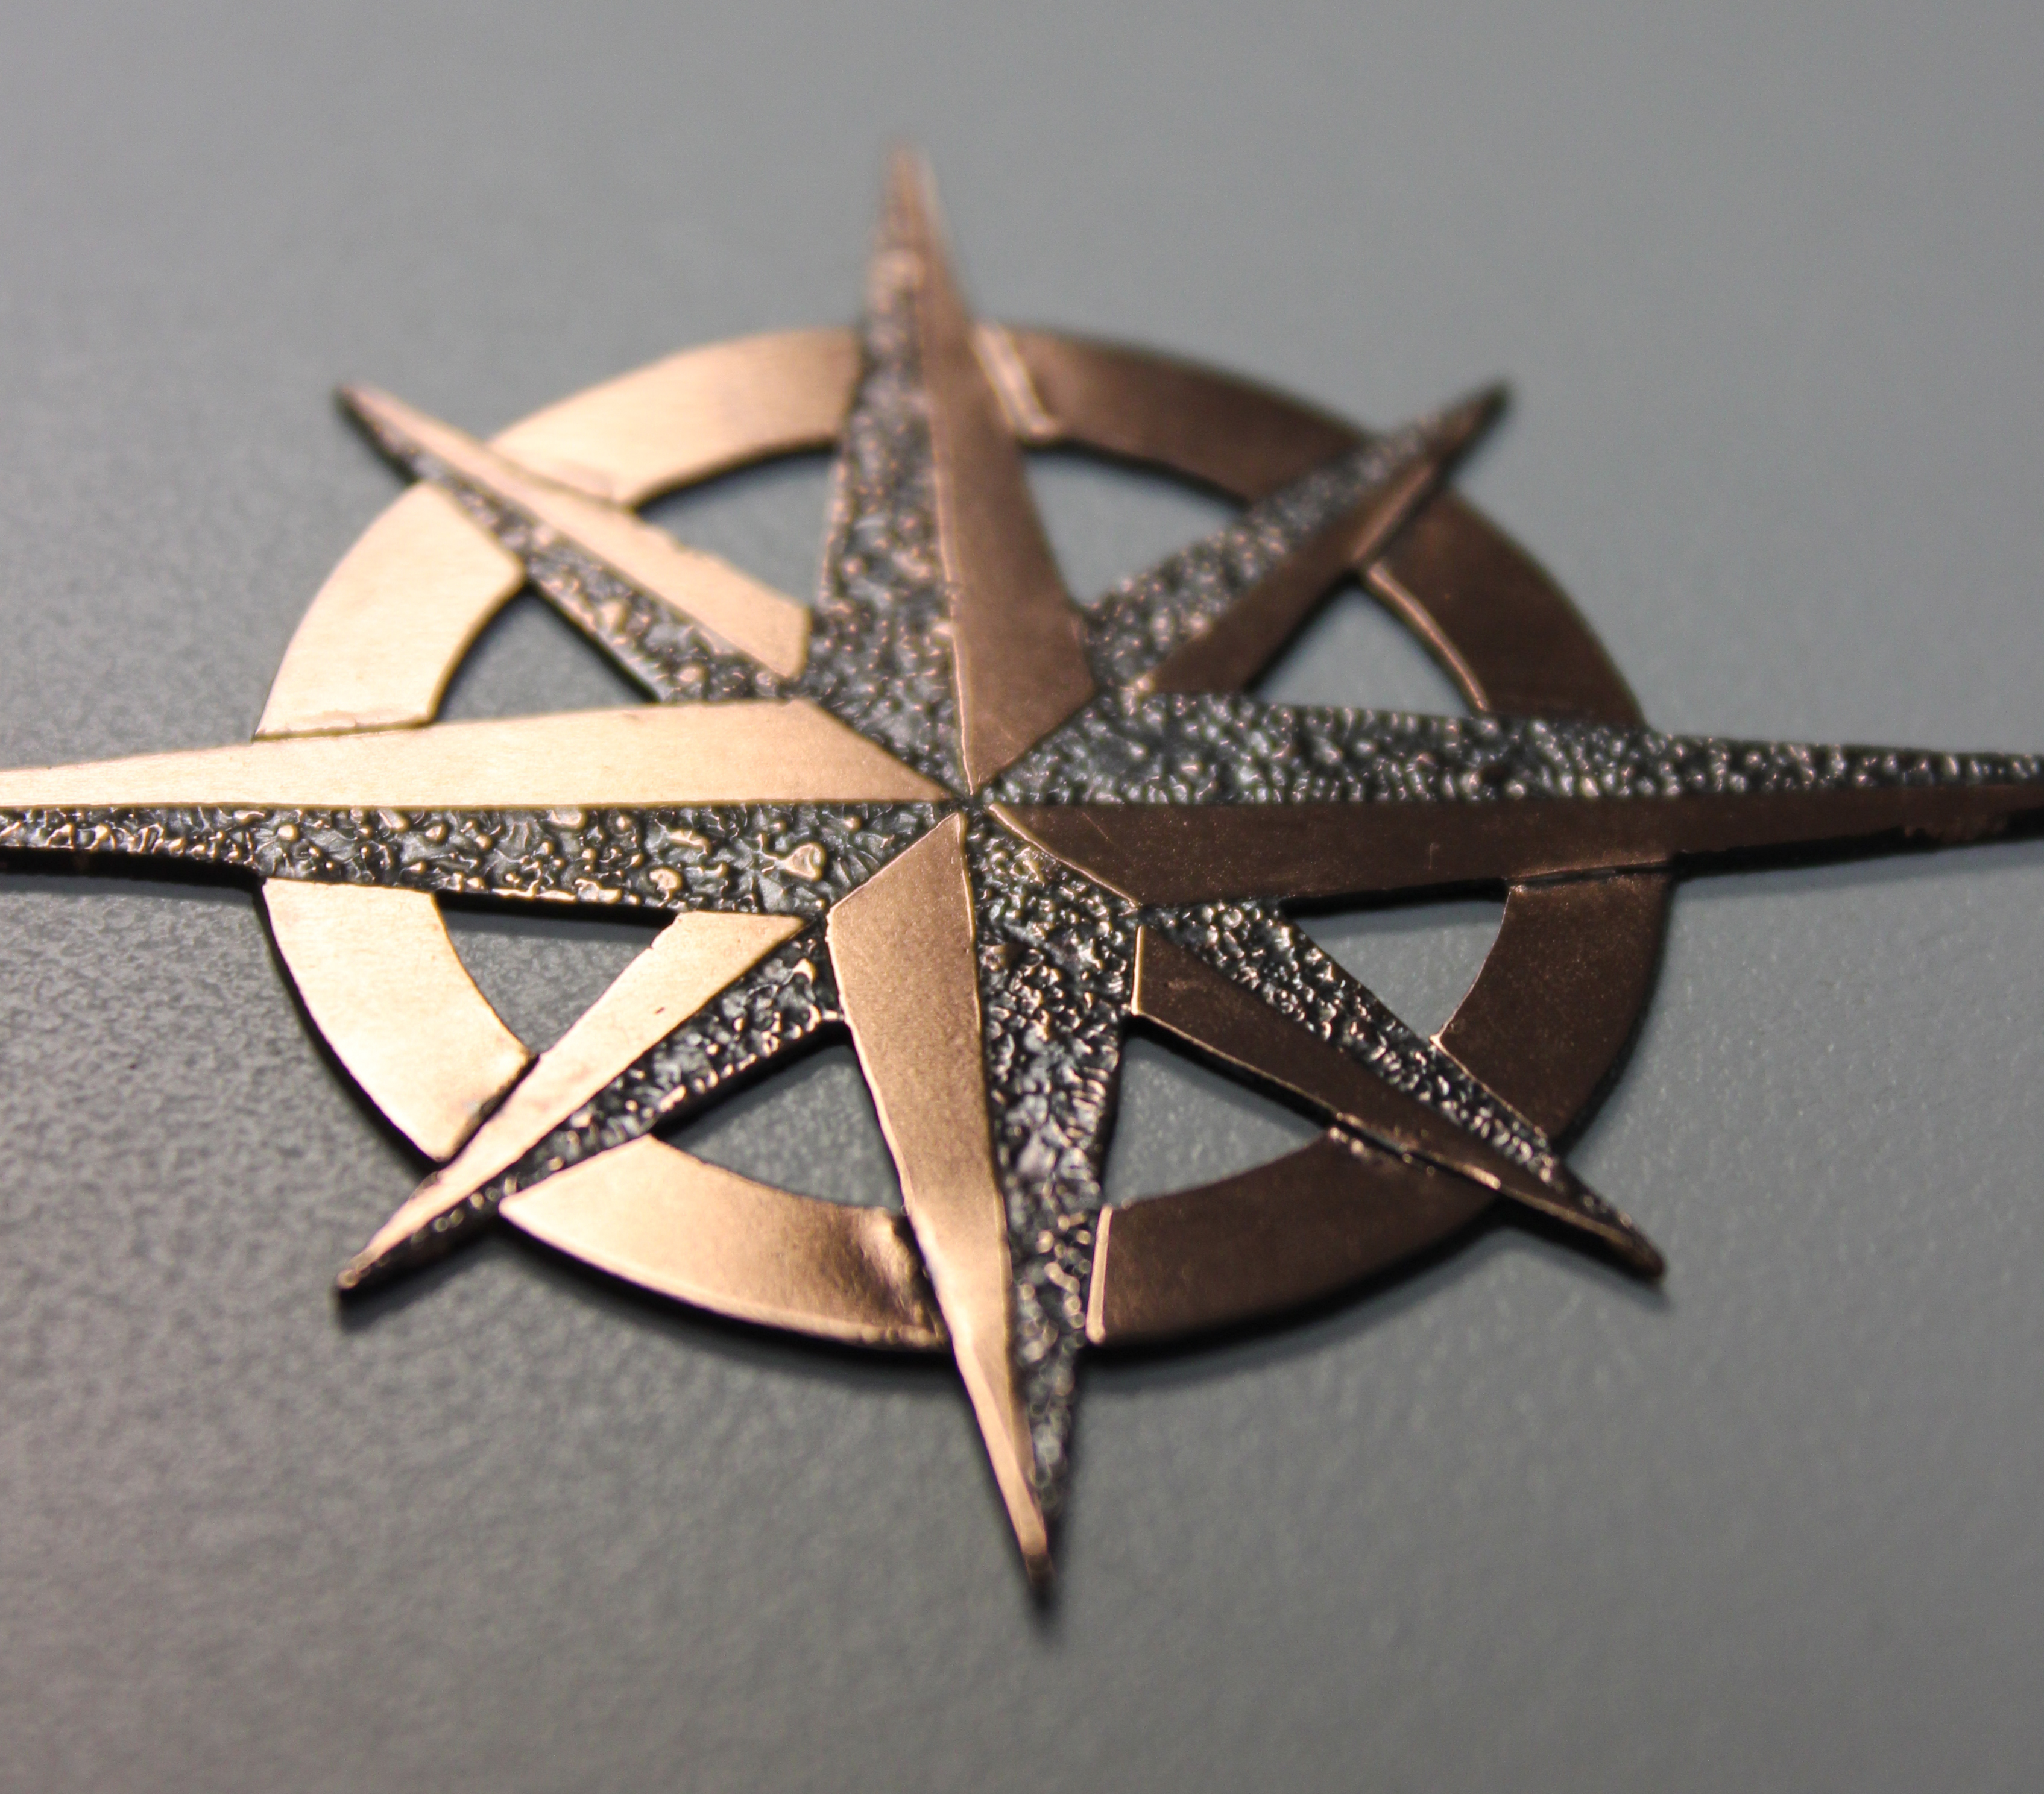
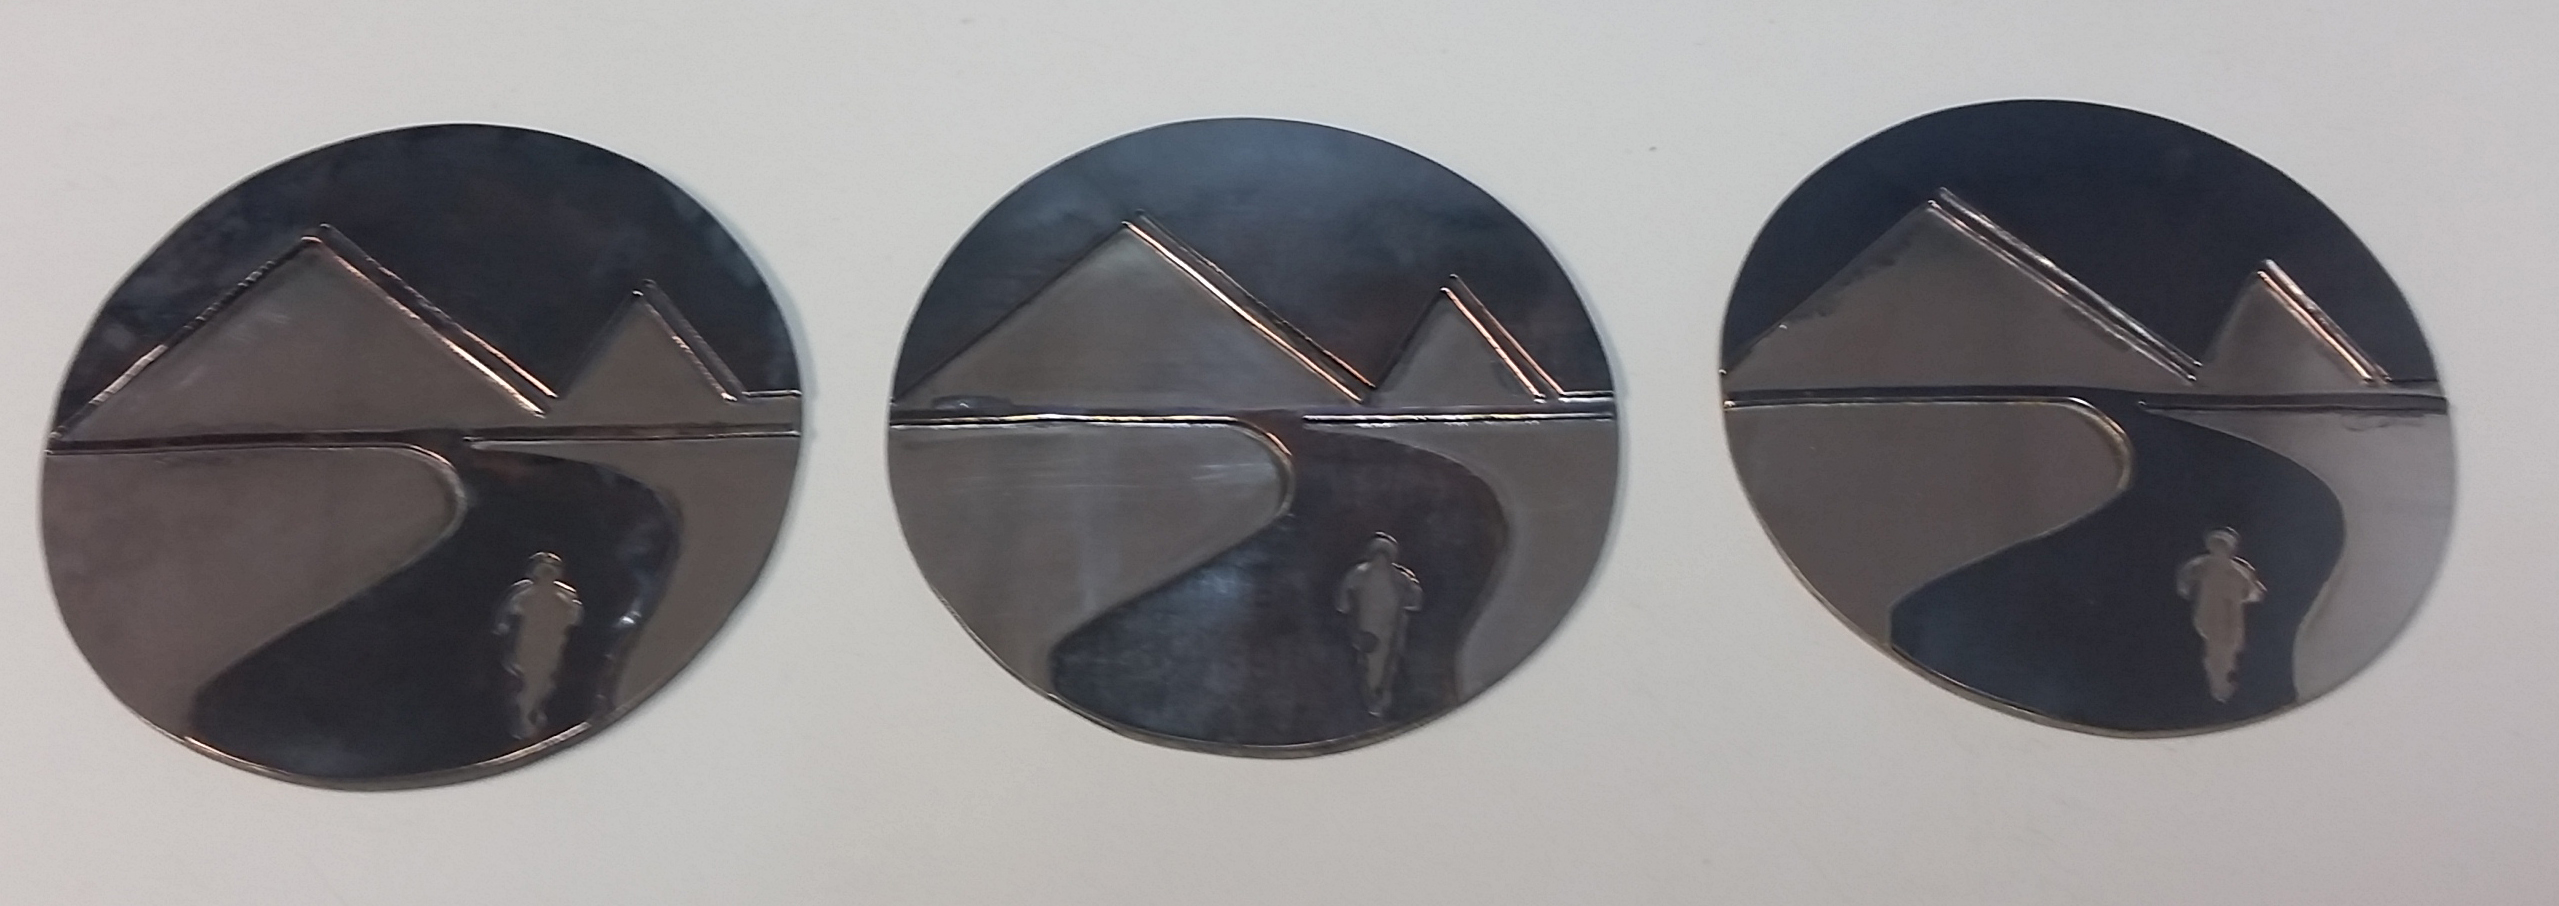
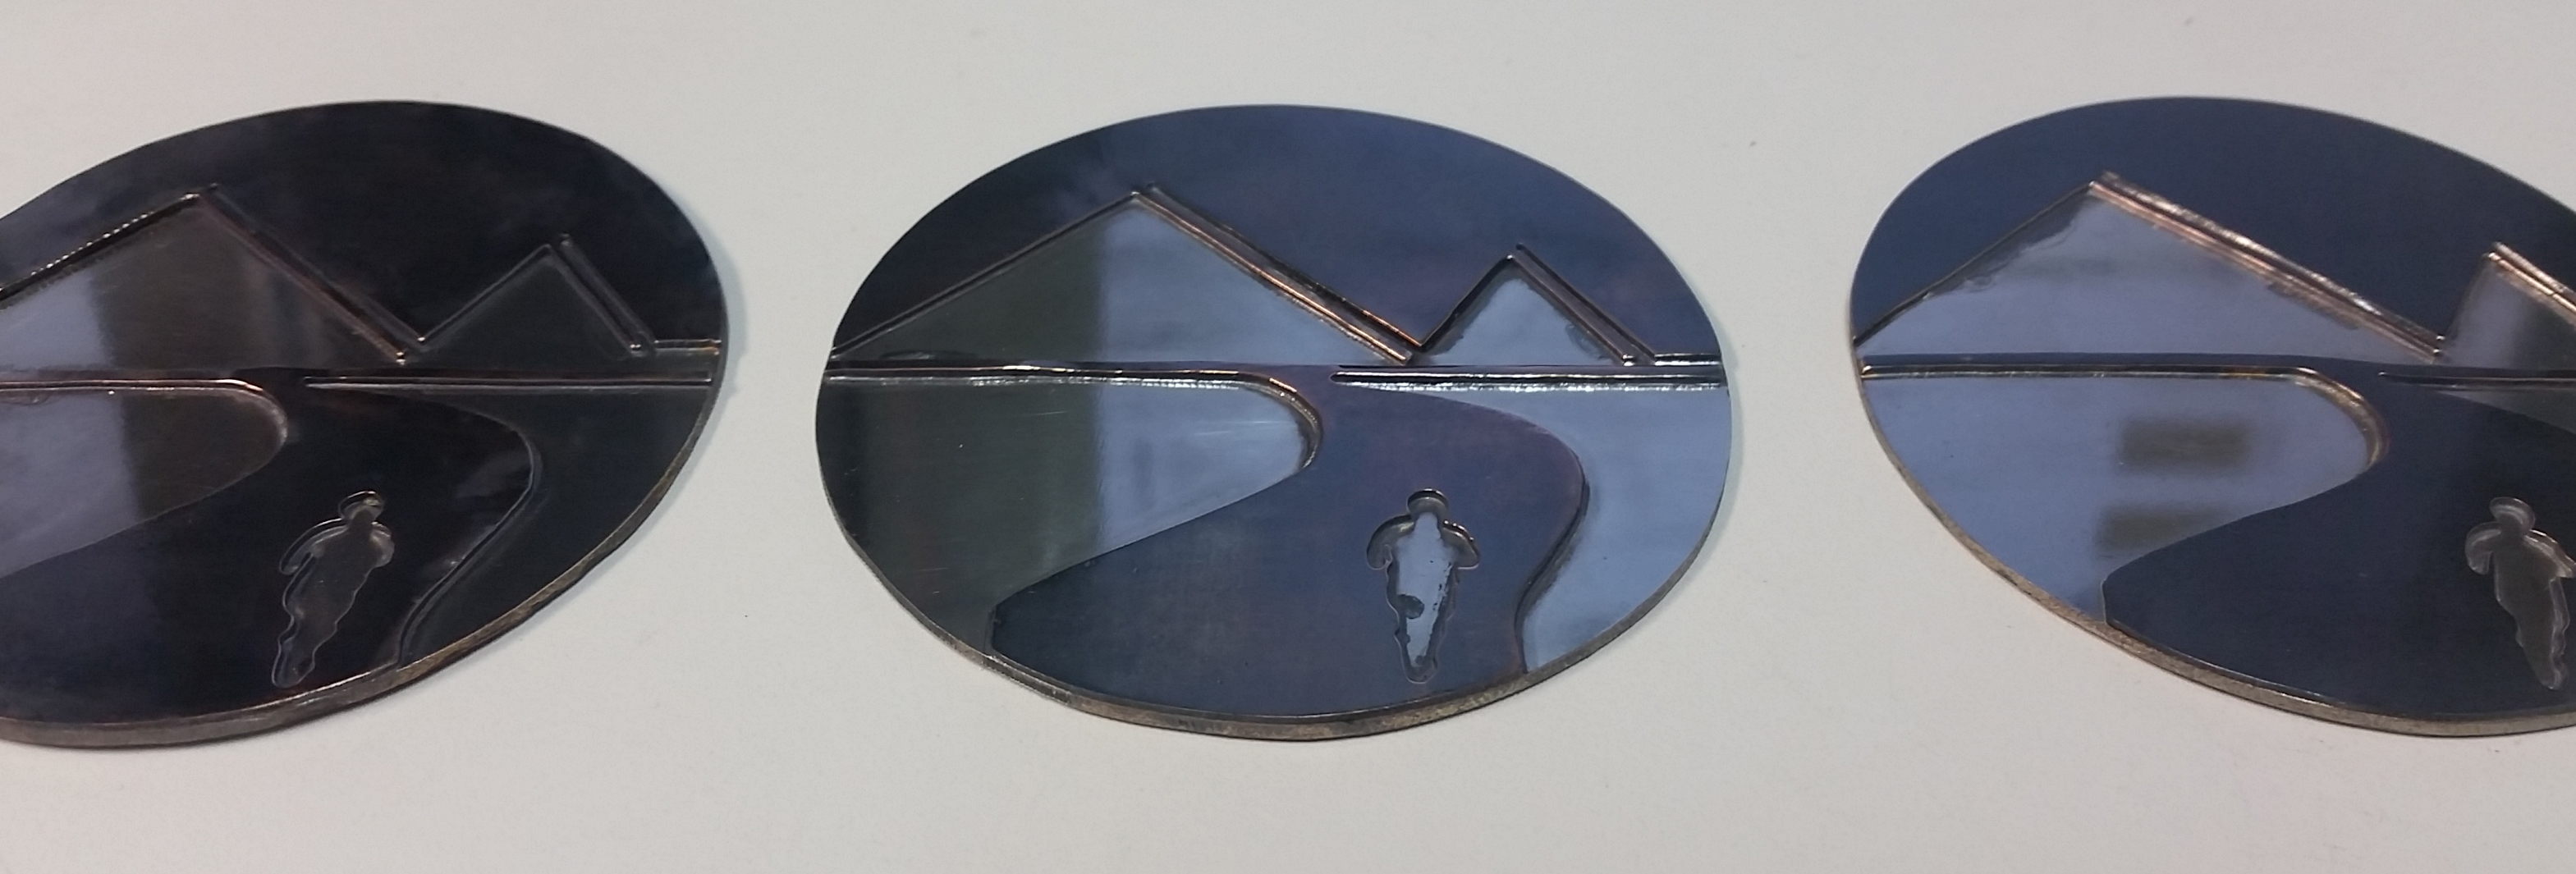
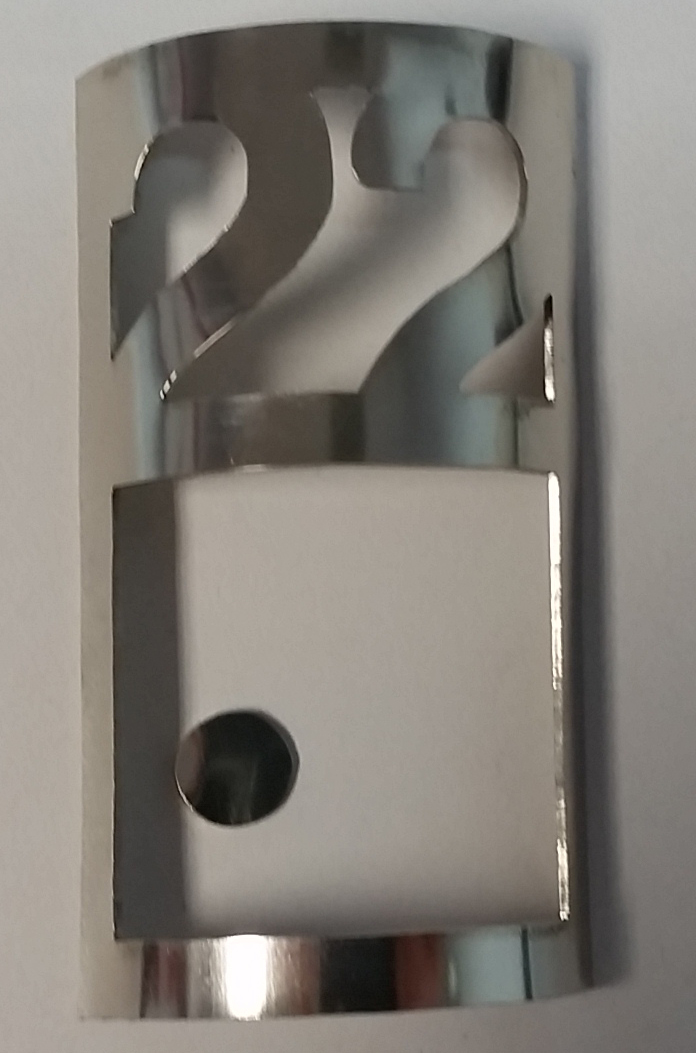
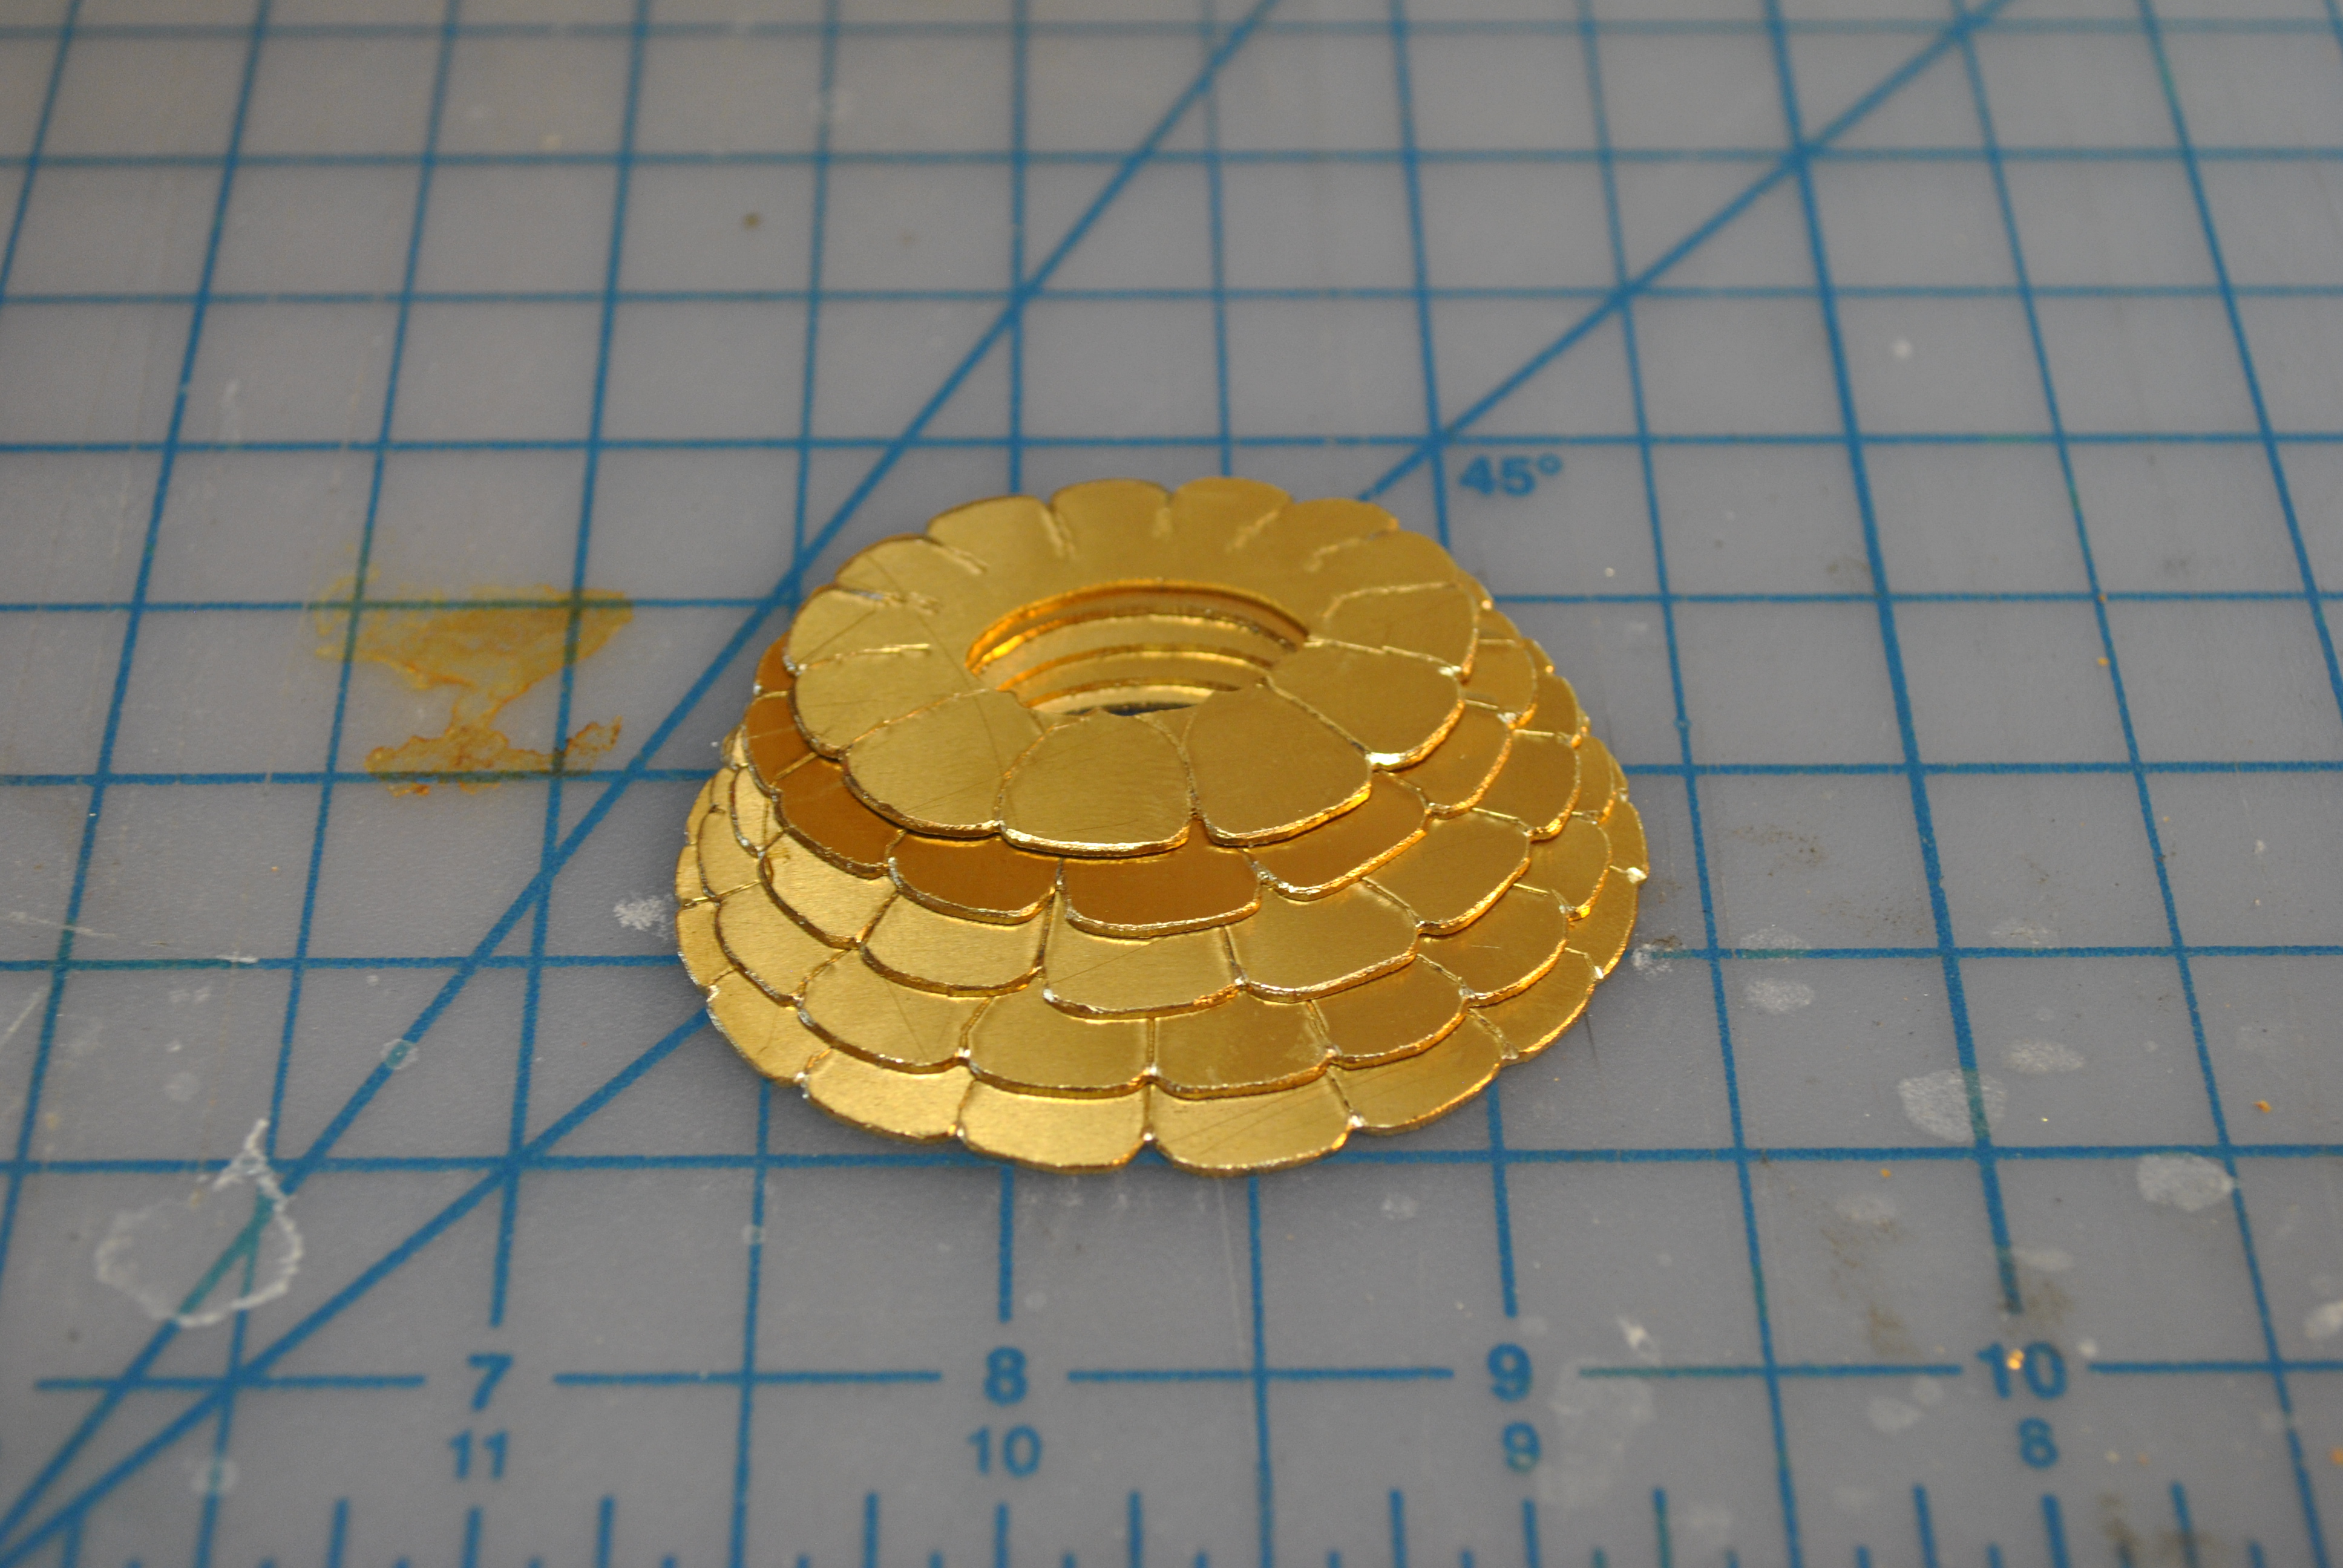
the final cut outs with etching and filing.
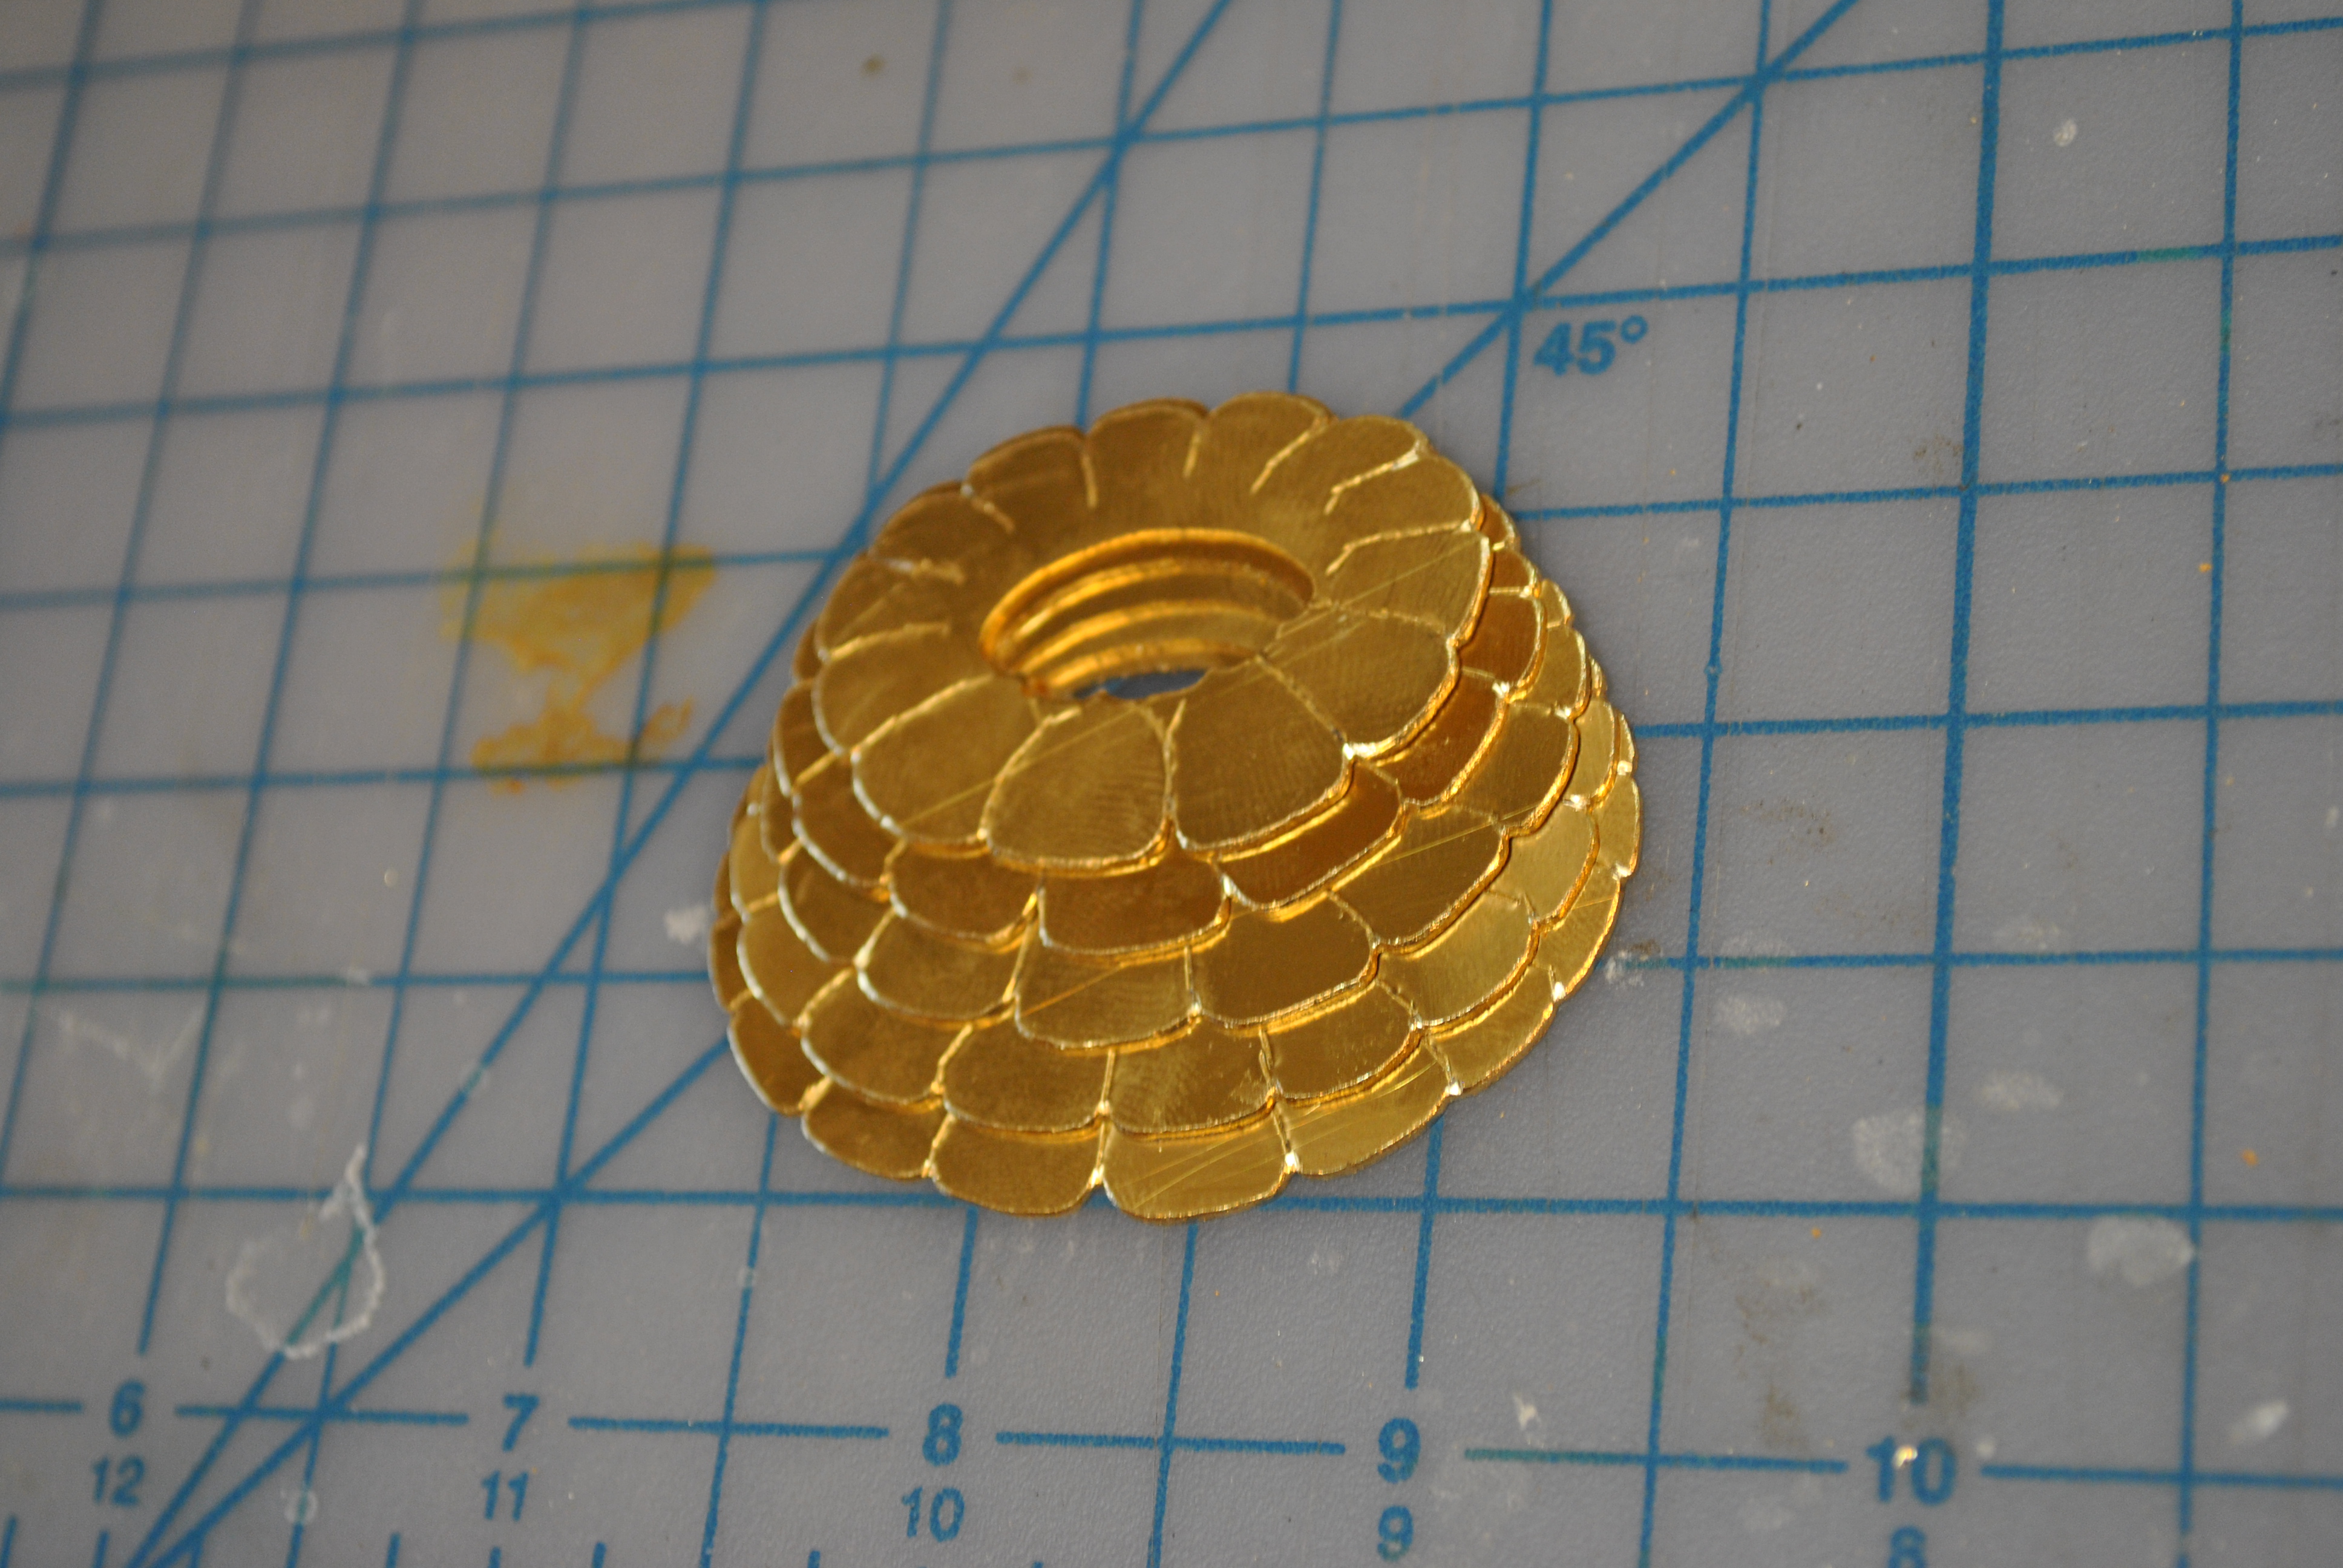
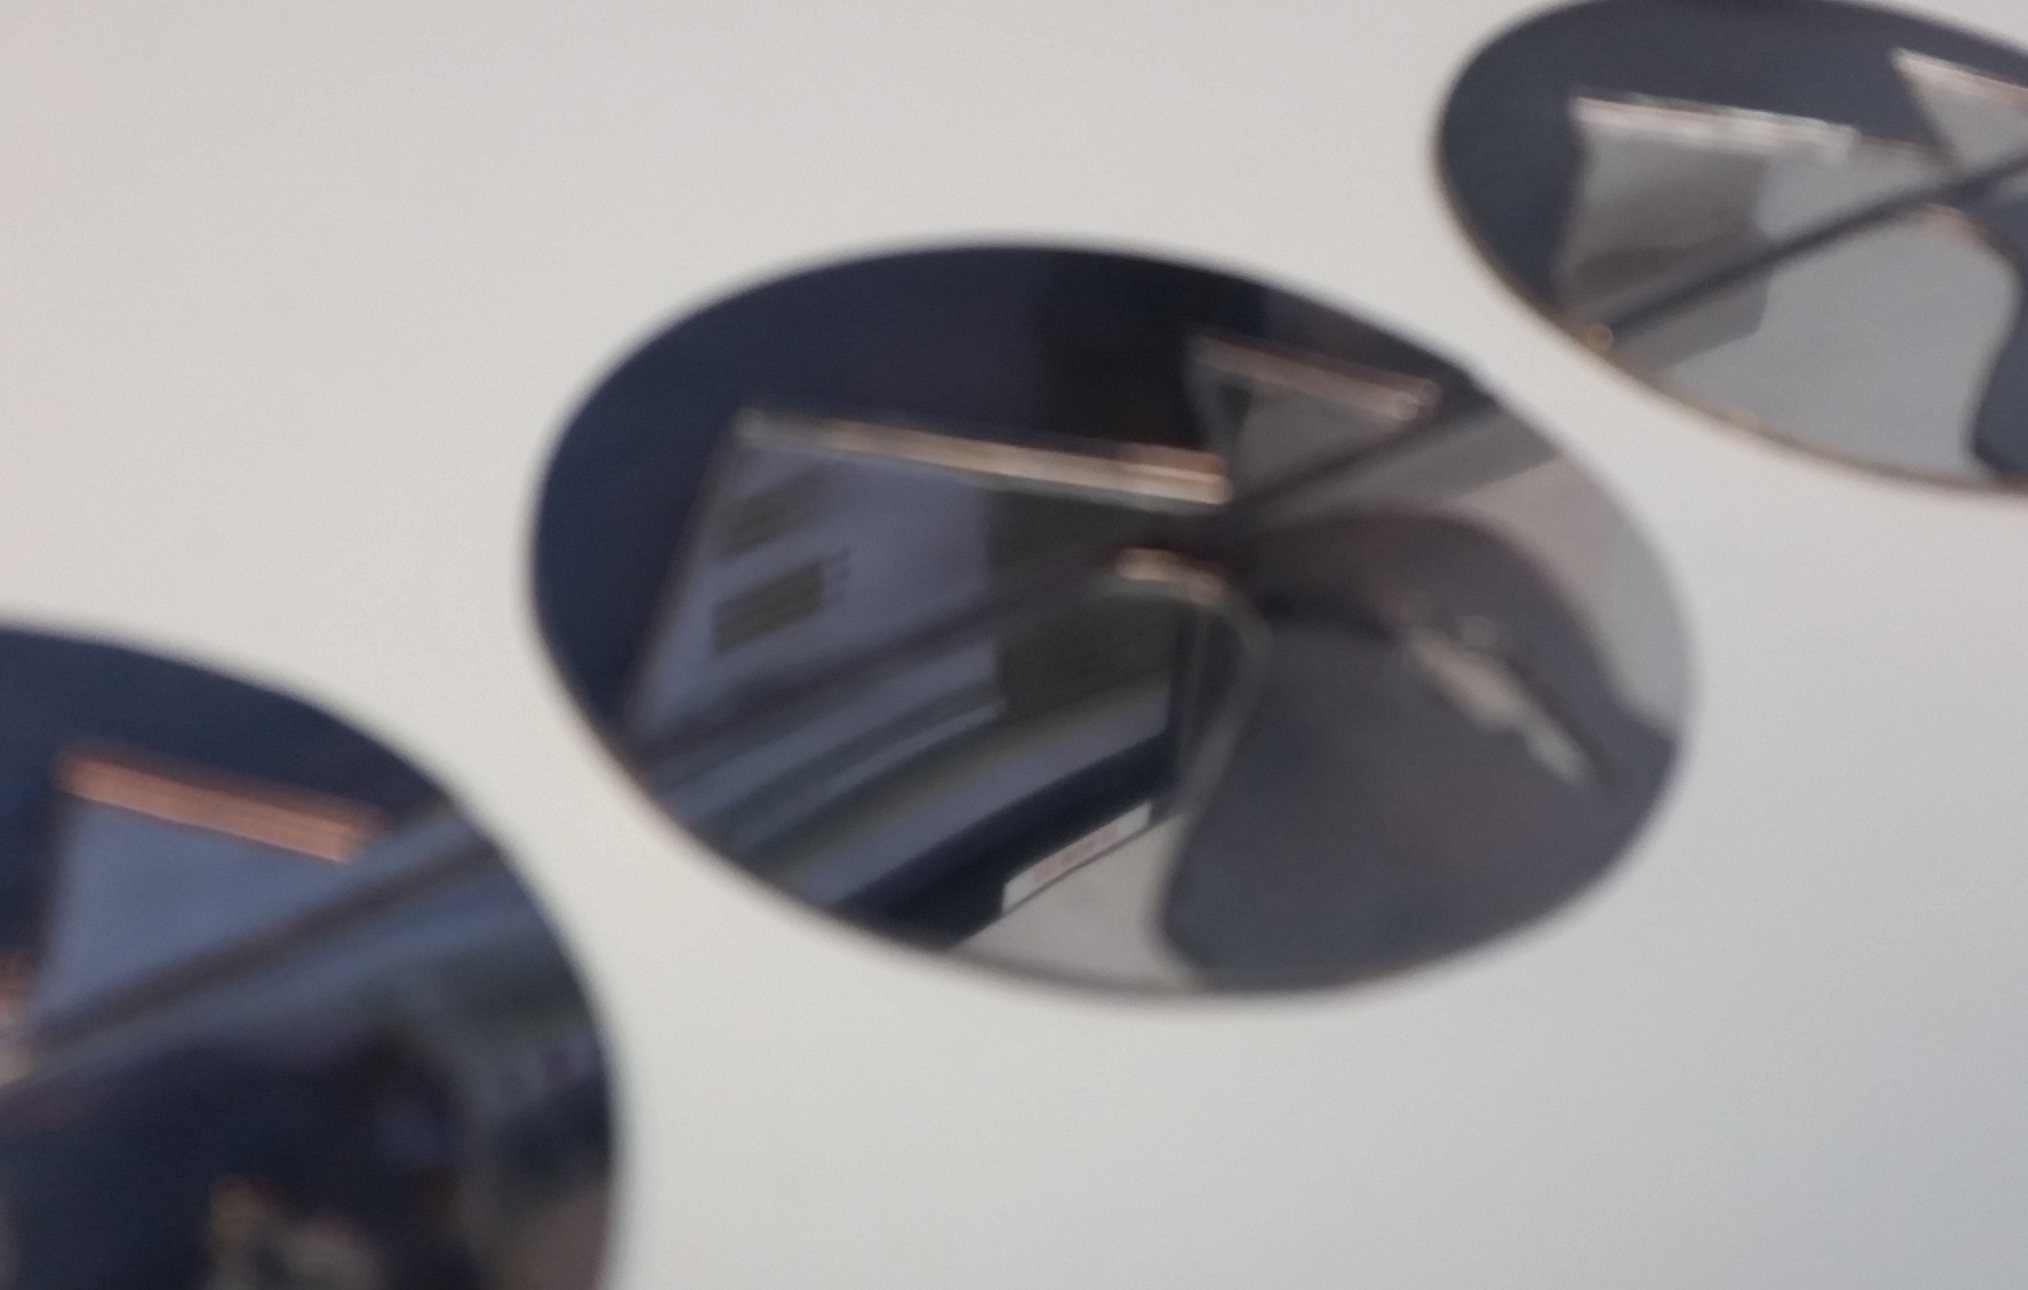
Dry fitting getting ready for the riveting.
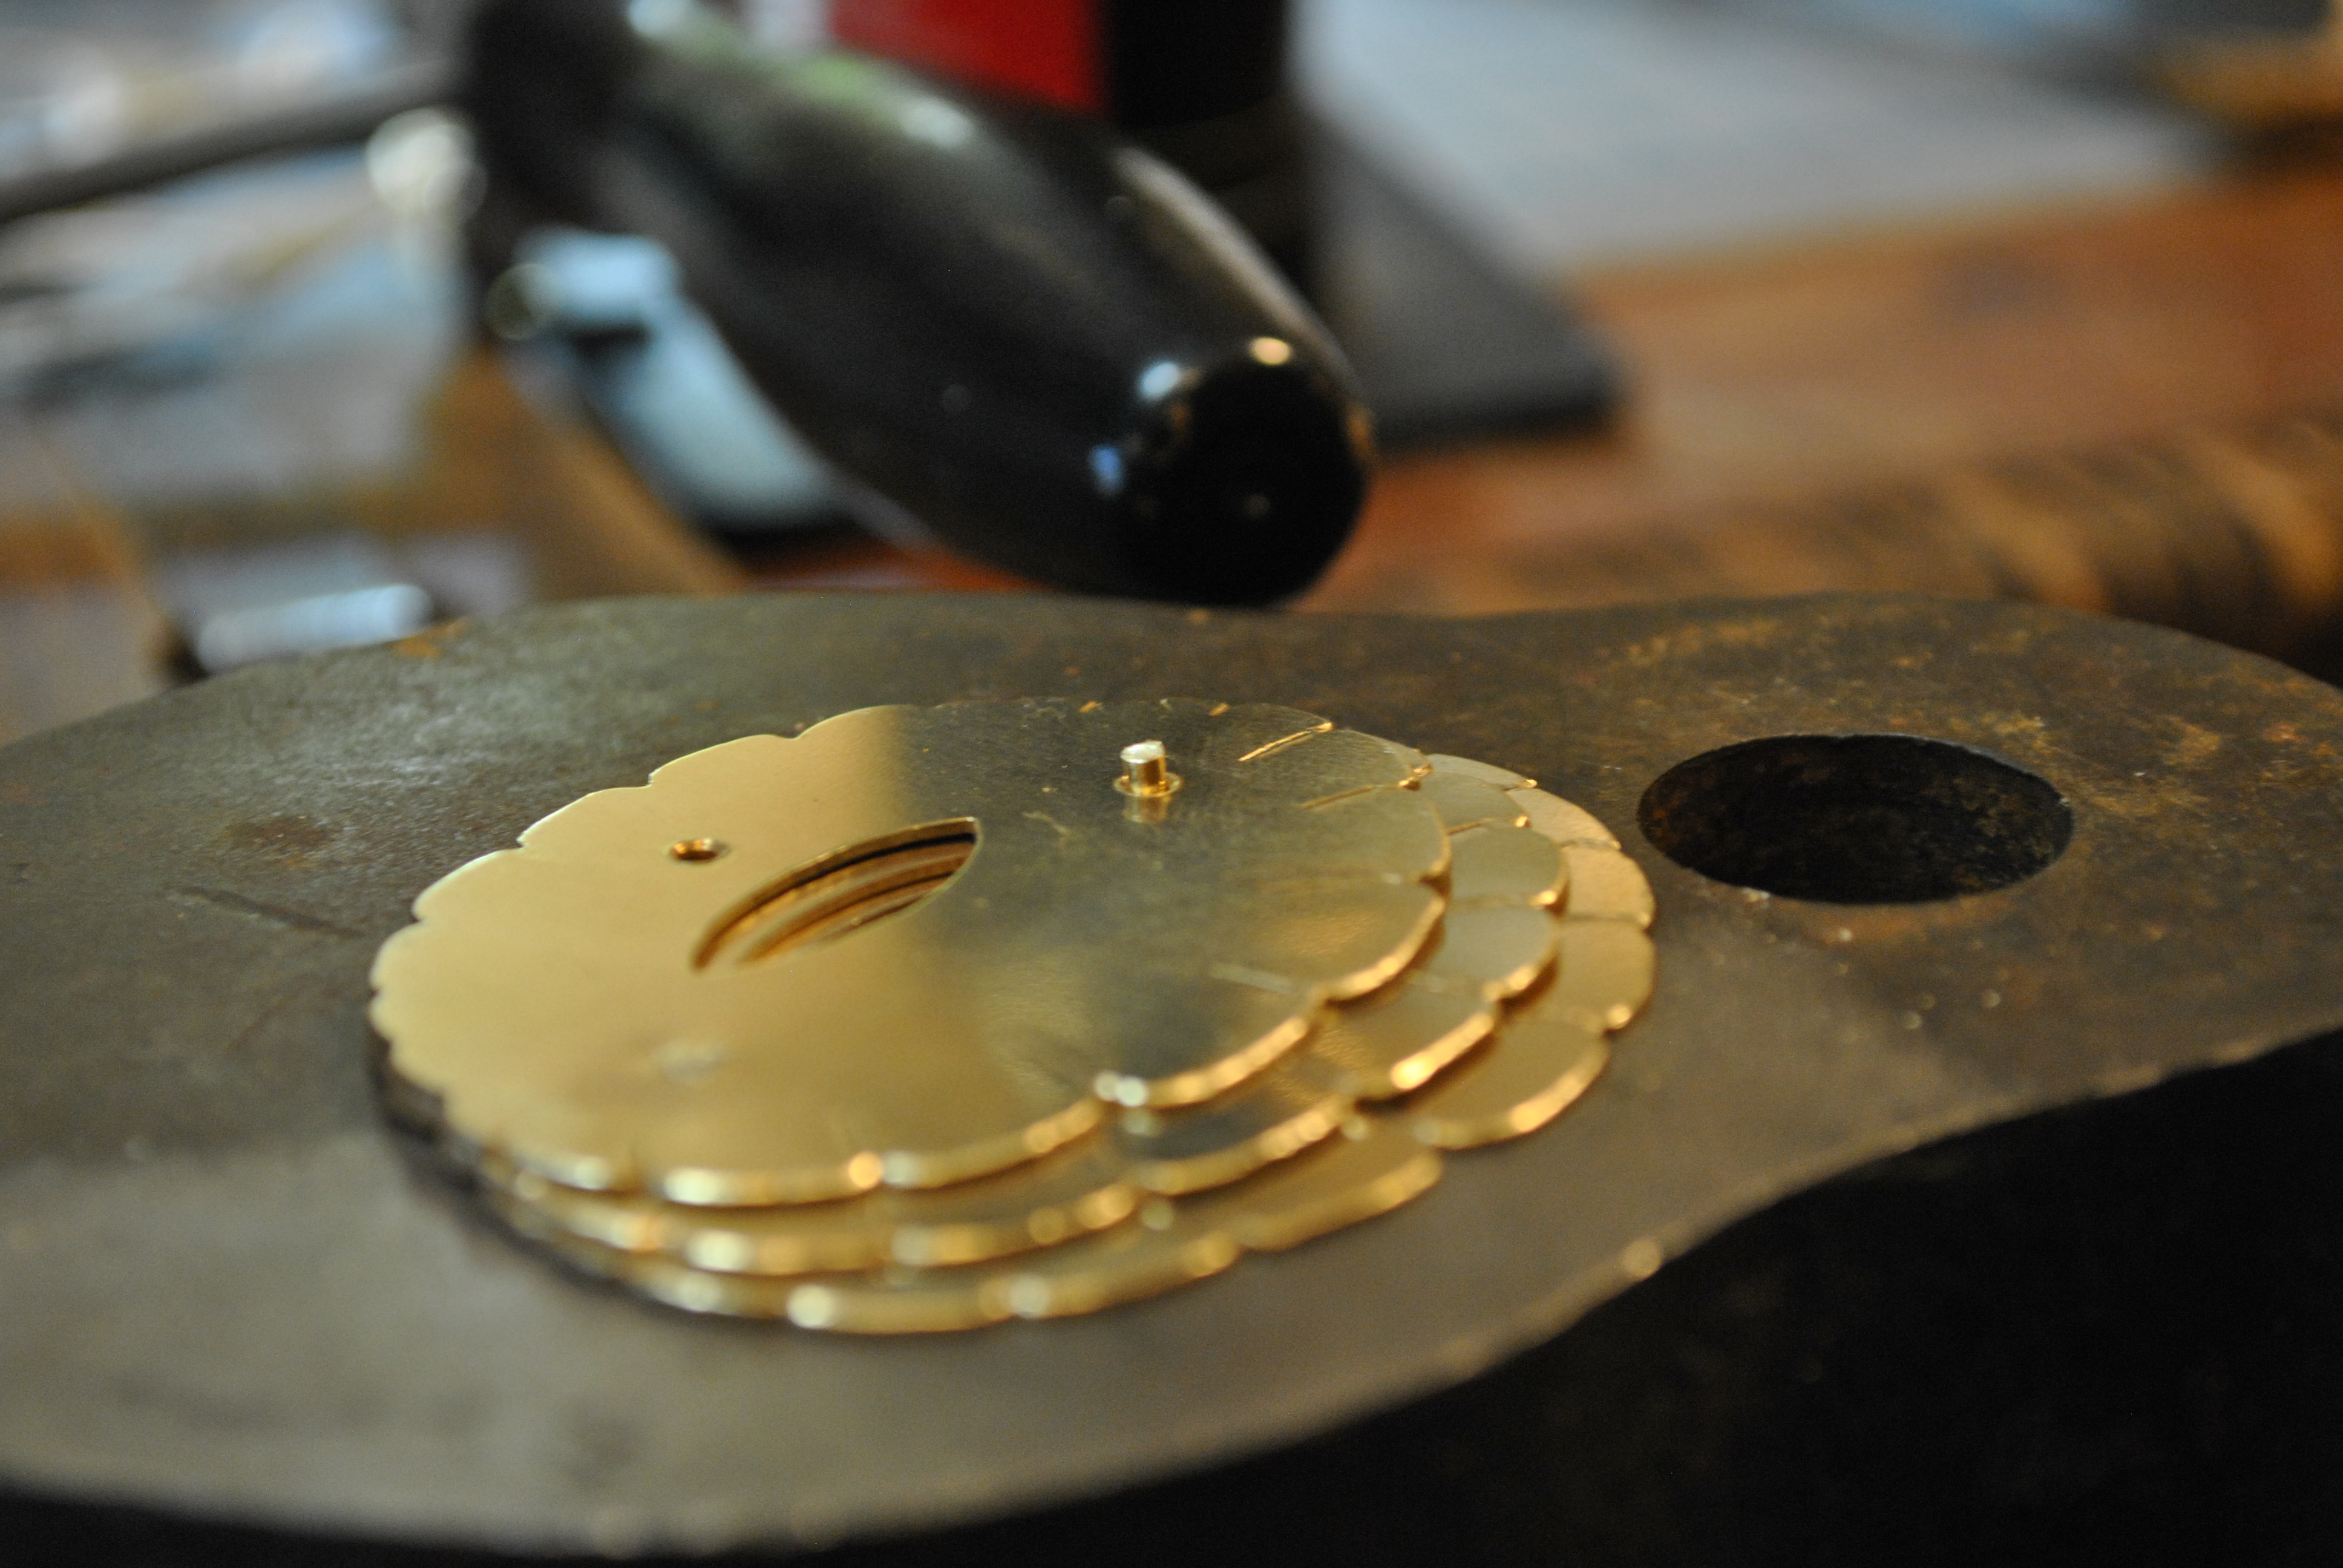

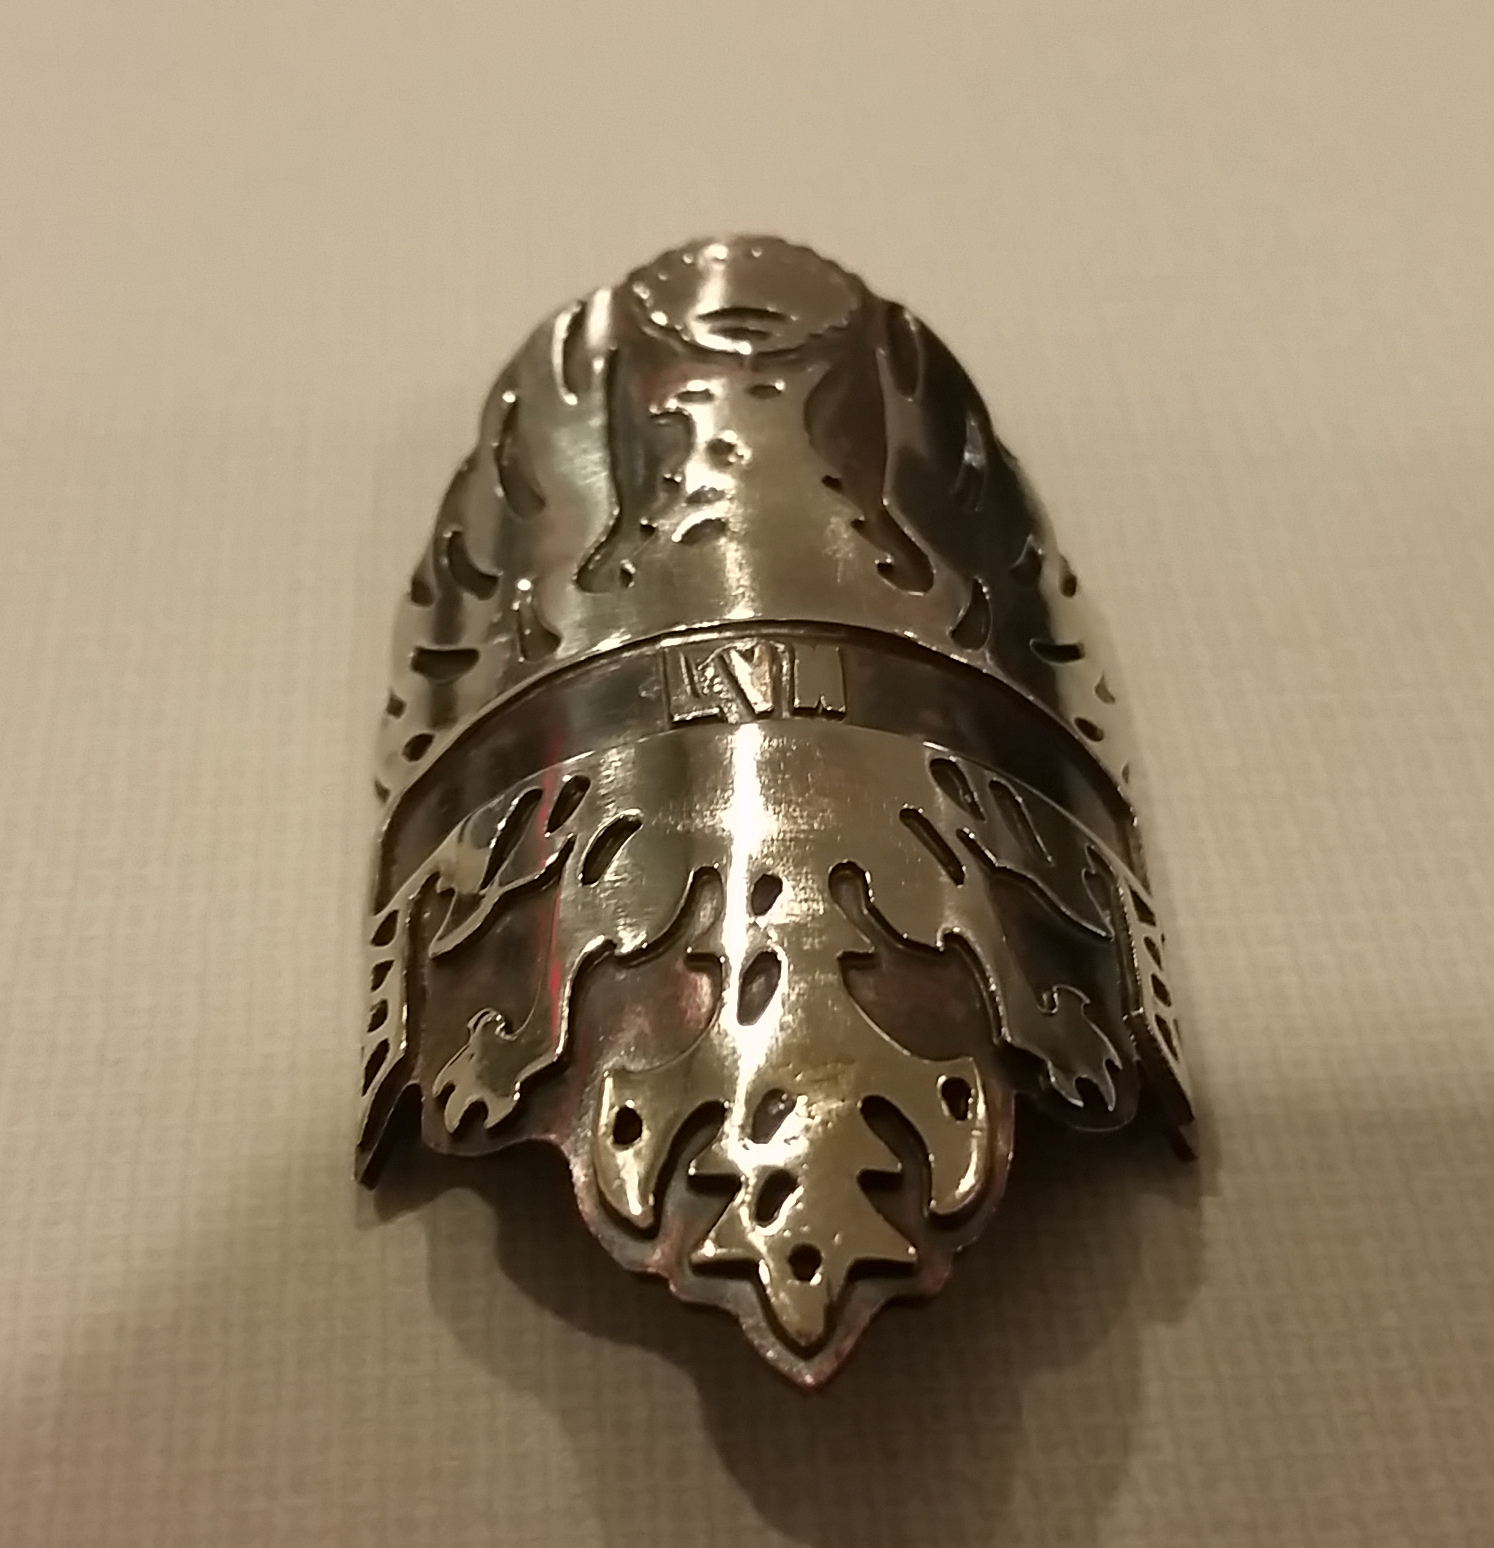
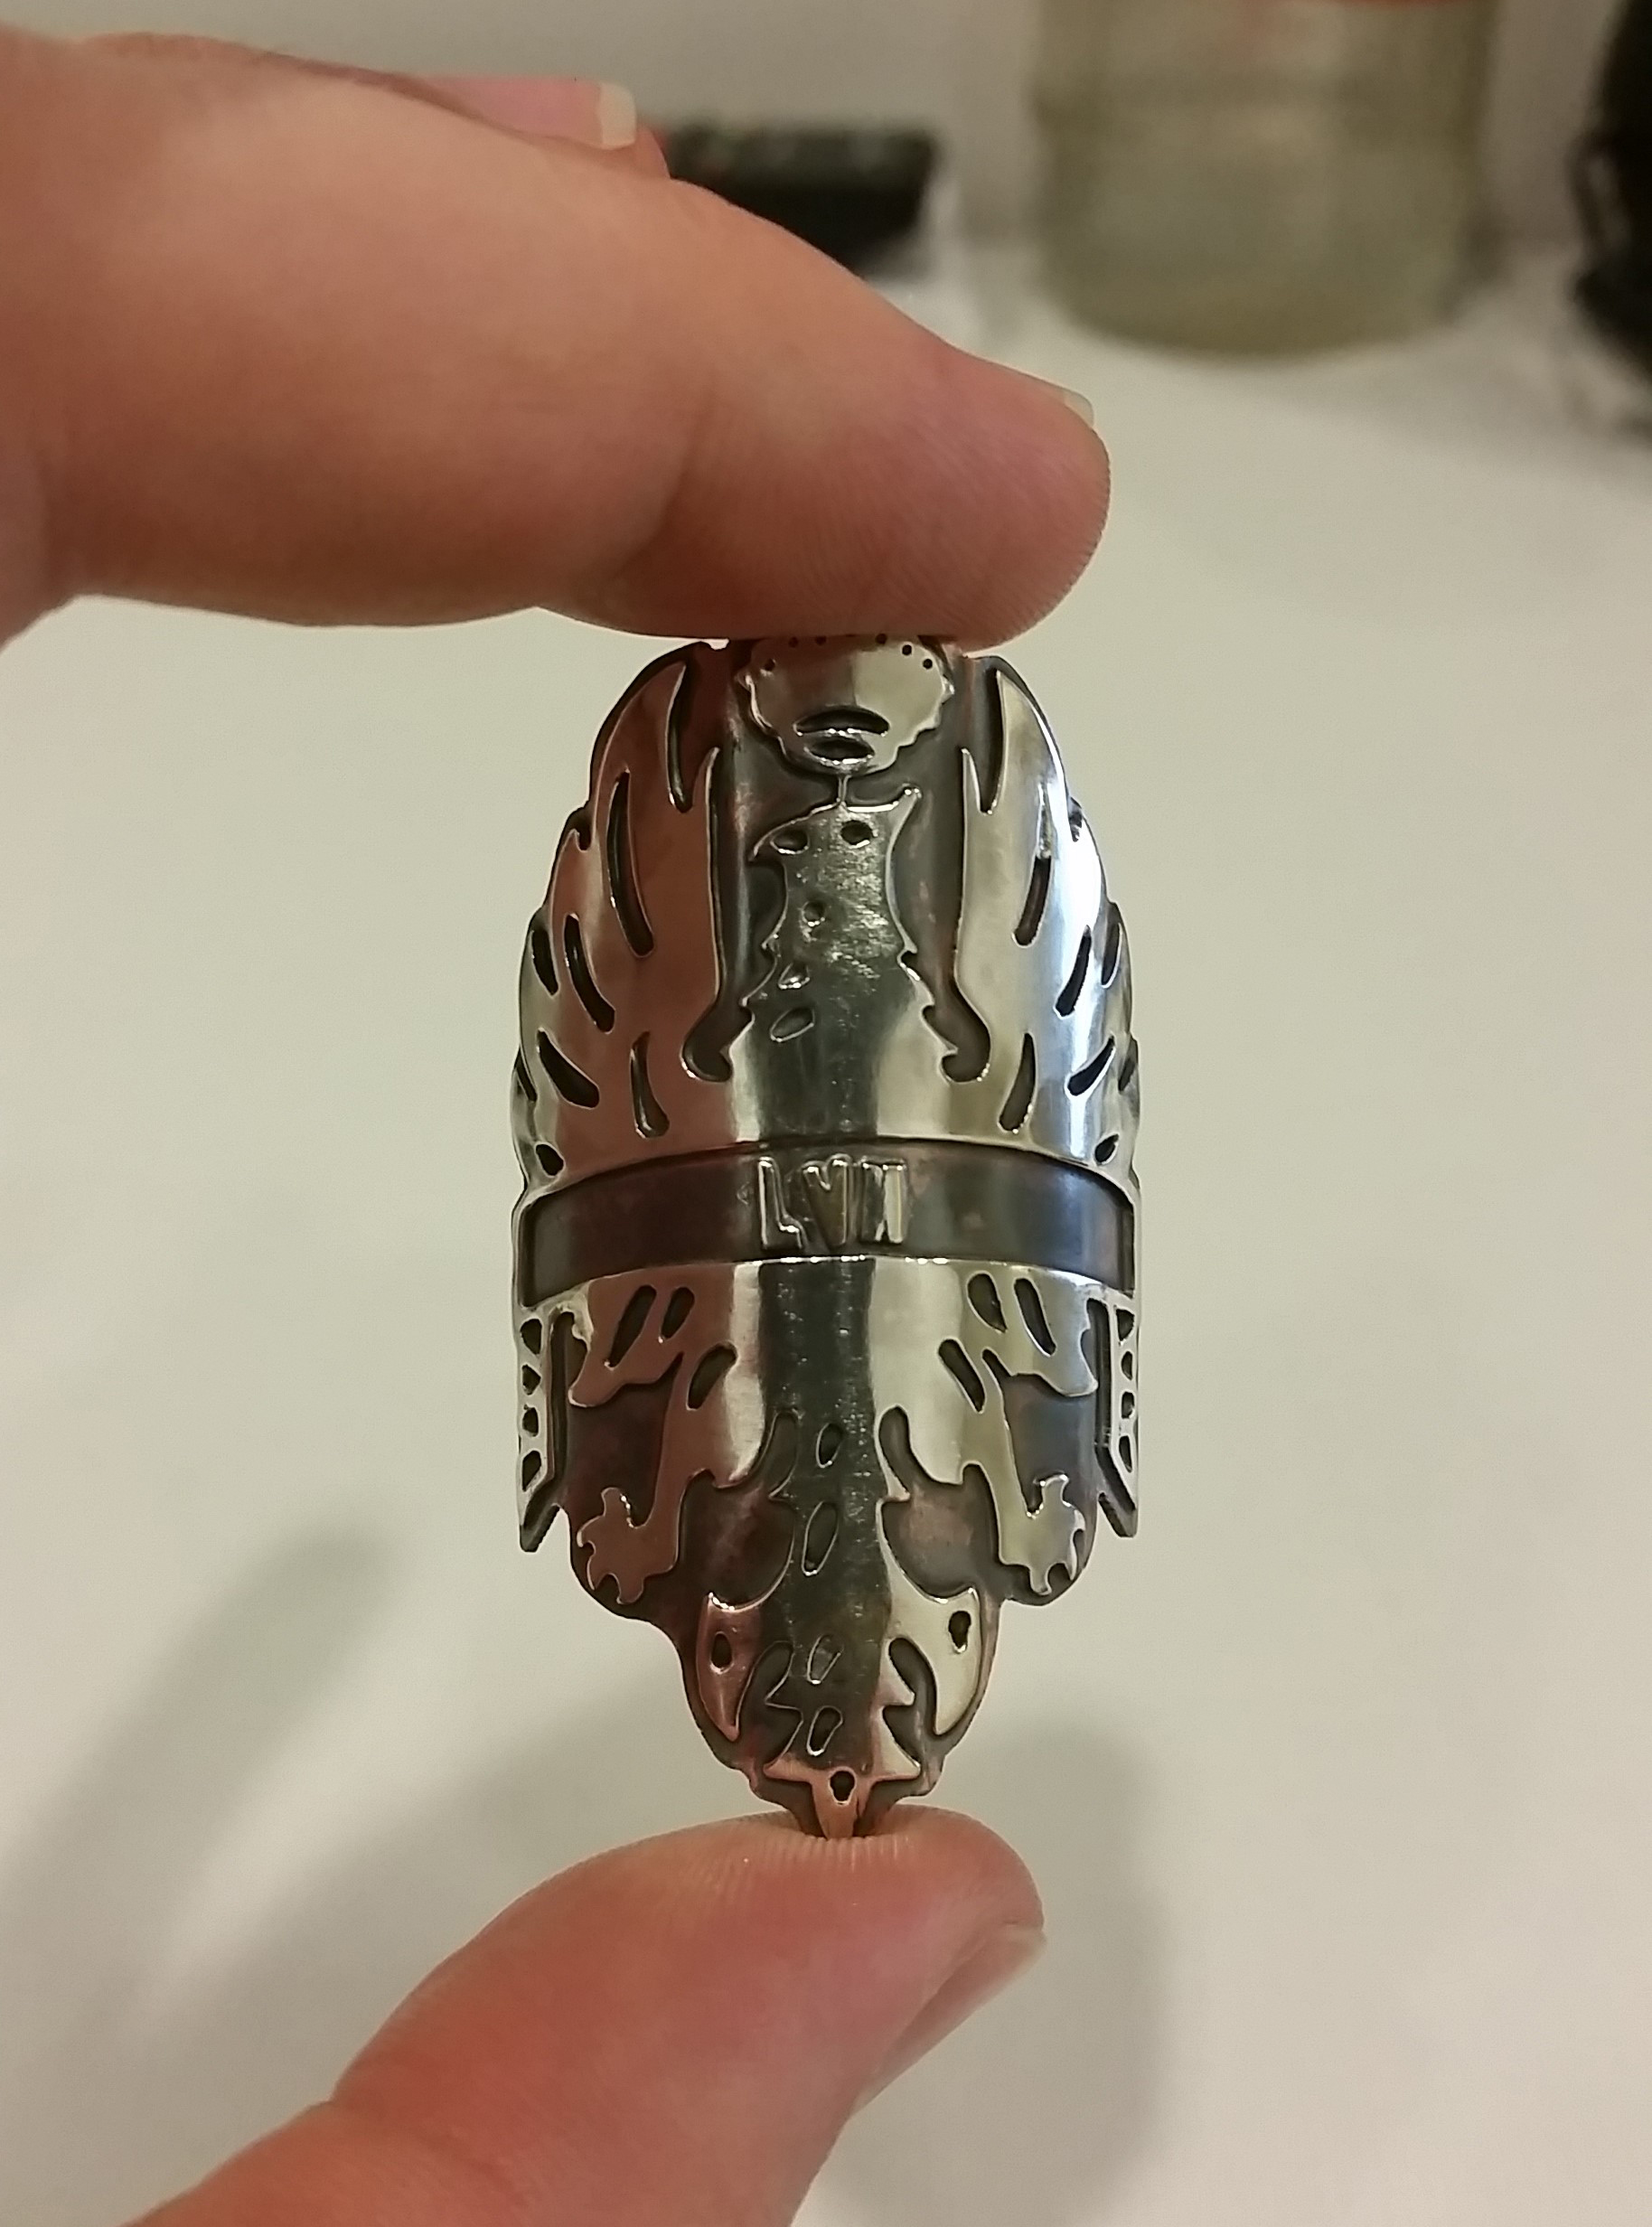
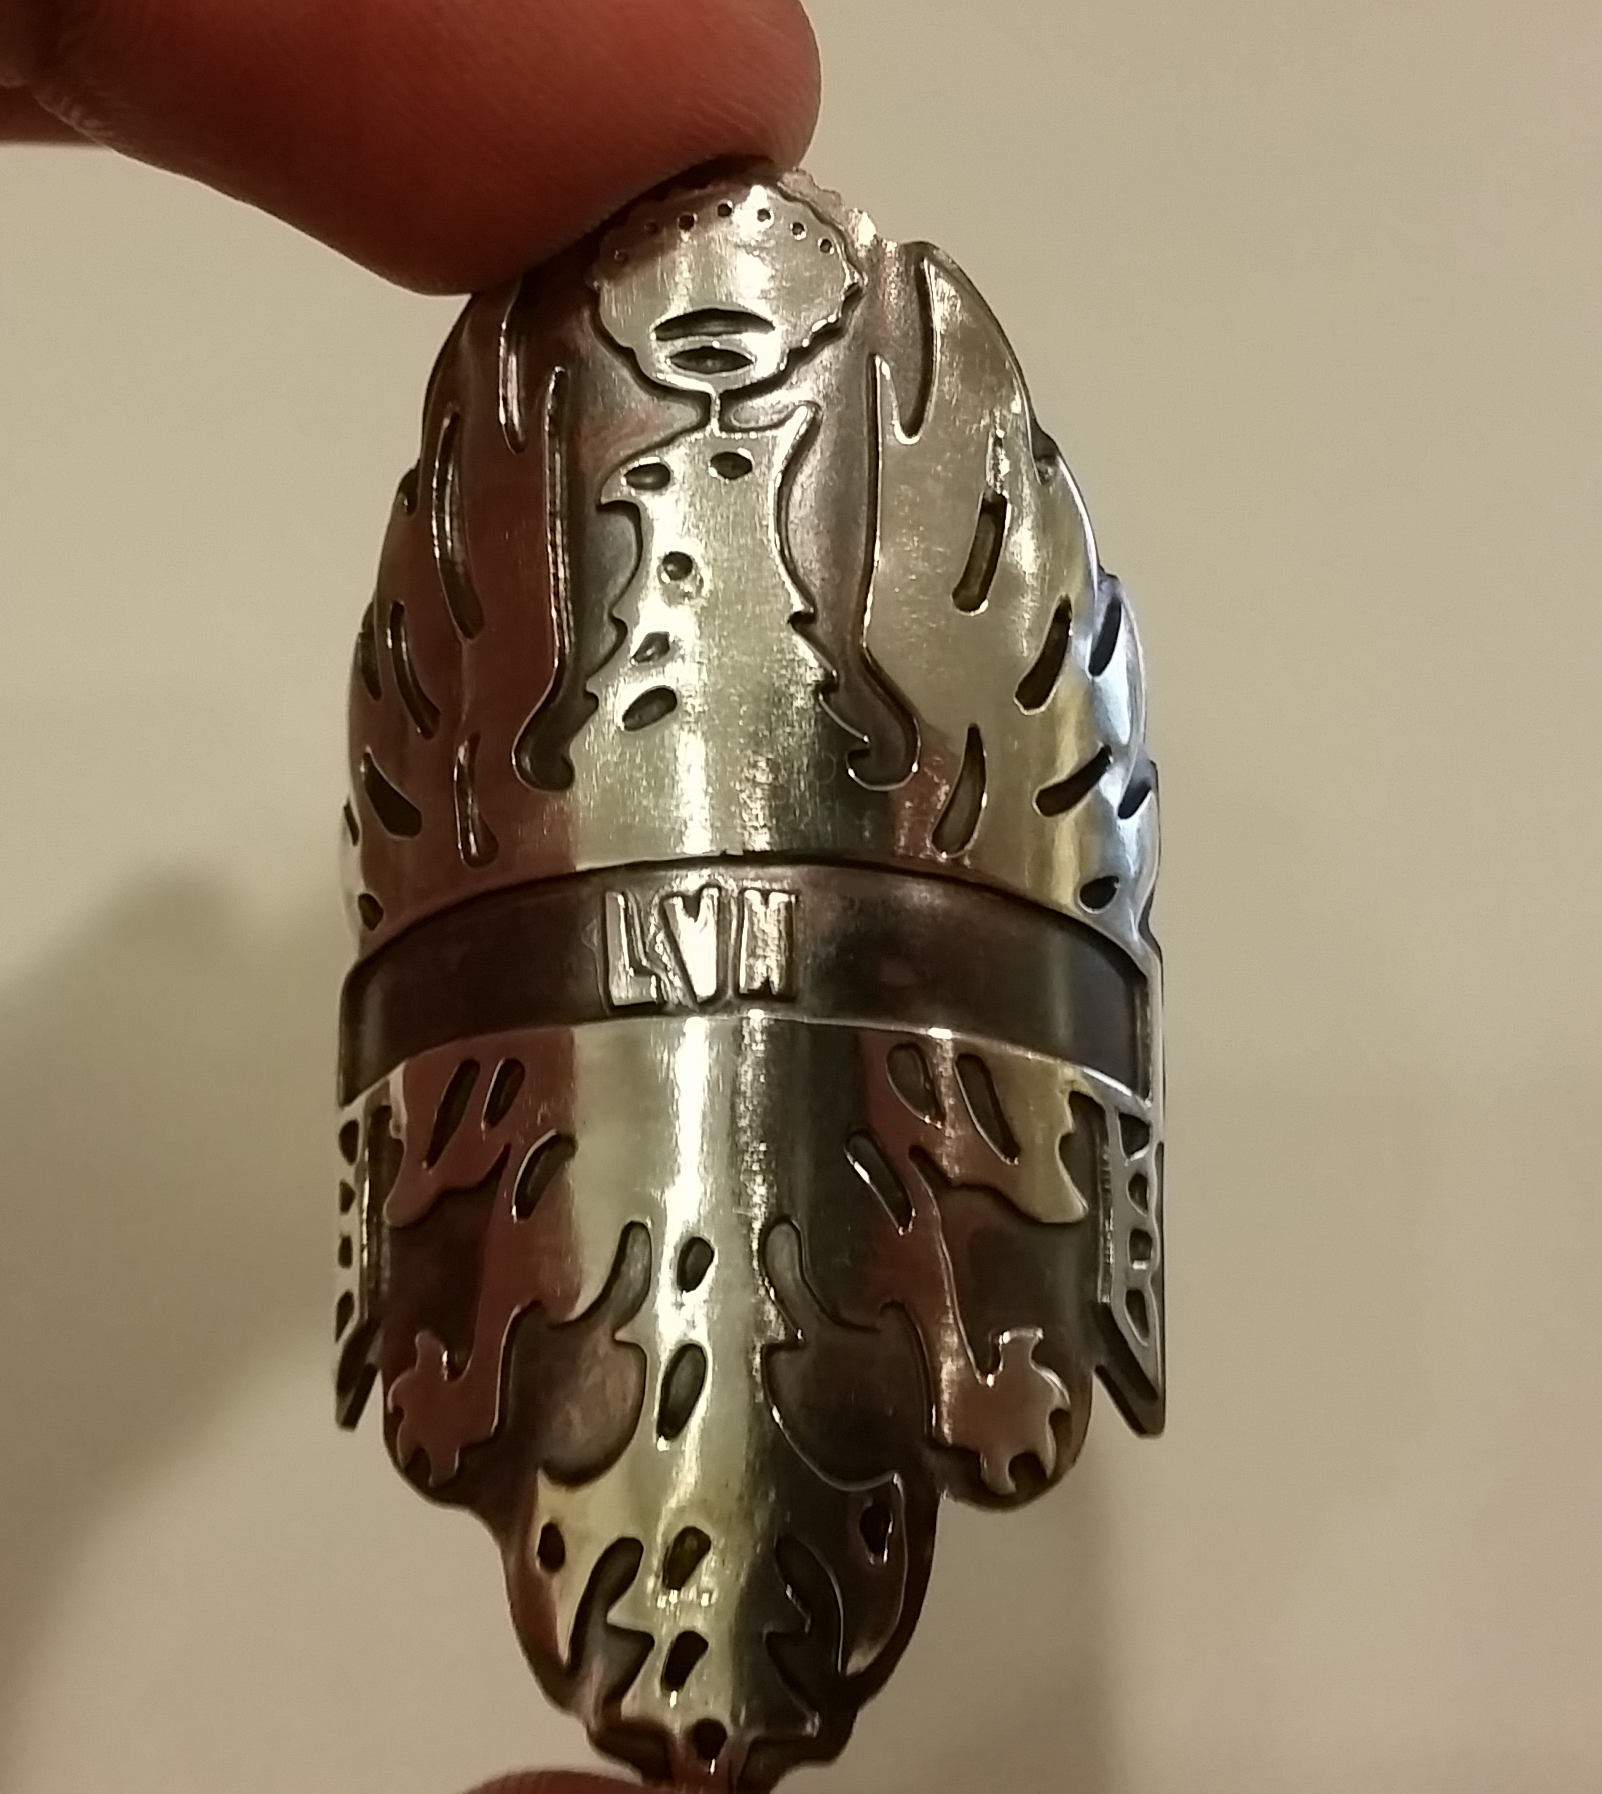
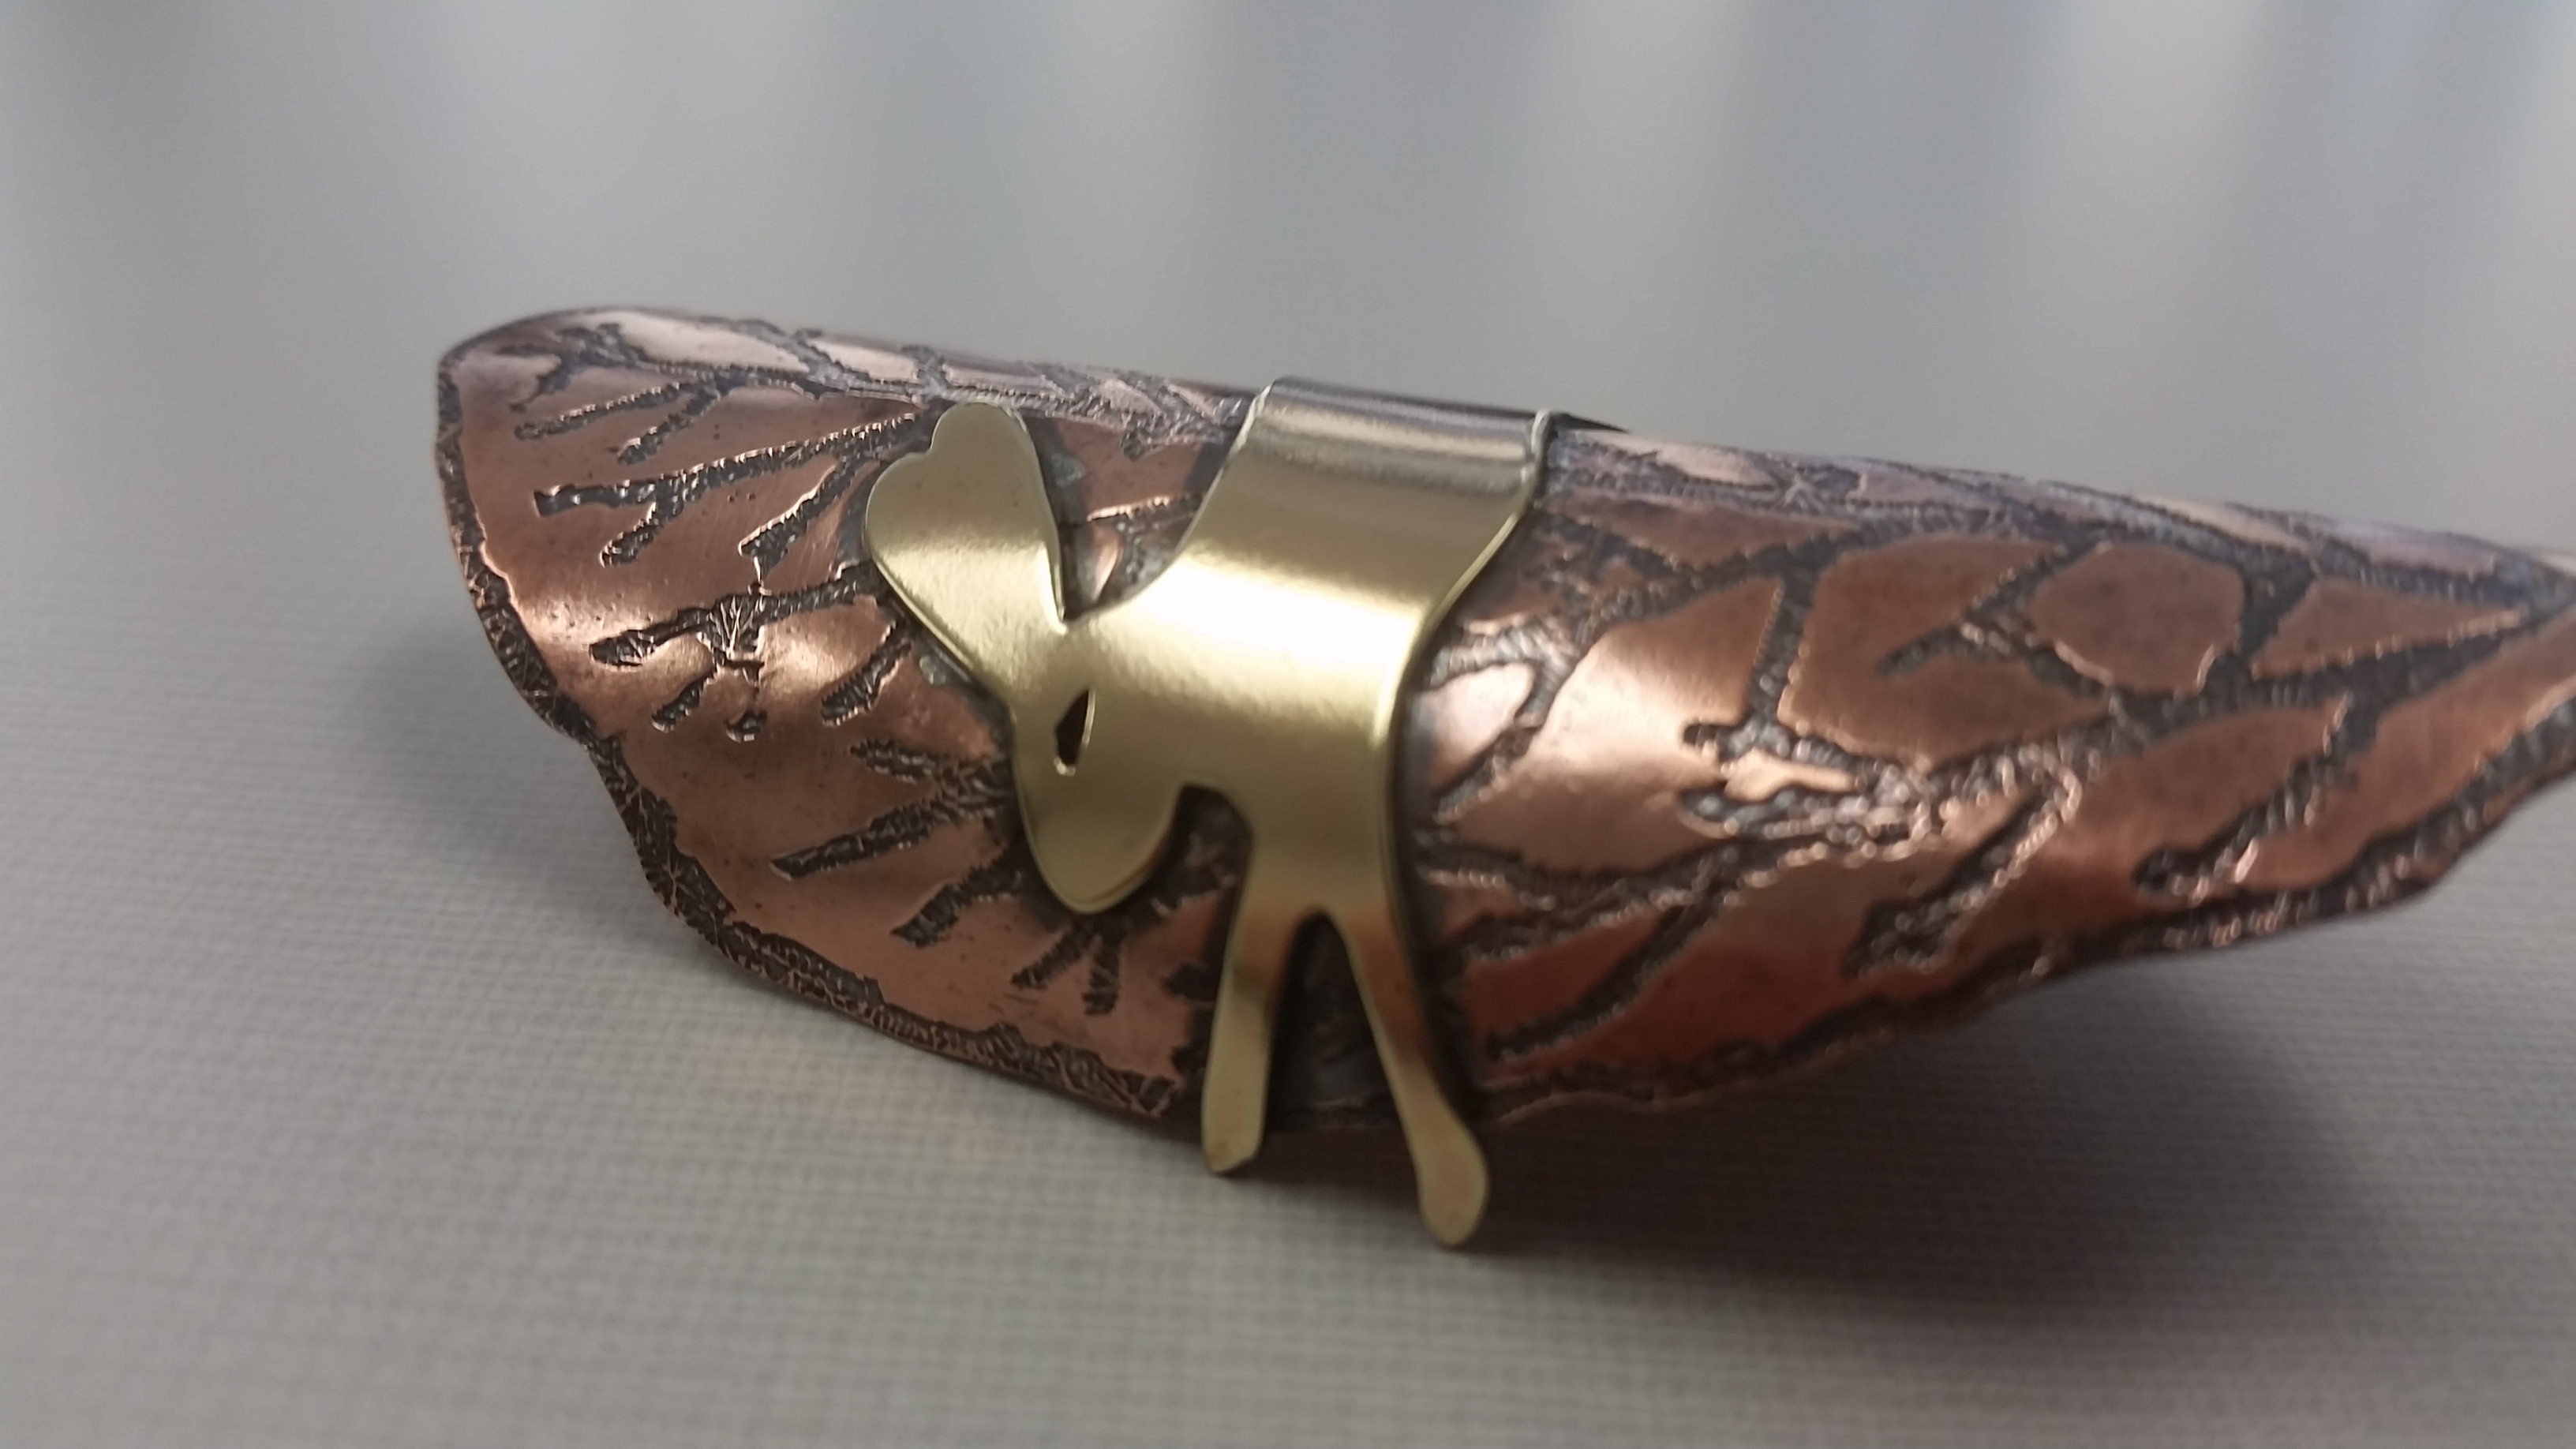
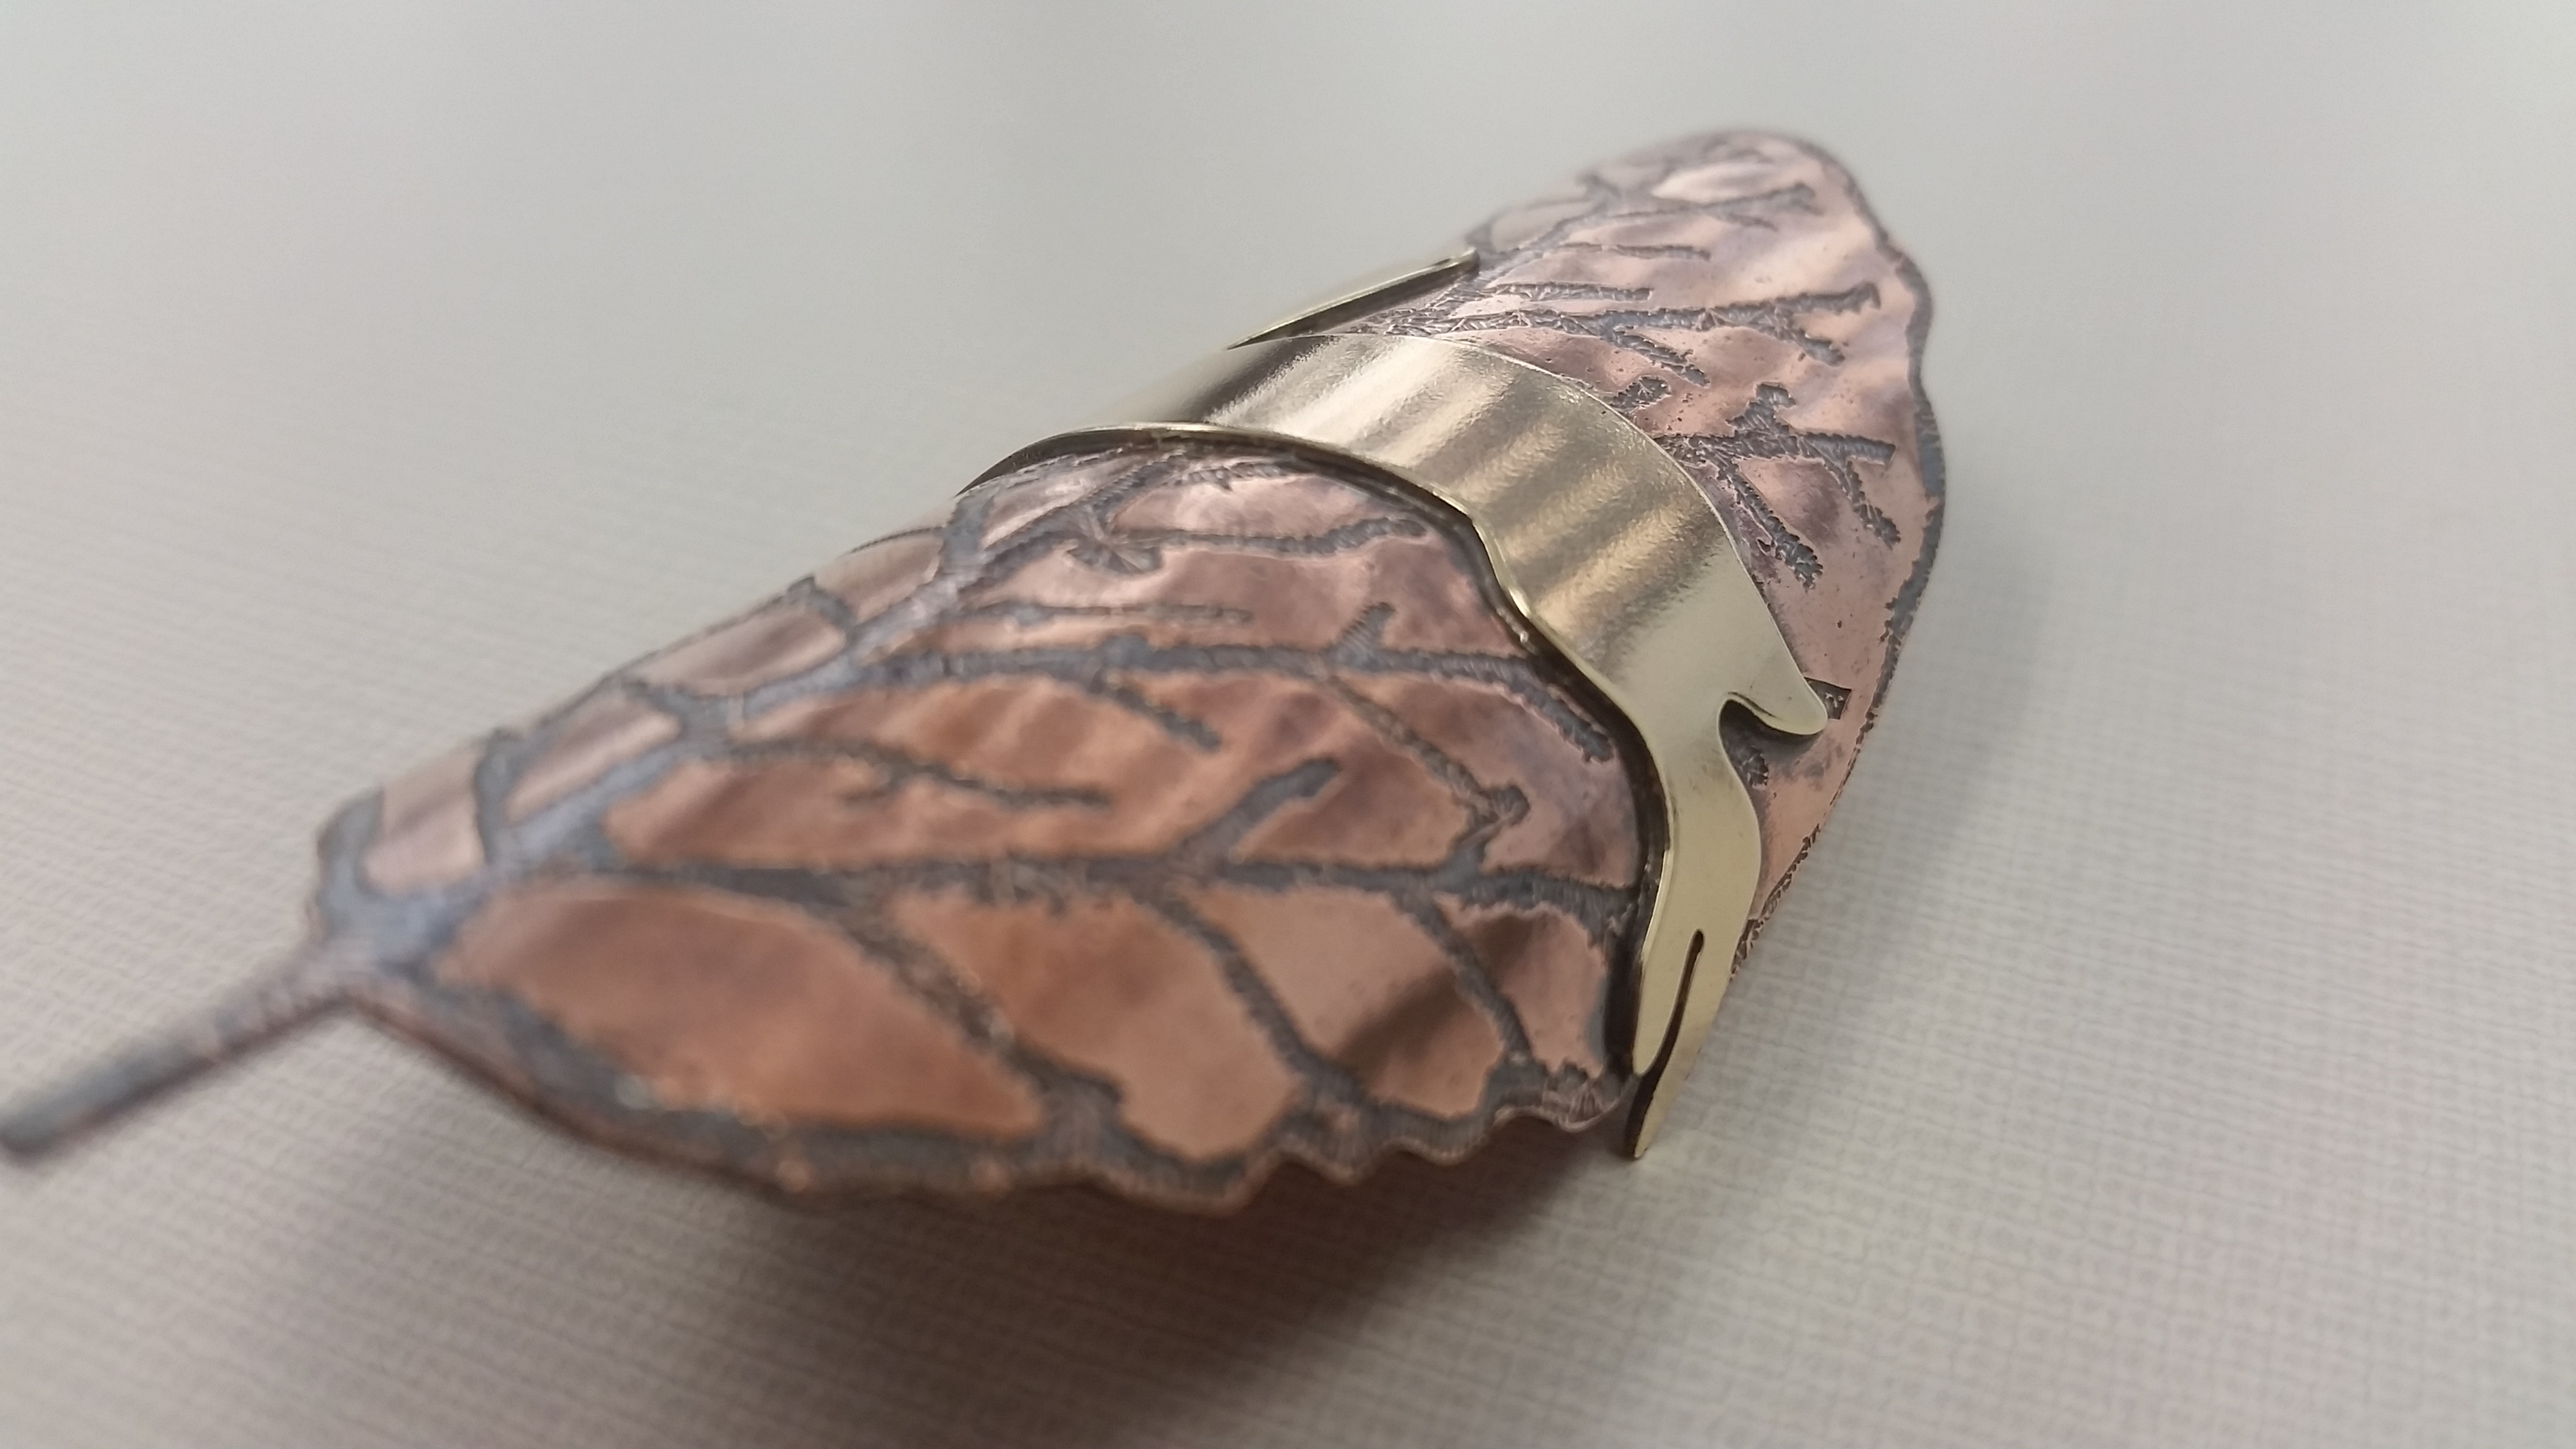
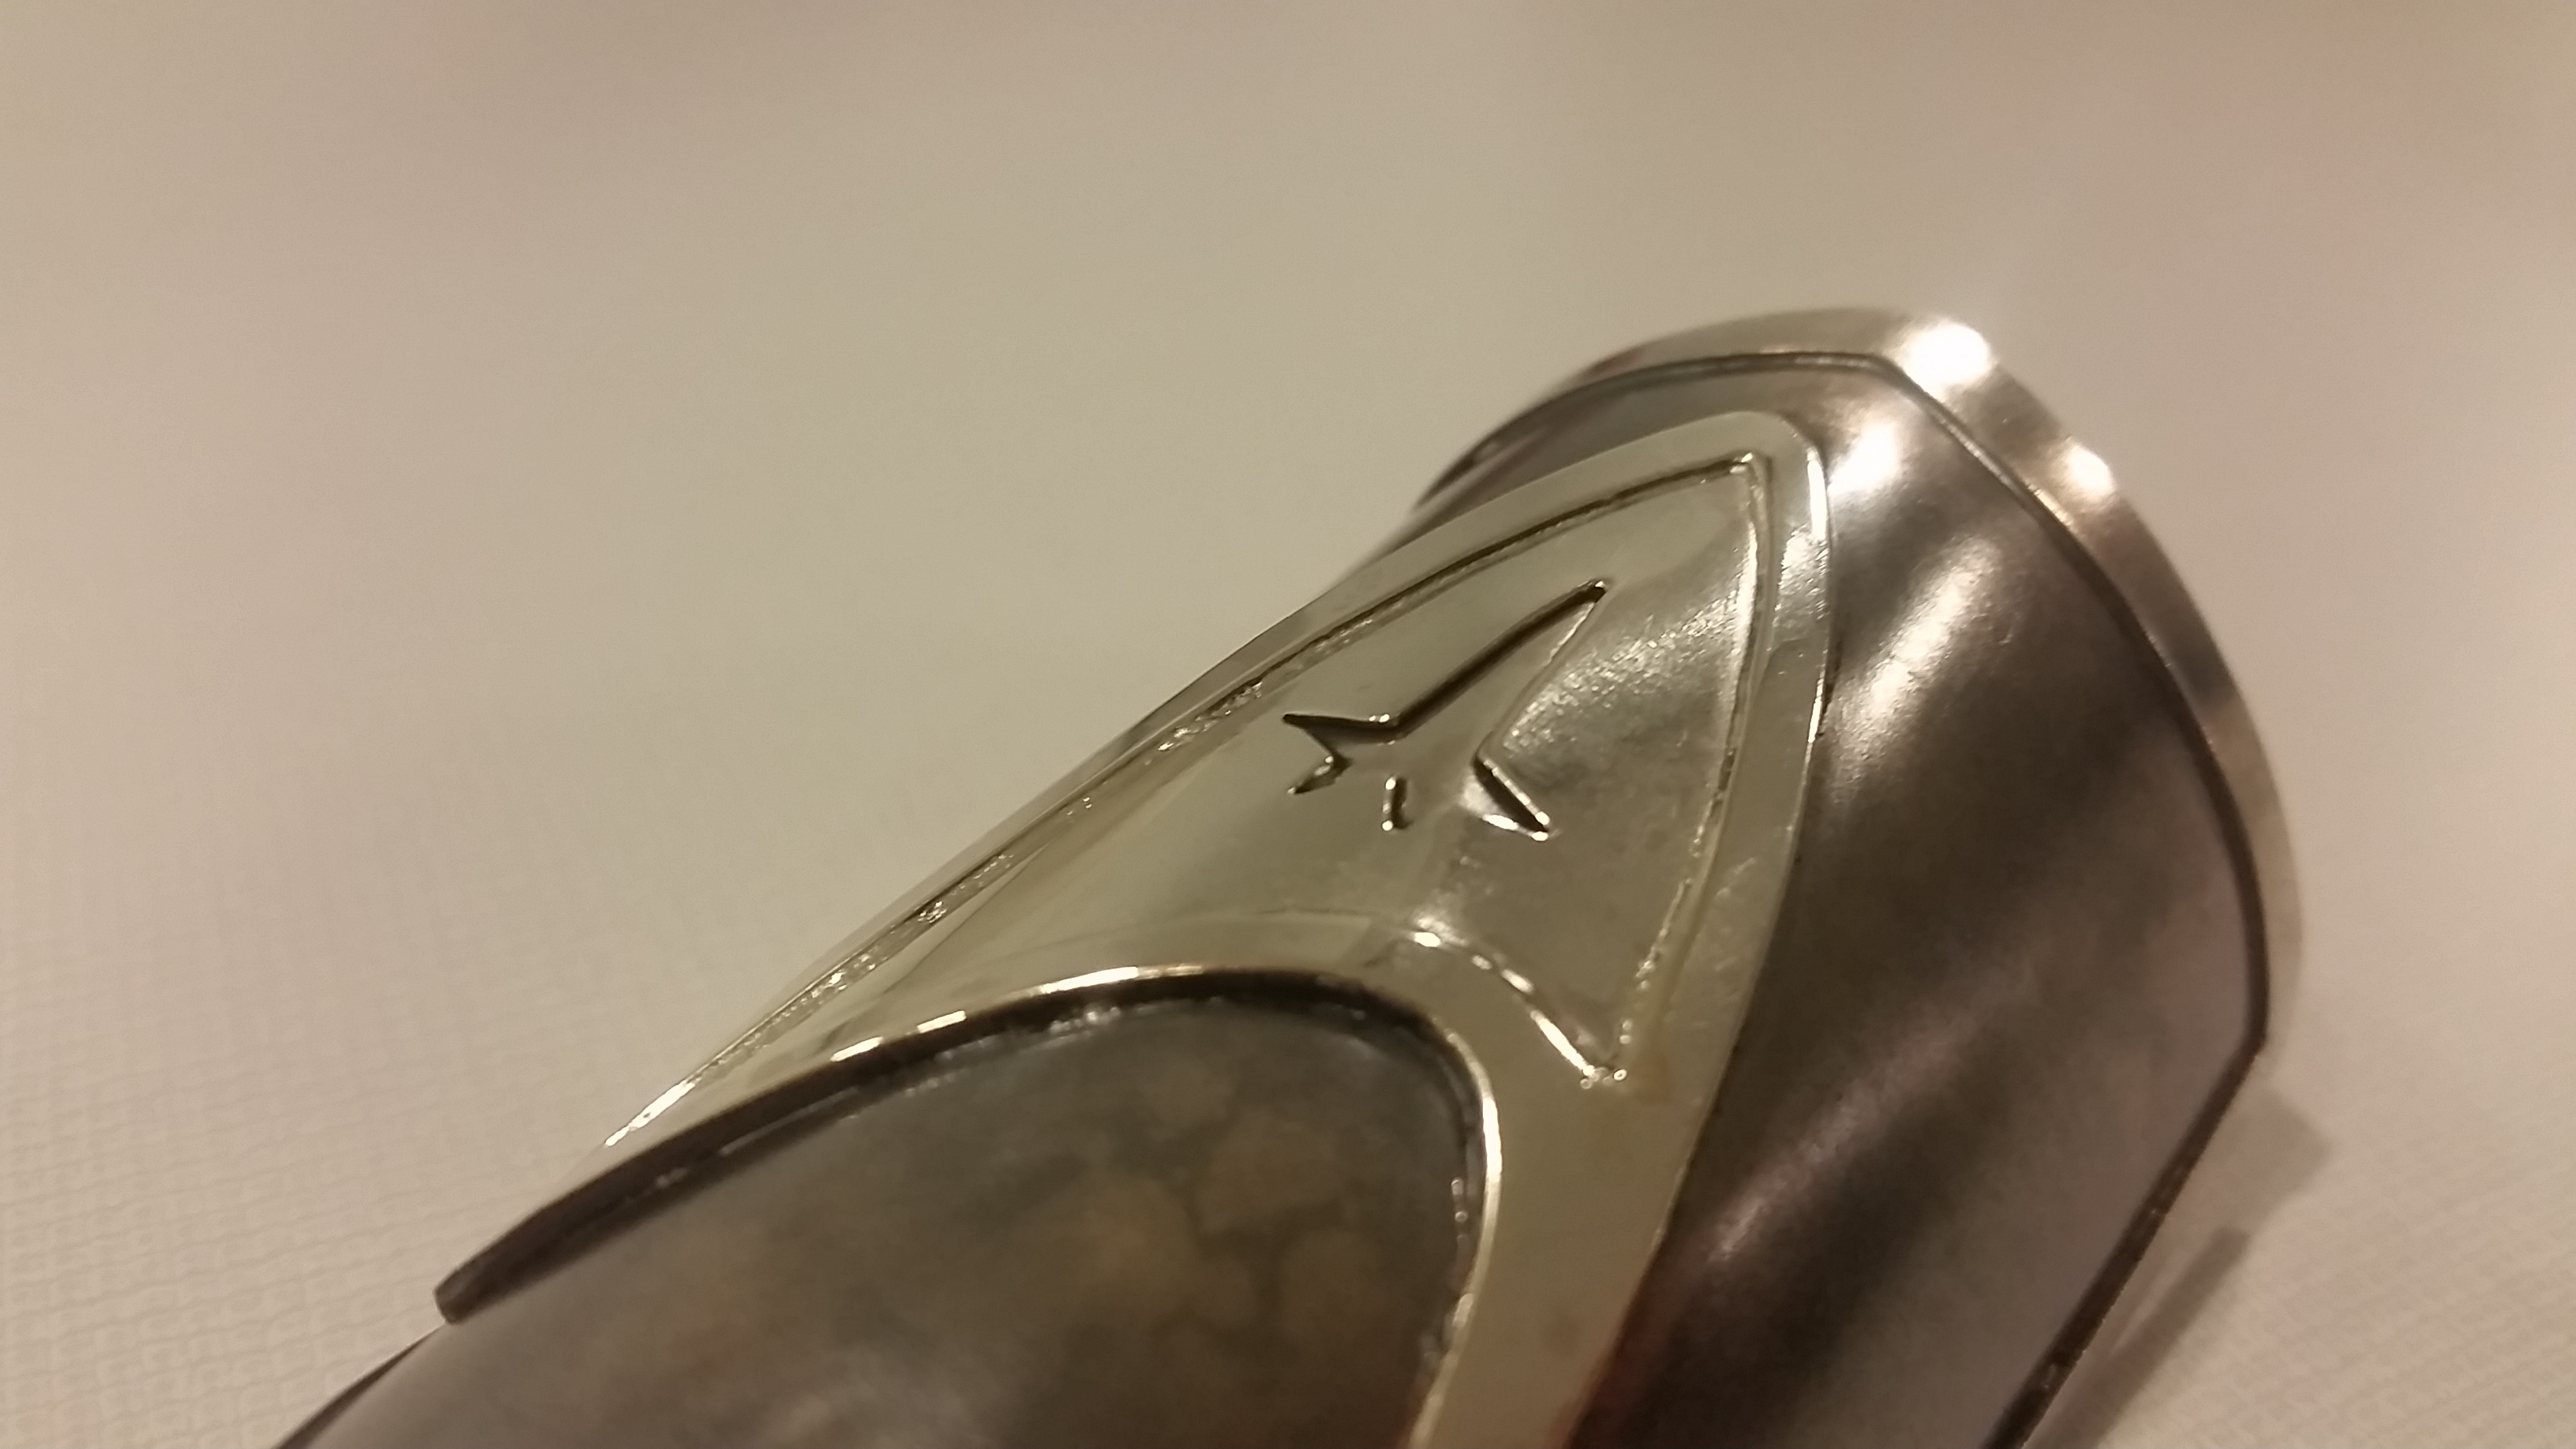
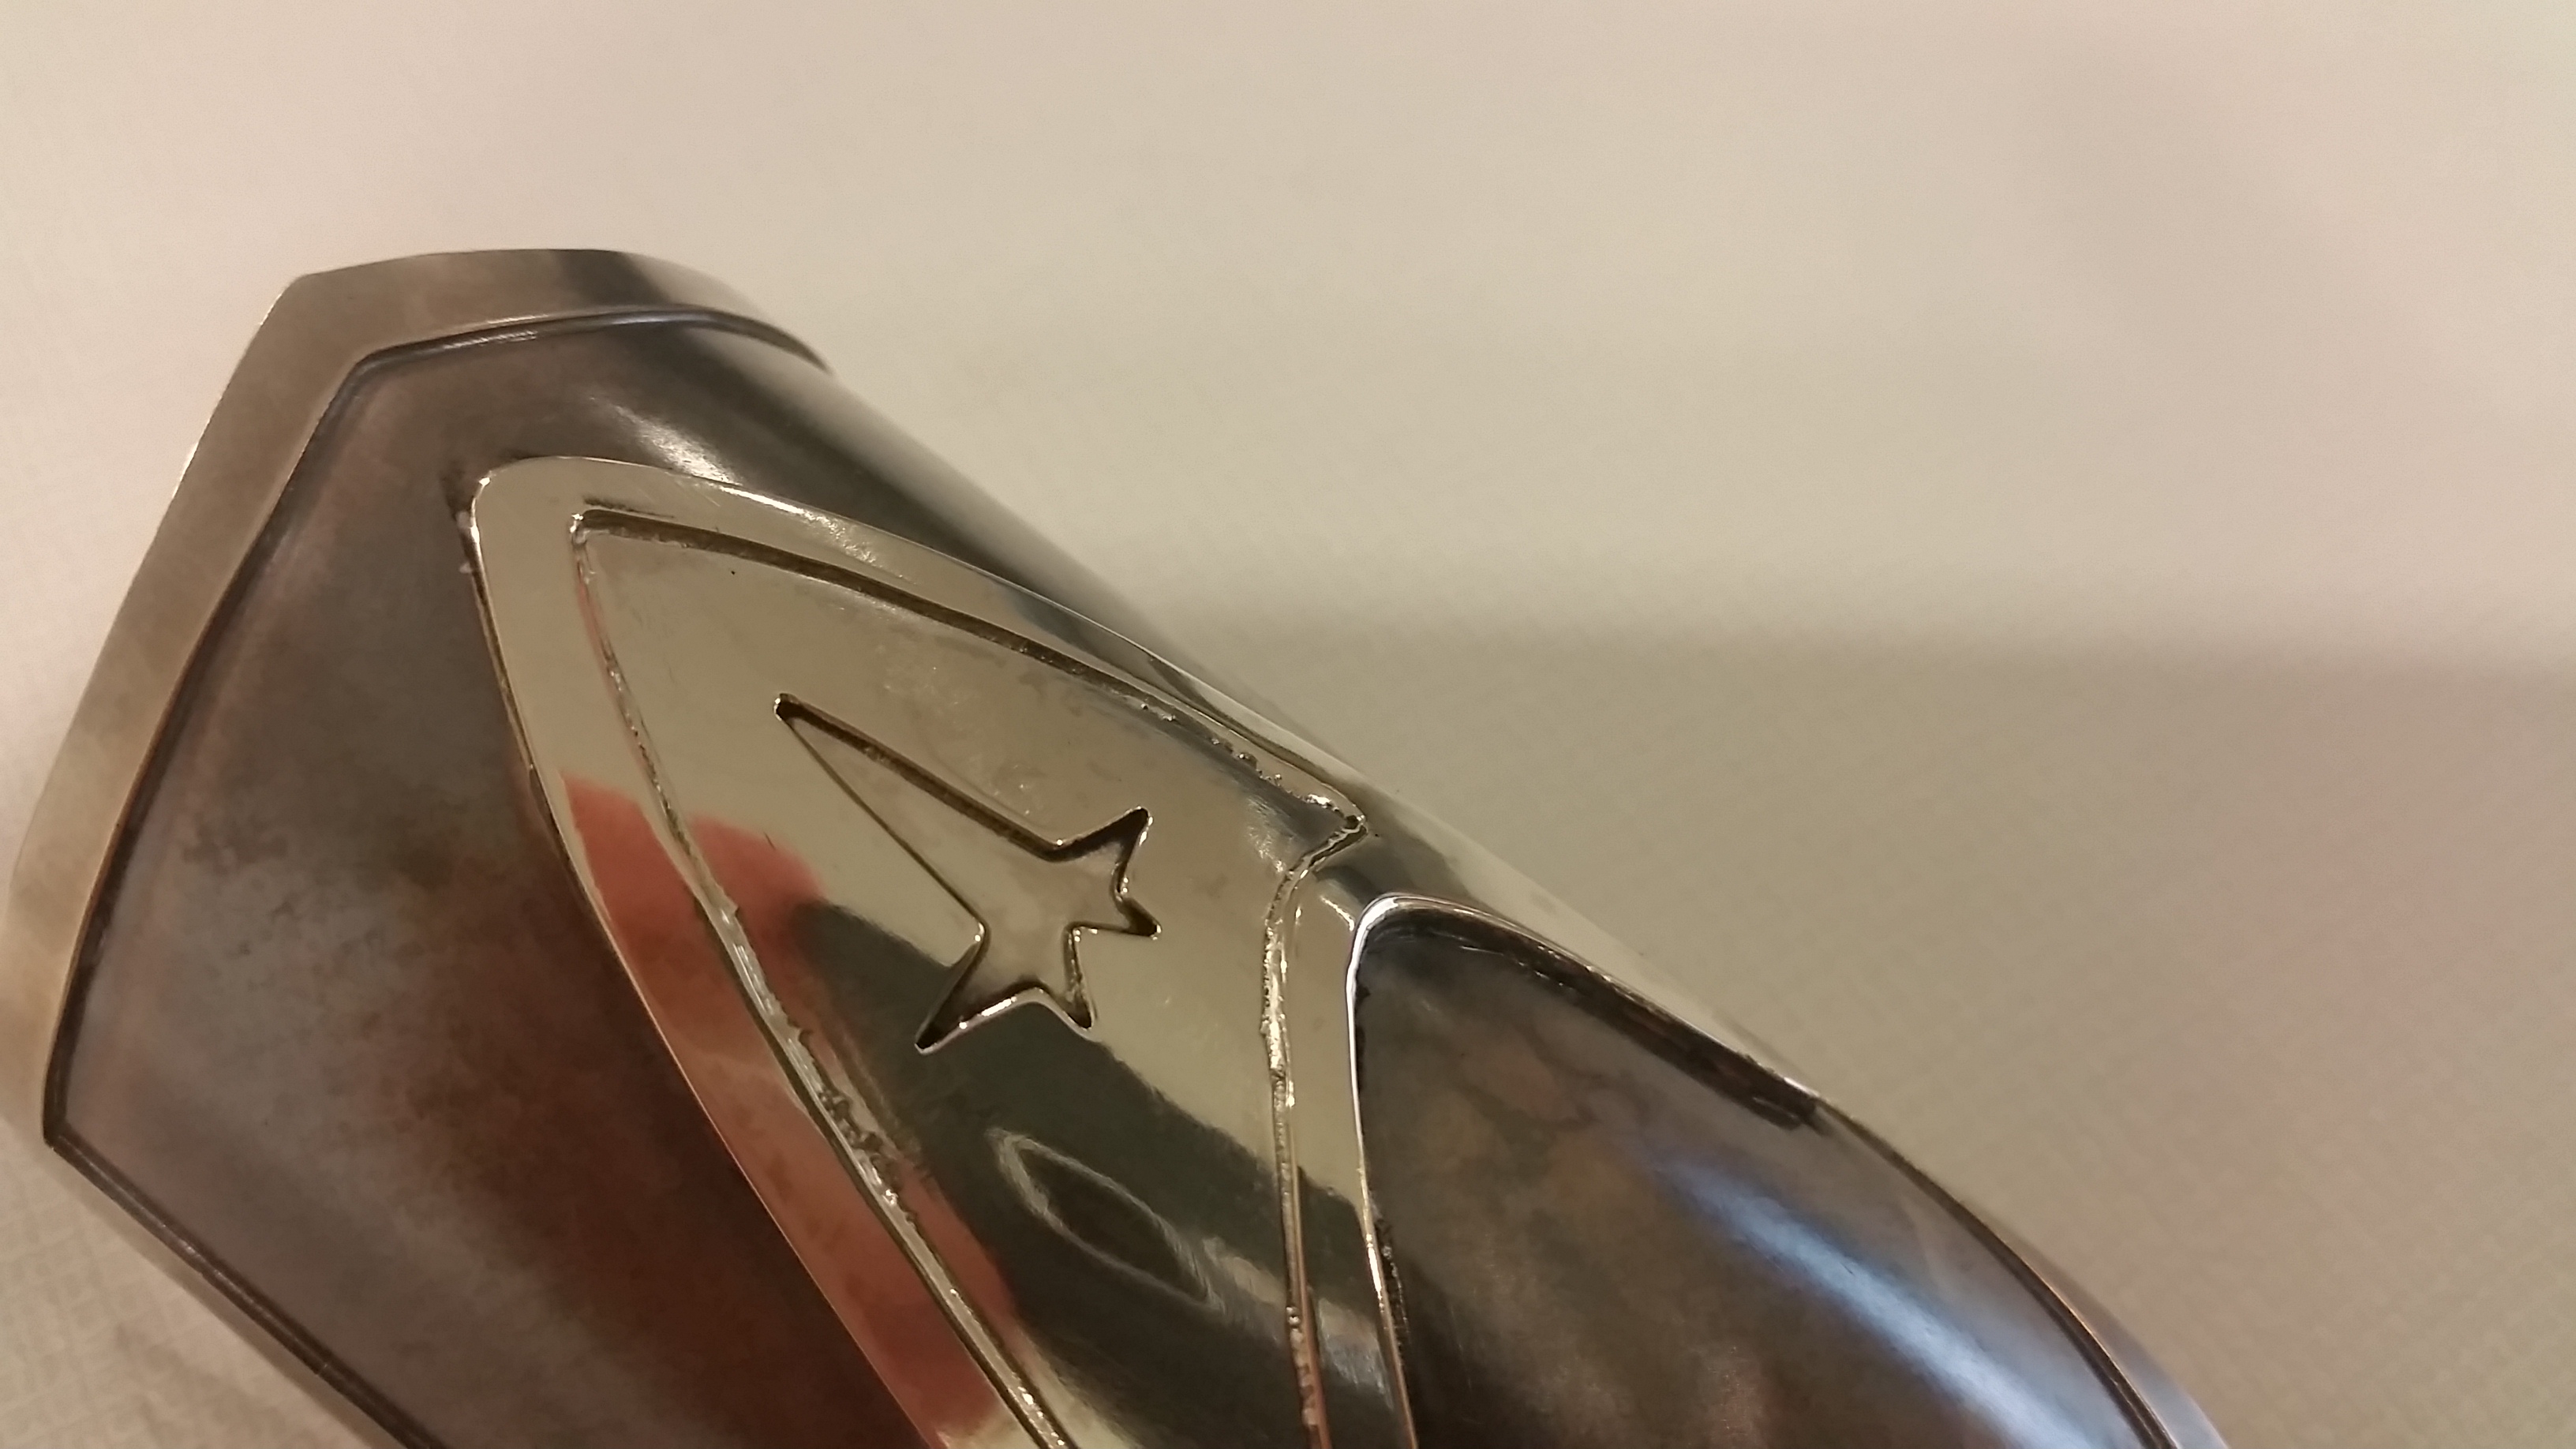
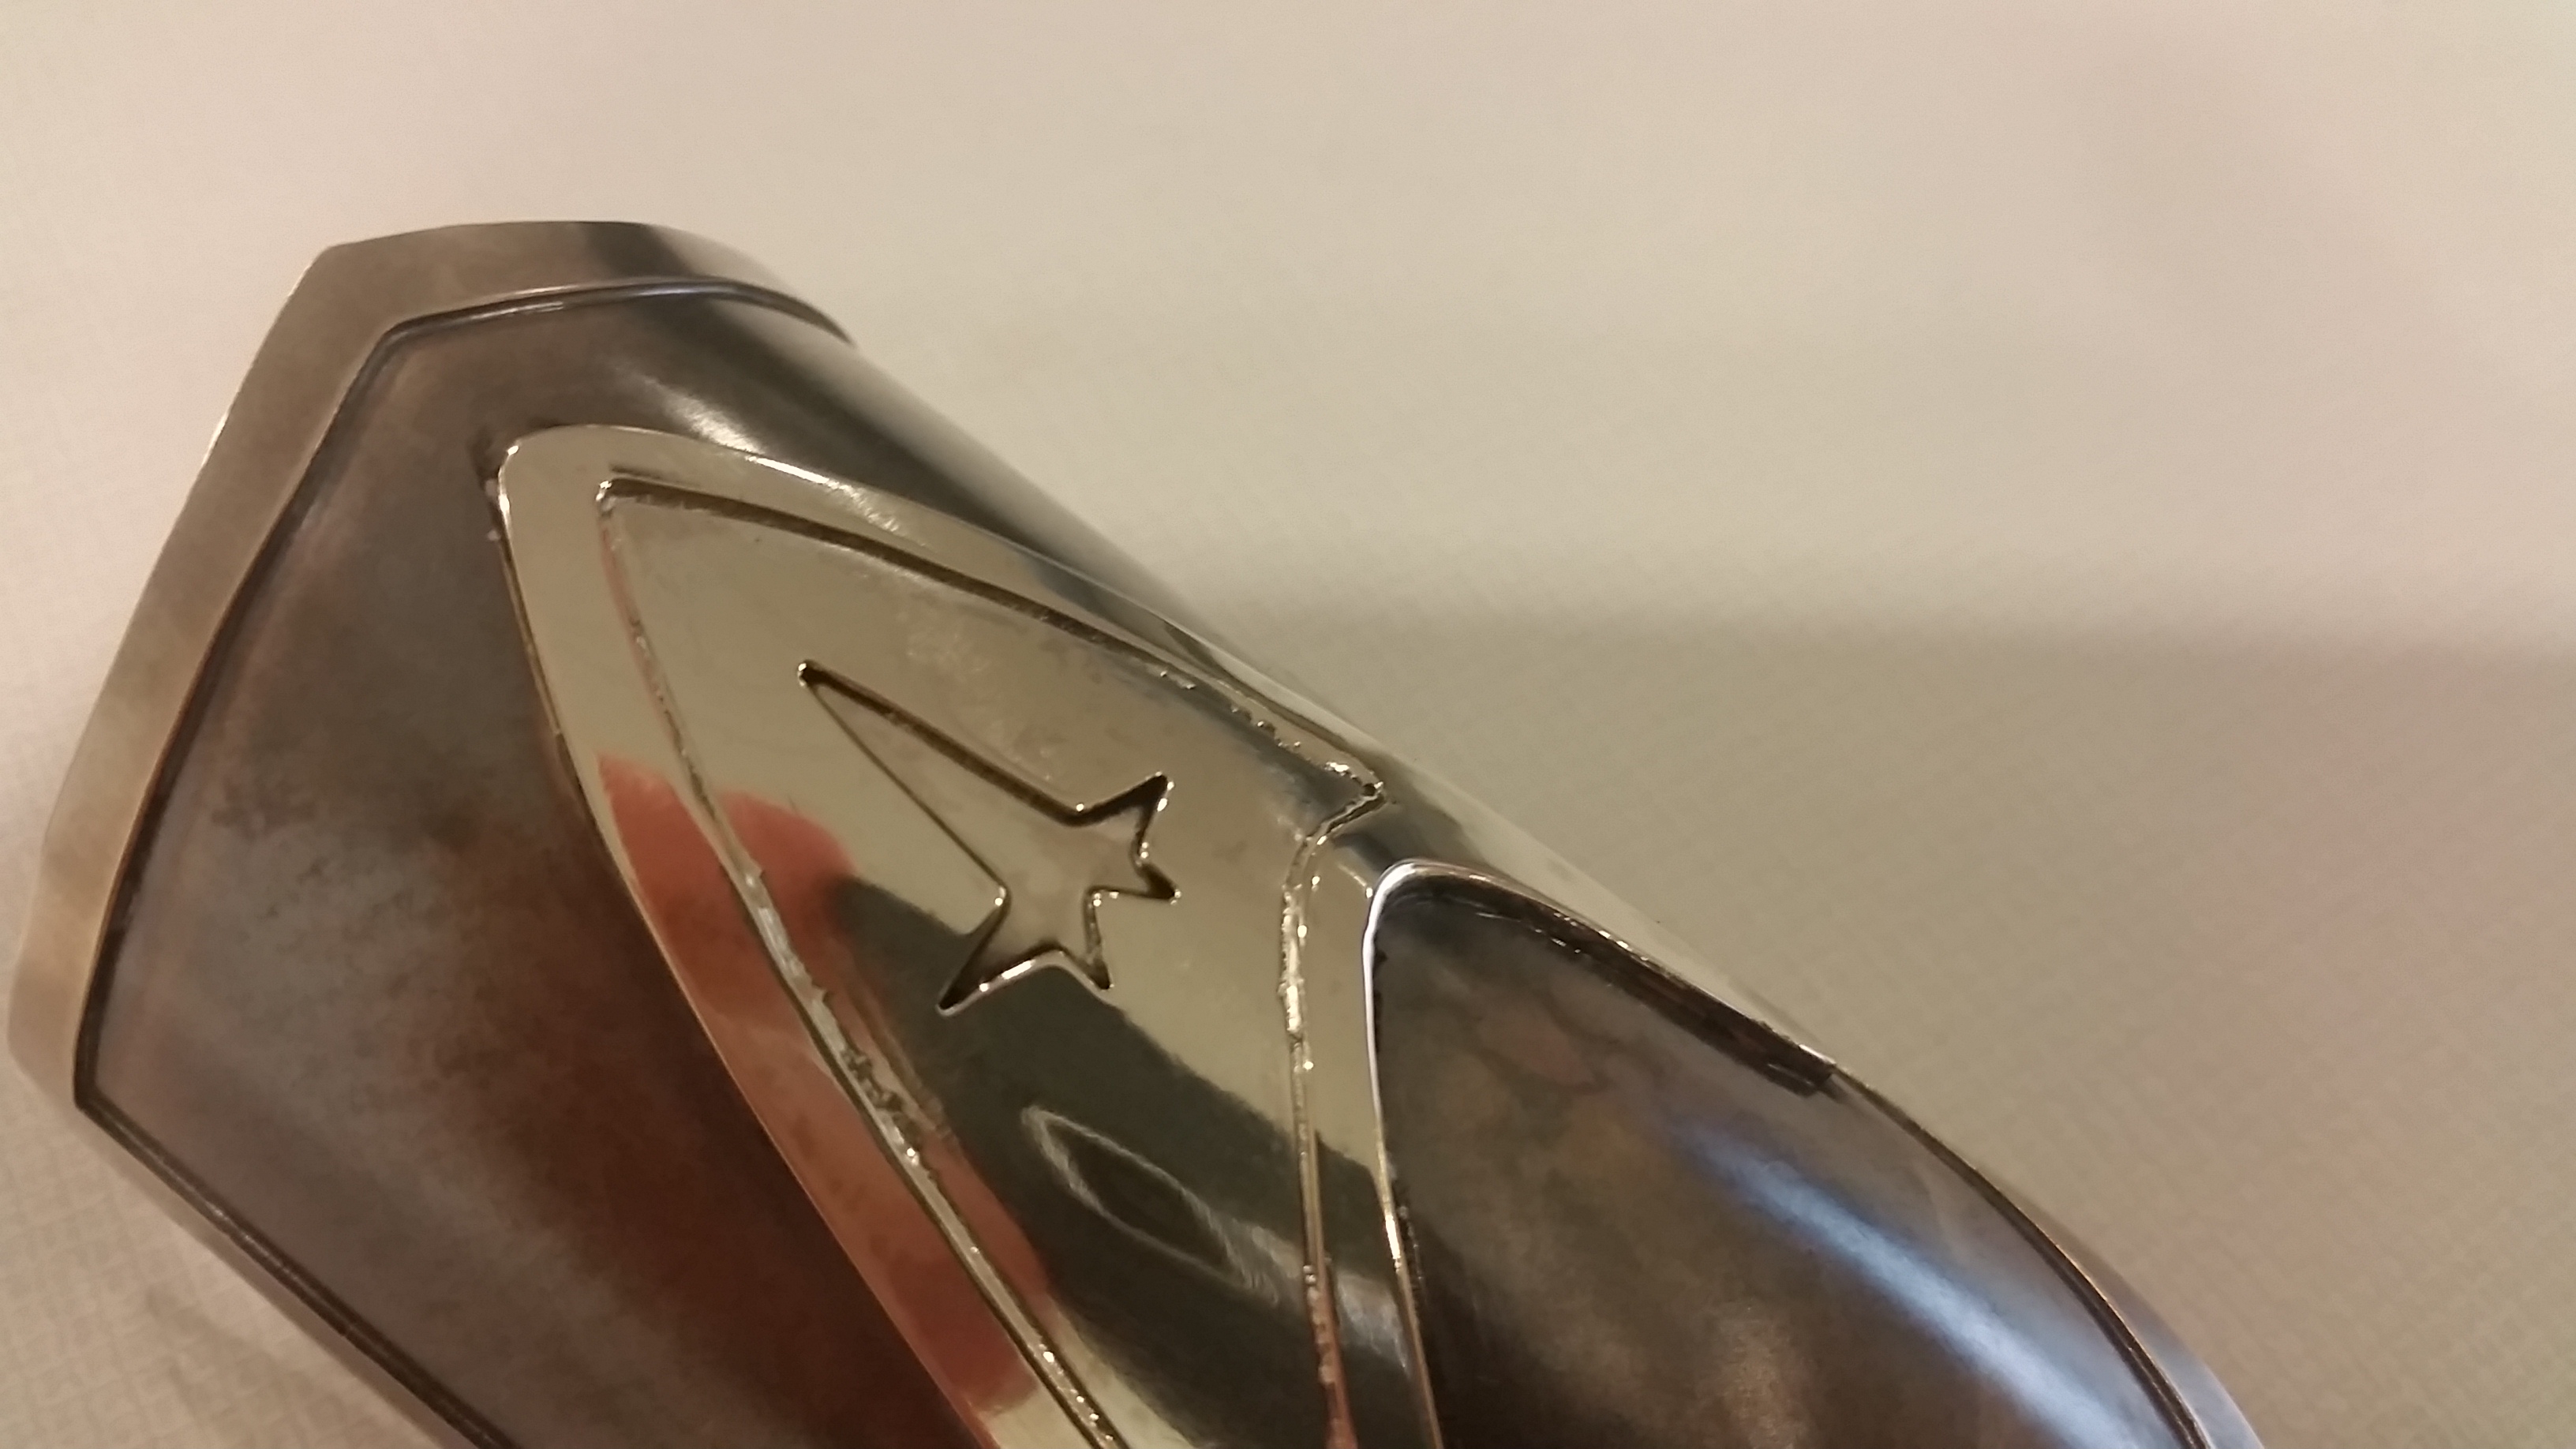
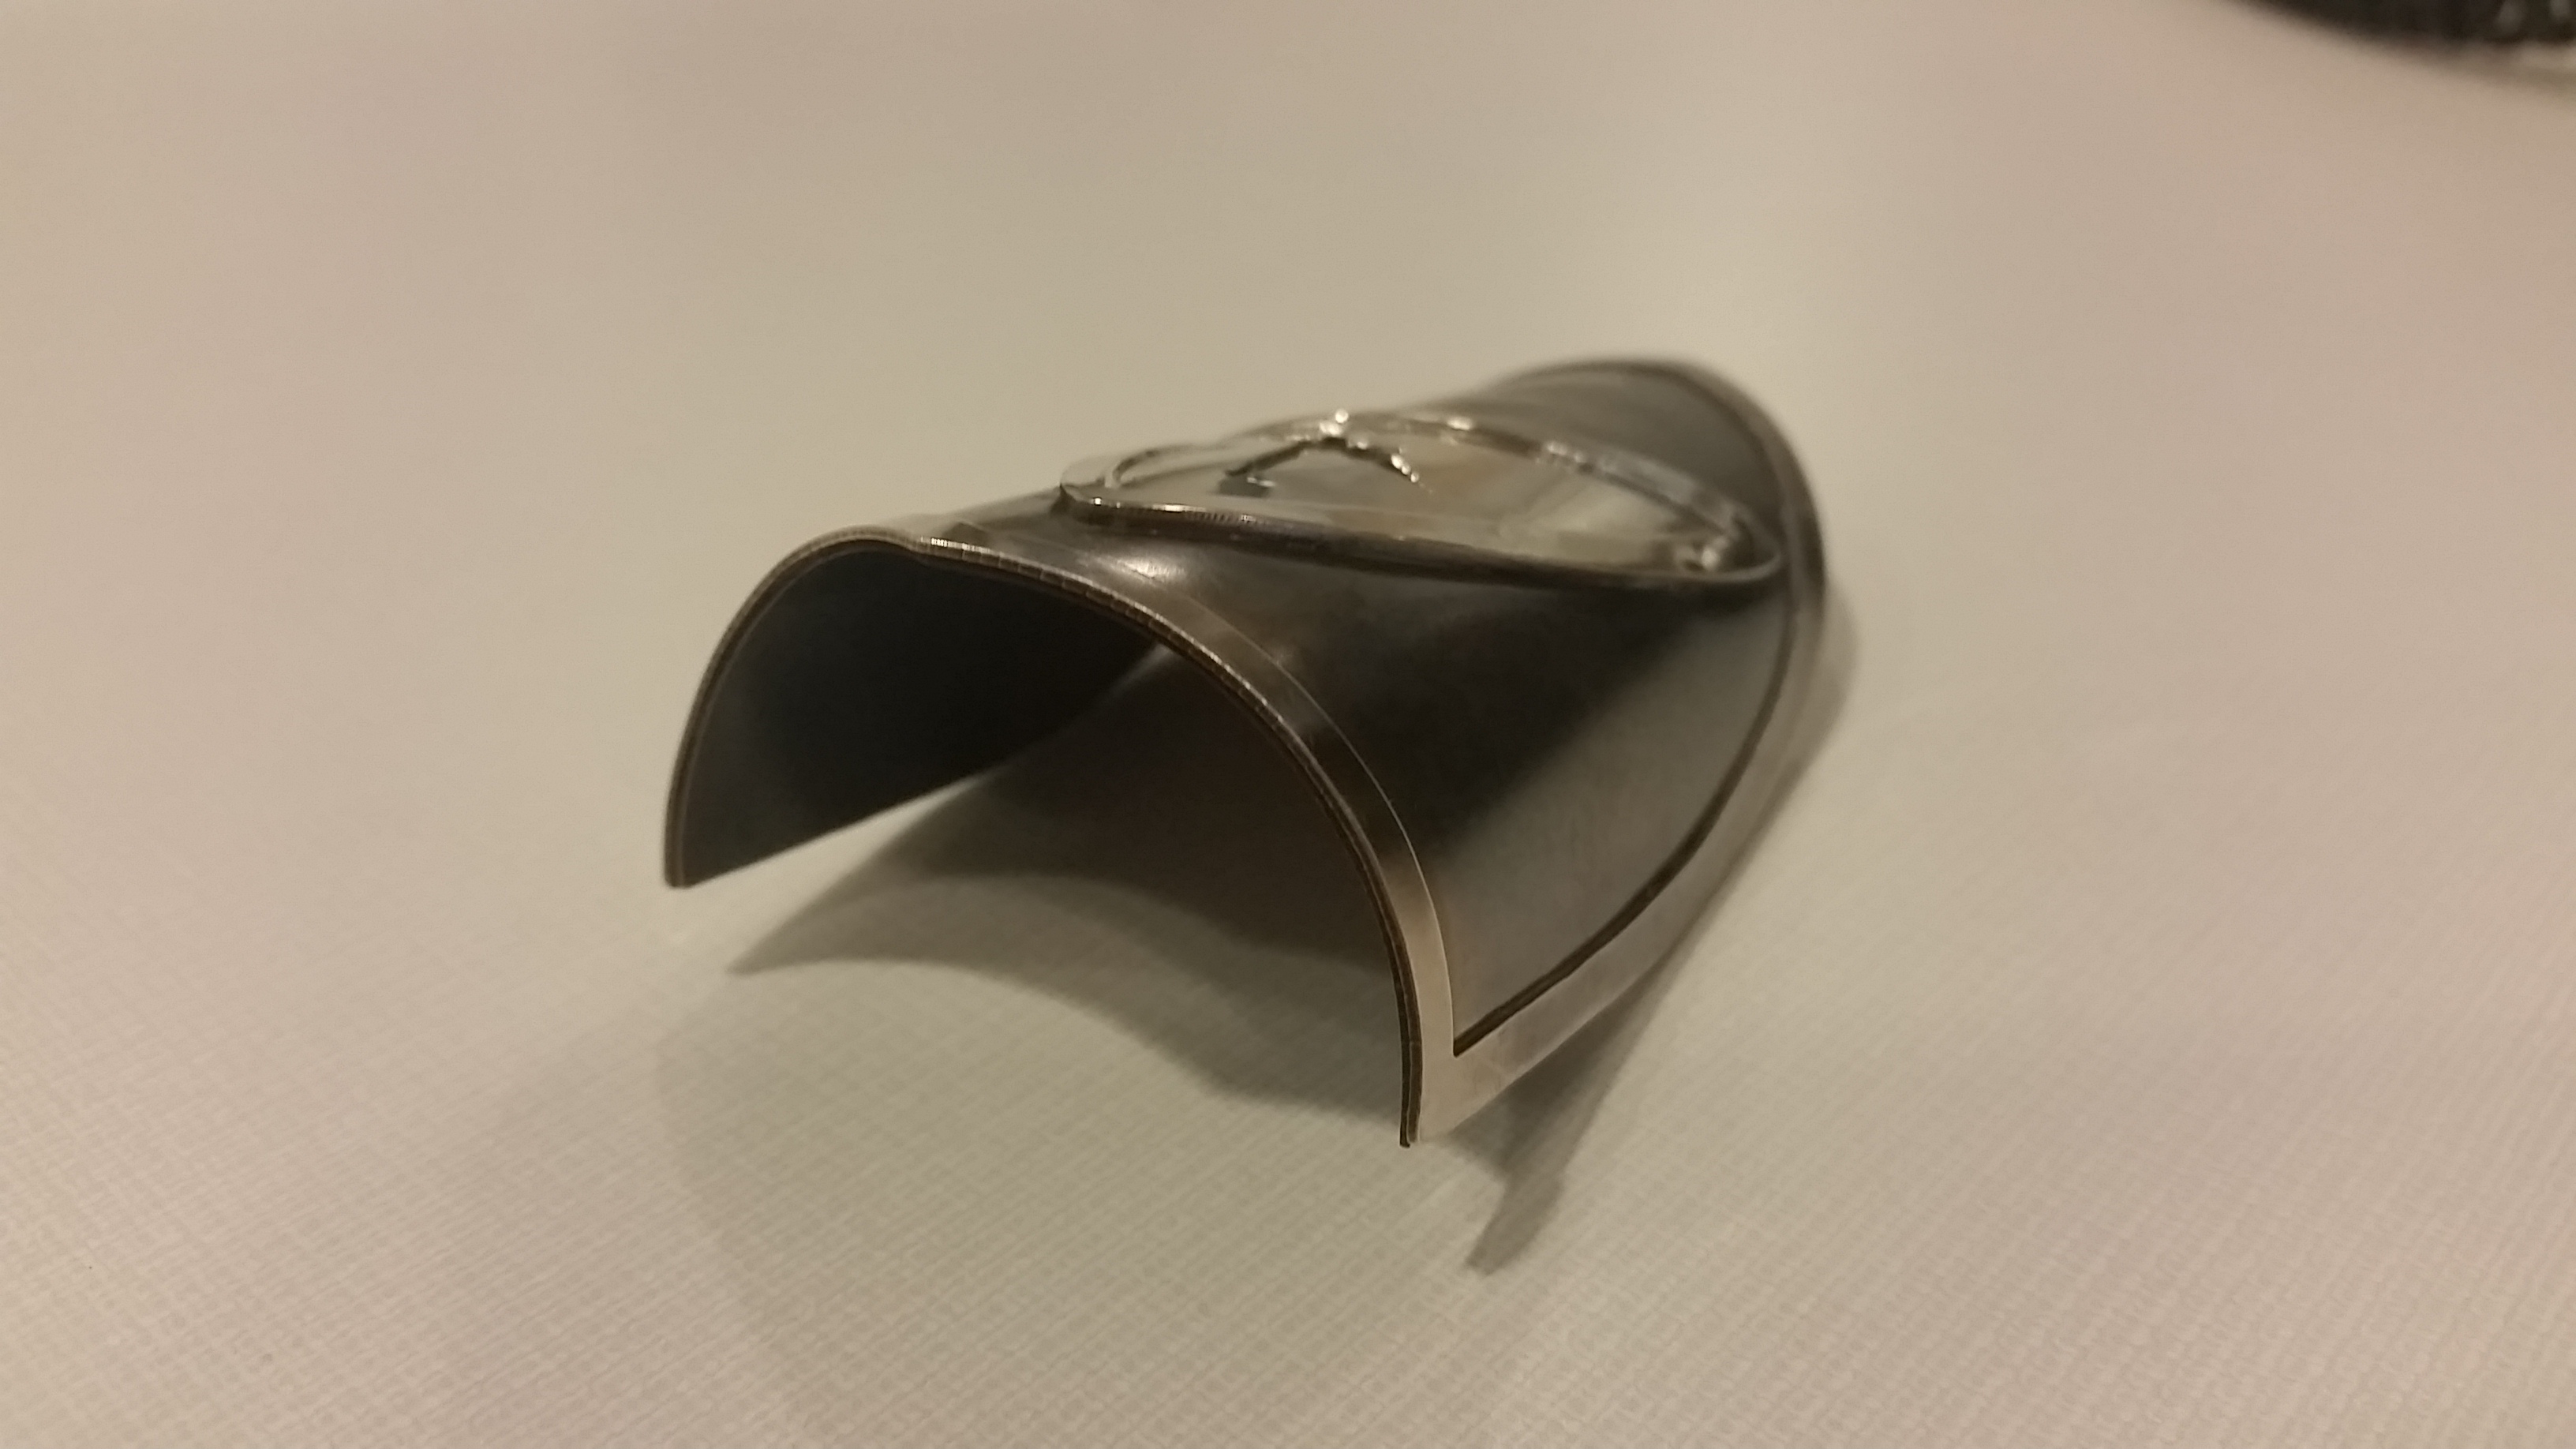
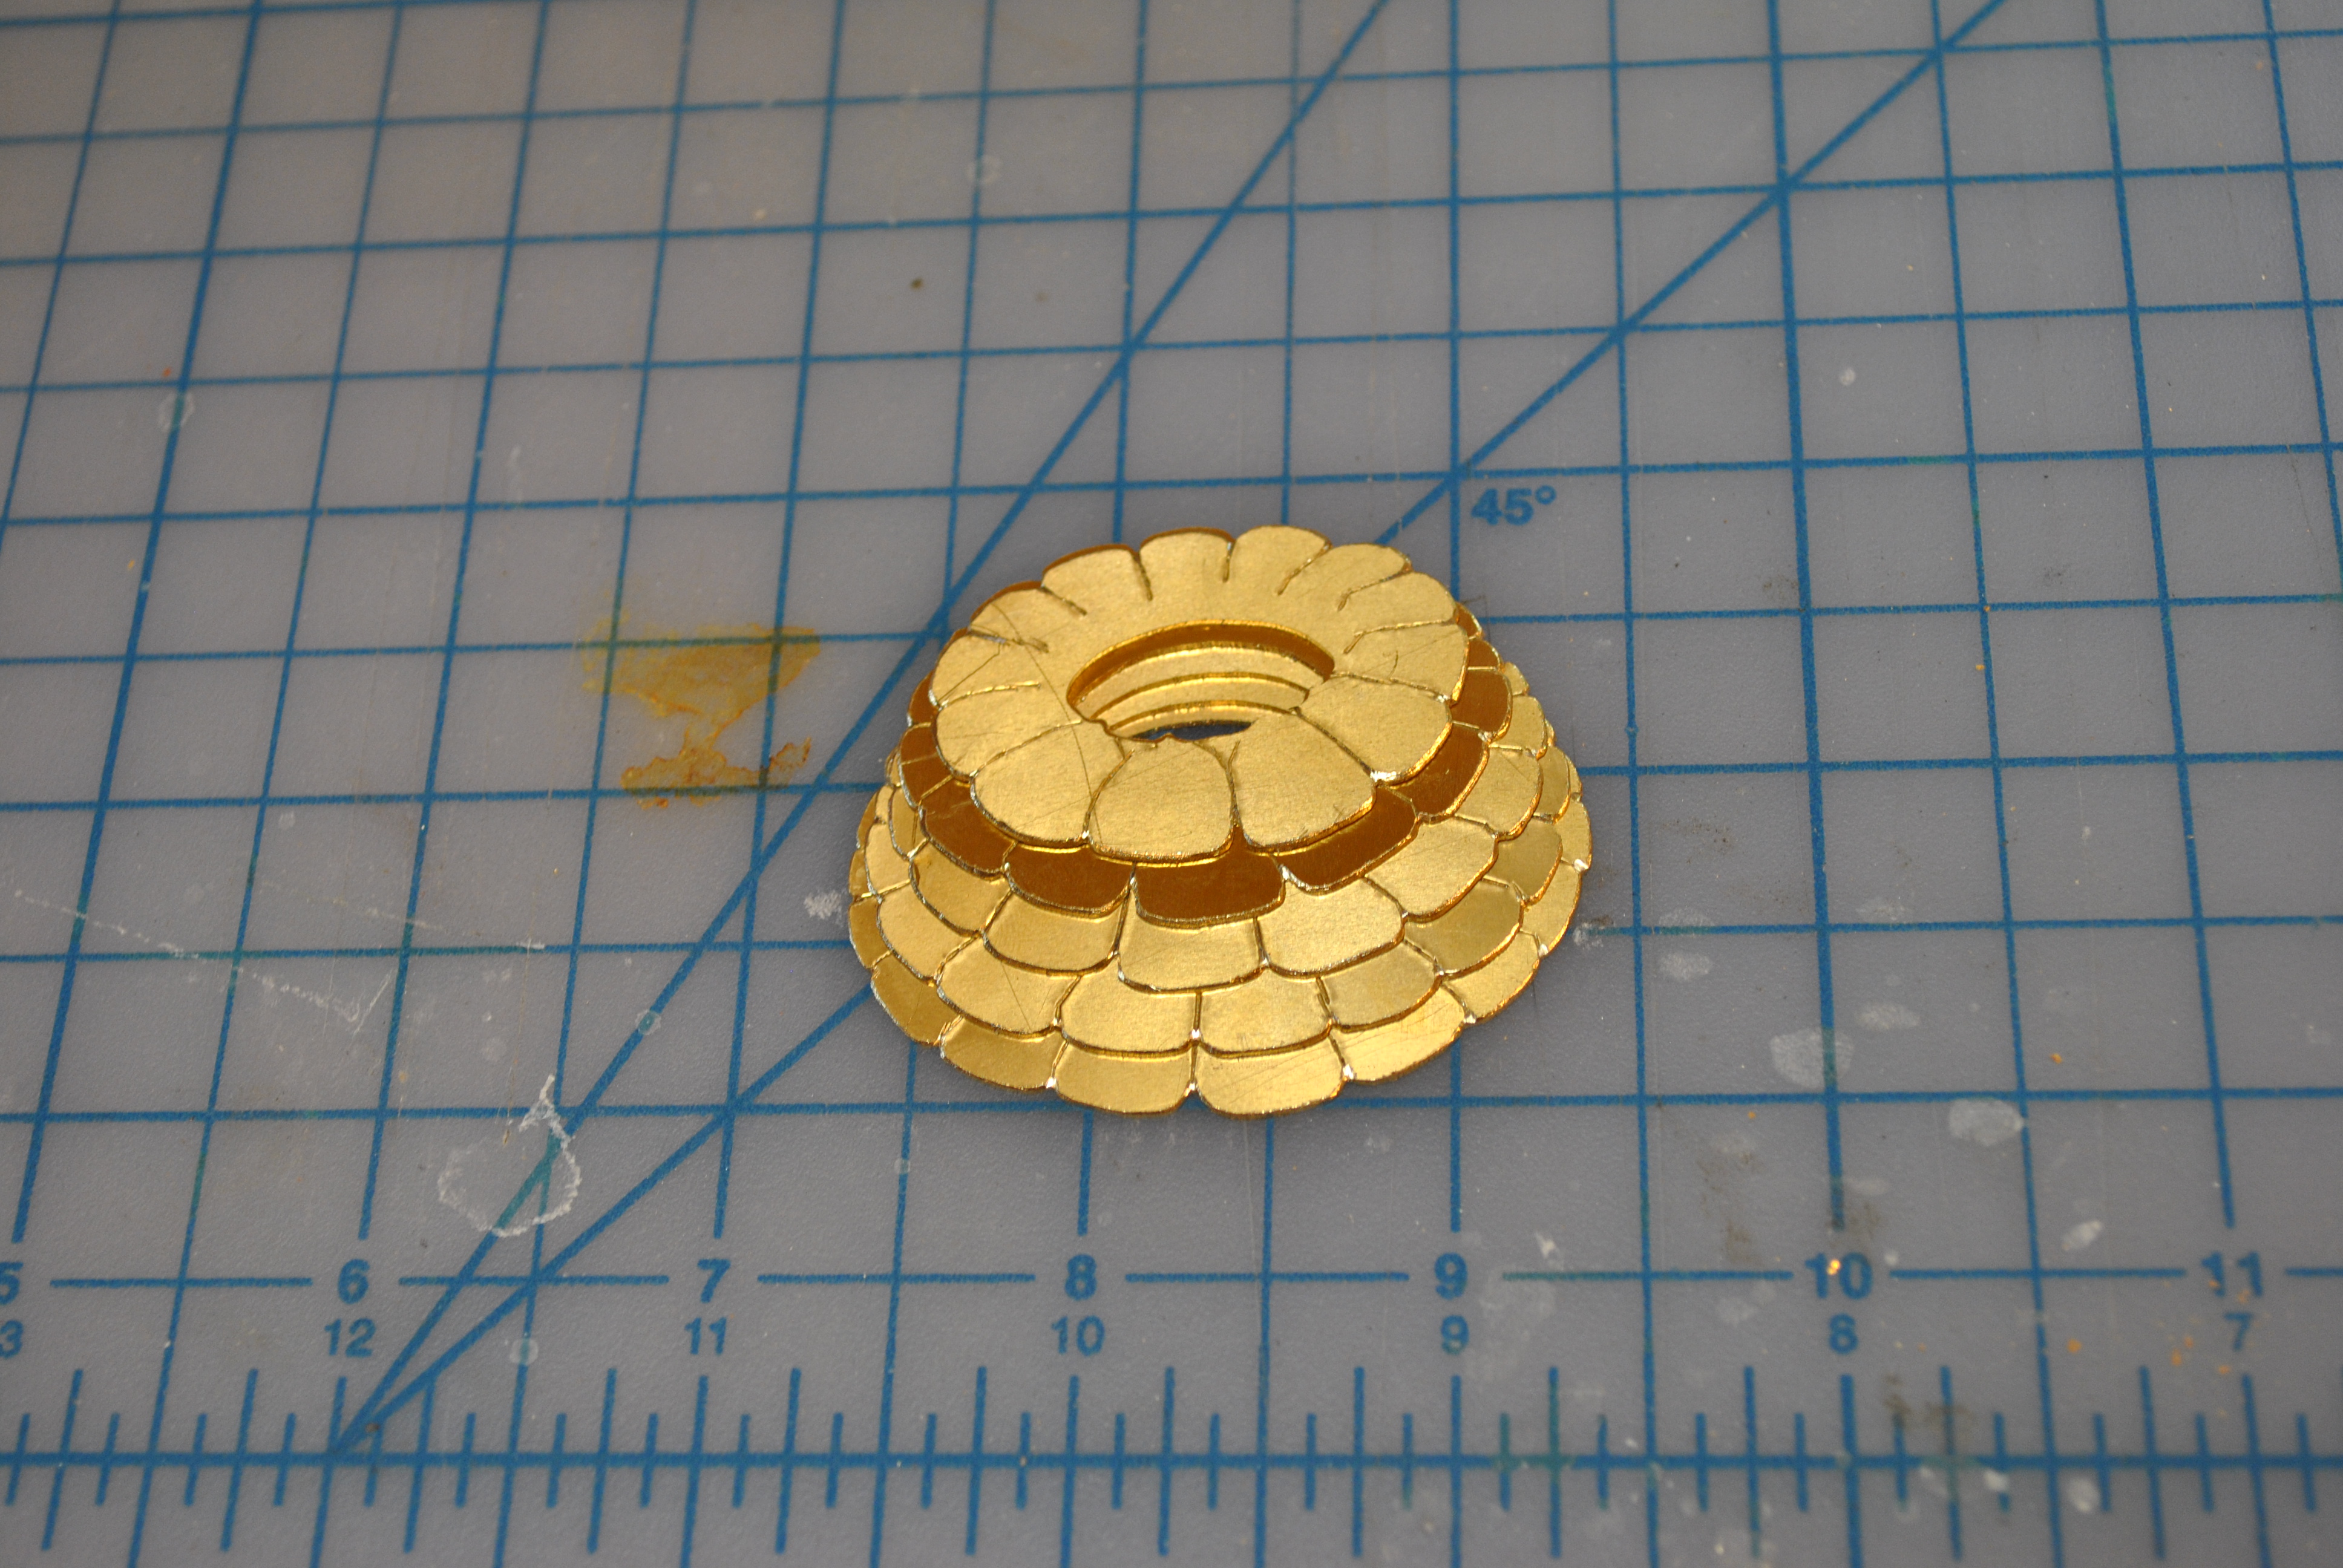
I did the rivets in two layers for strength and also so that they would fit better into the final design. I didn’t want rivets showing on every layer, but also wanted it to be strong, so there are three “hidden” rivets.
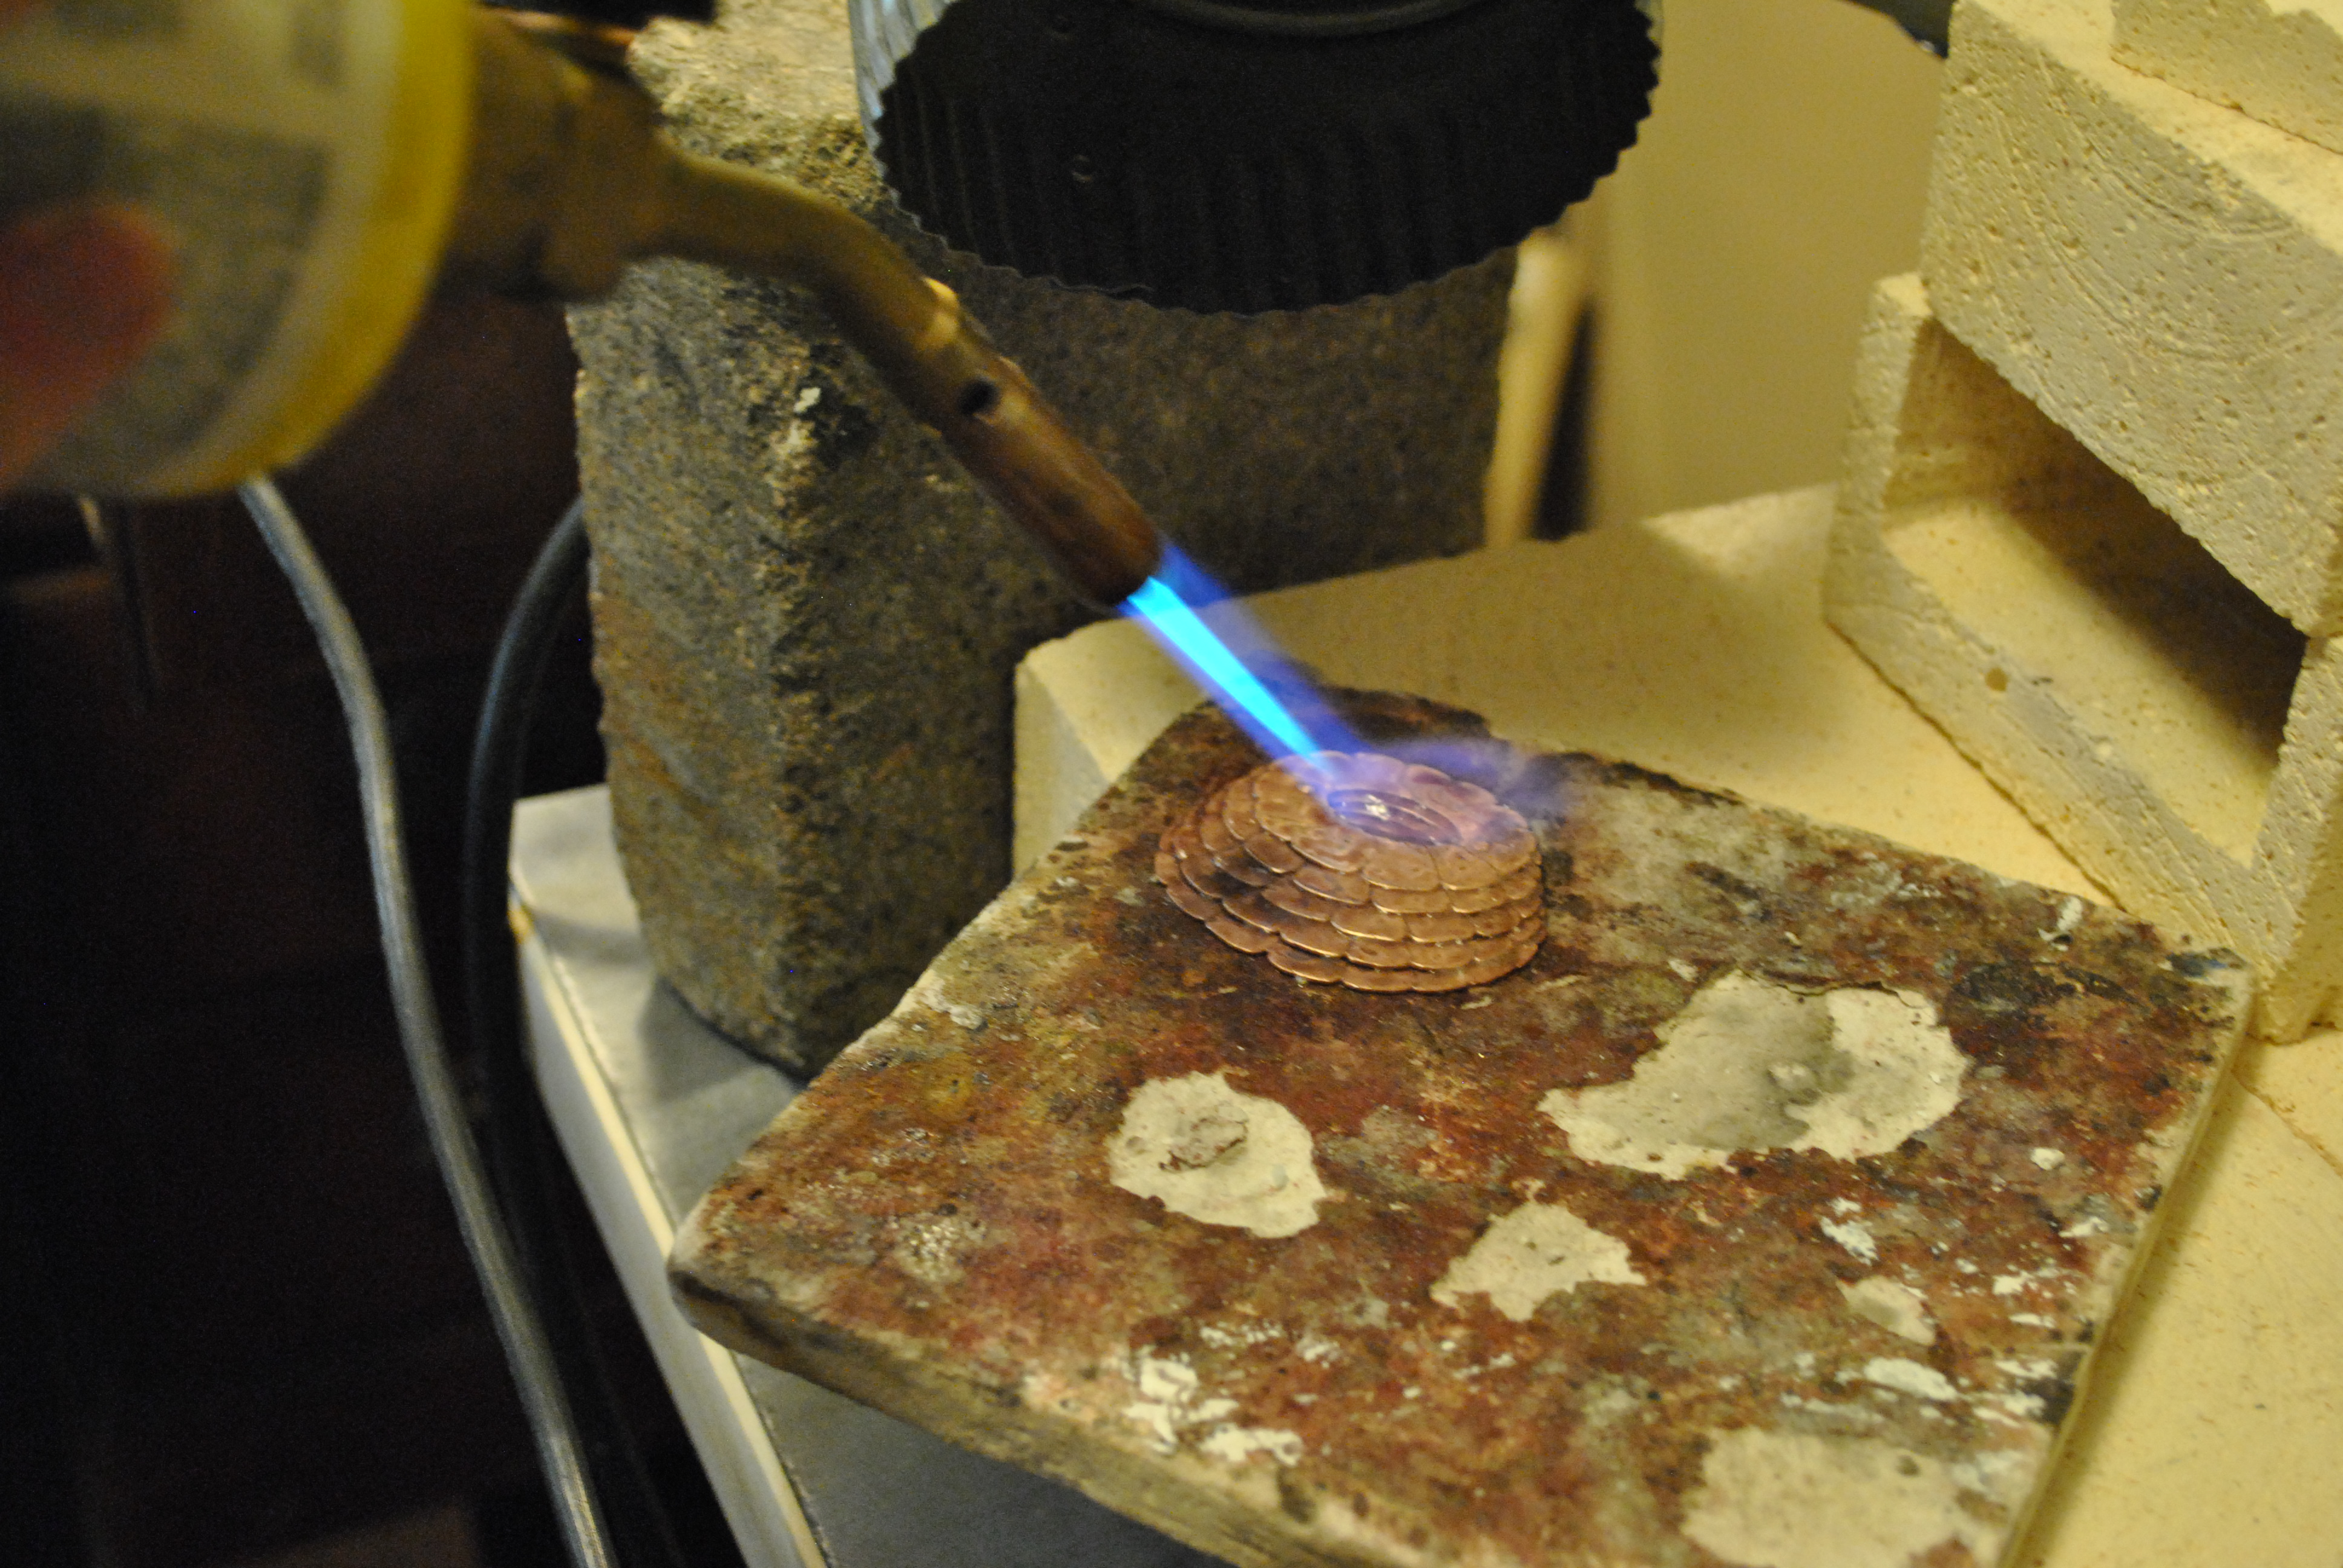
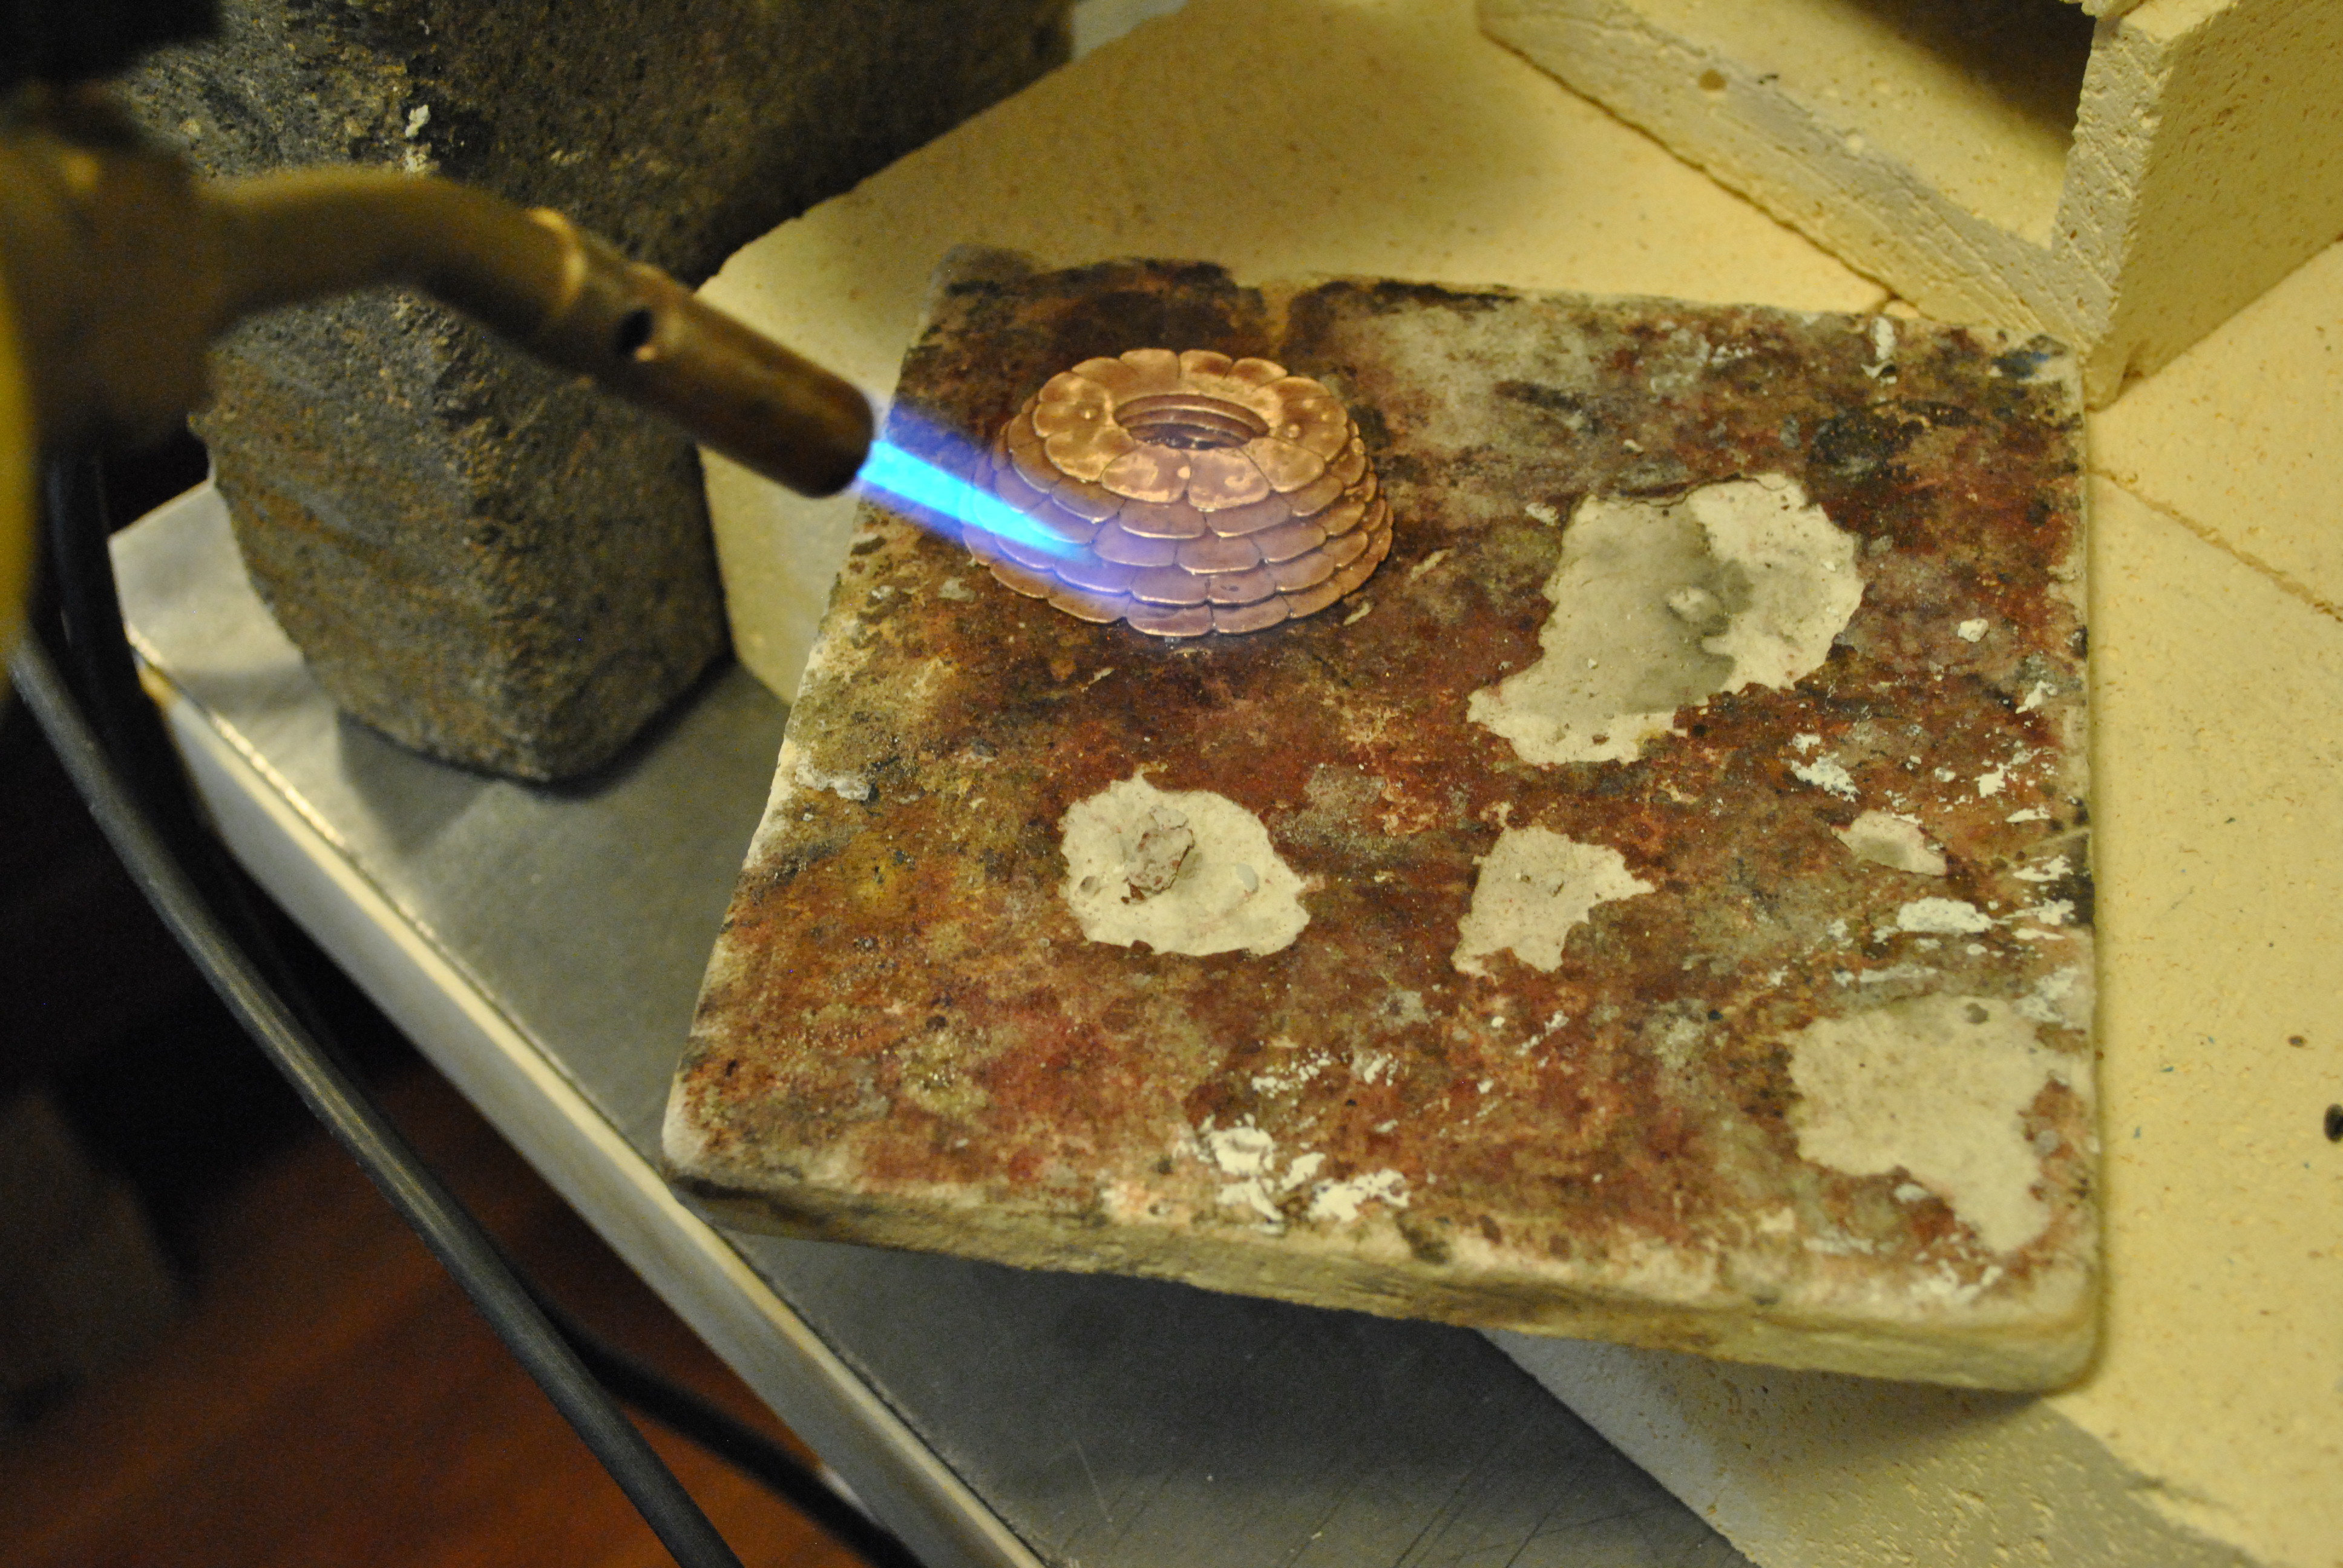
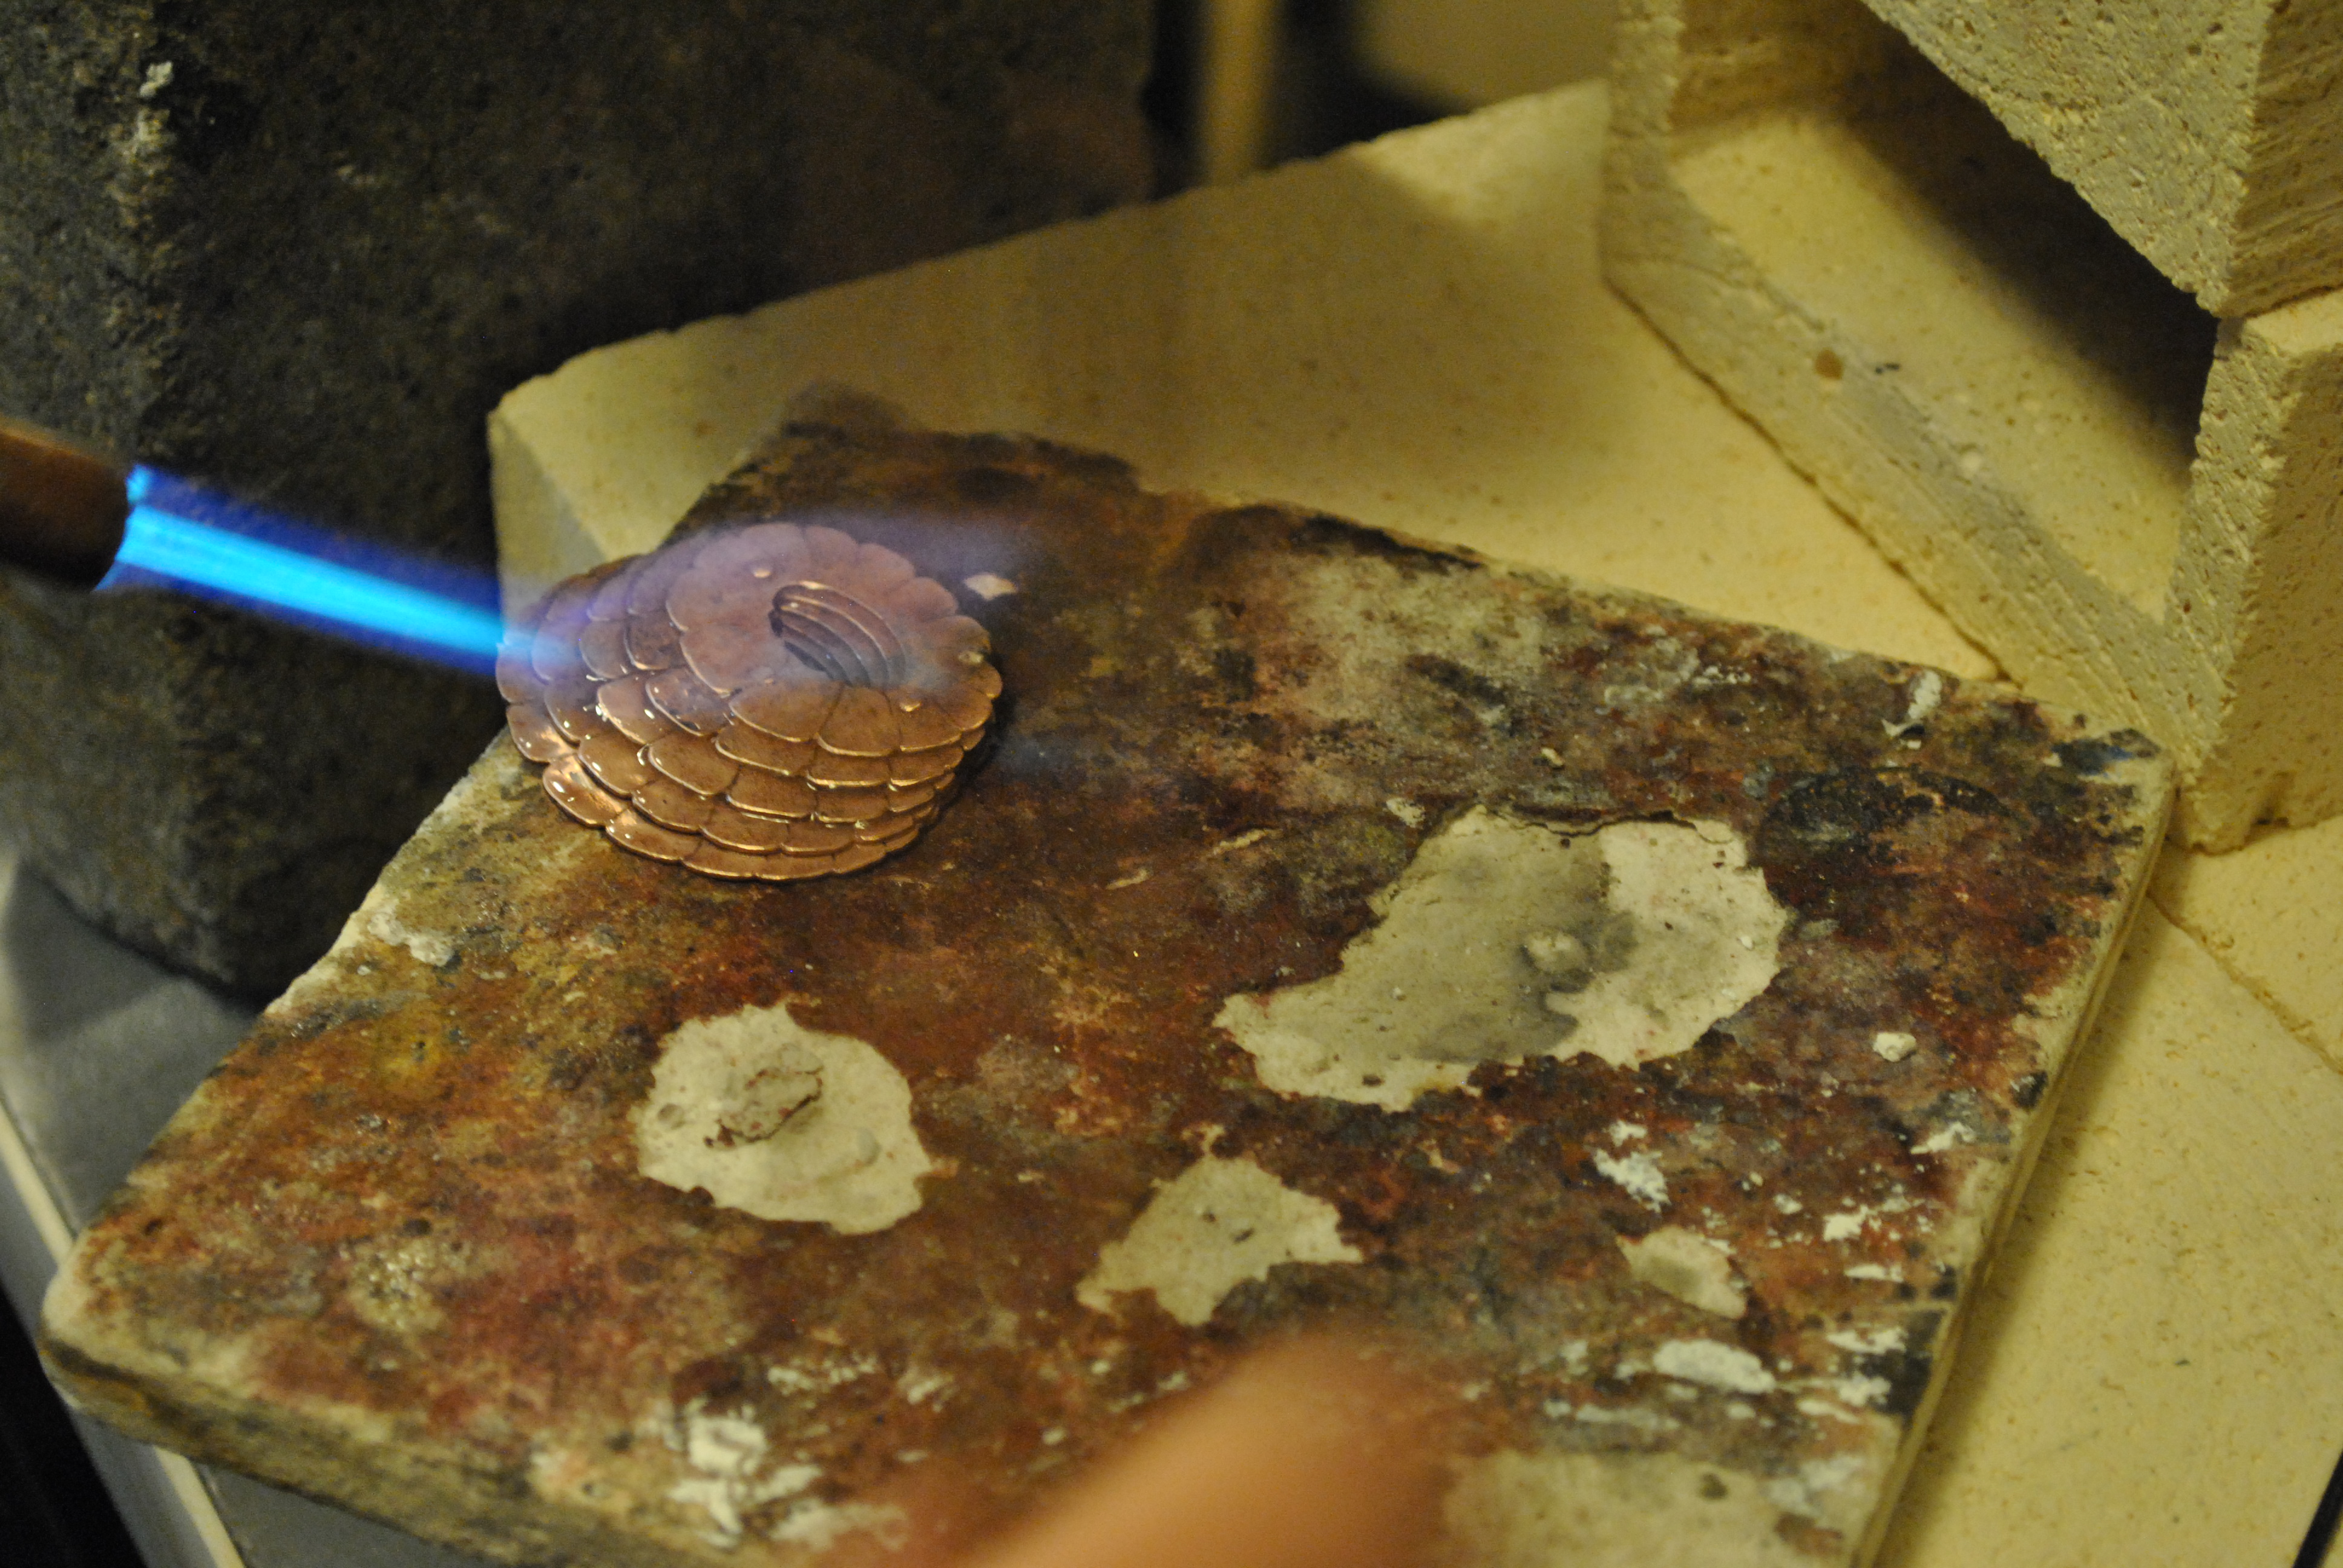
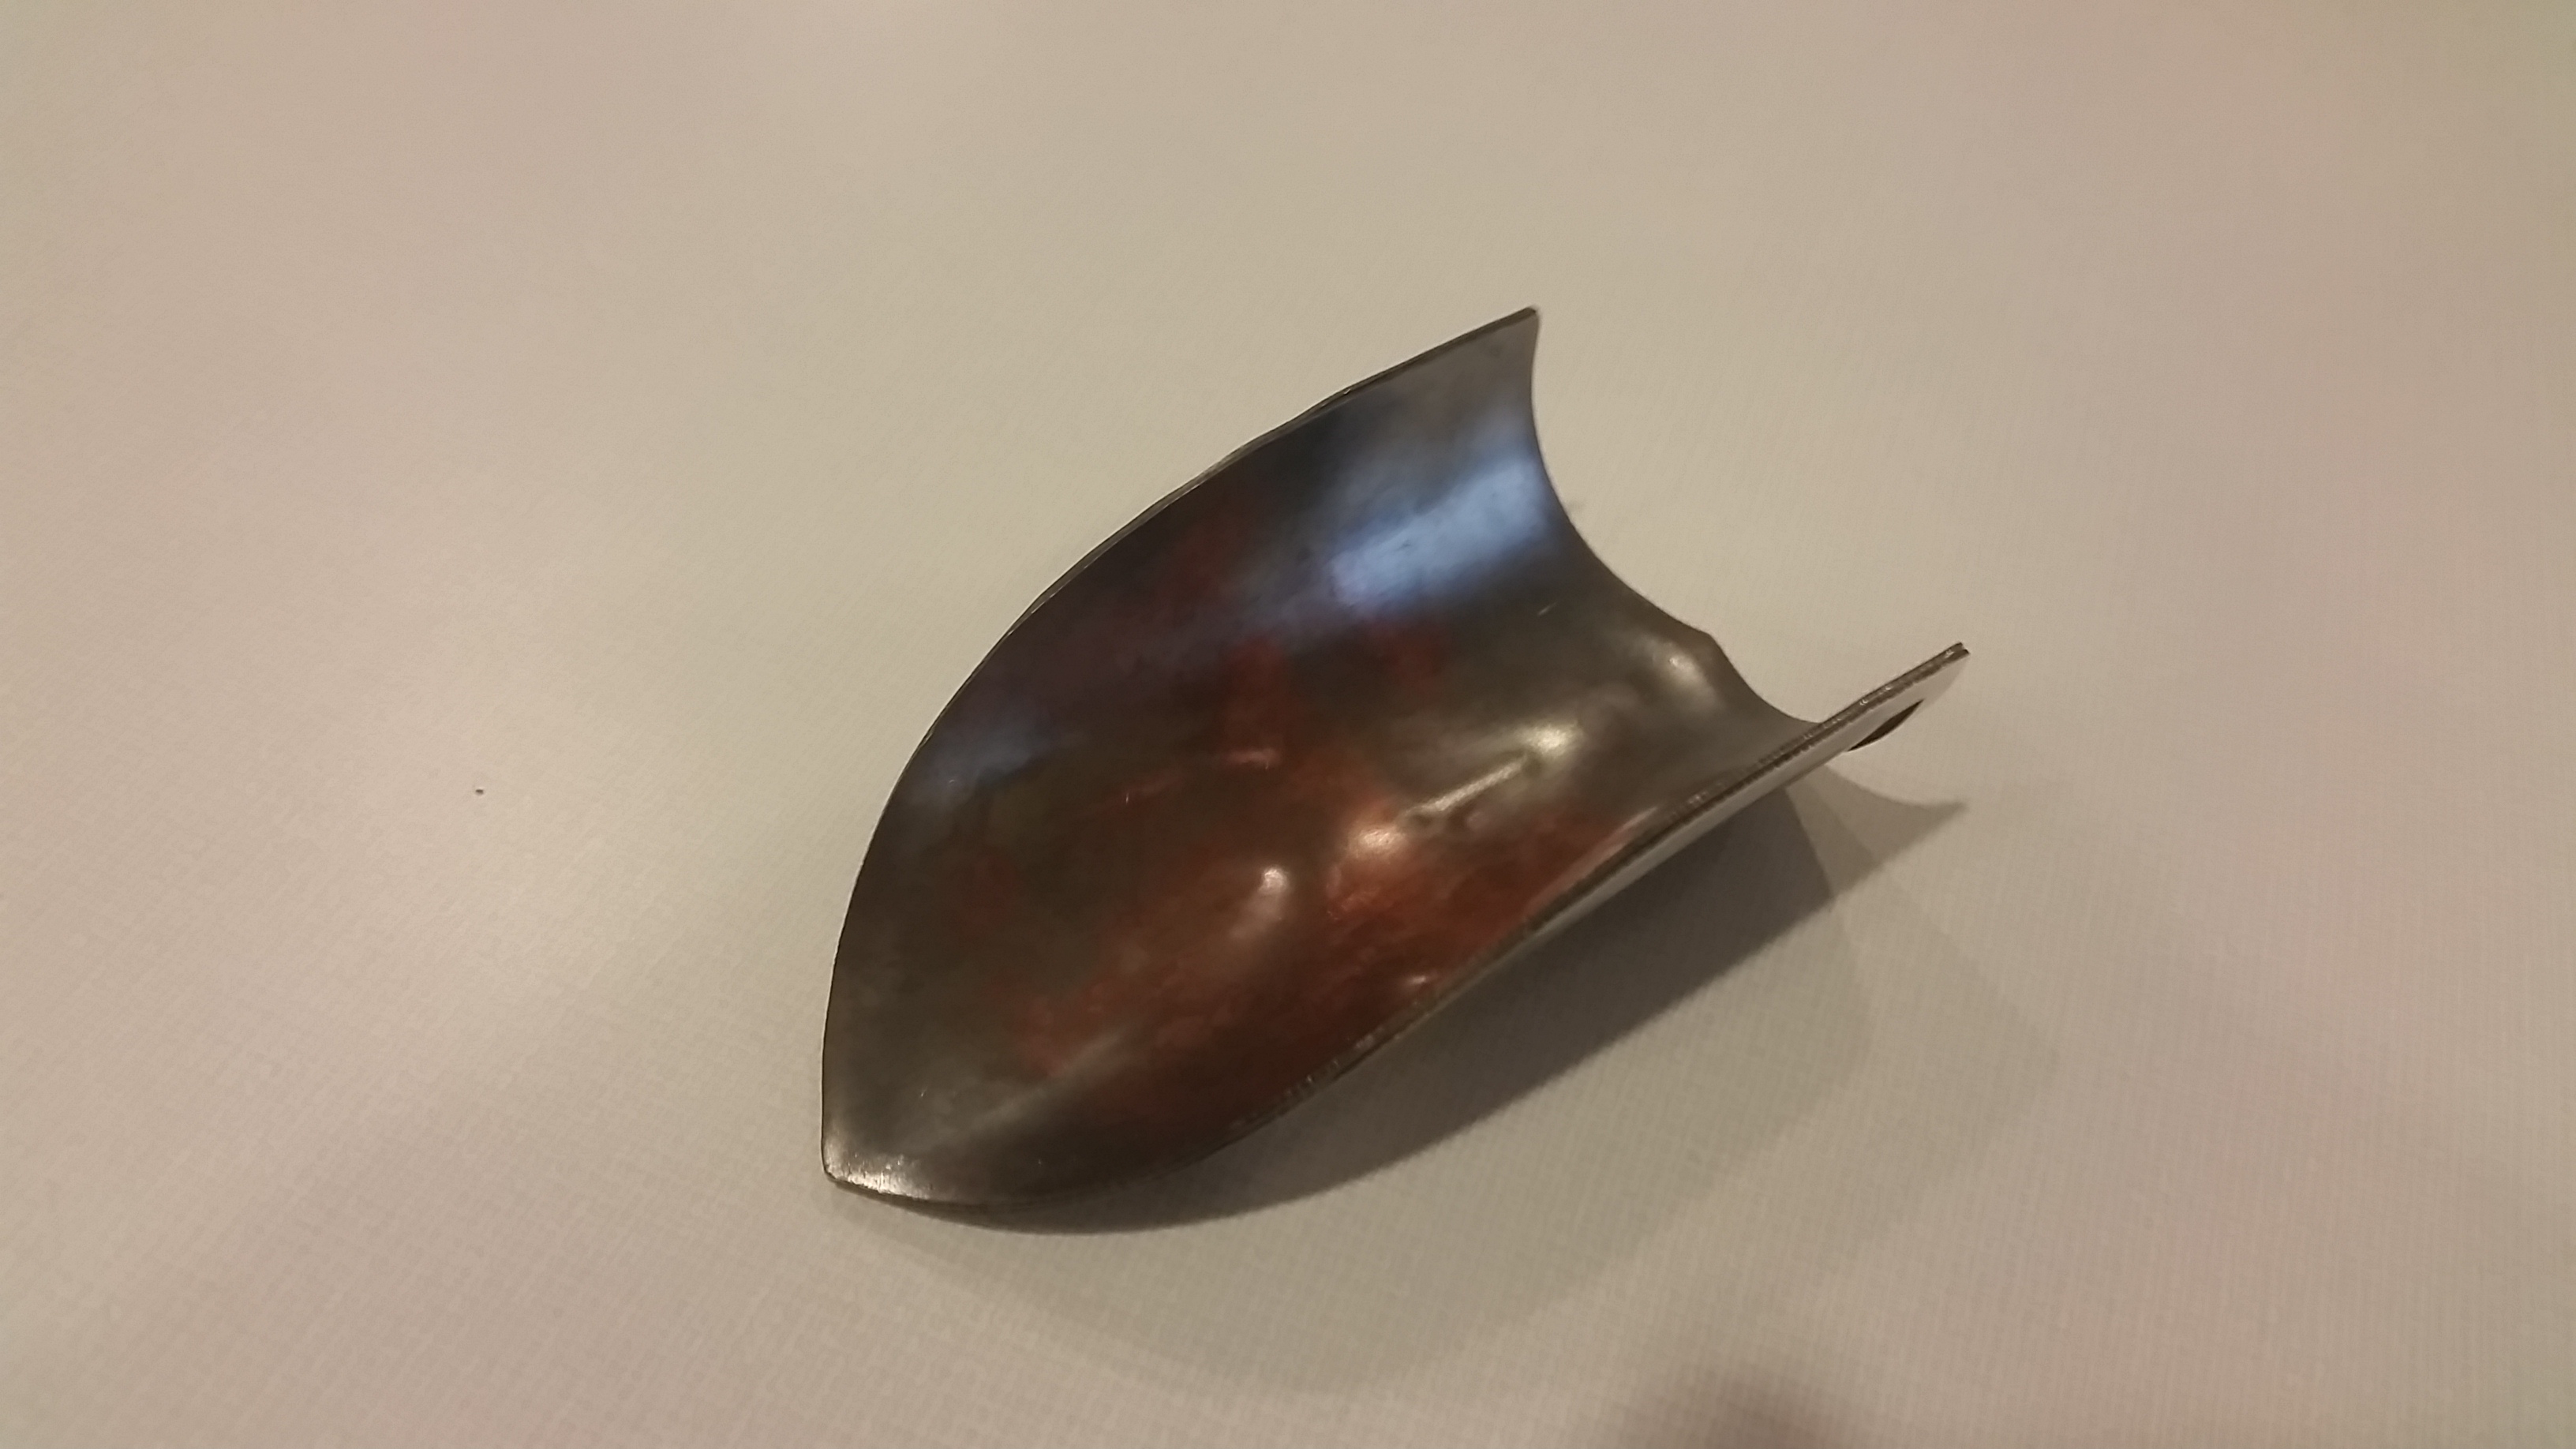
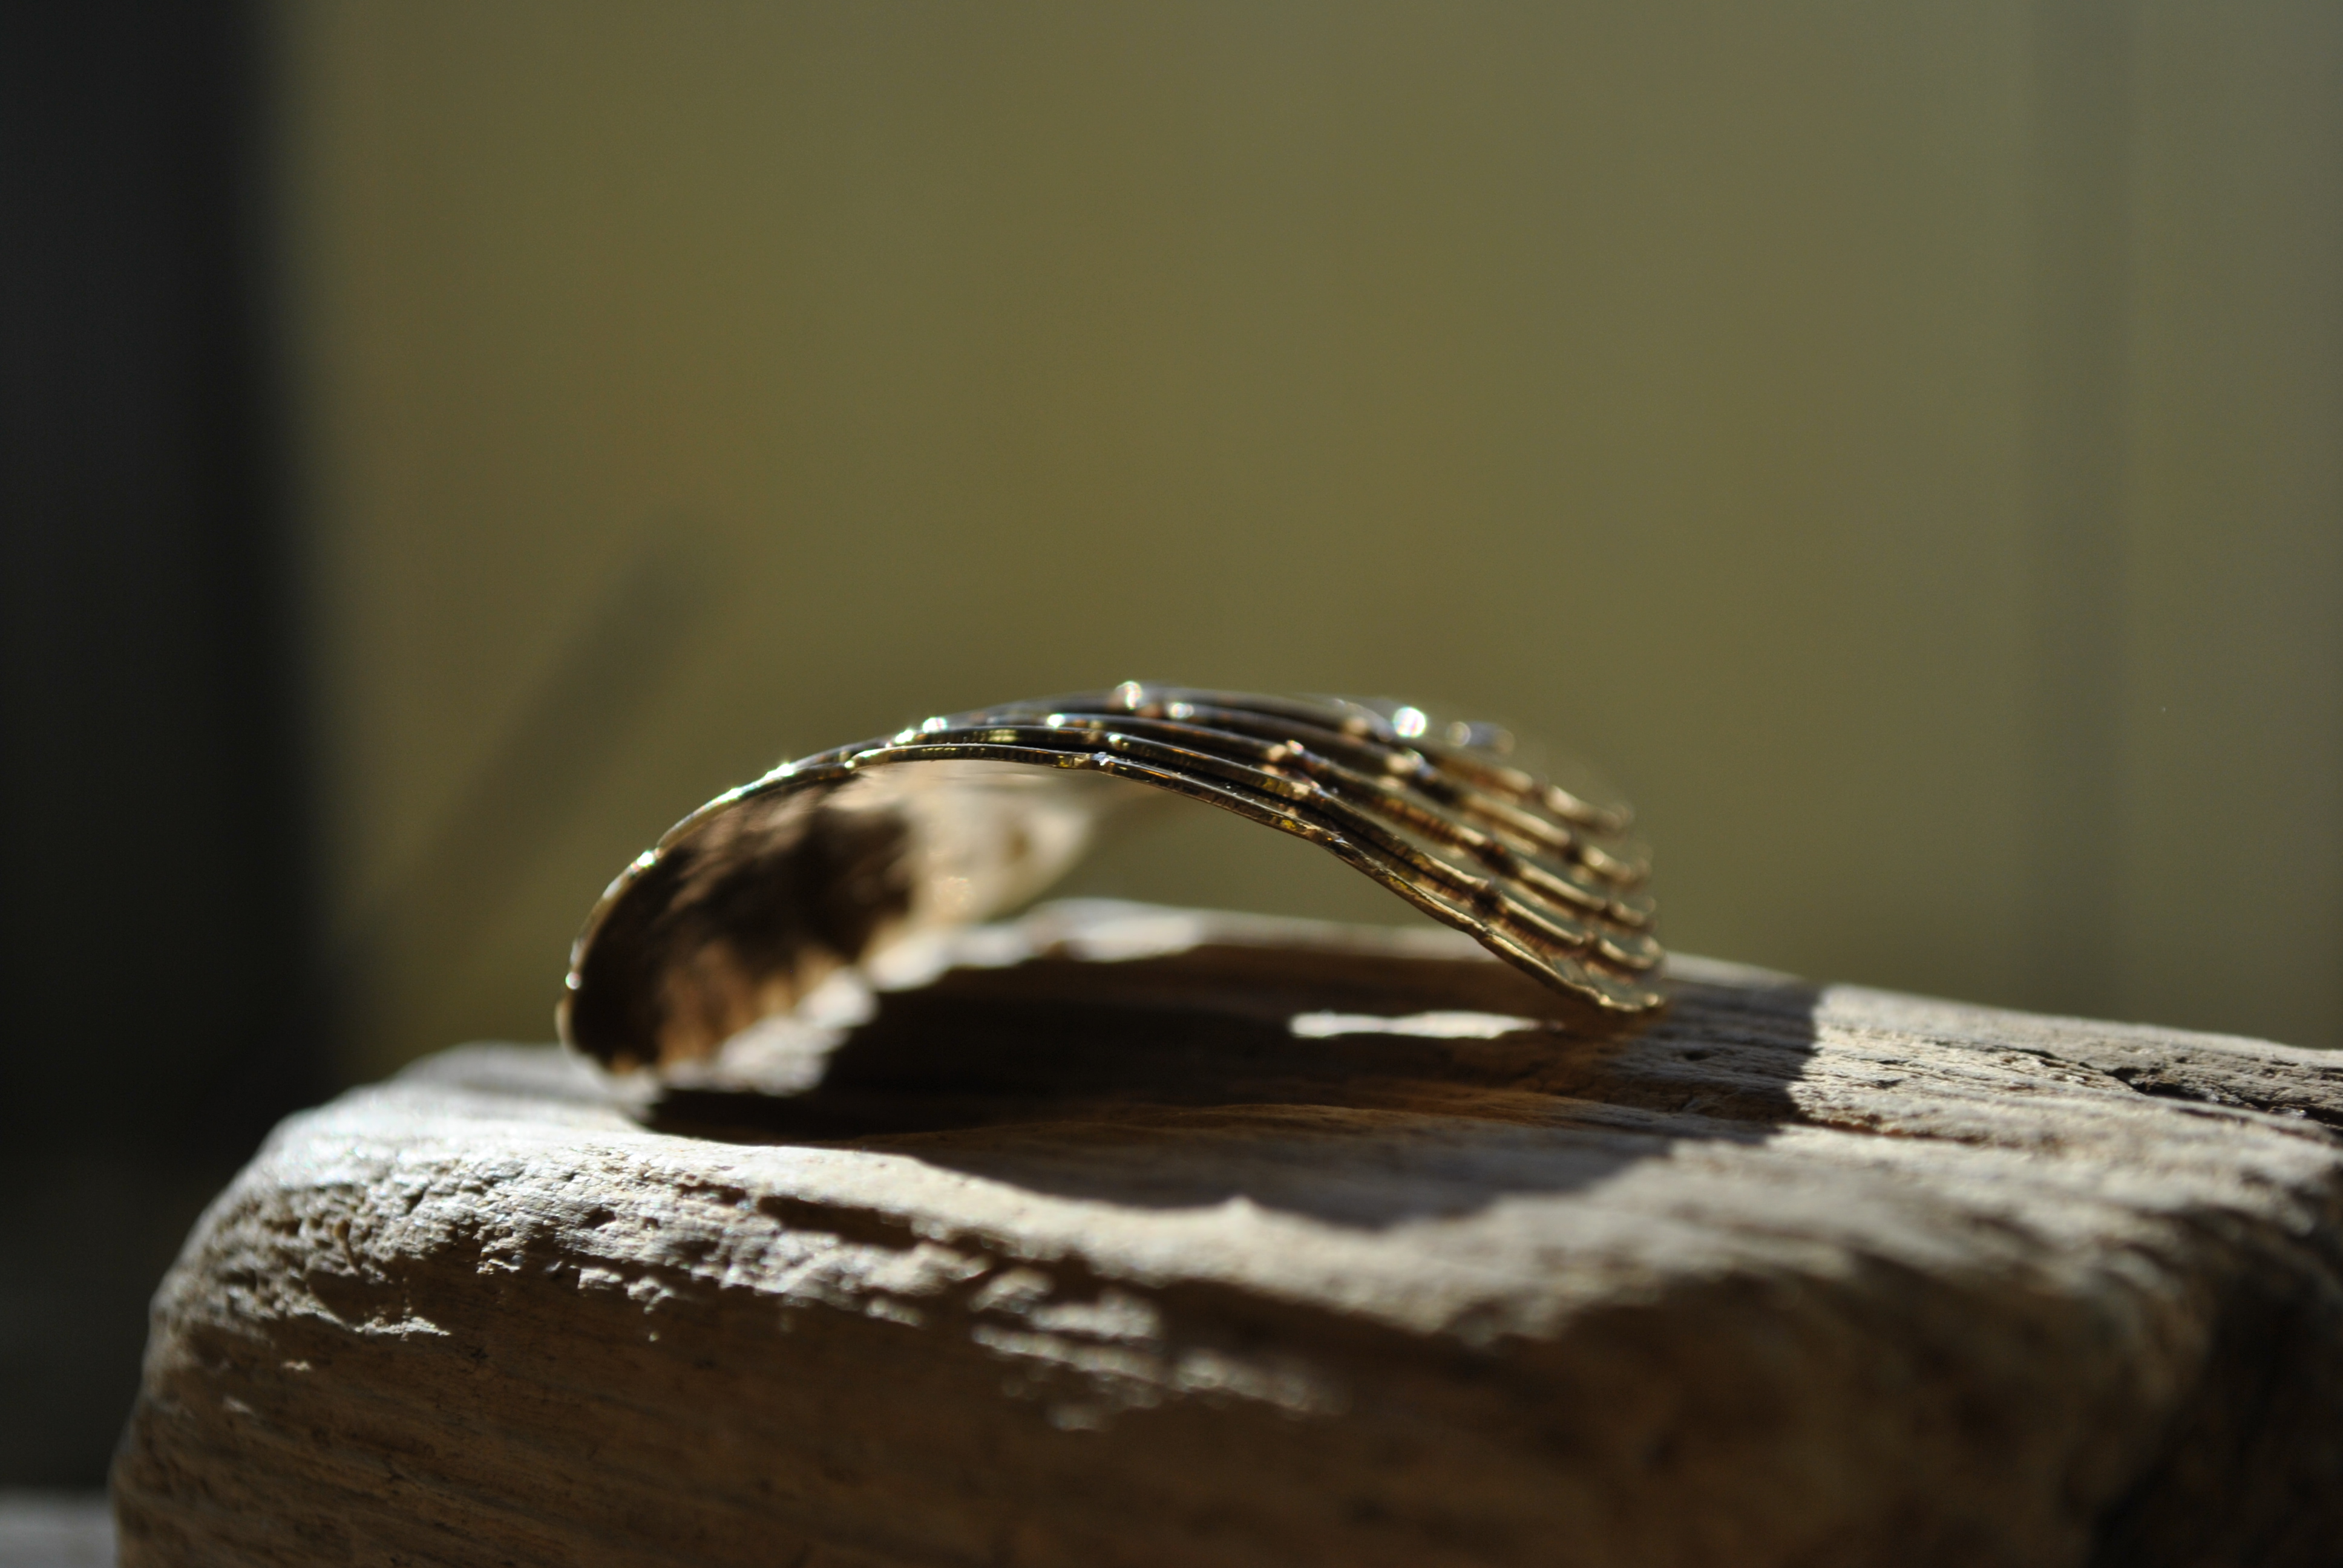
Five layers of brass is almost impossible to bend, so I annealed the metal to make it softer.
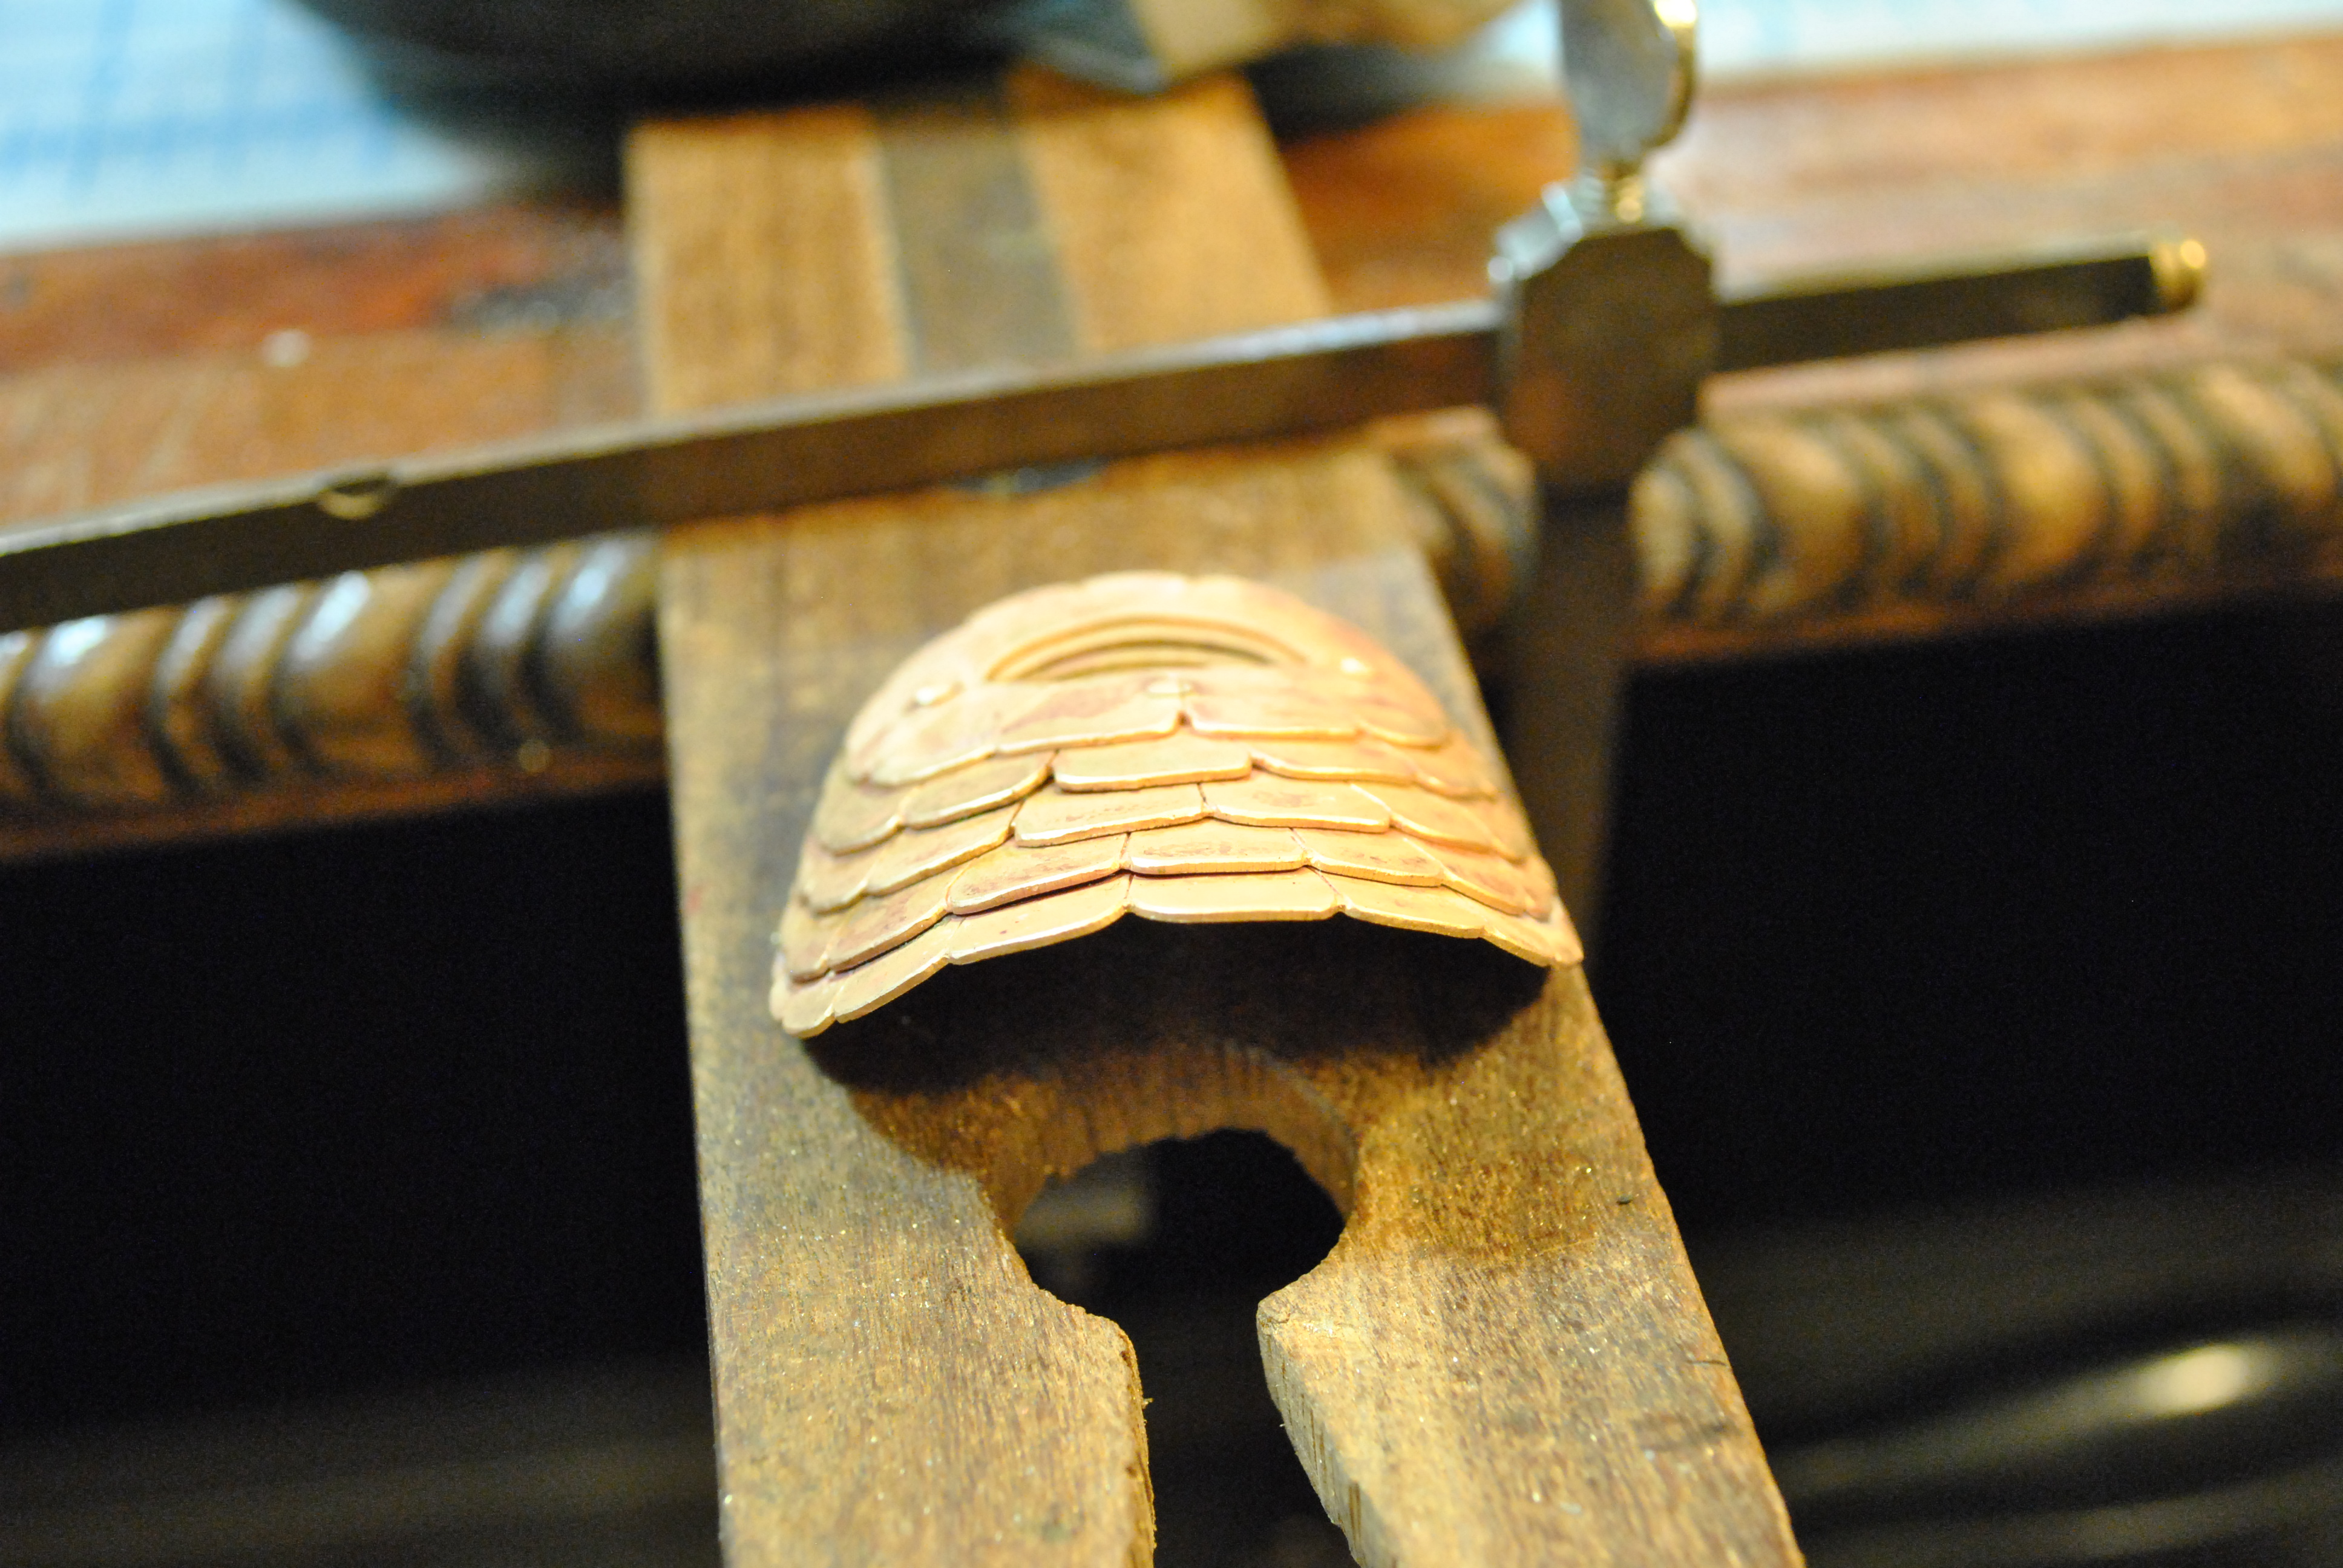
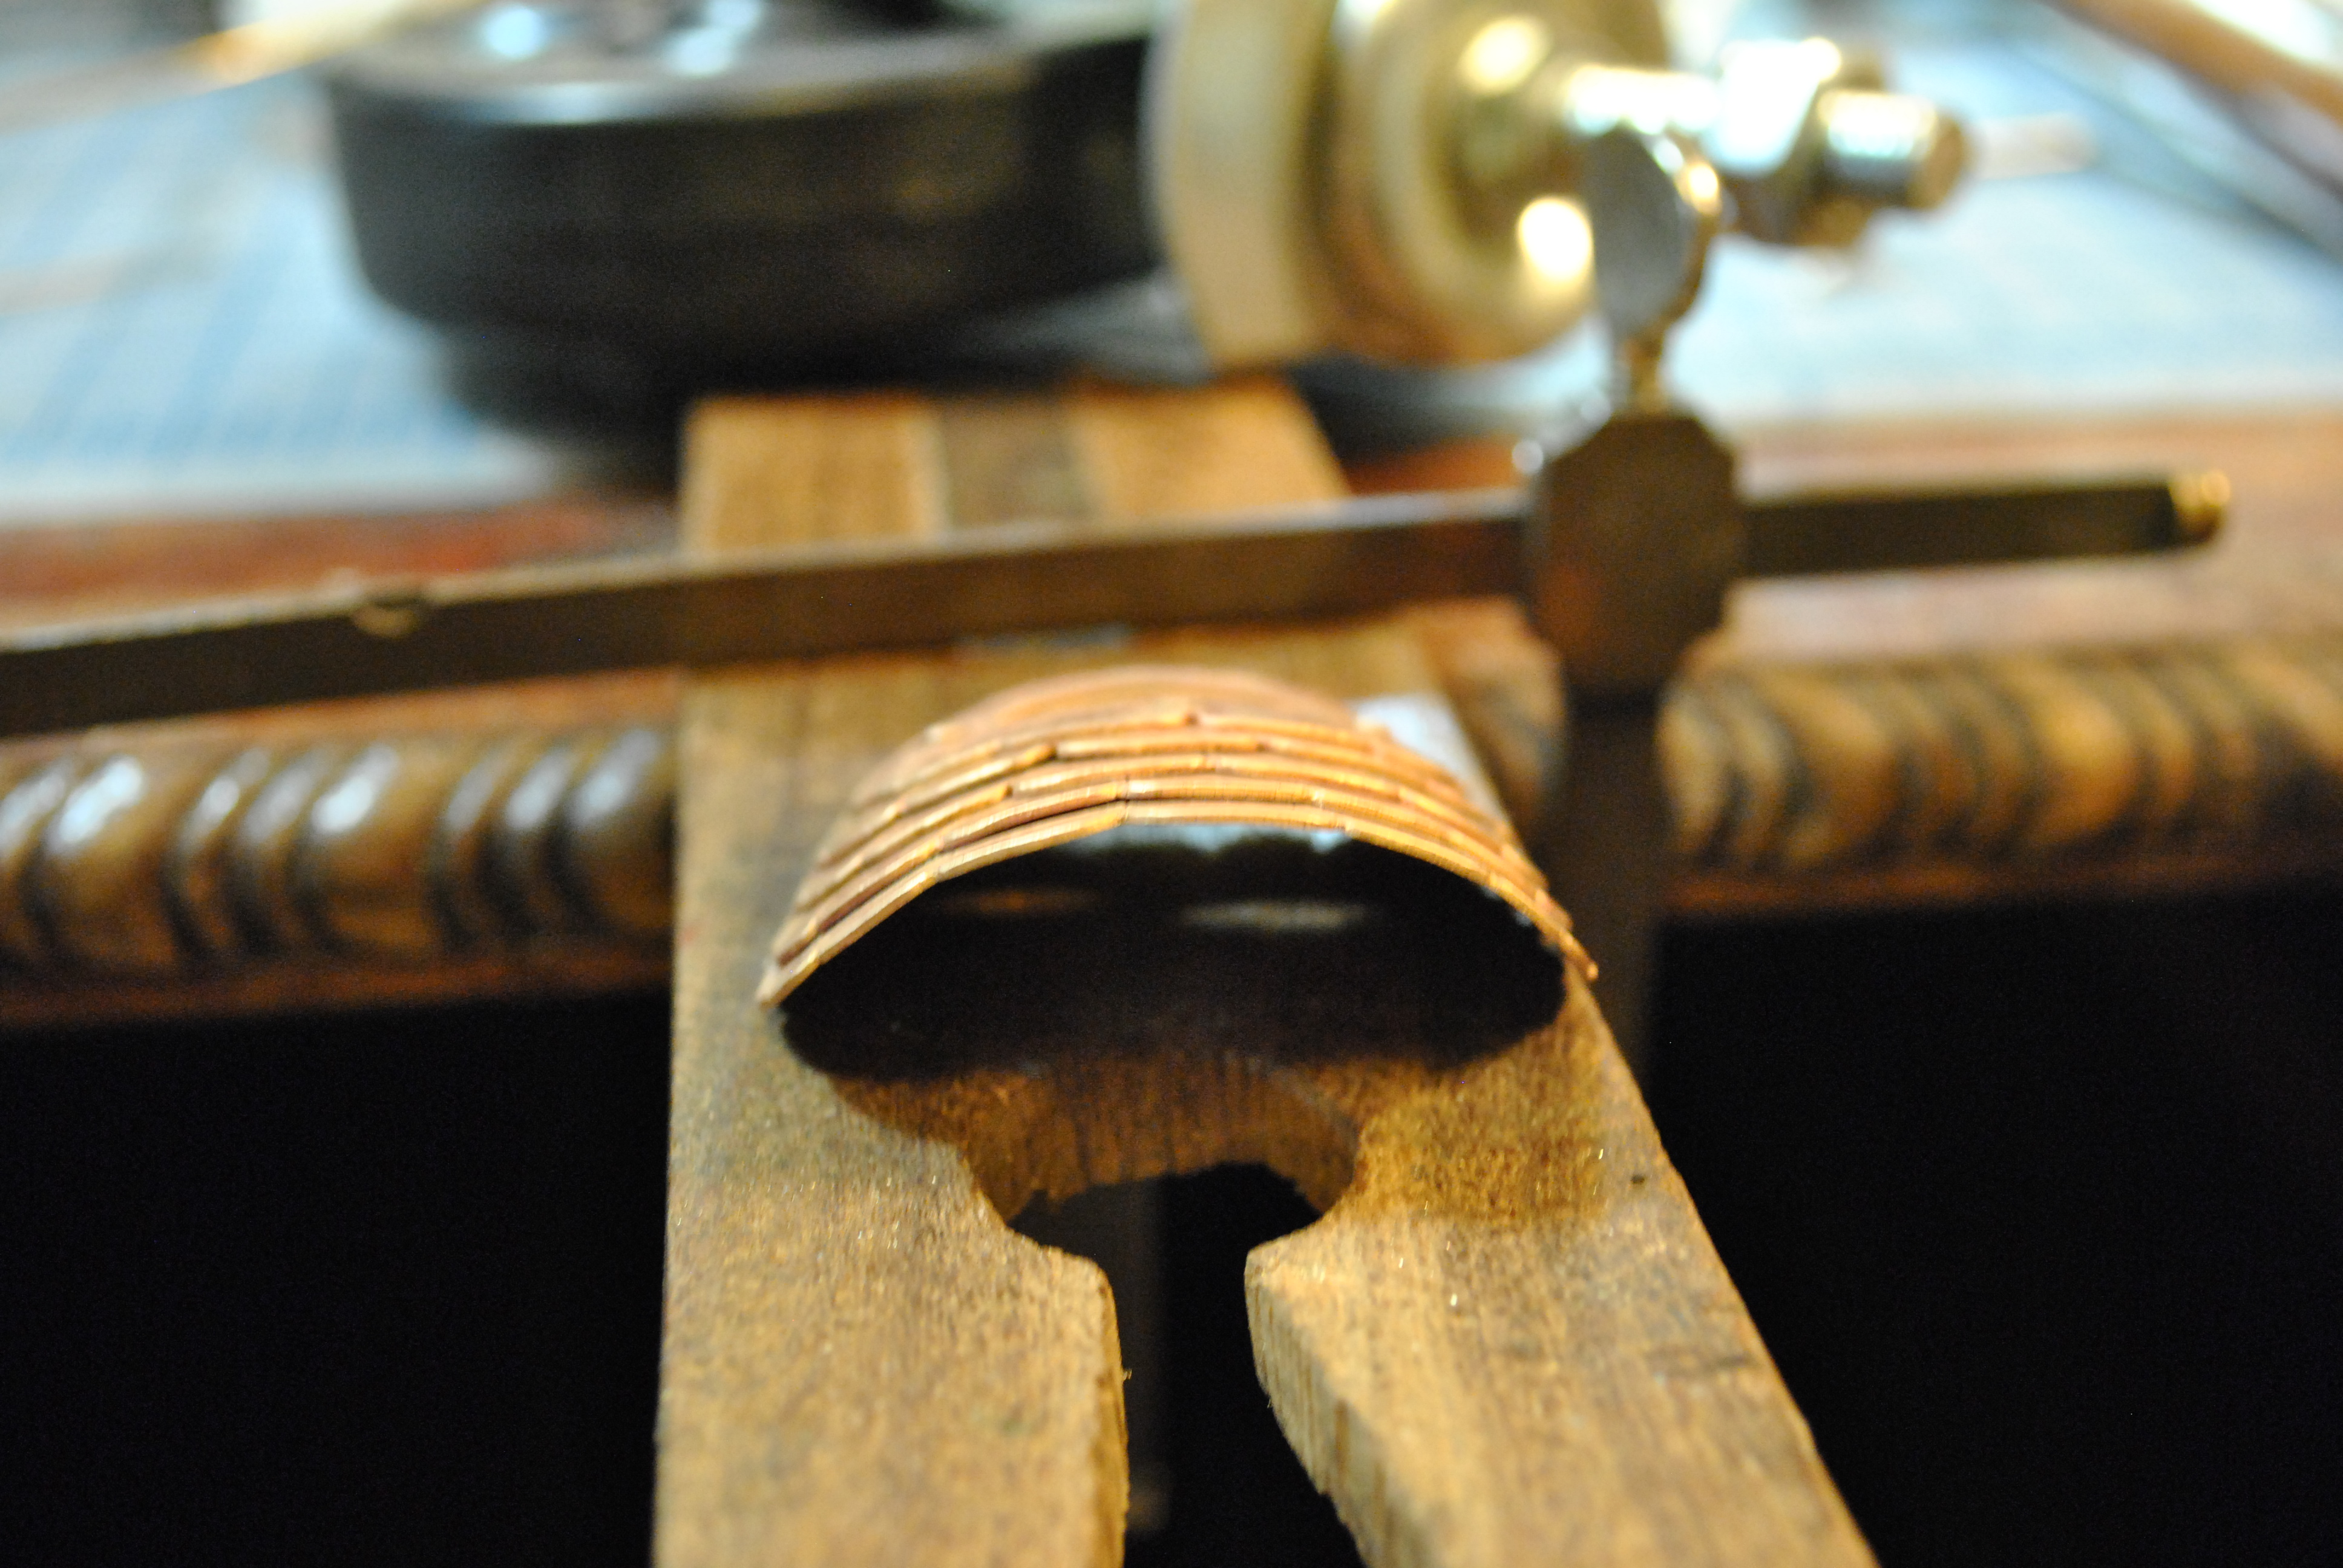
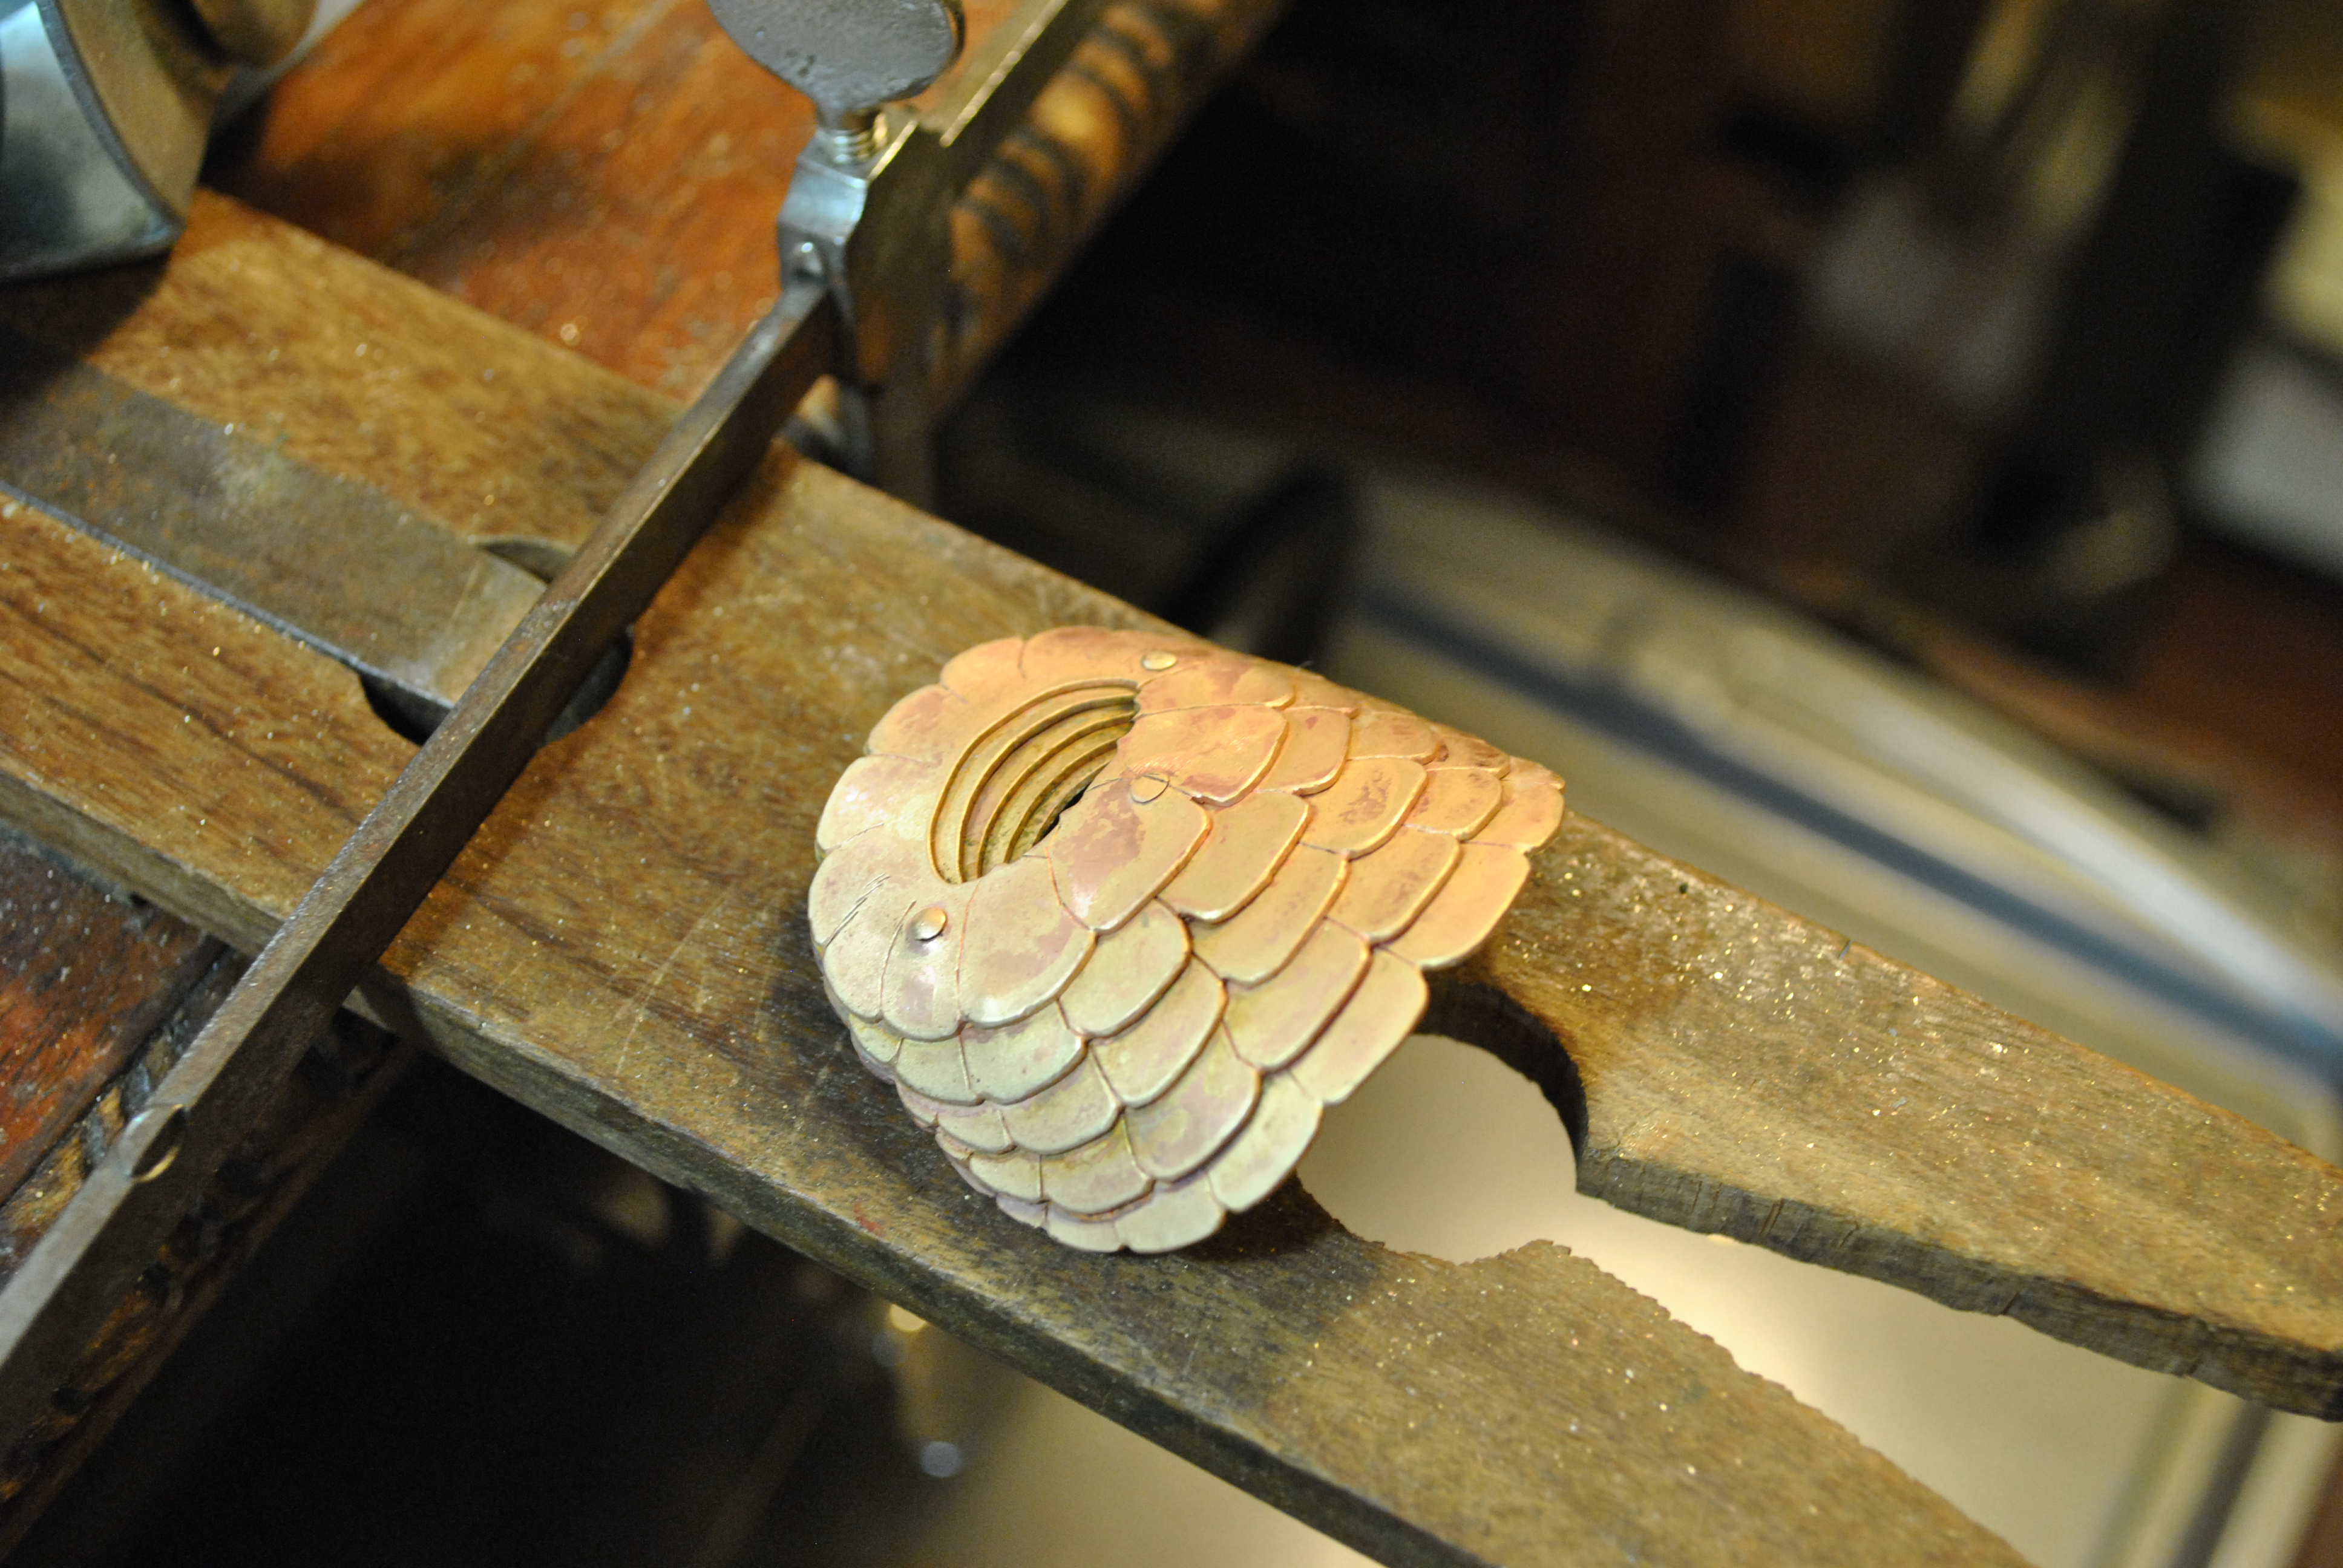
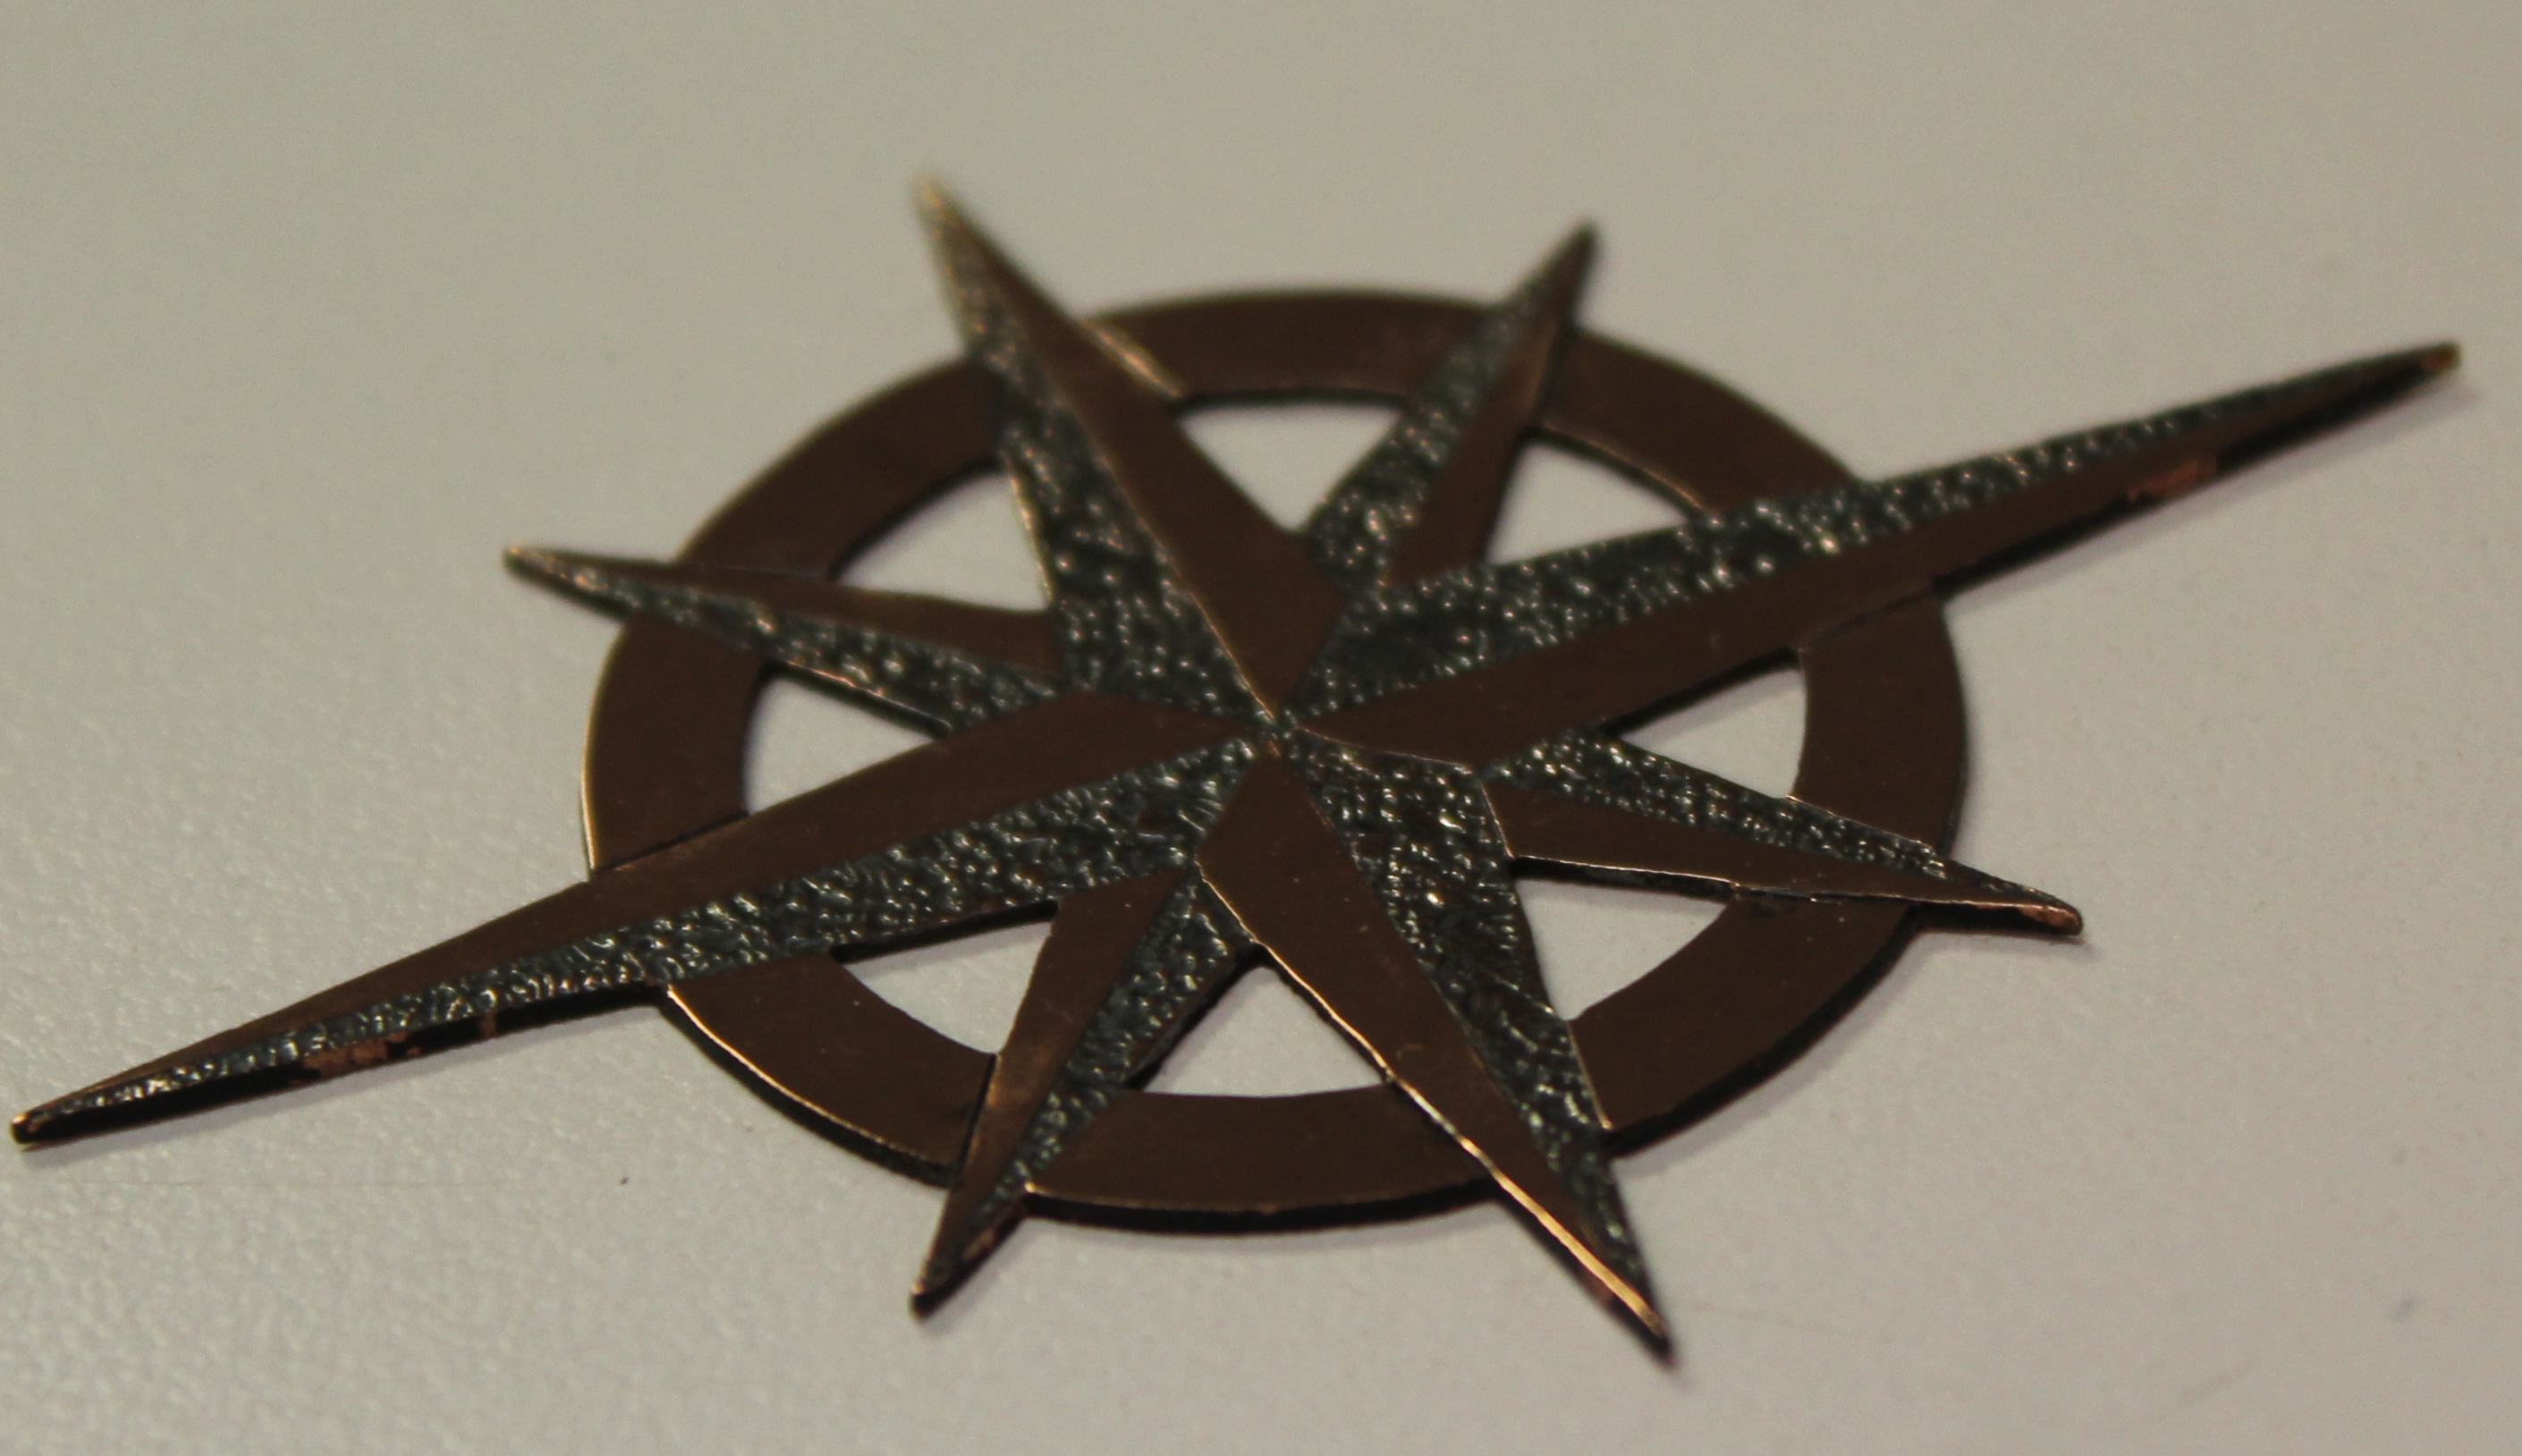
after a quick bath in the pickle it came out much softer and I was able to hammer it into shape with a plastic mallet. It also however is ugly from the fire scale.
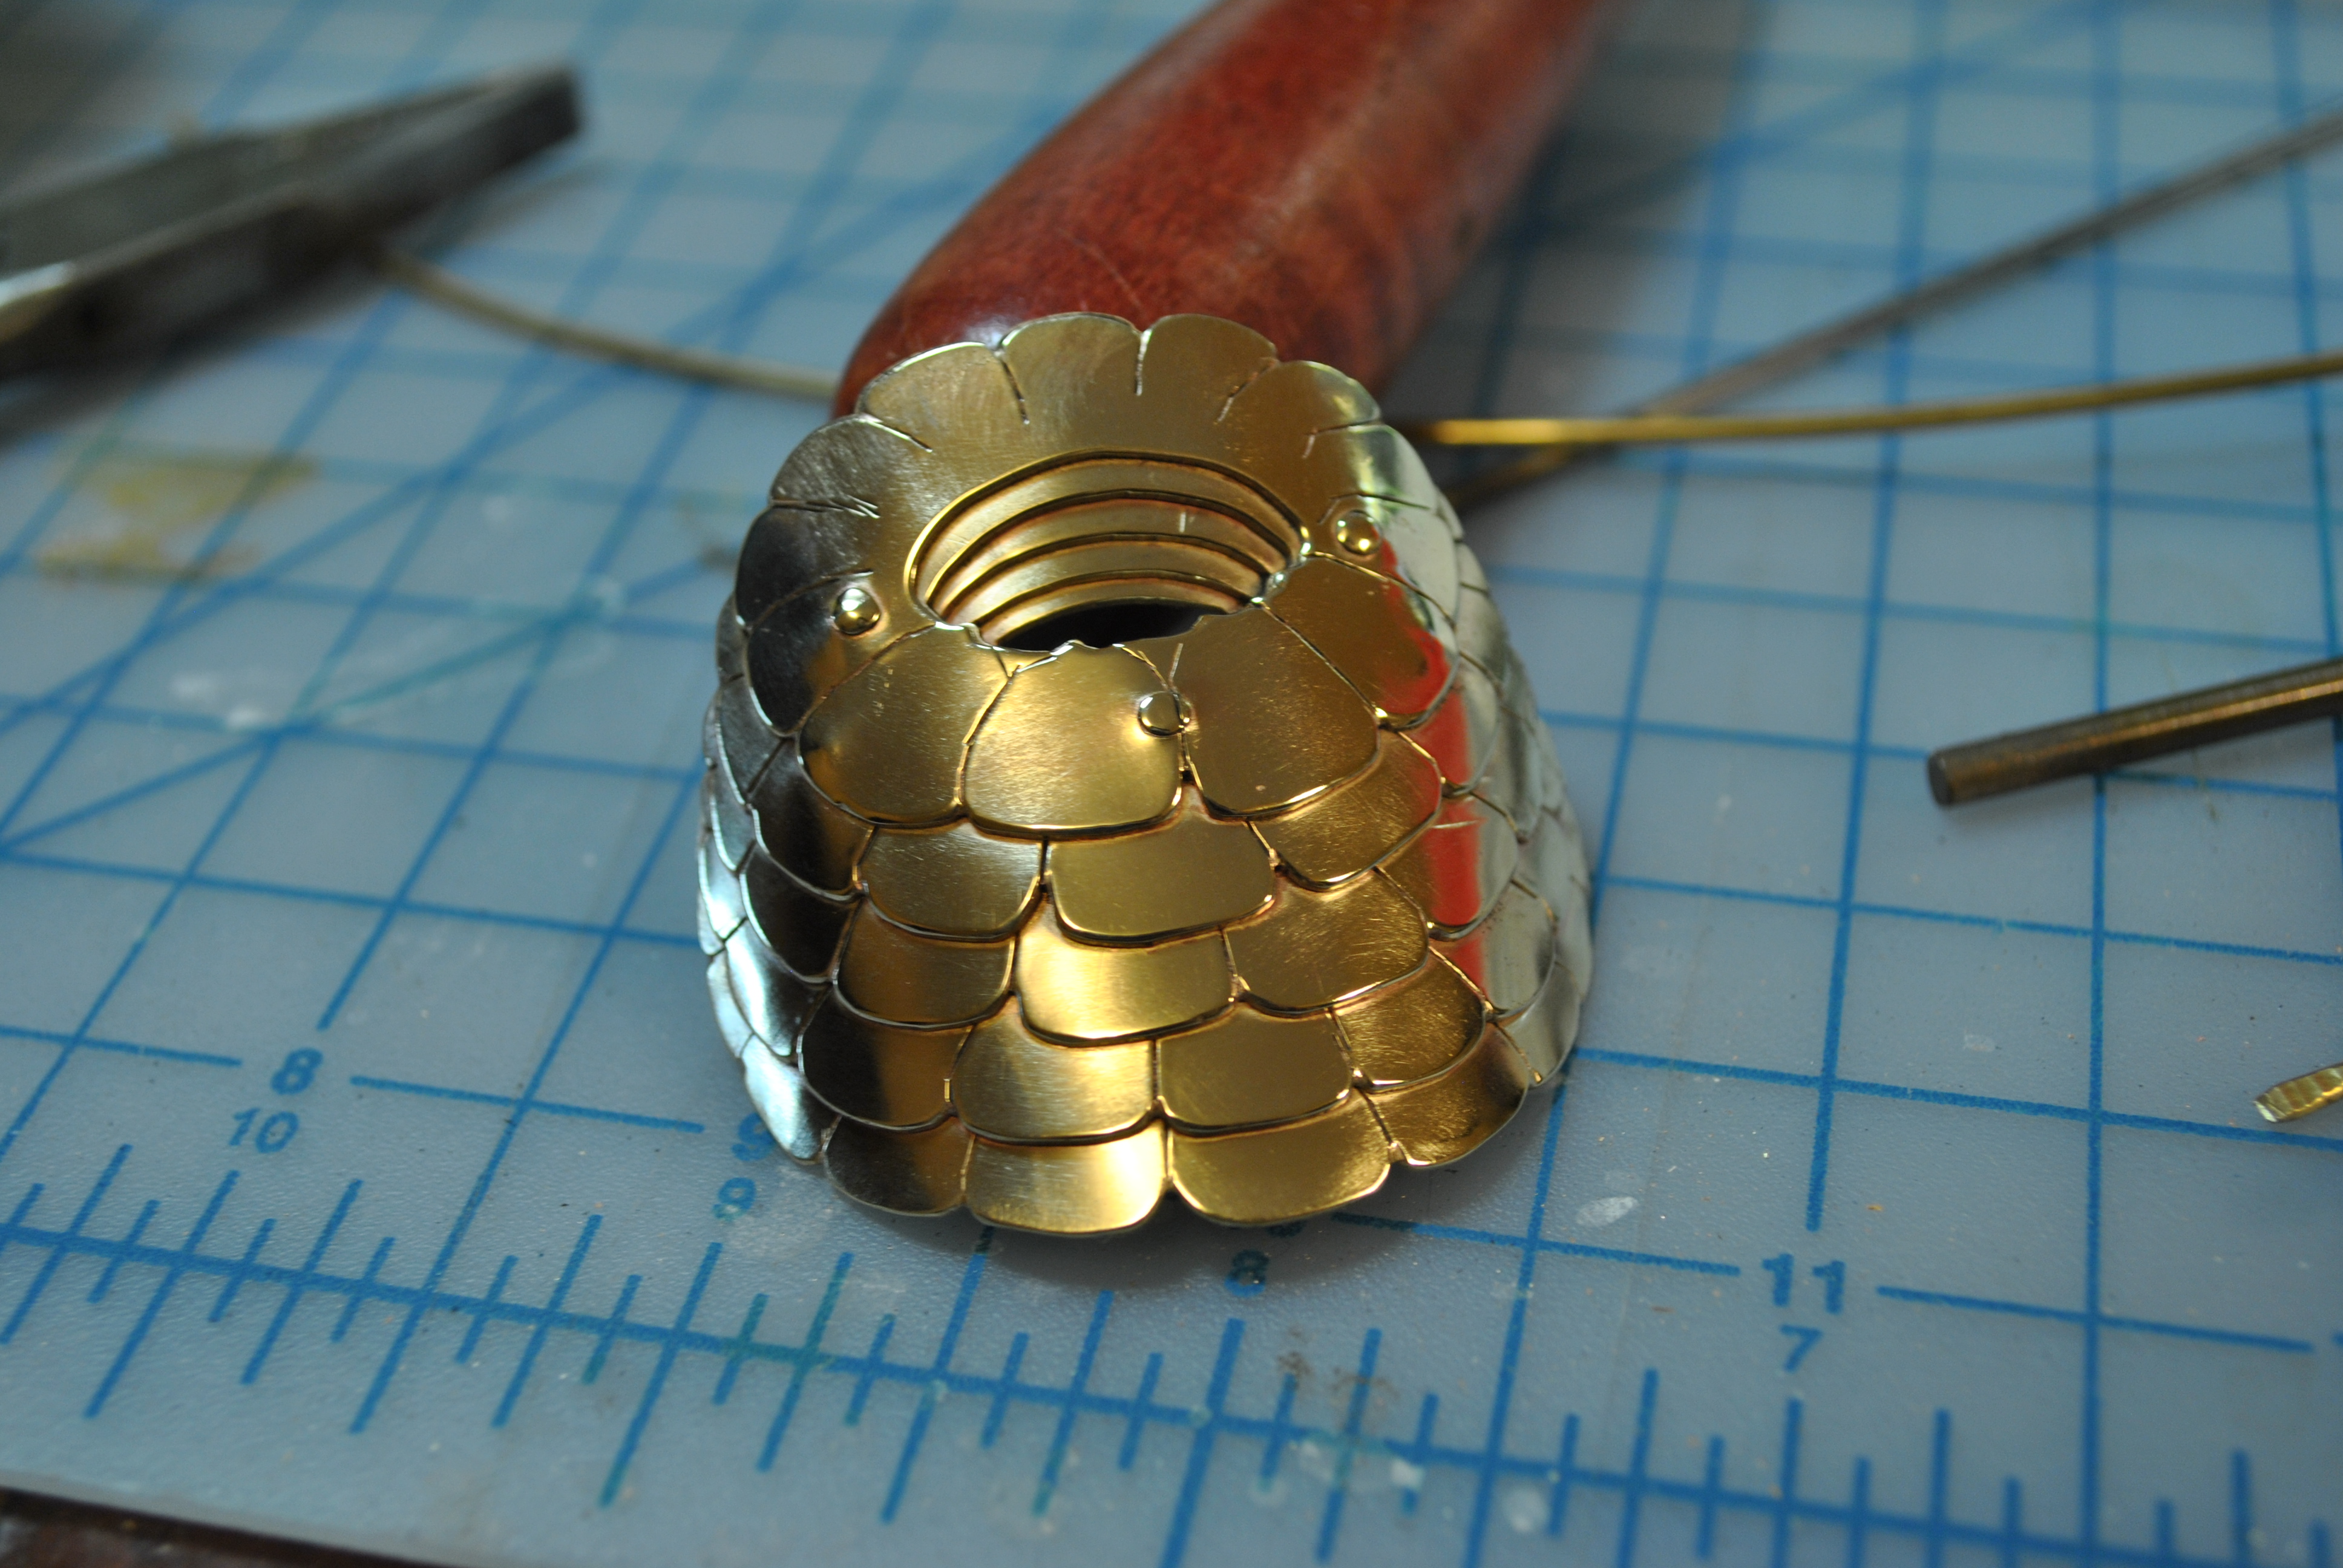
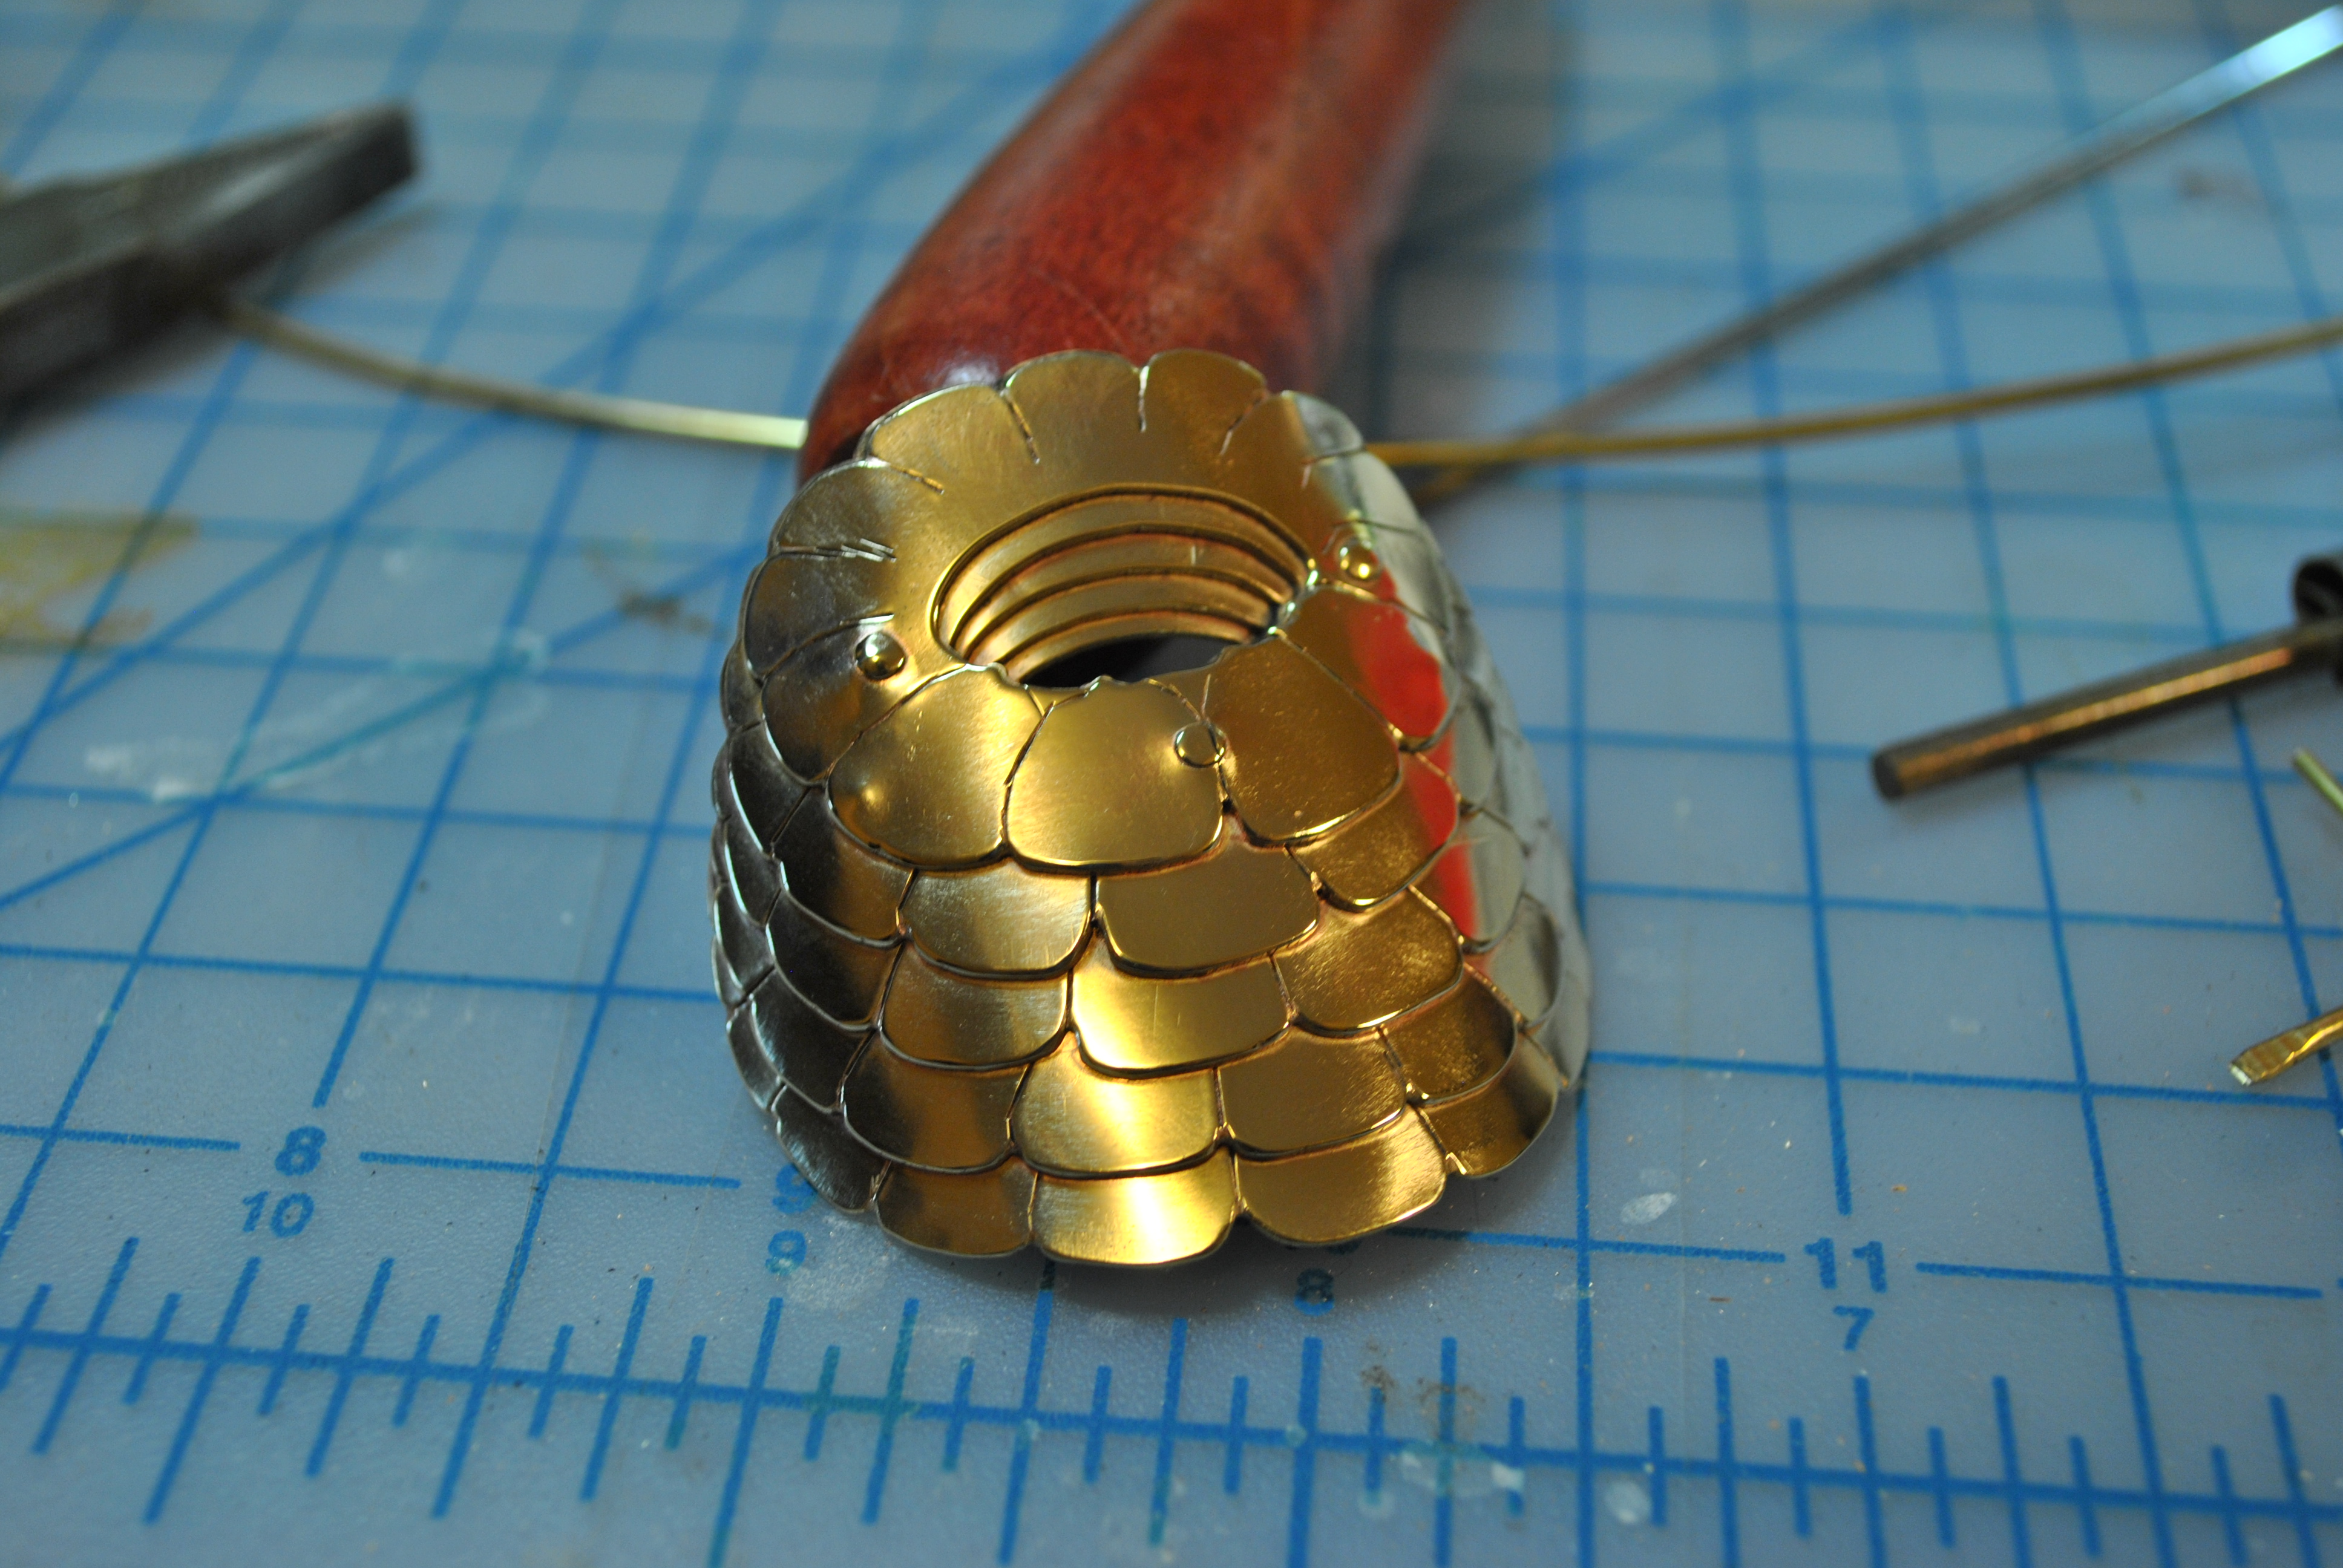
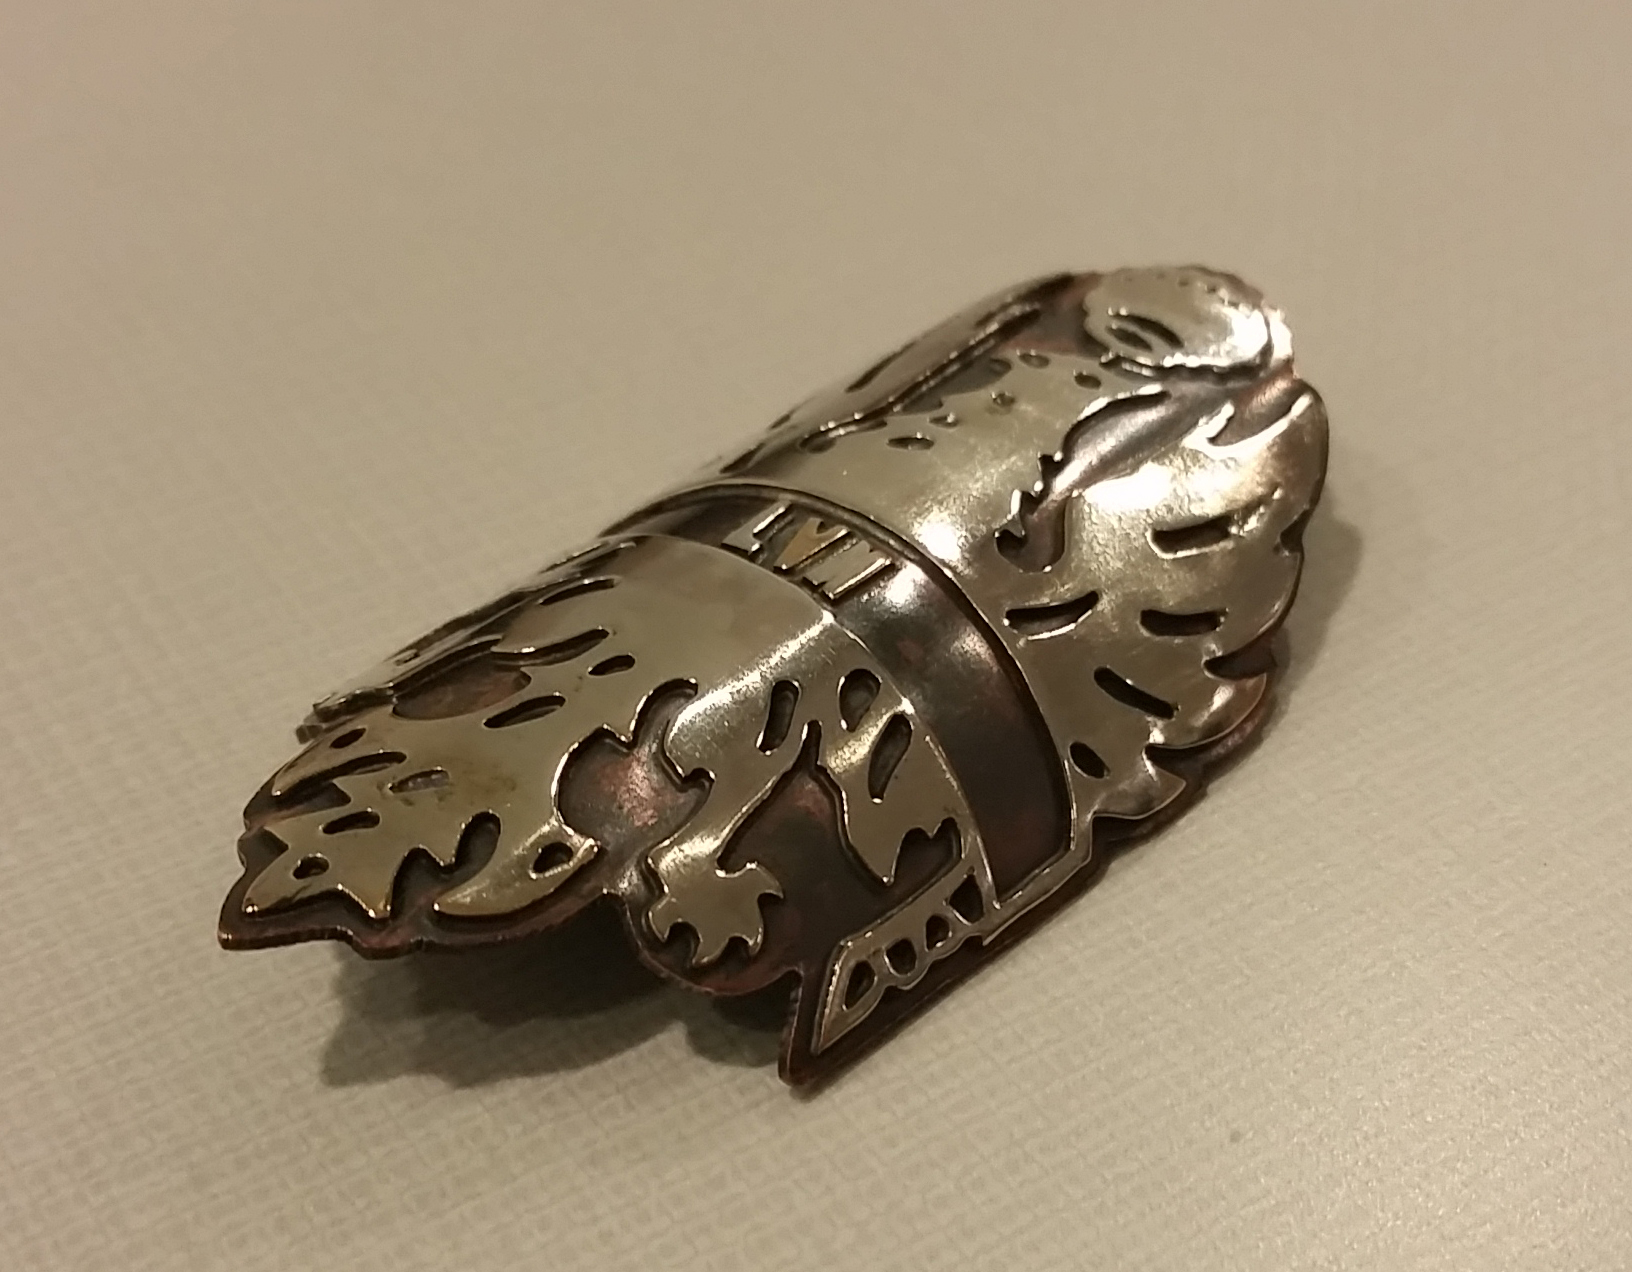
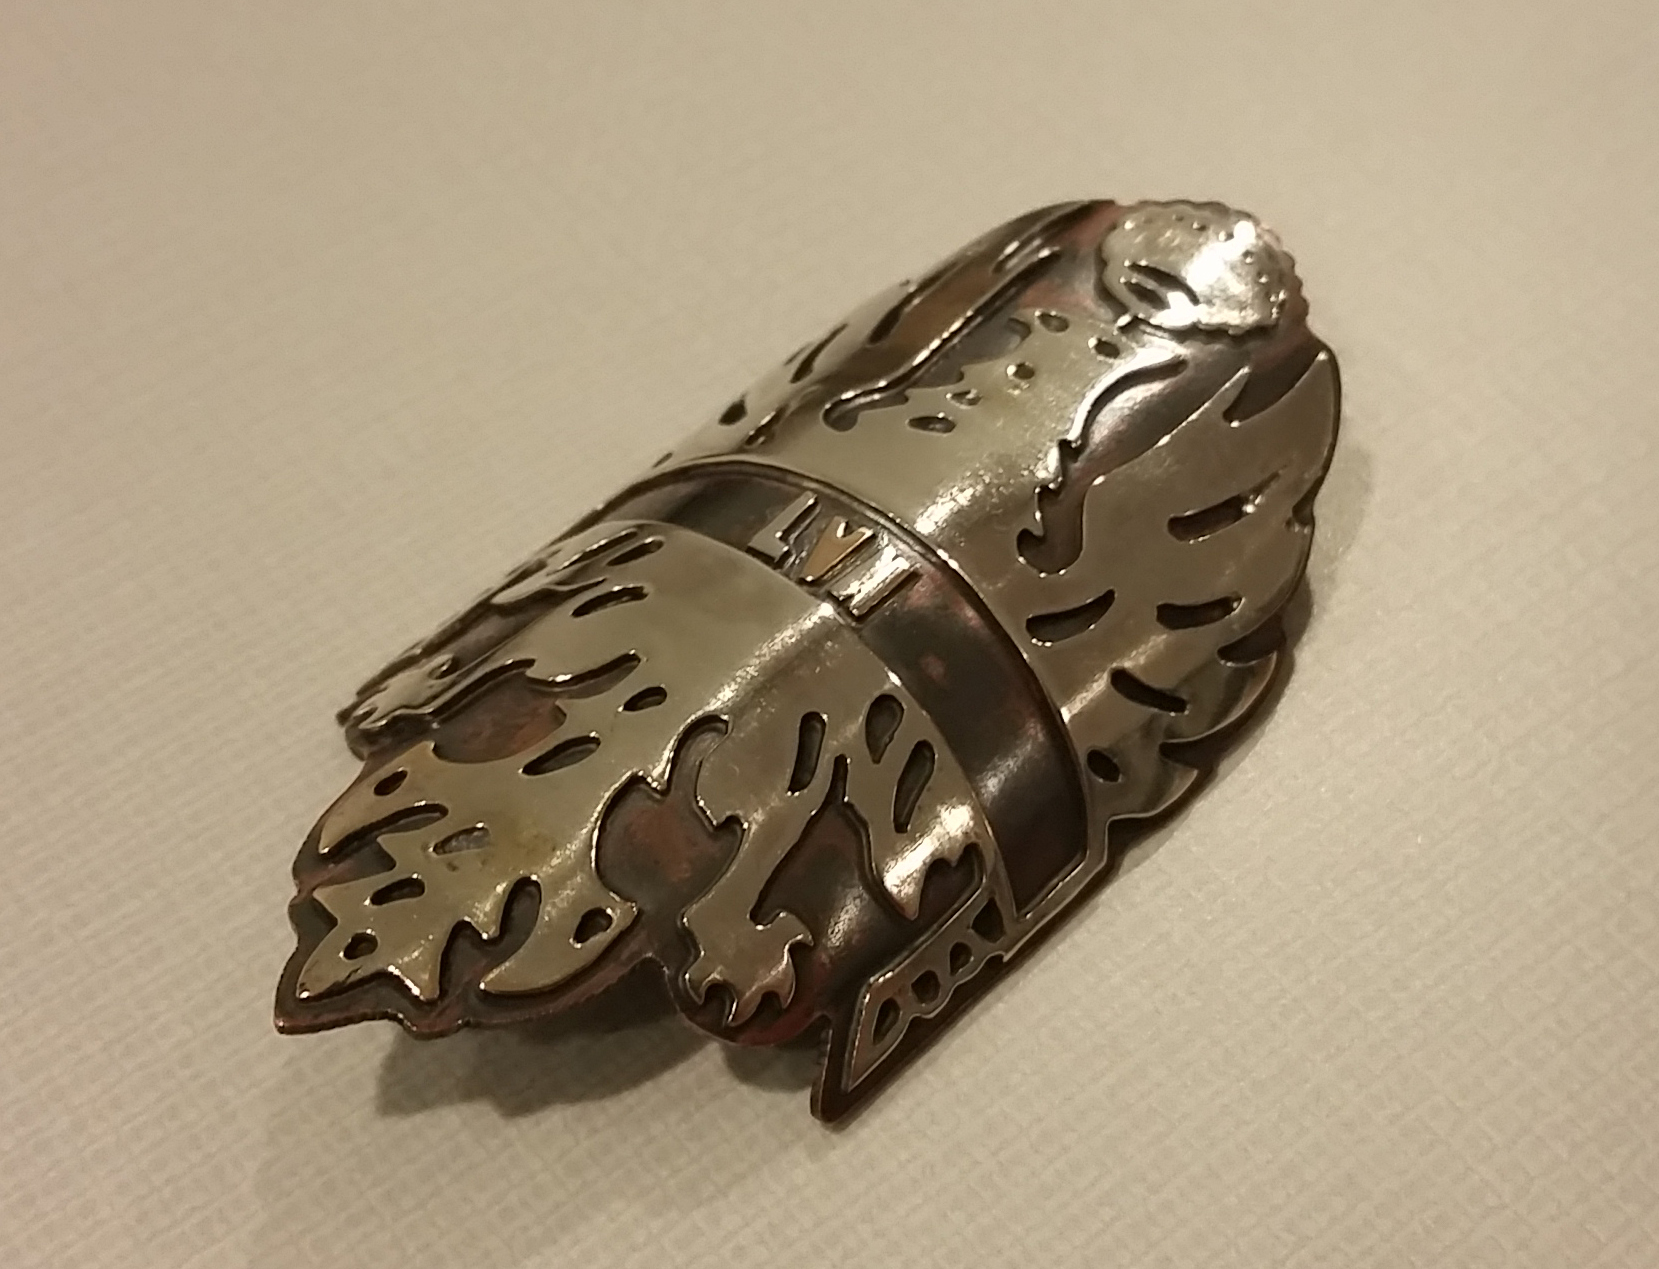
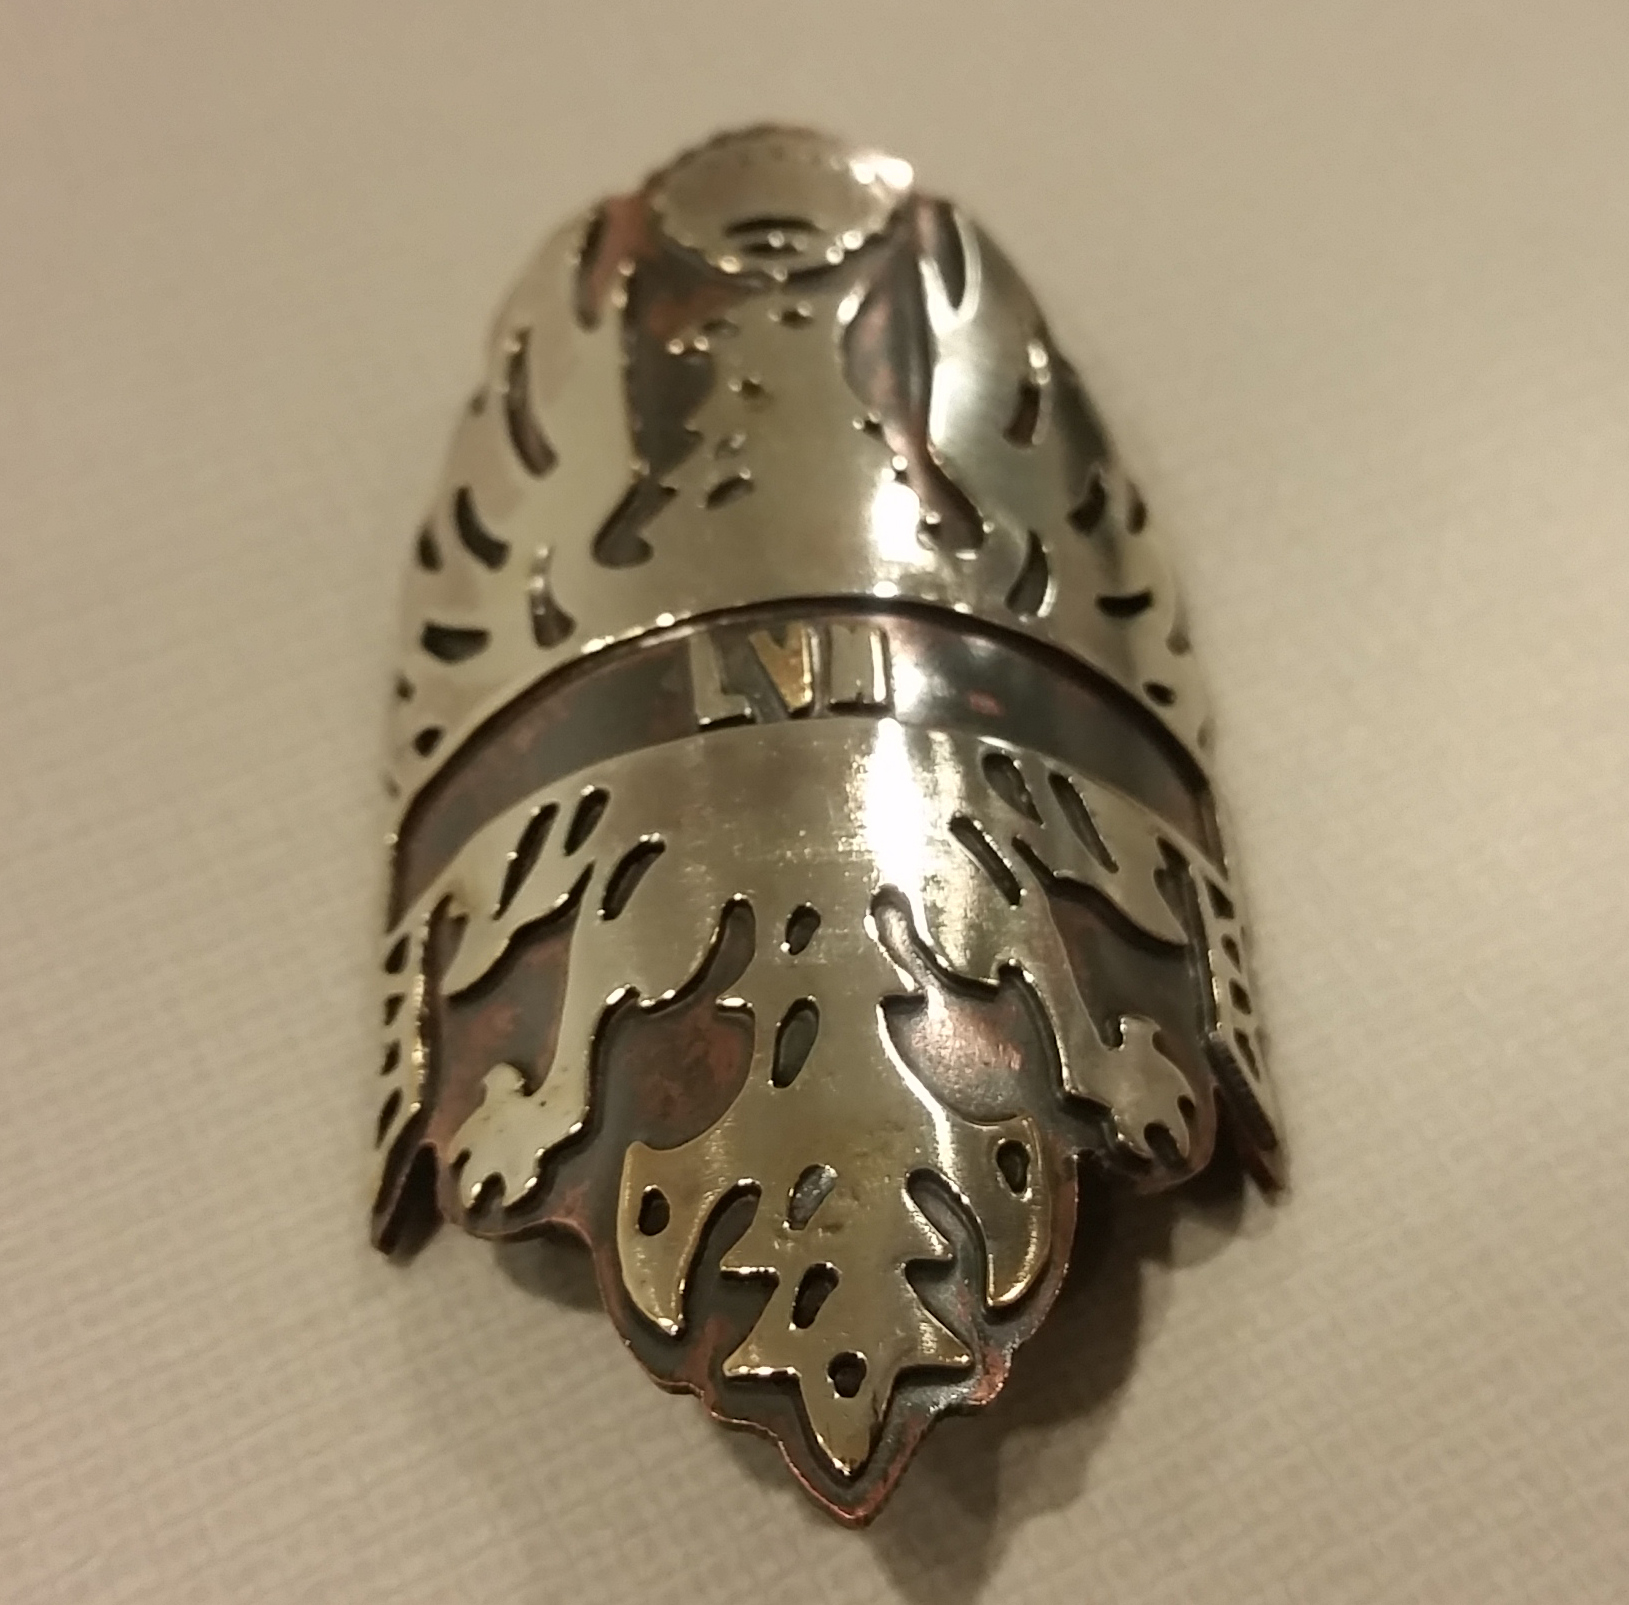
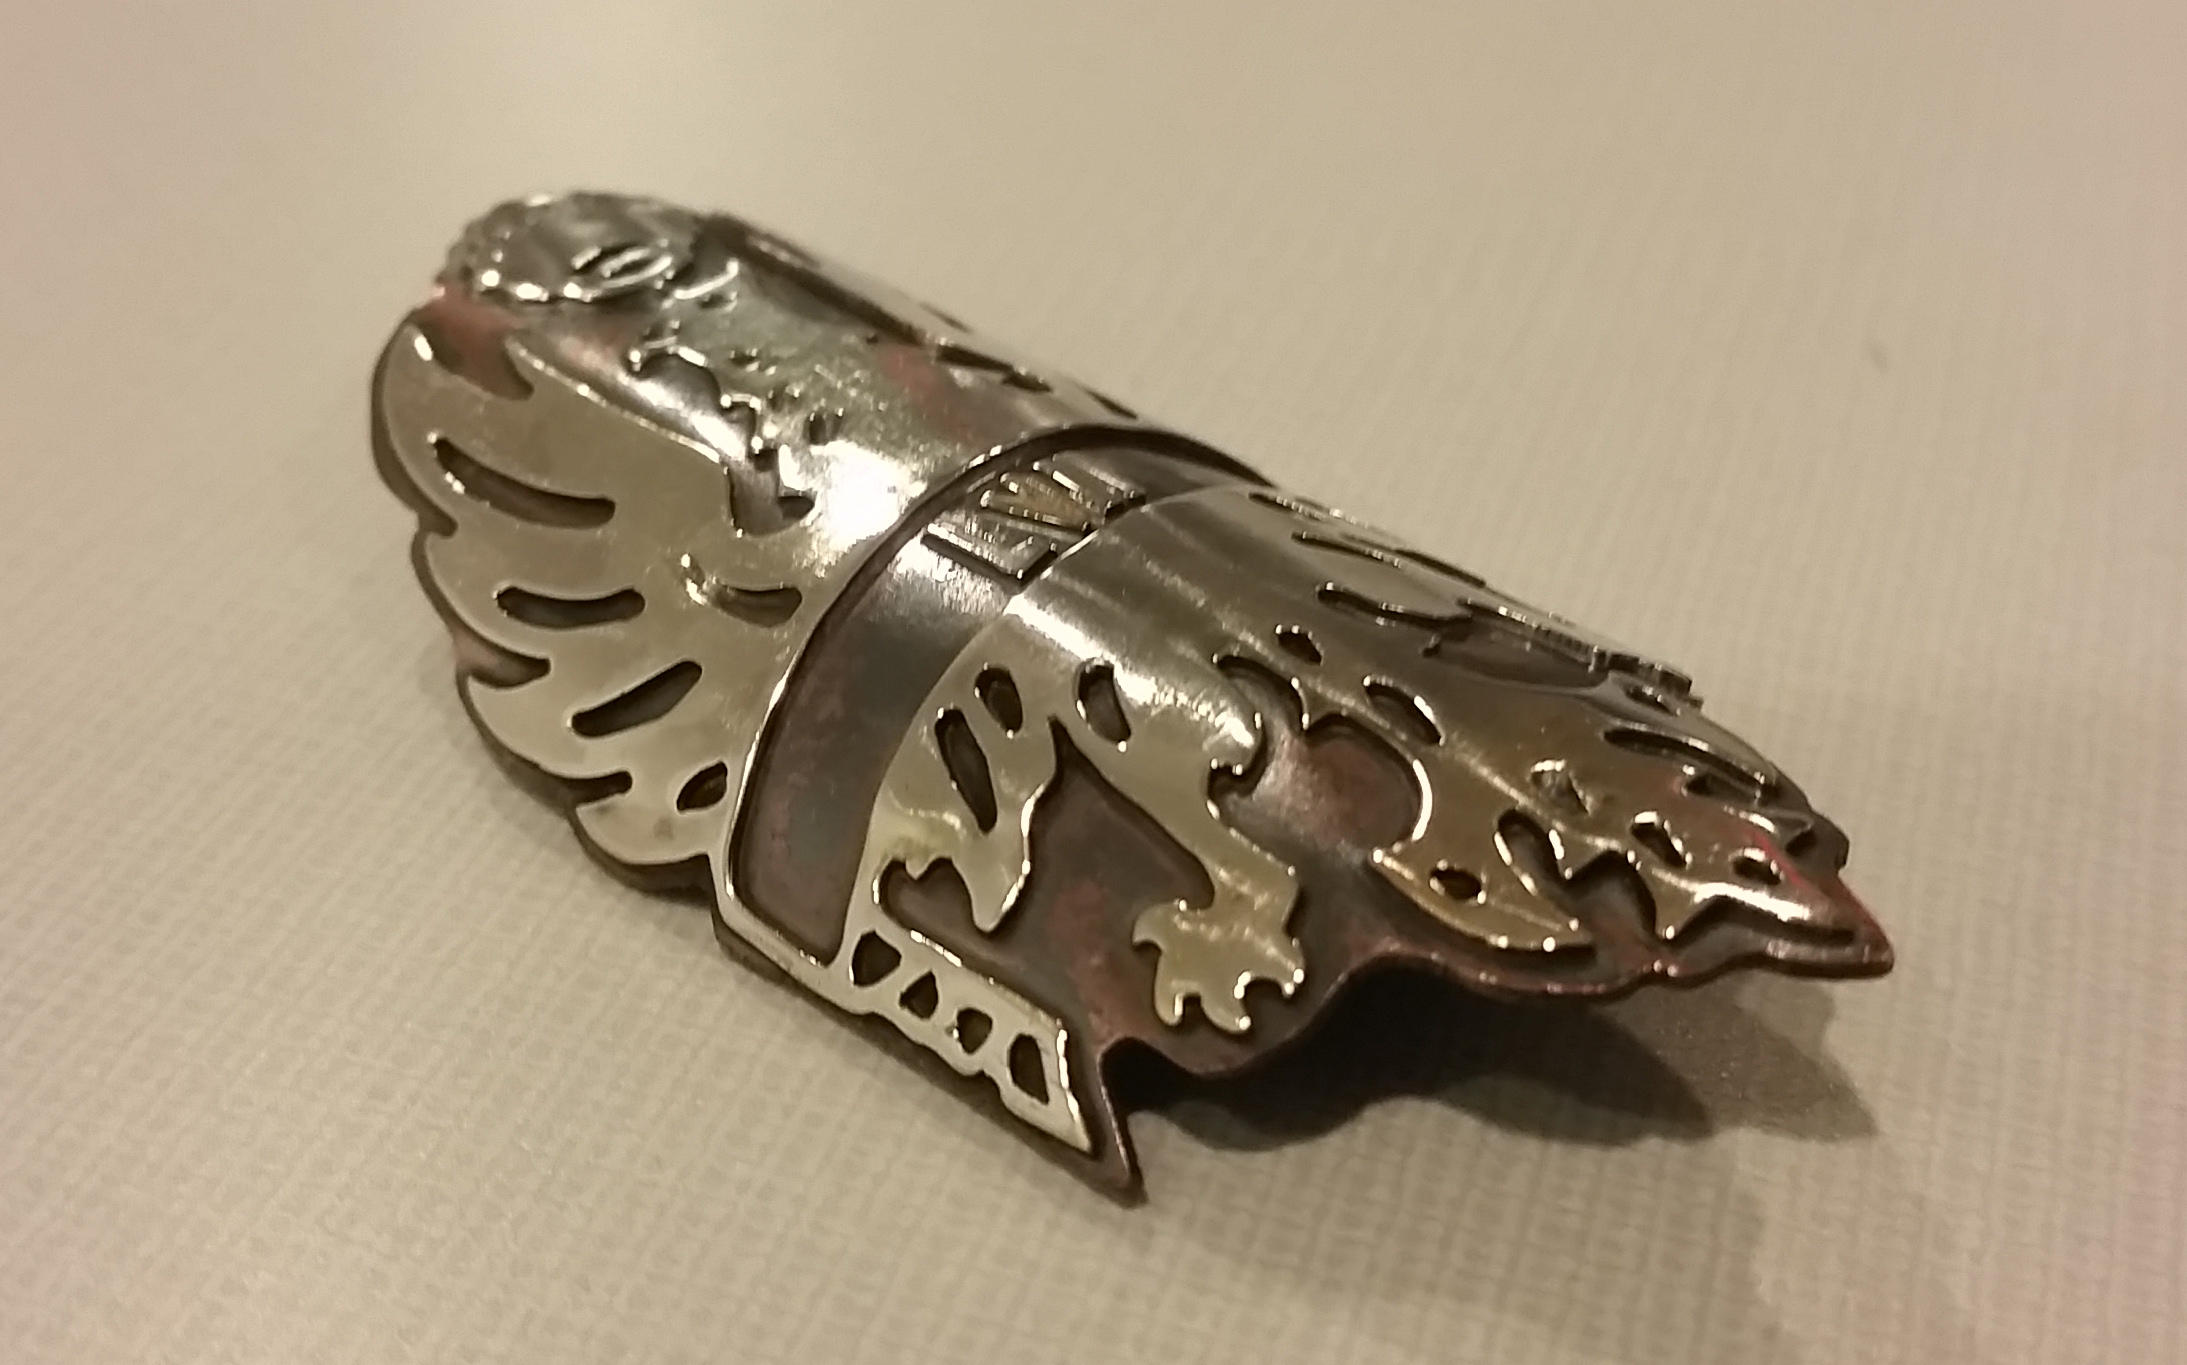
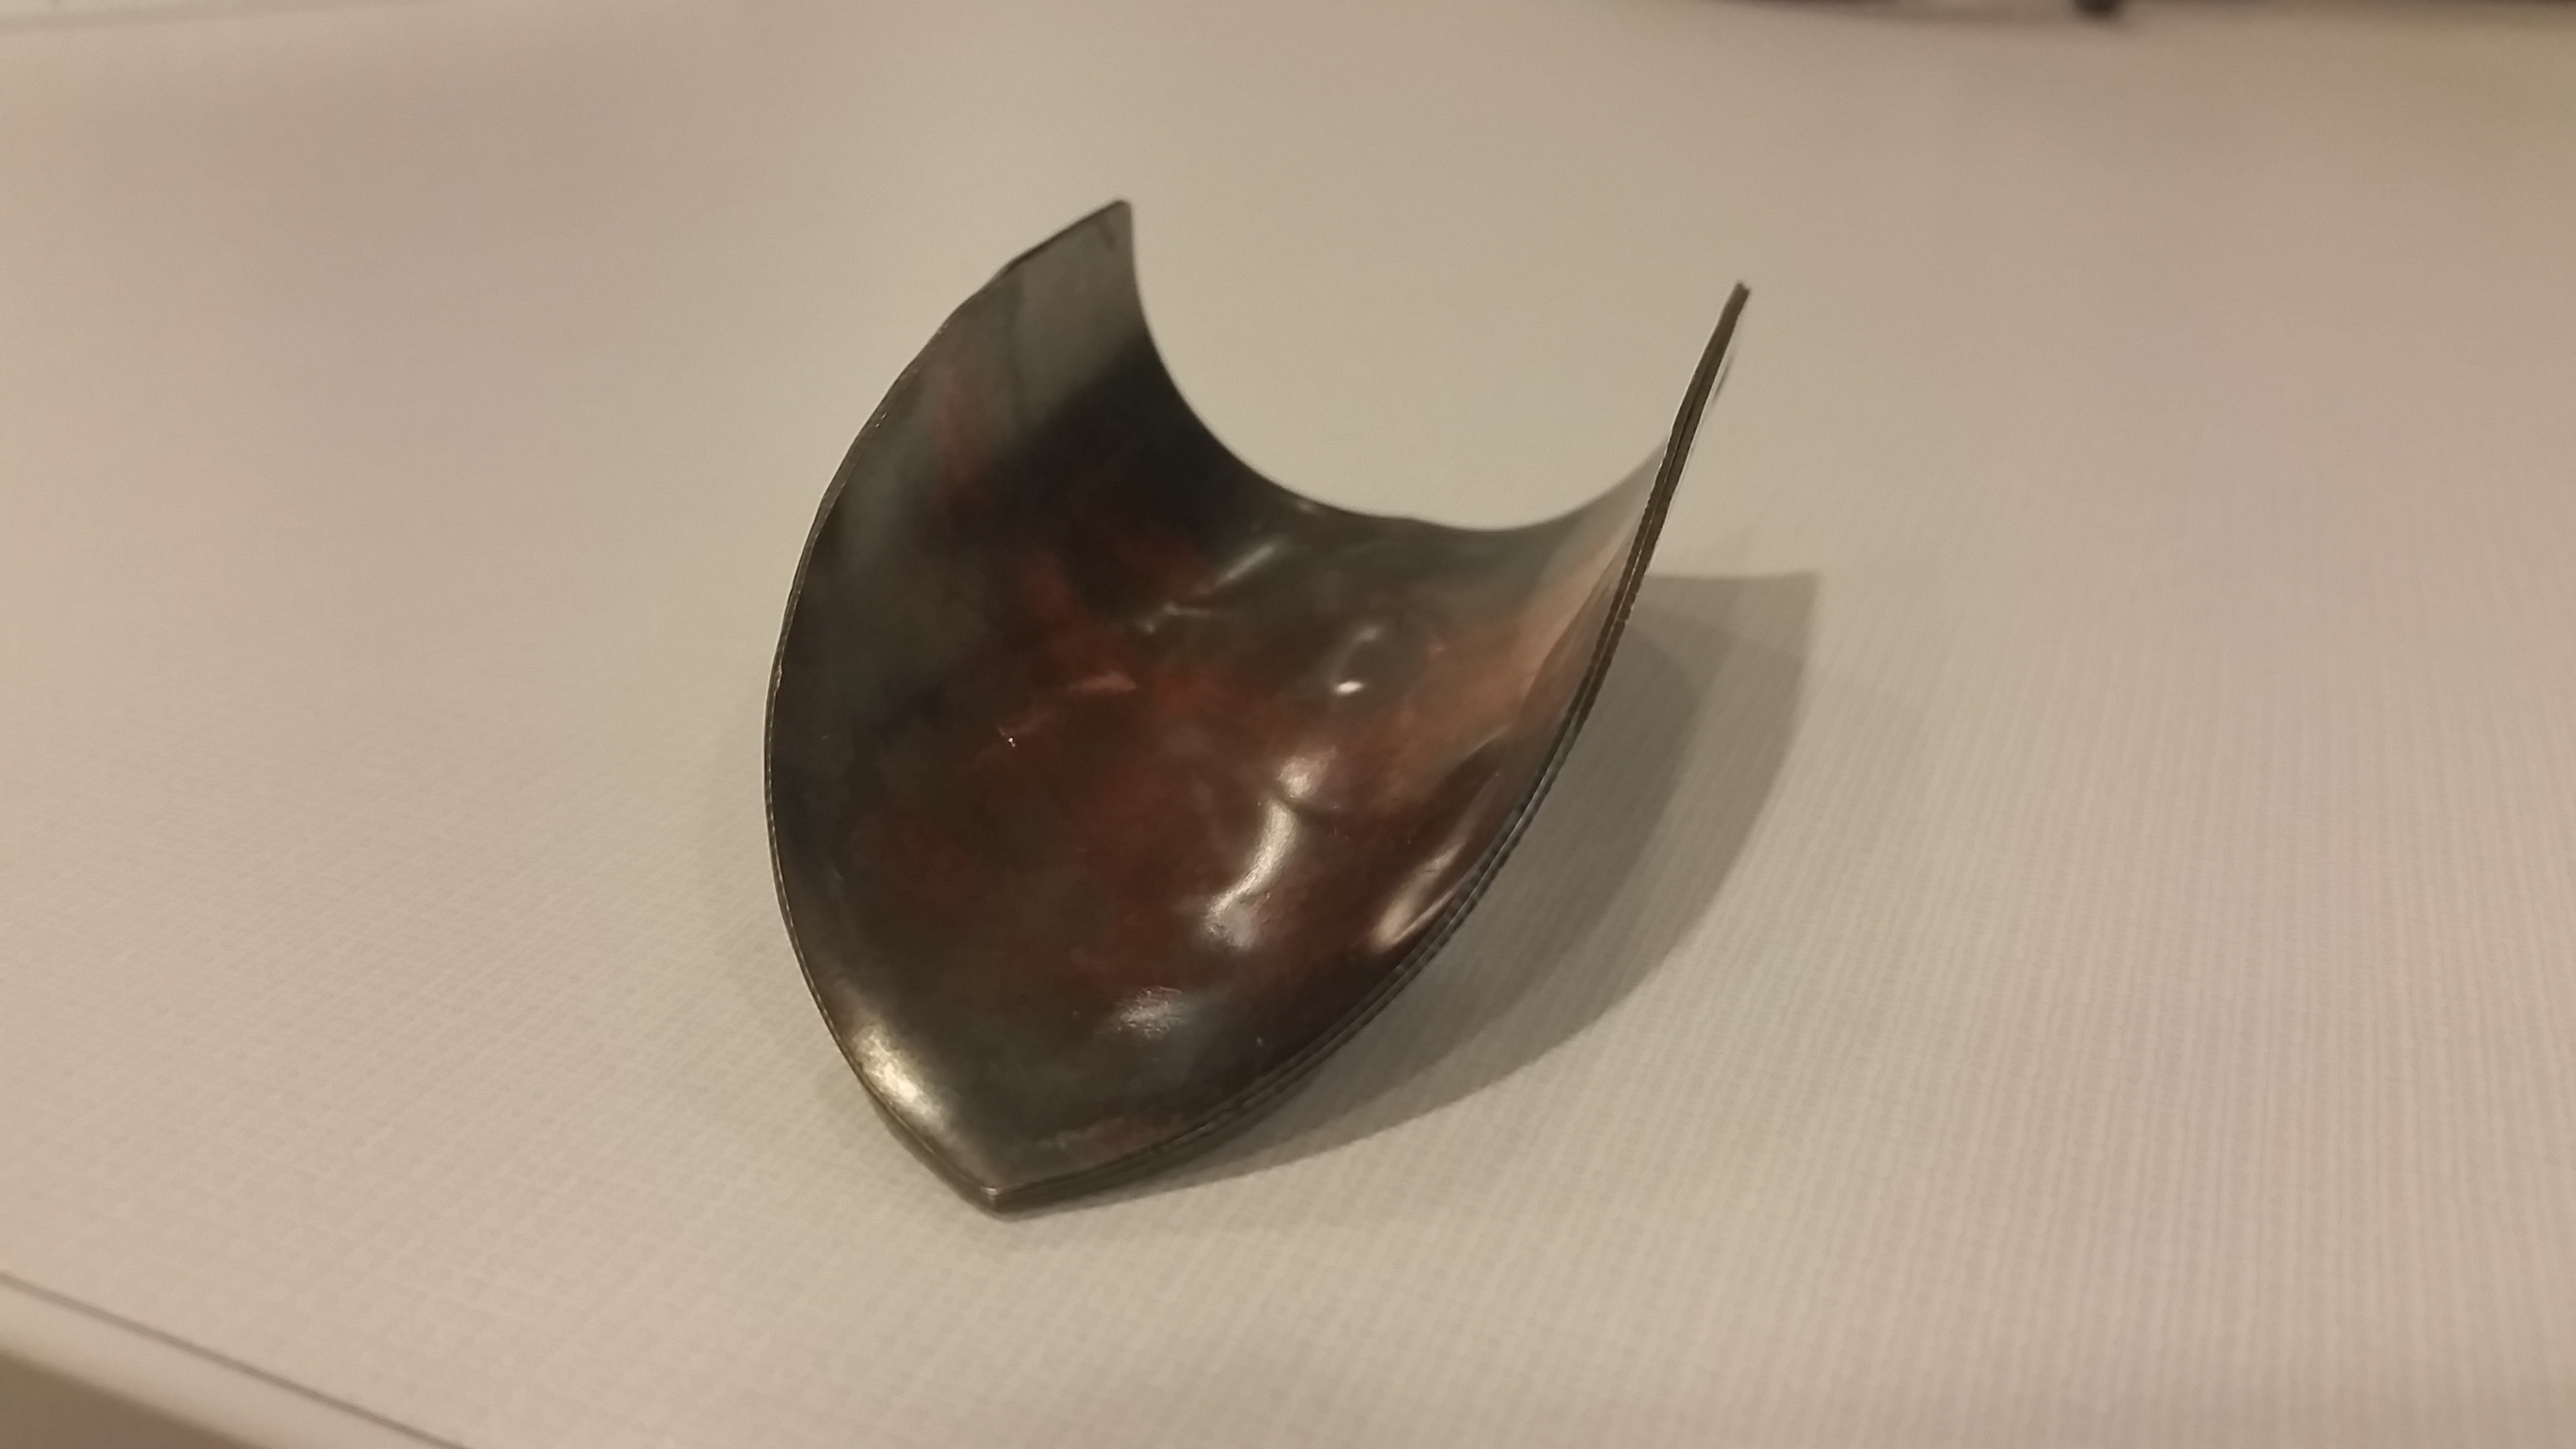
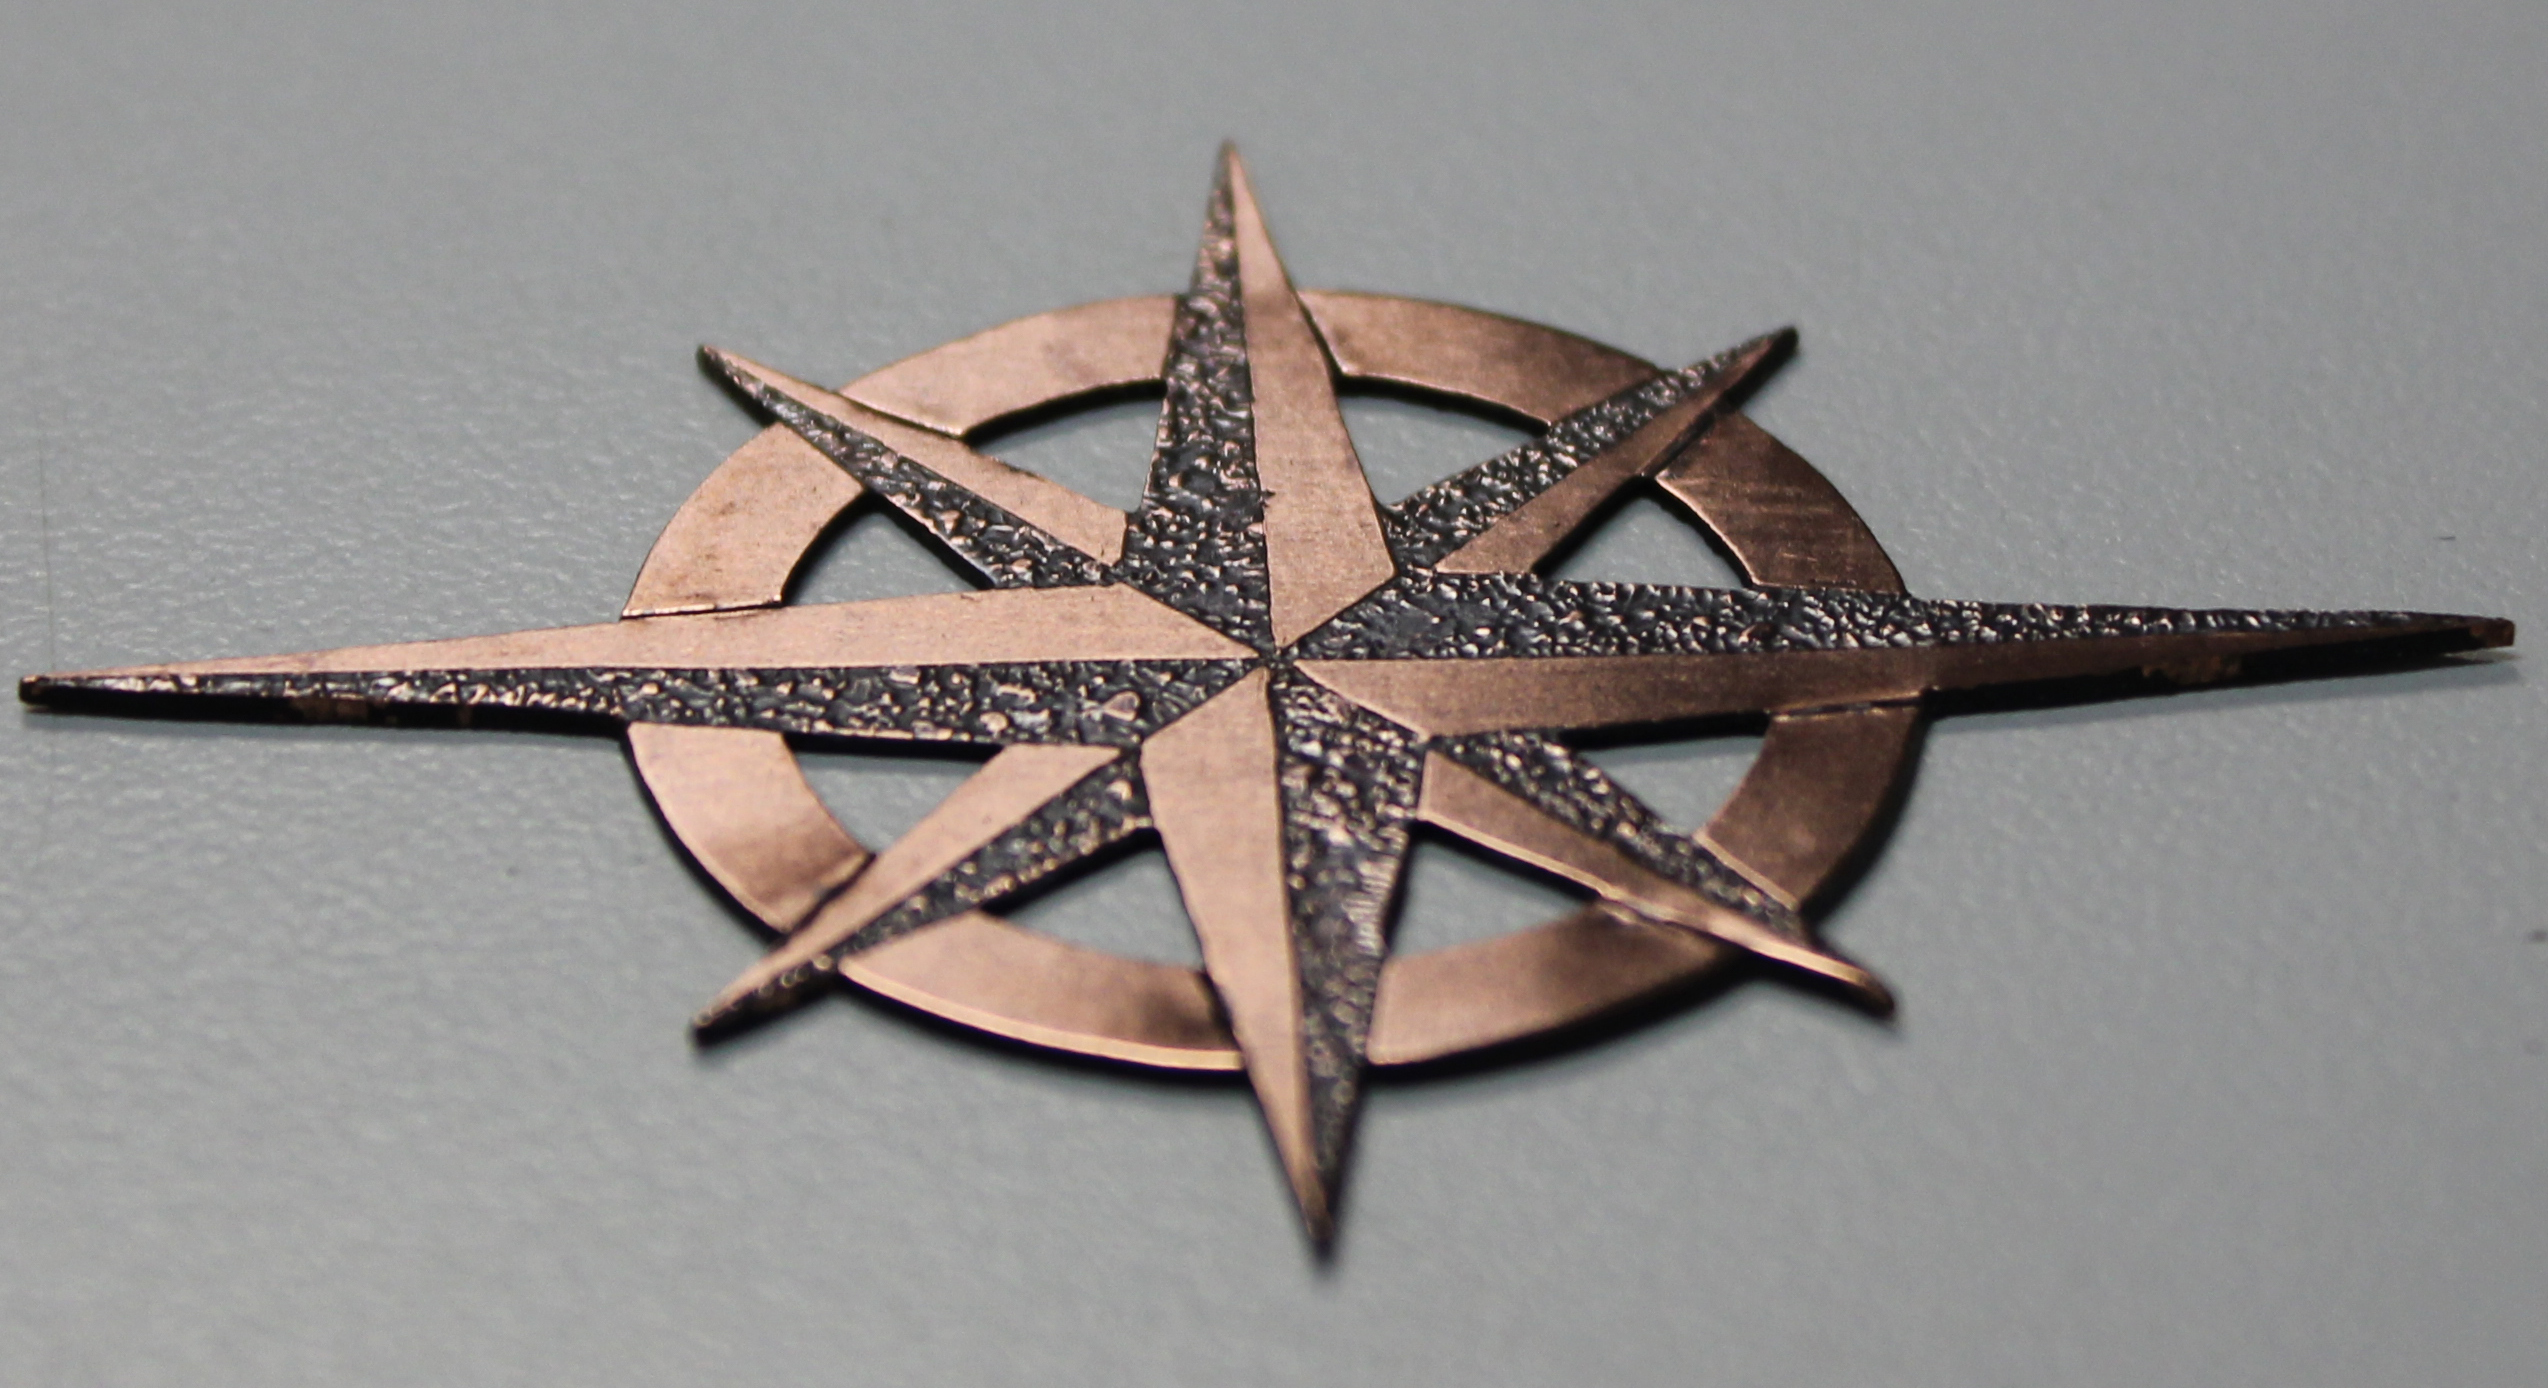
After the initial hand polishing to get all the fire scale off and start the buffing process.
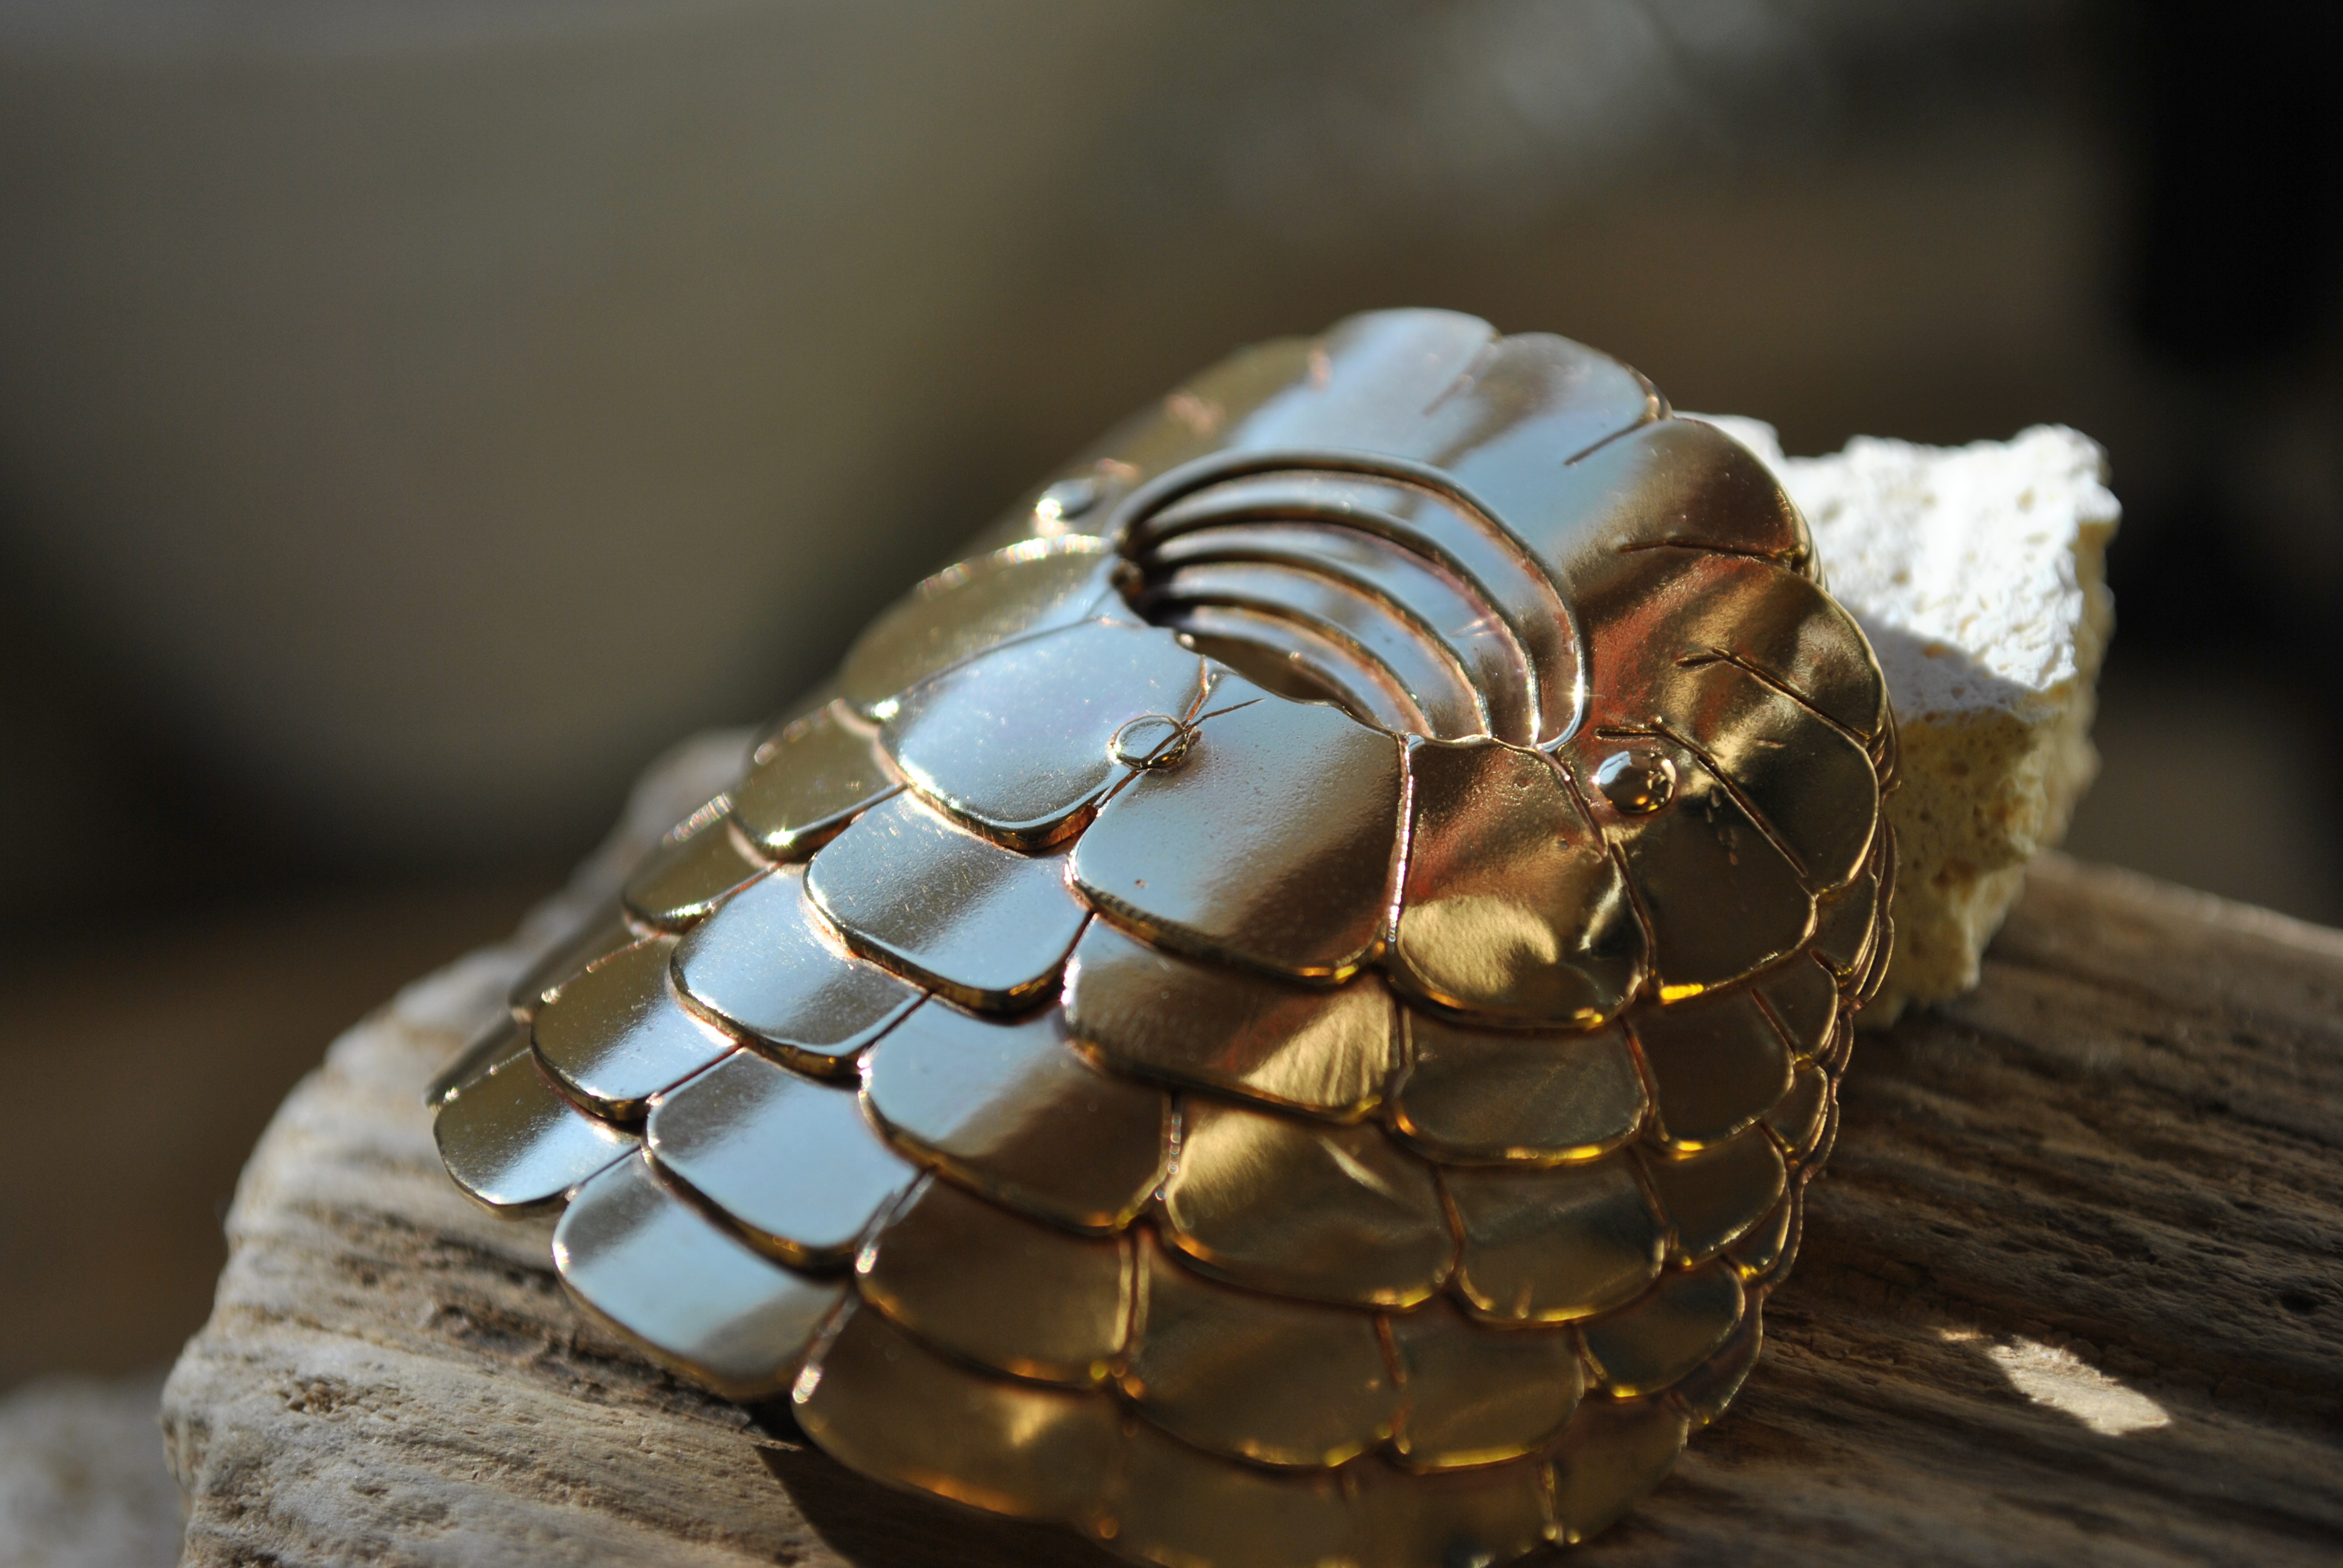
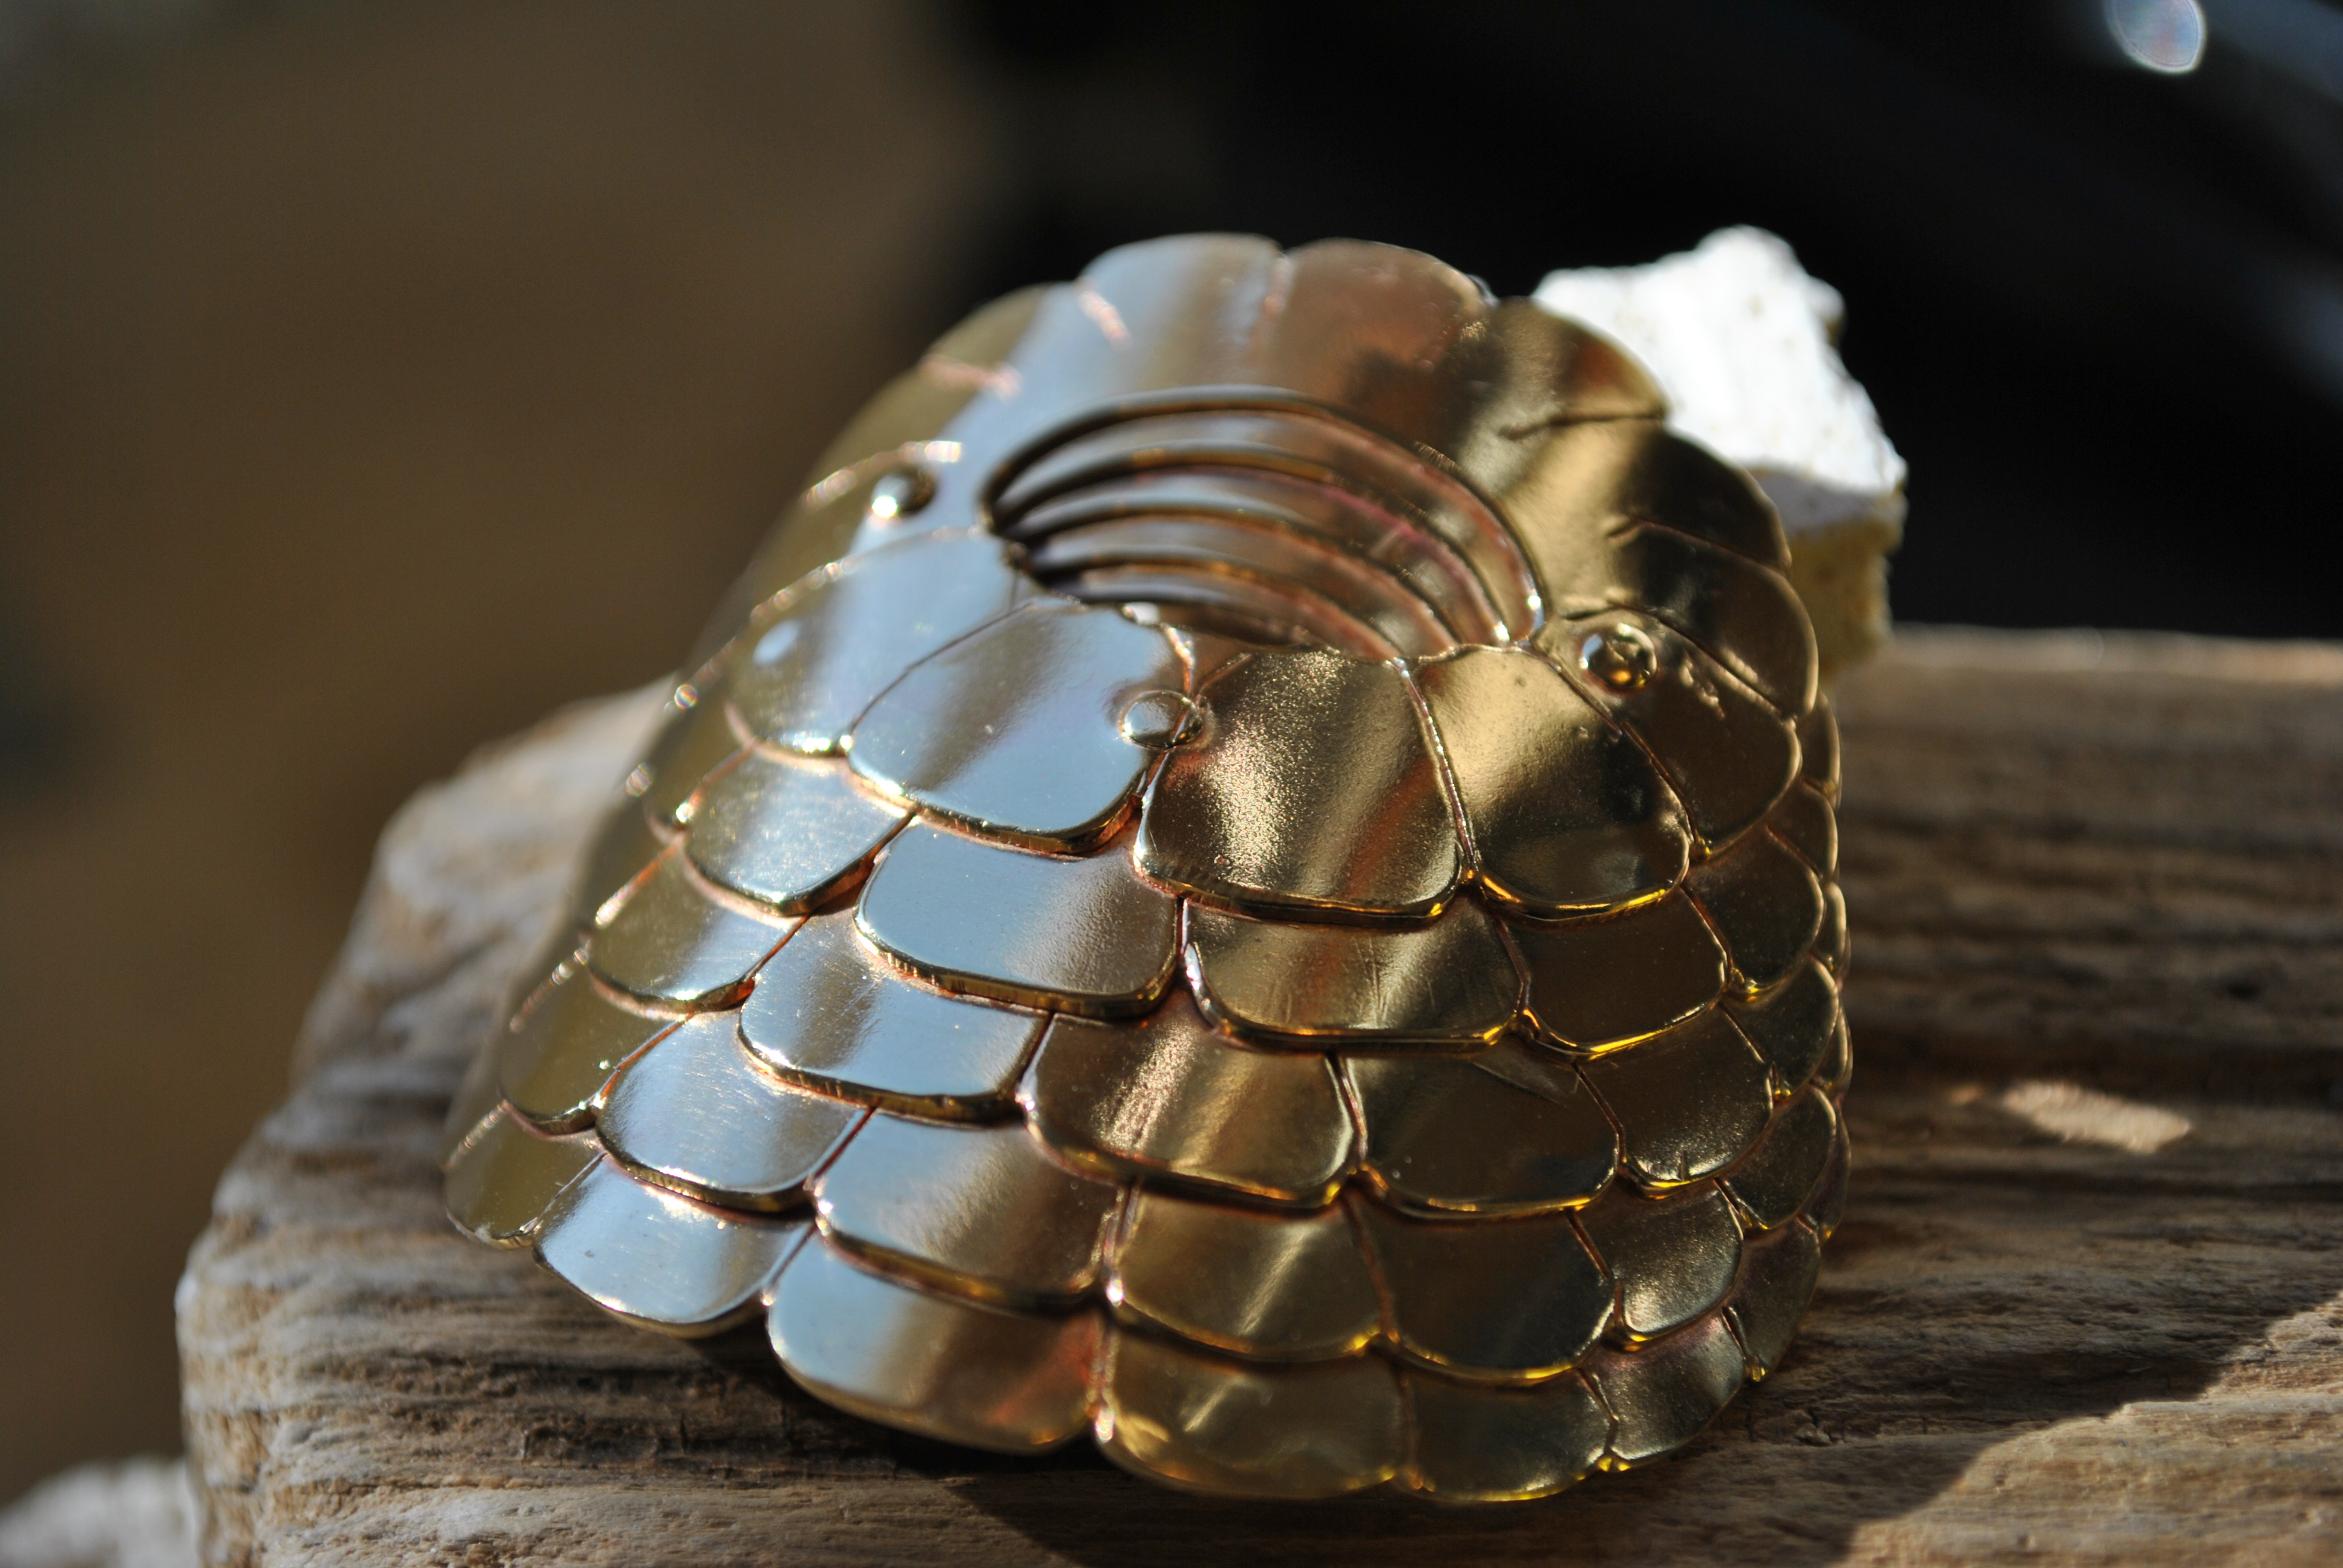
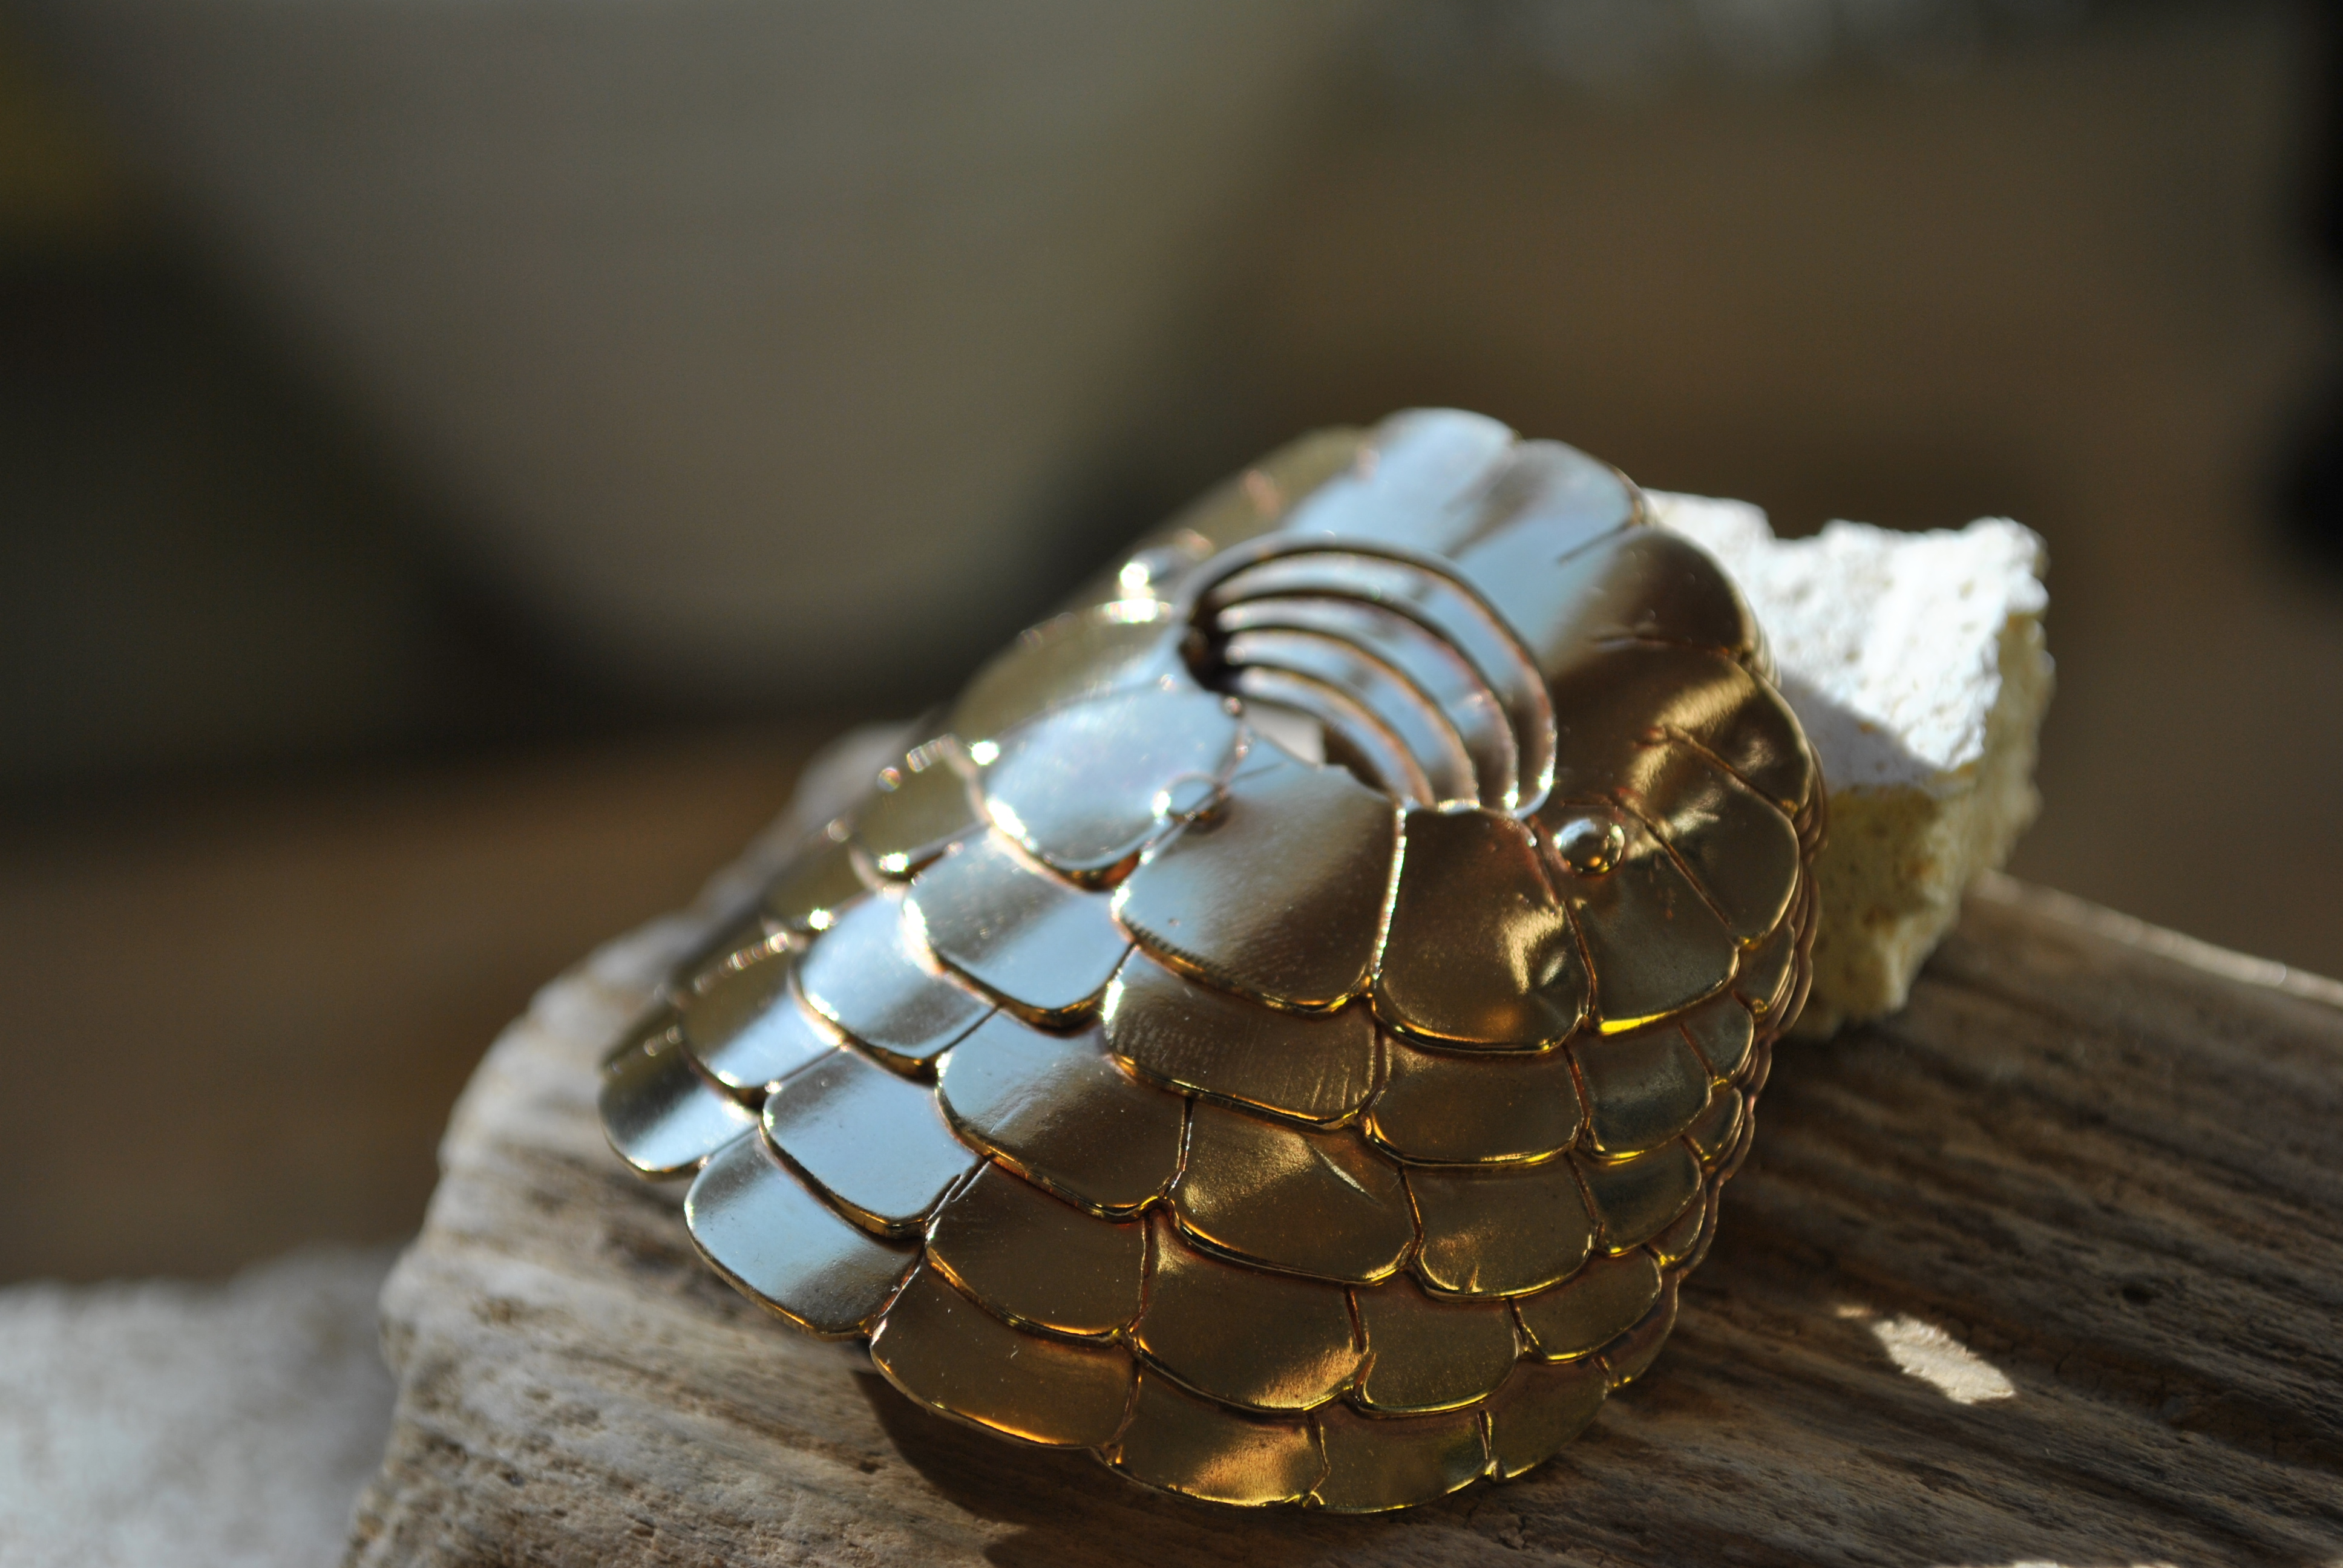
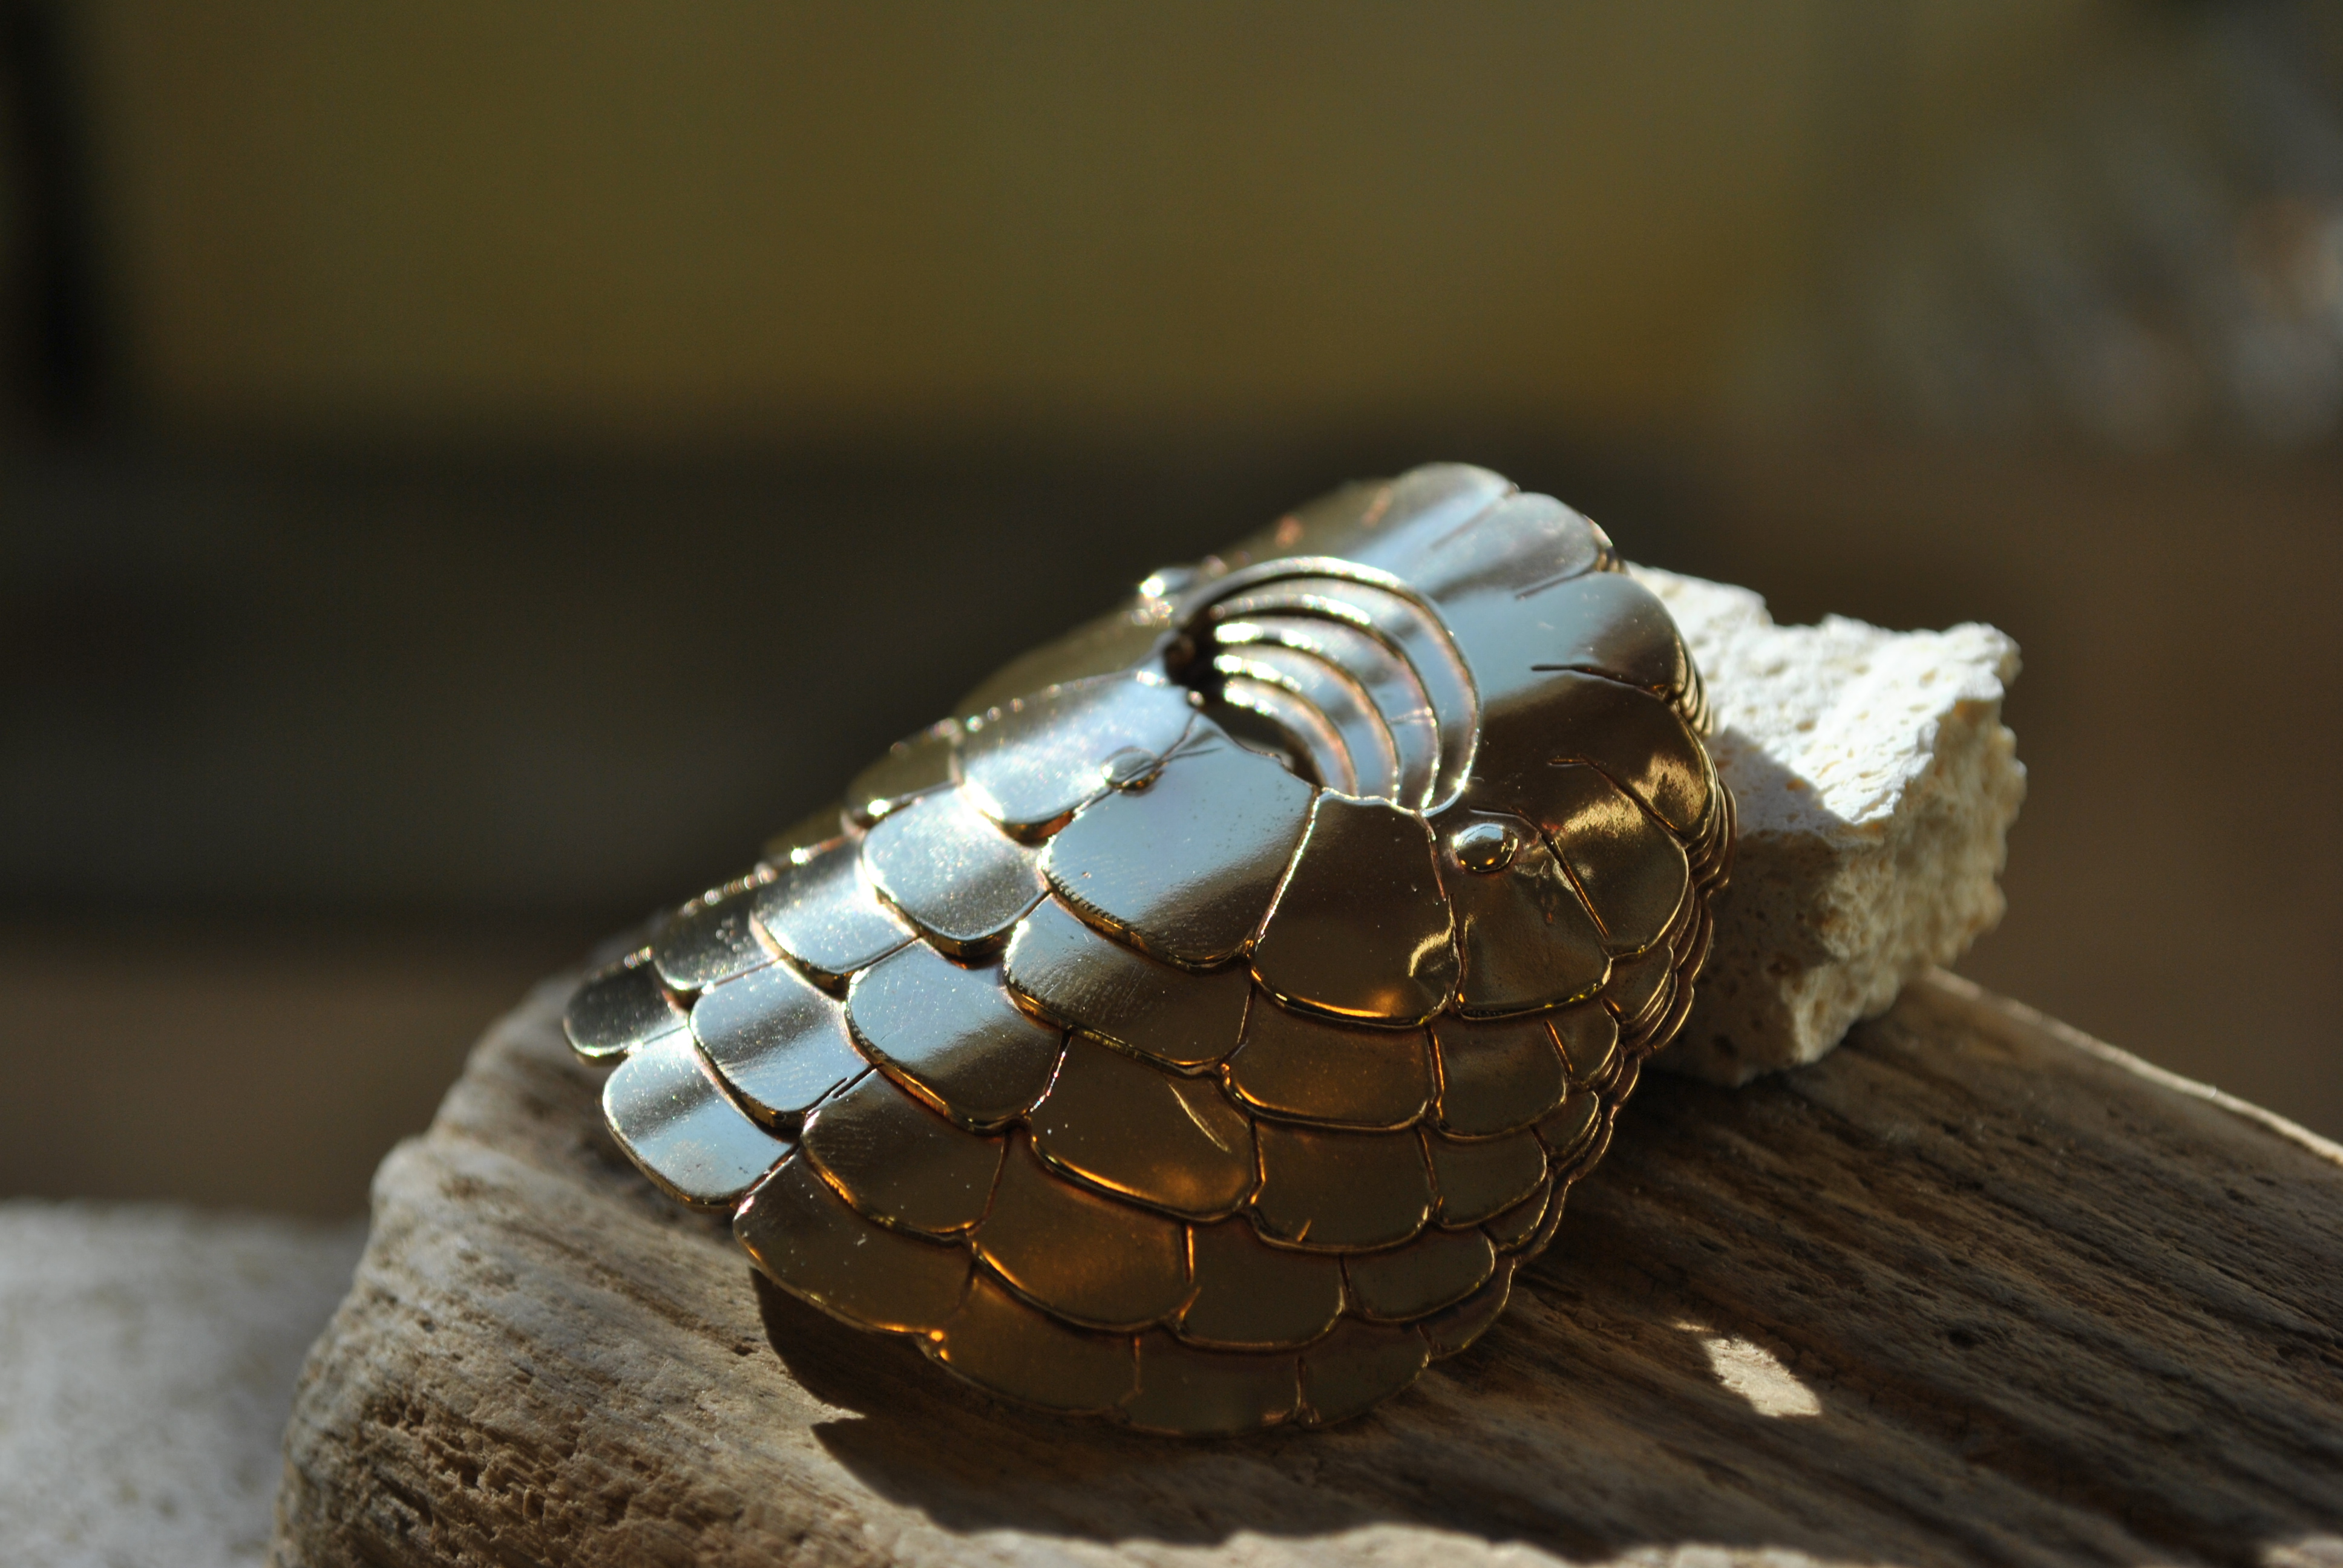
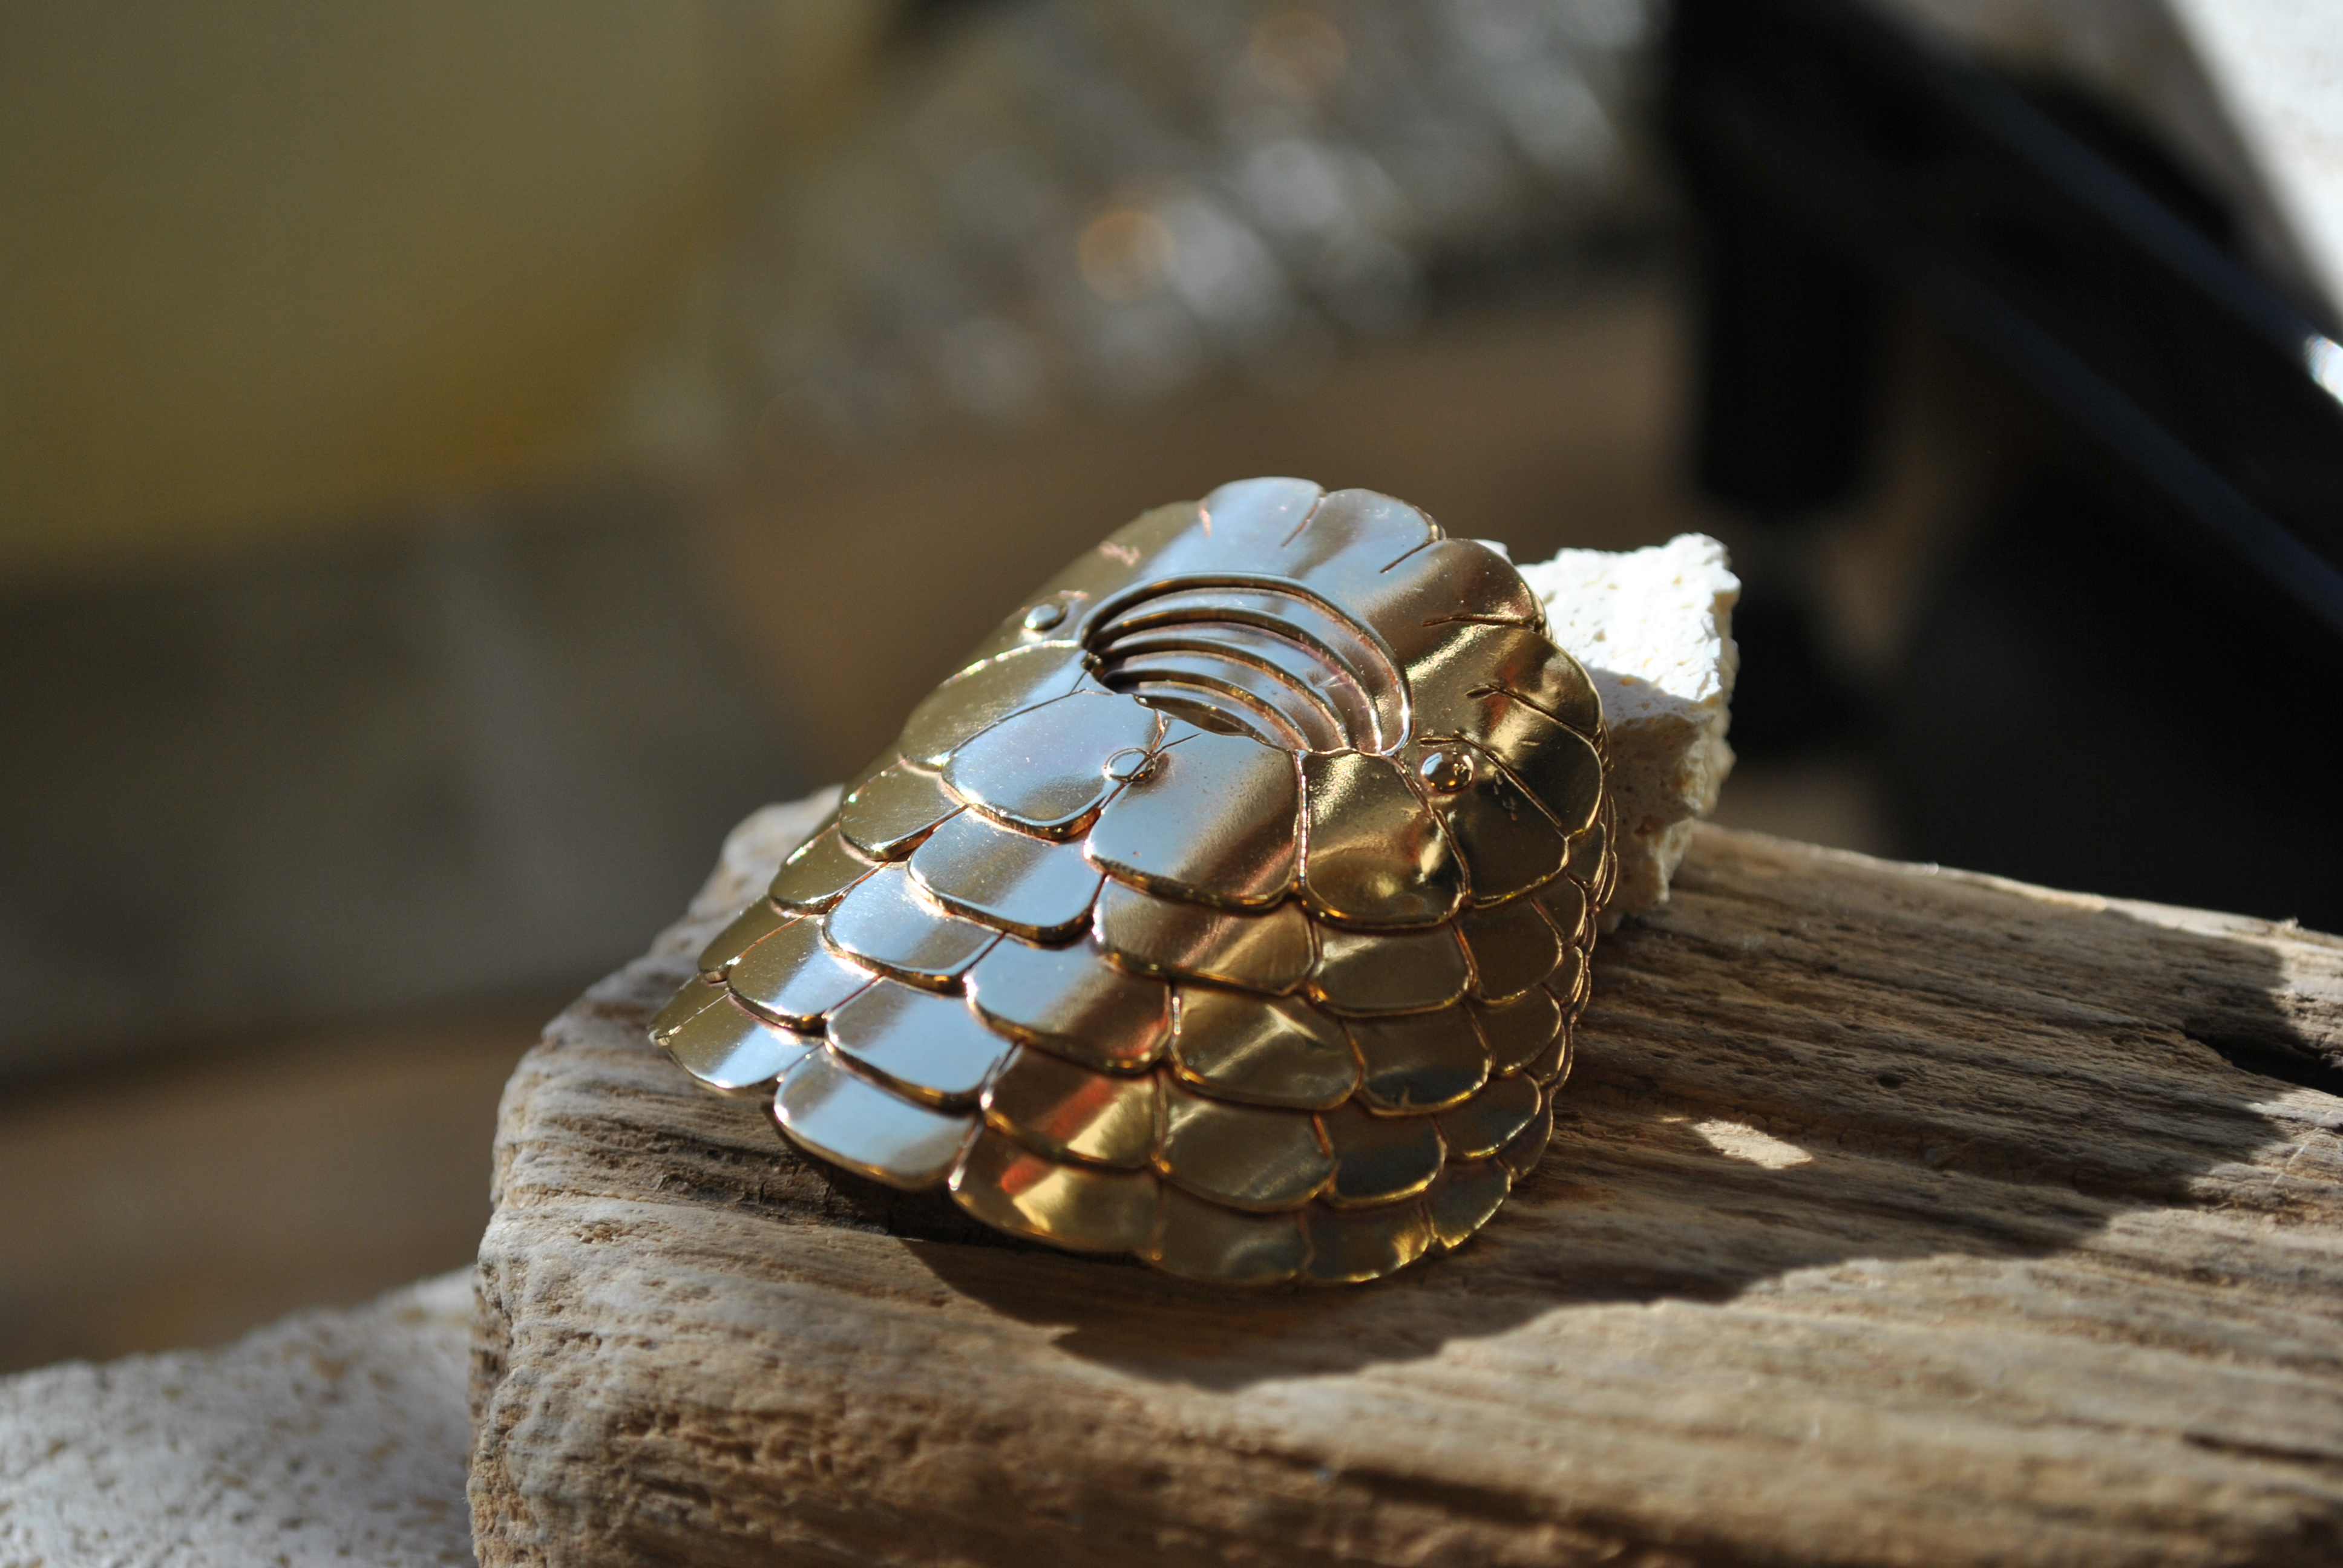
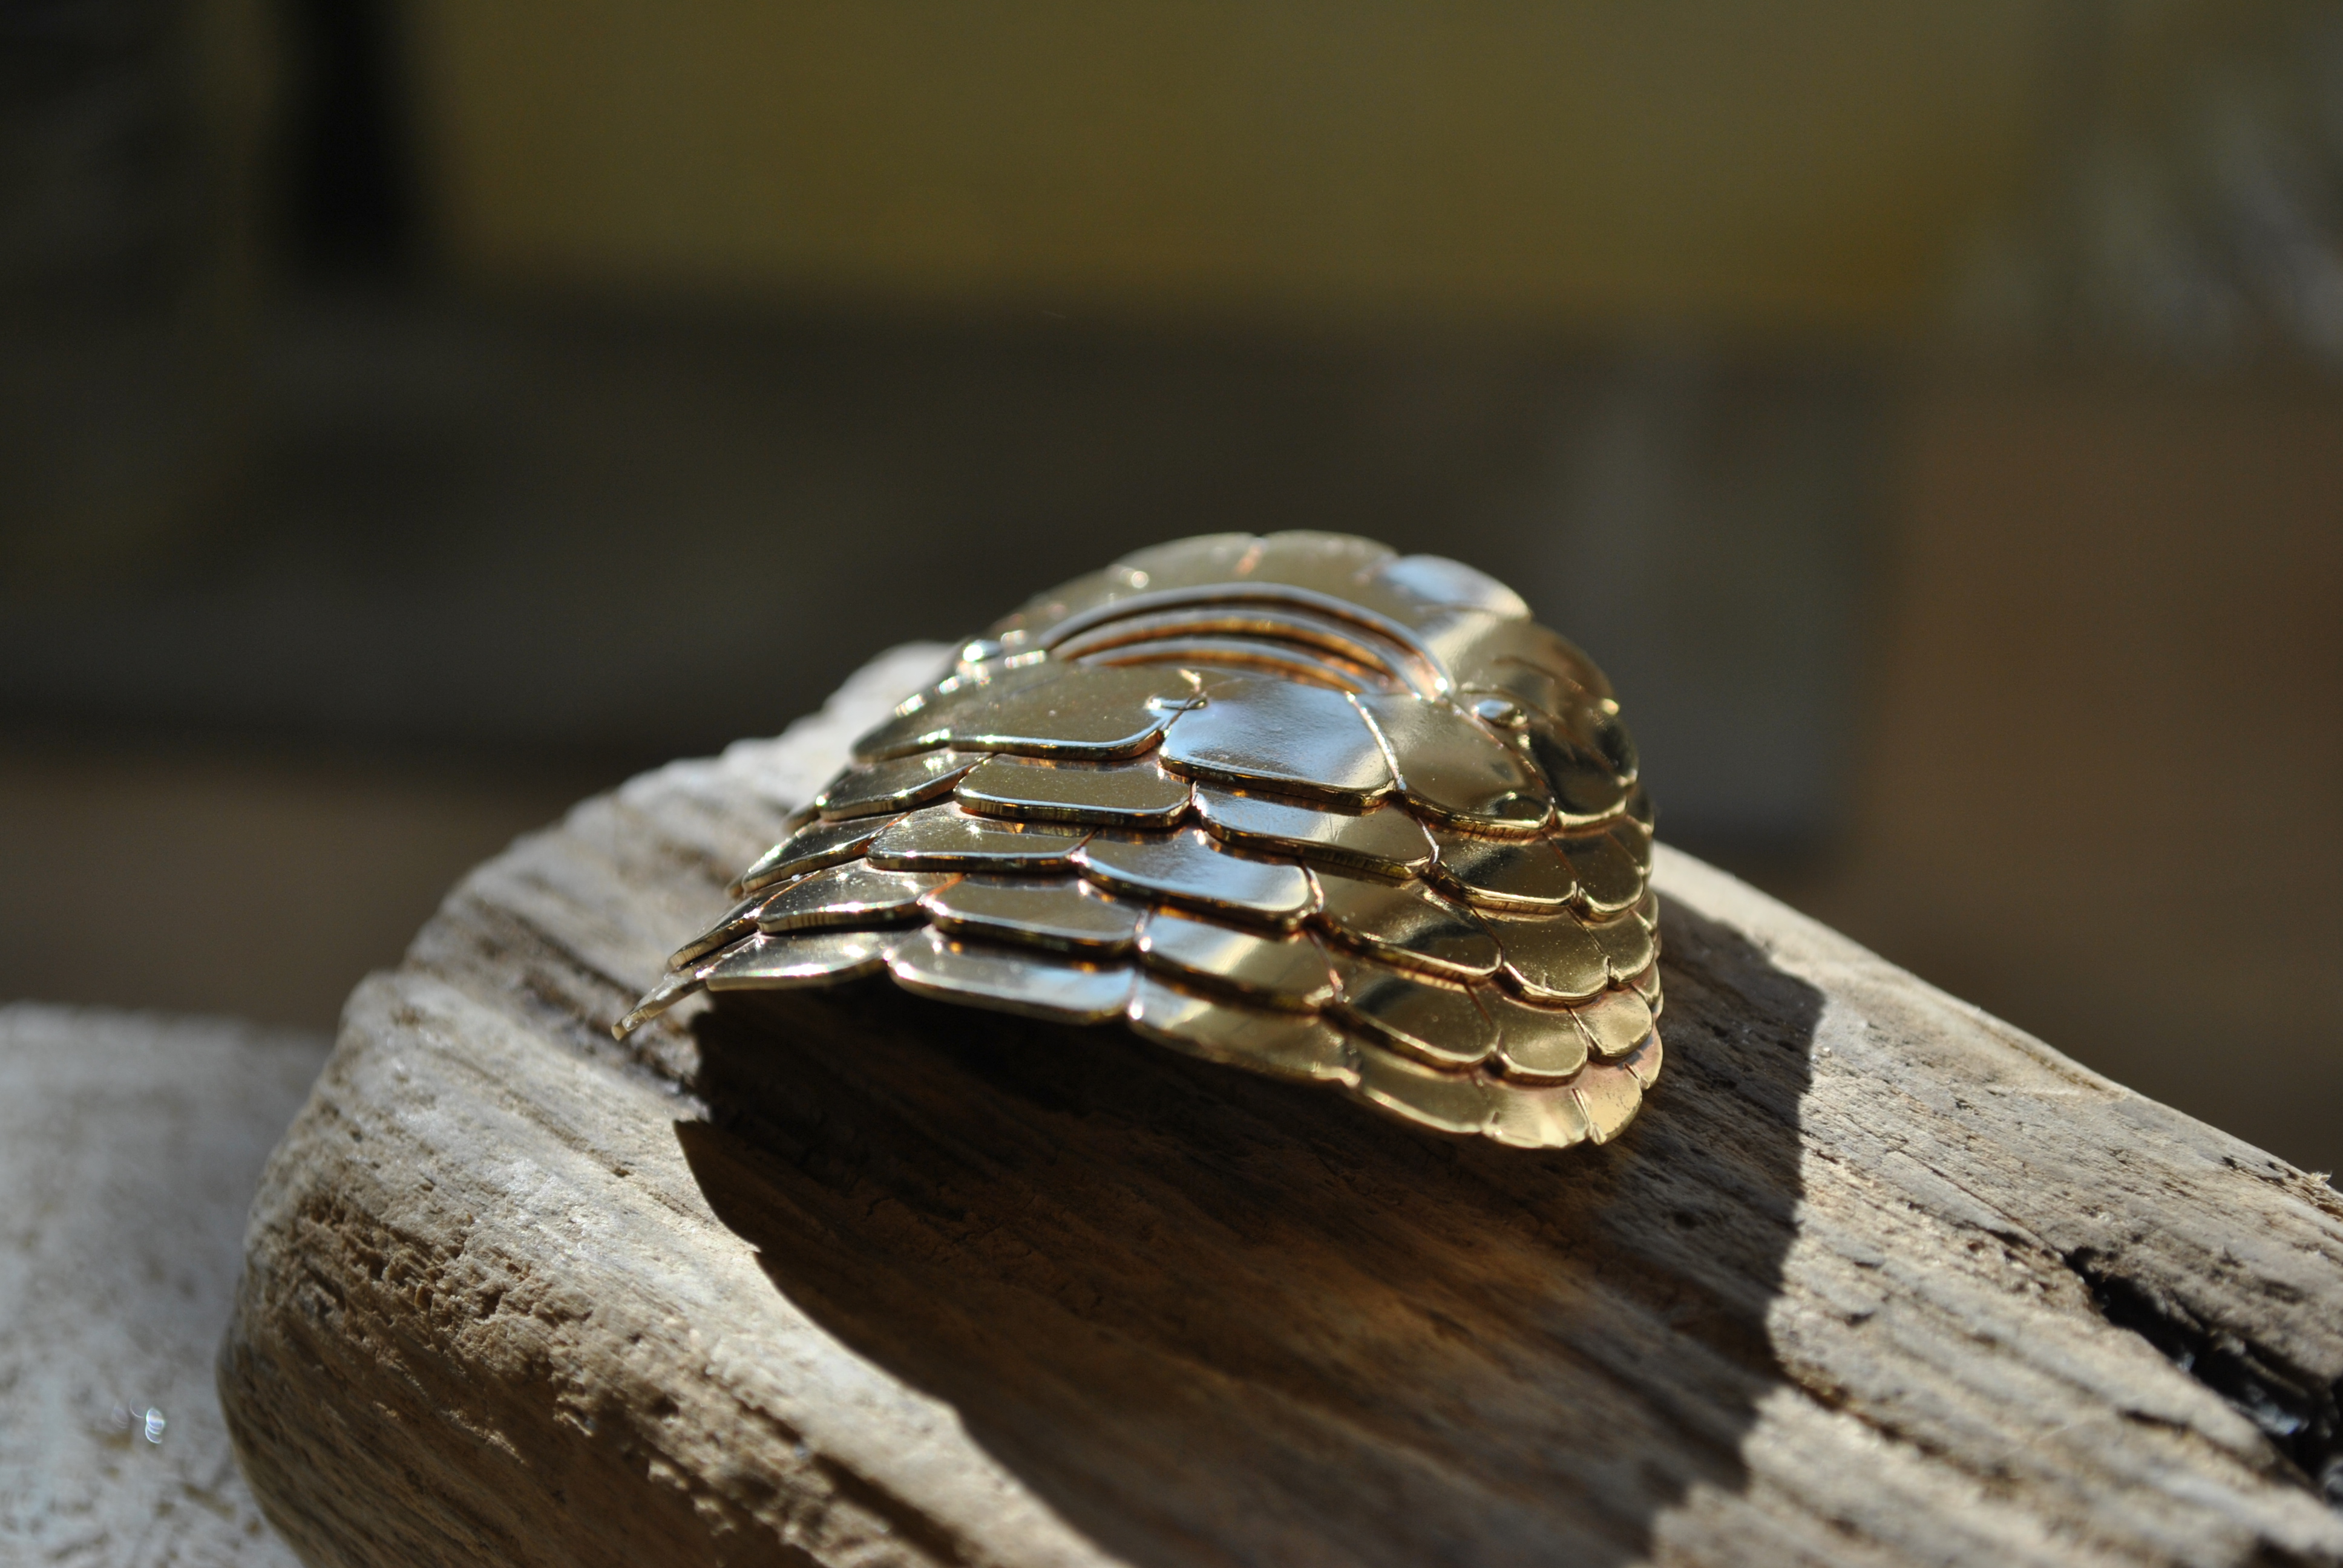
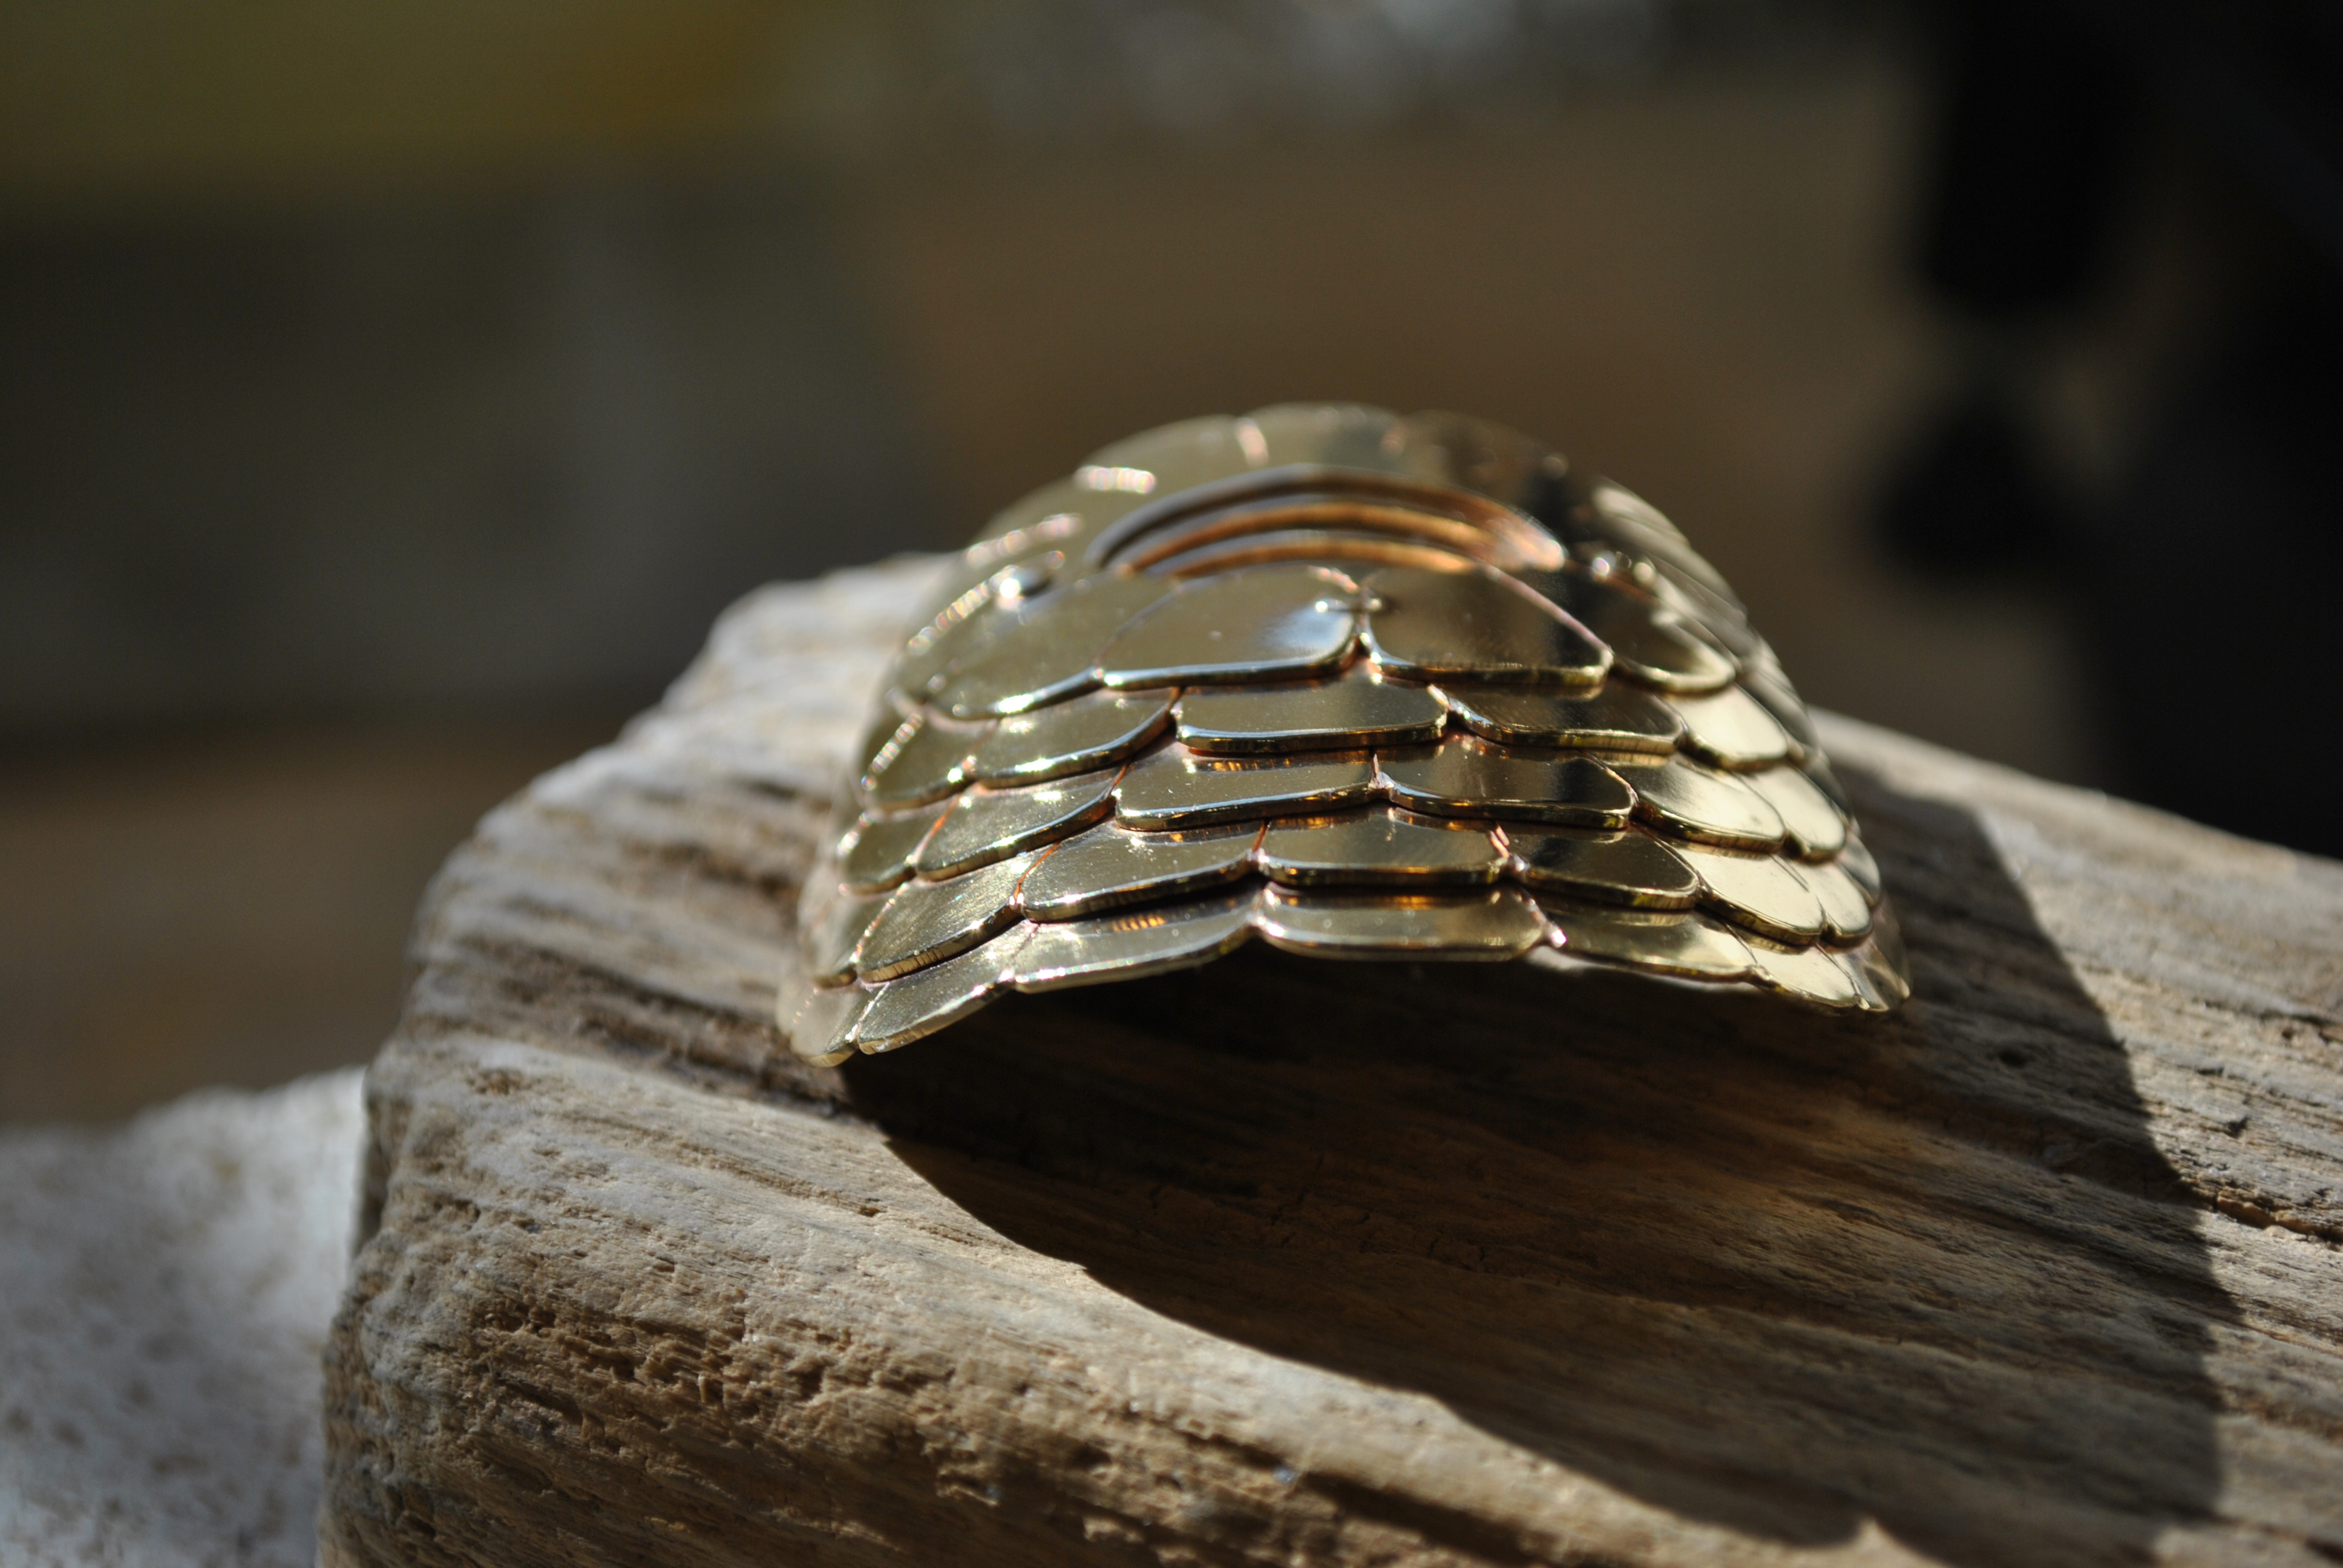
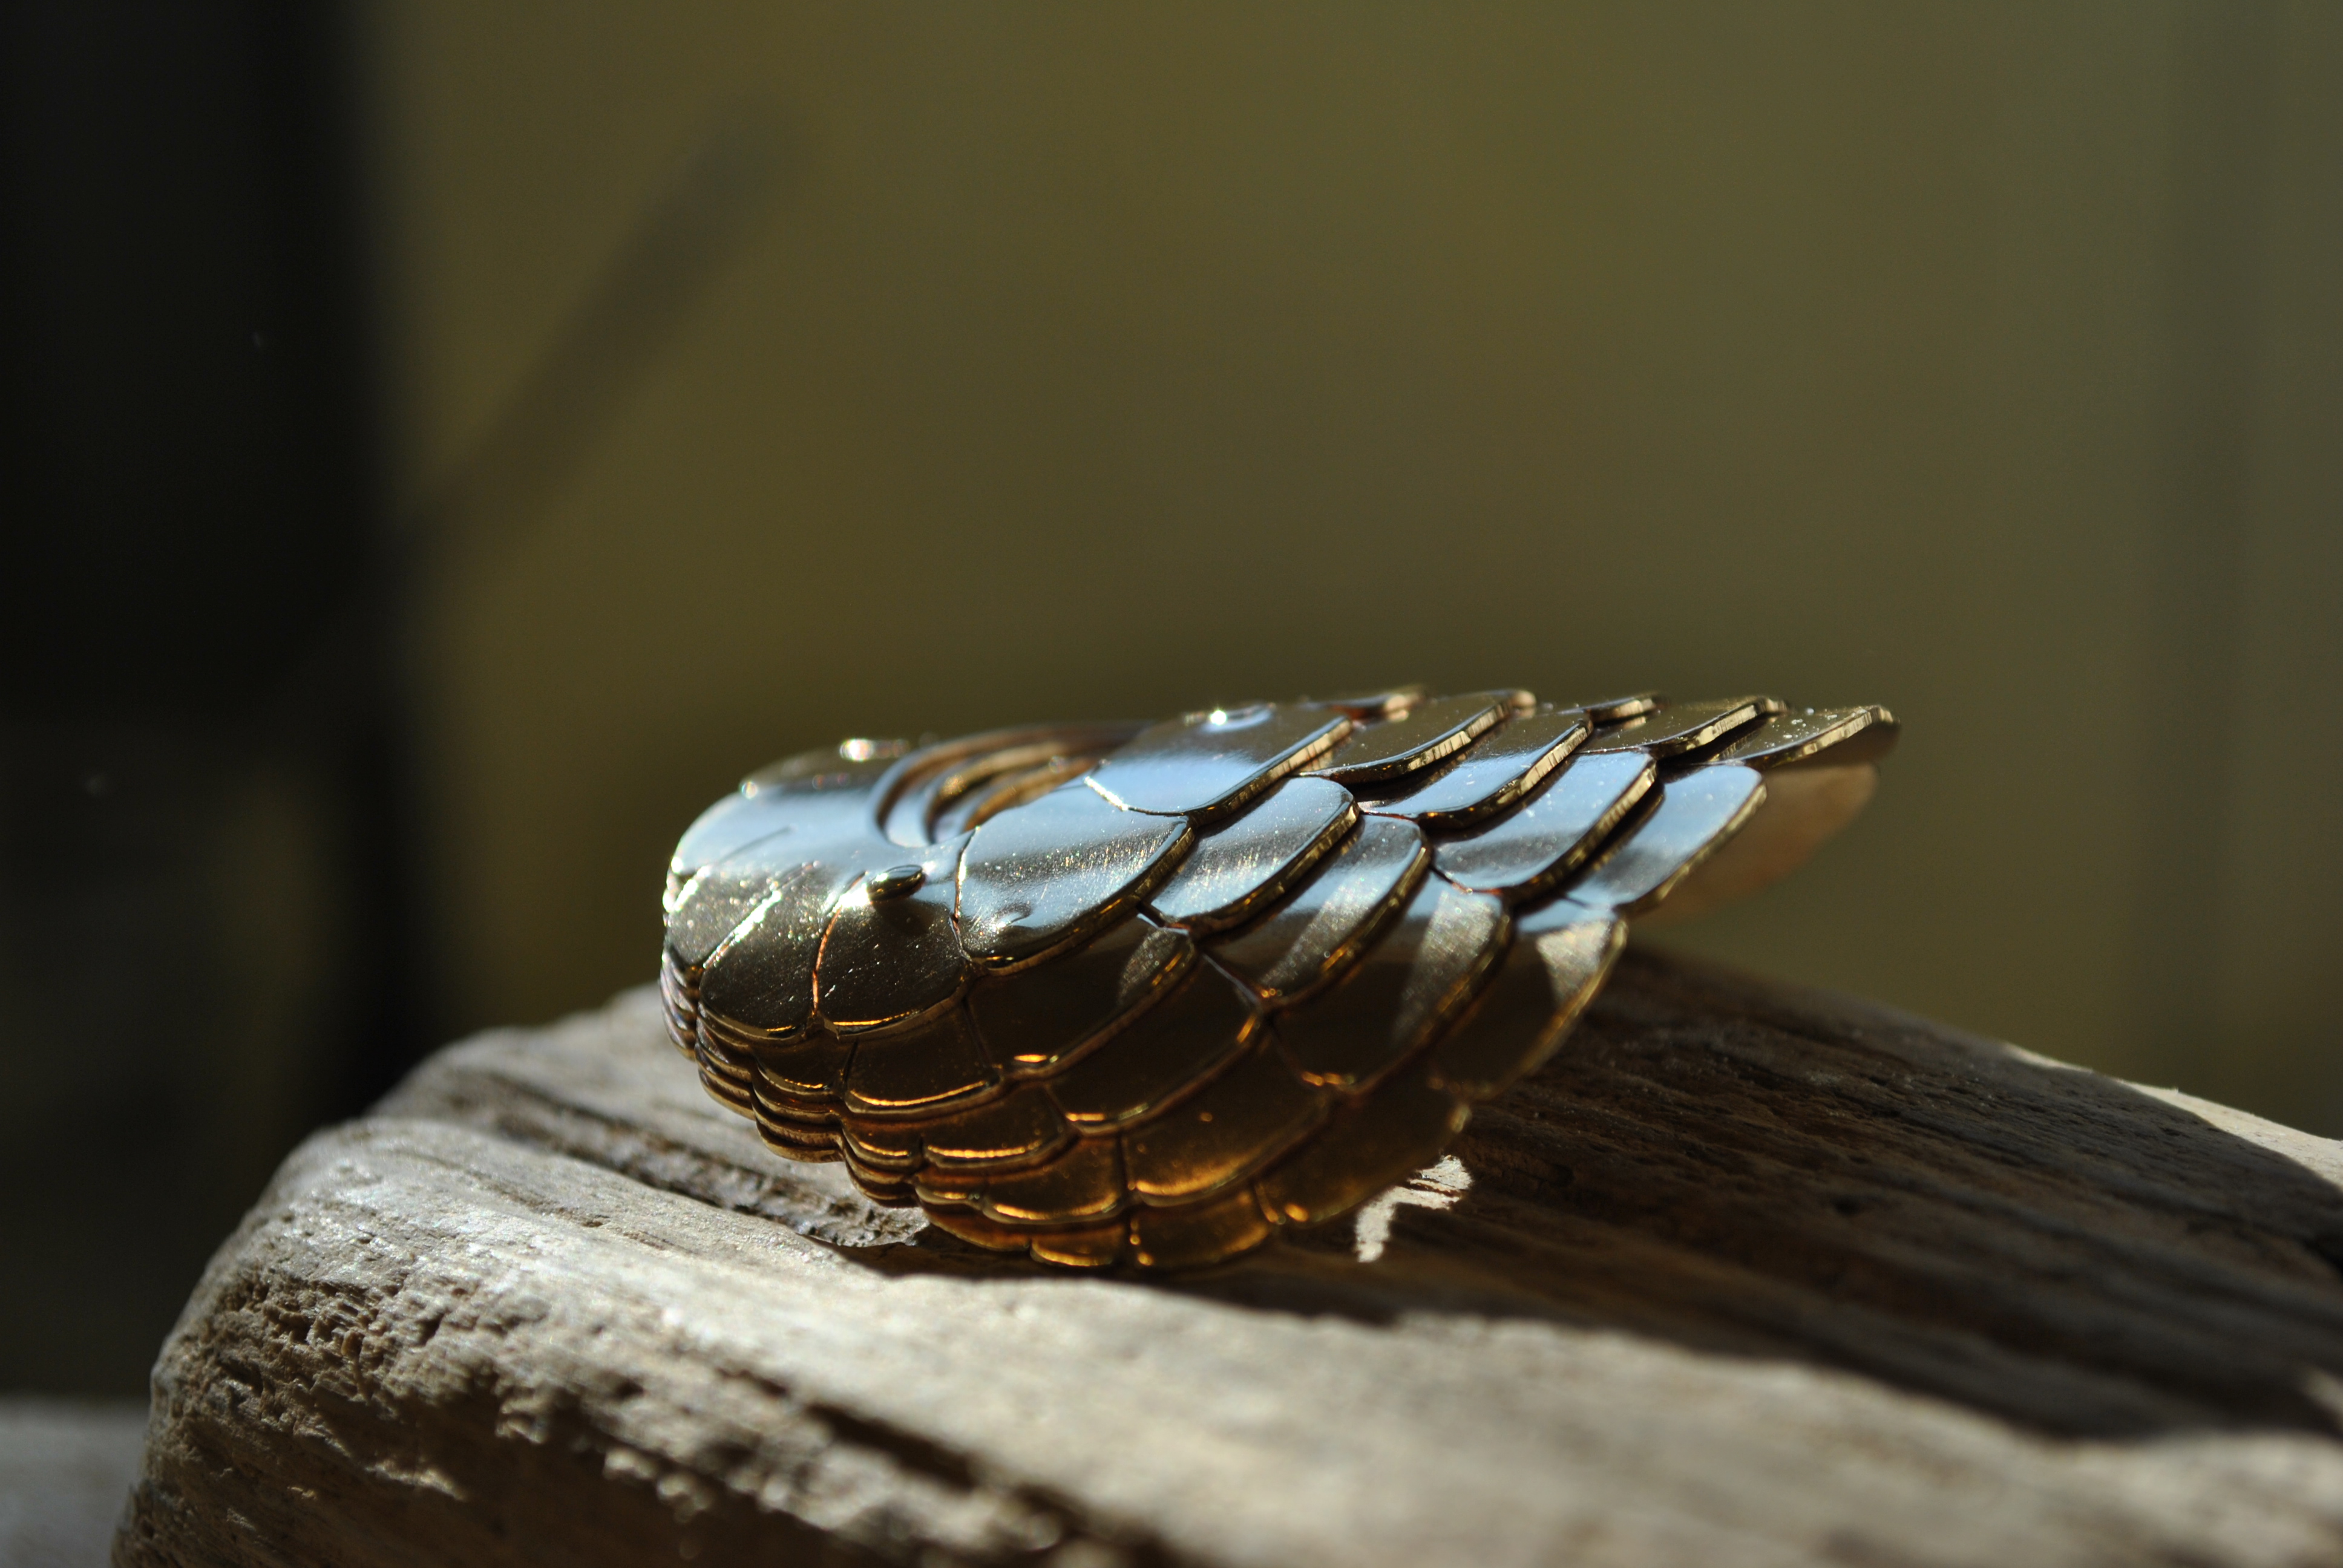
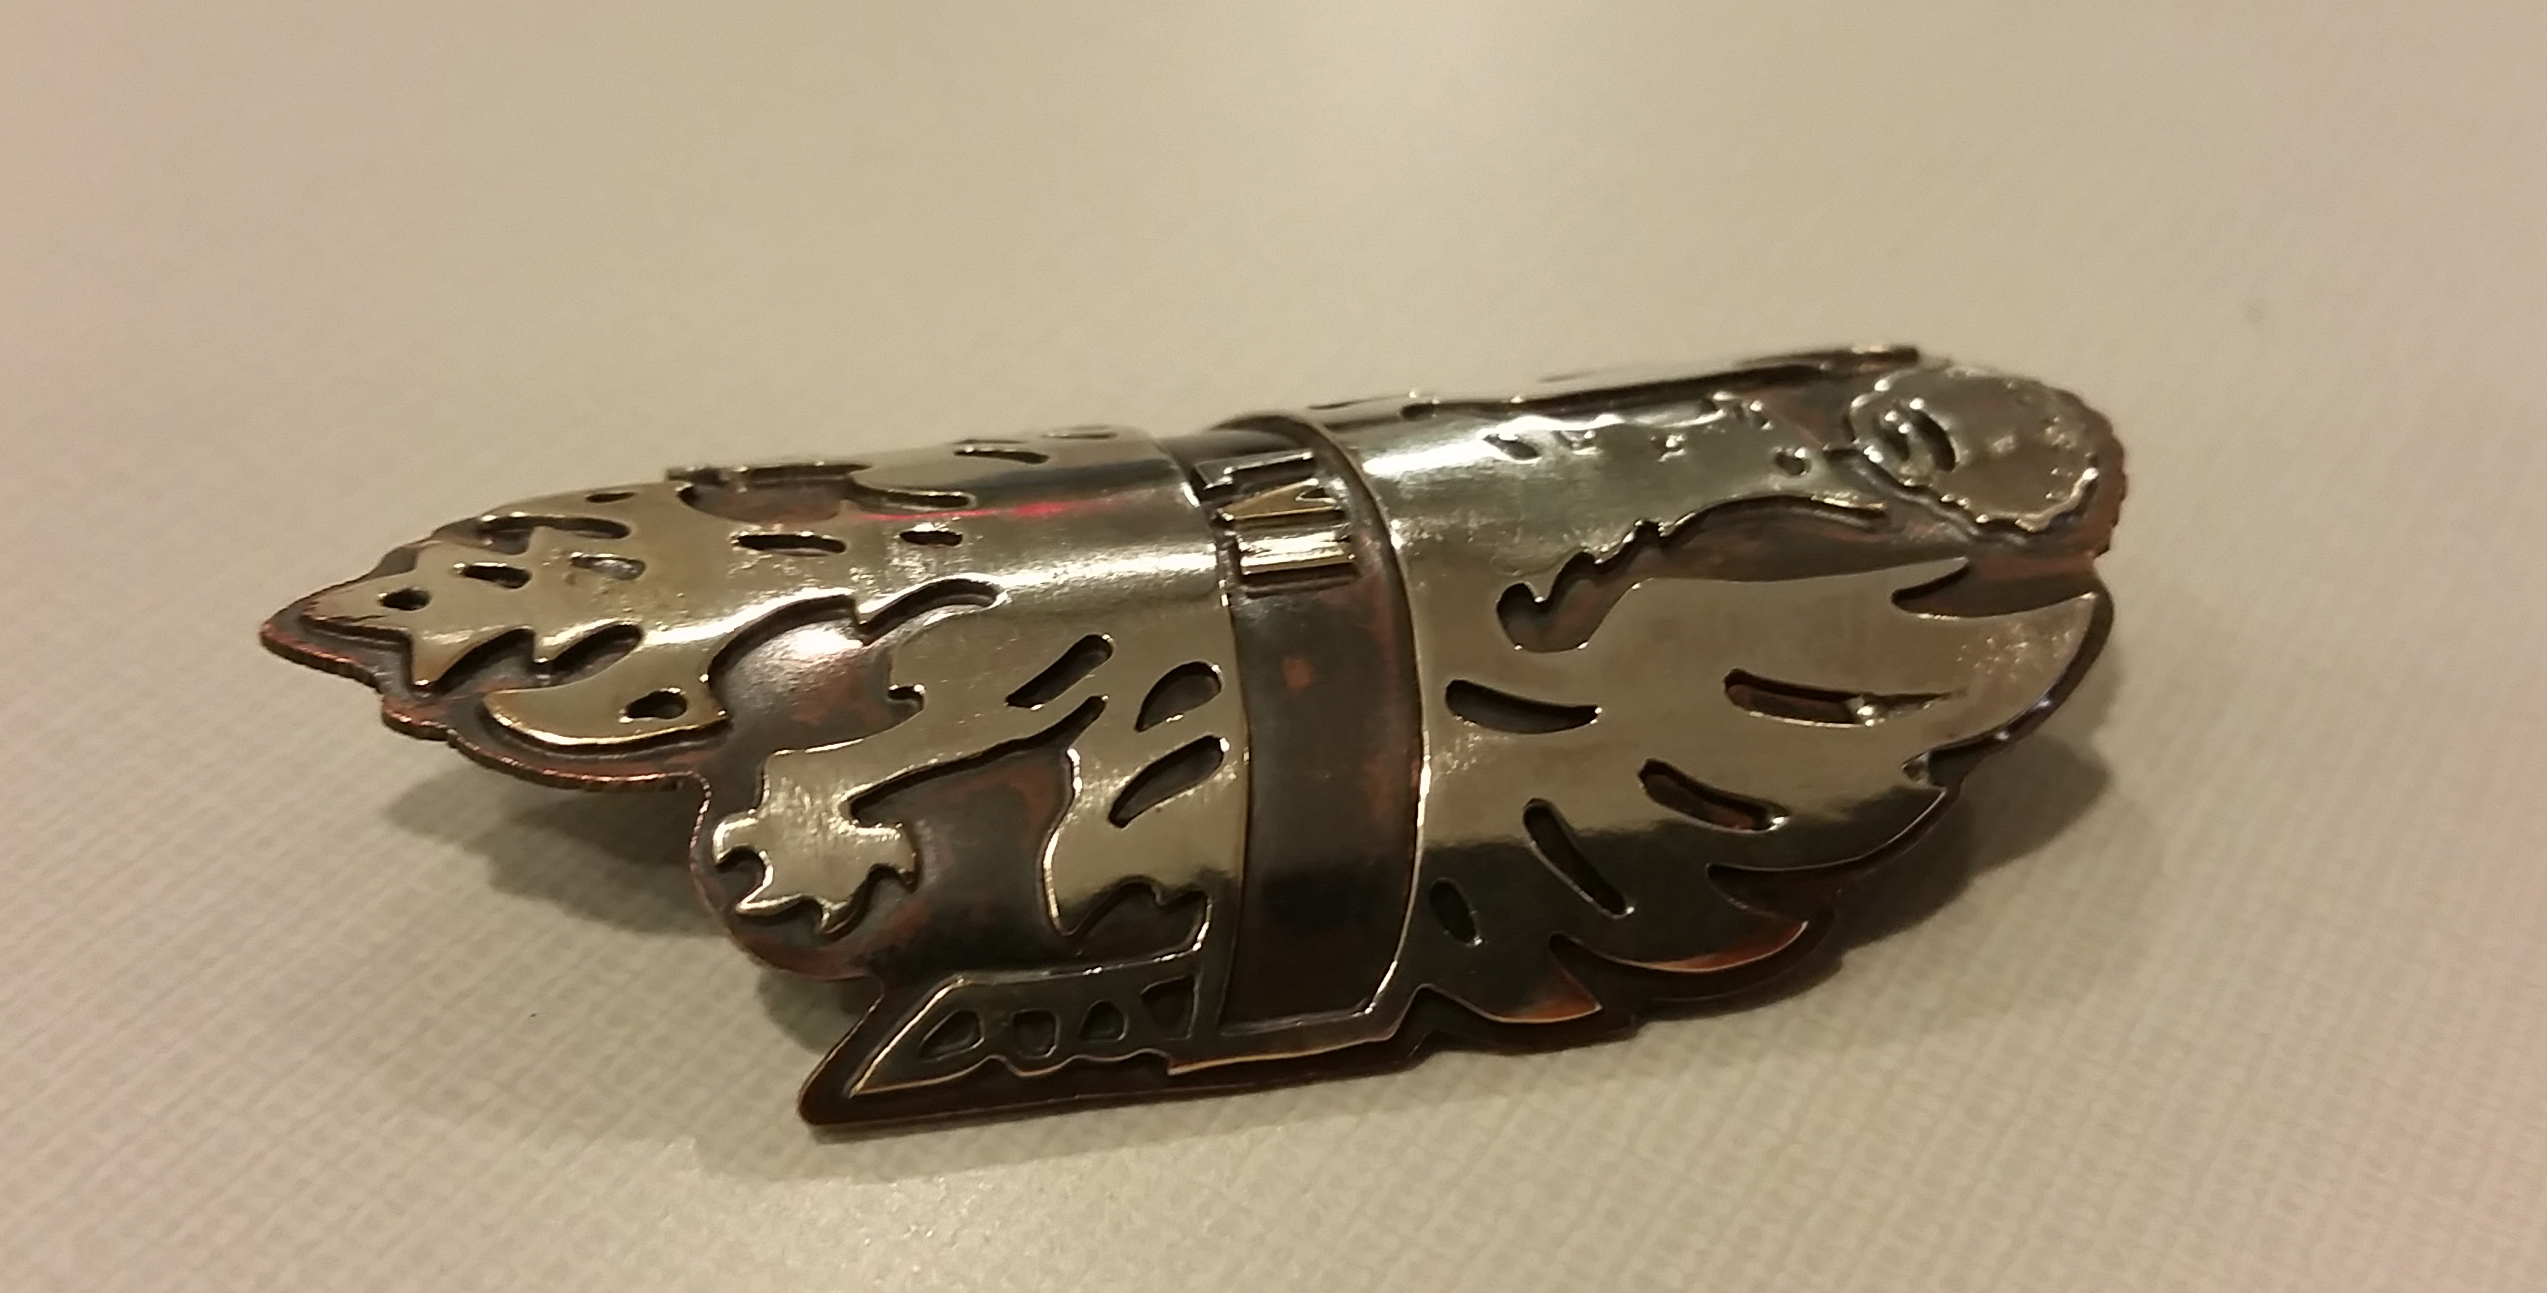
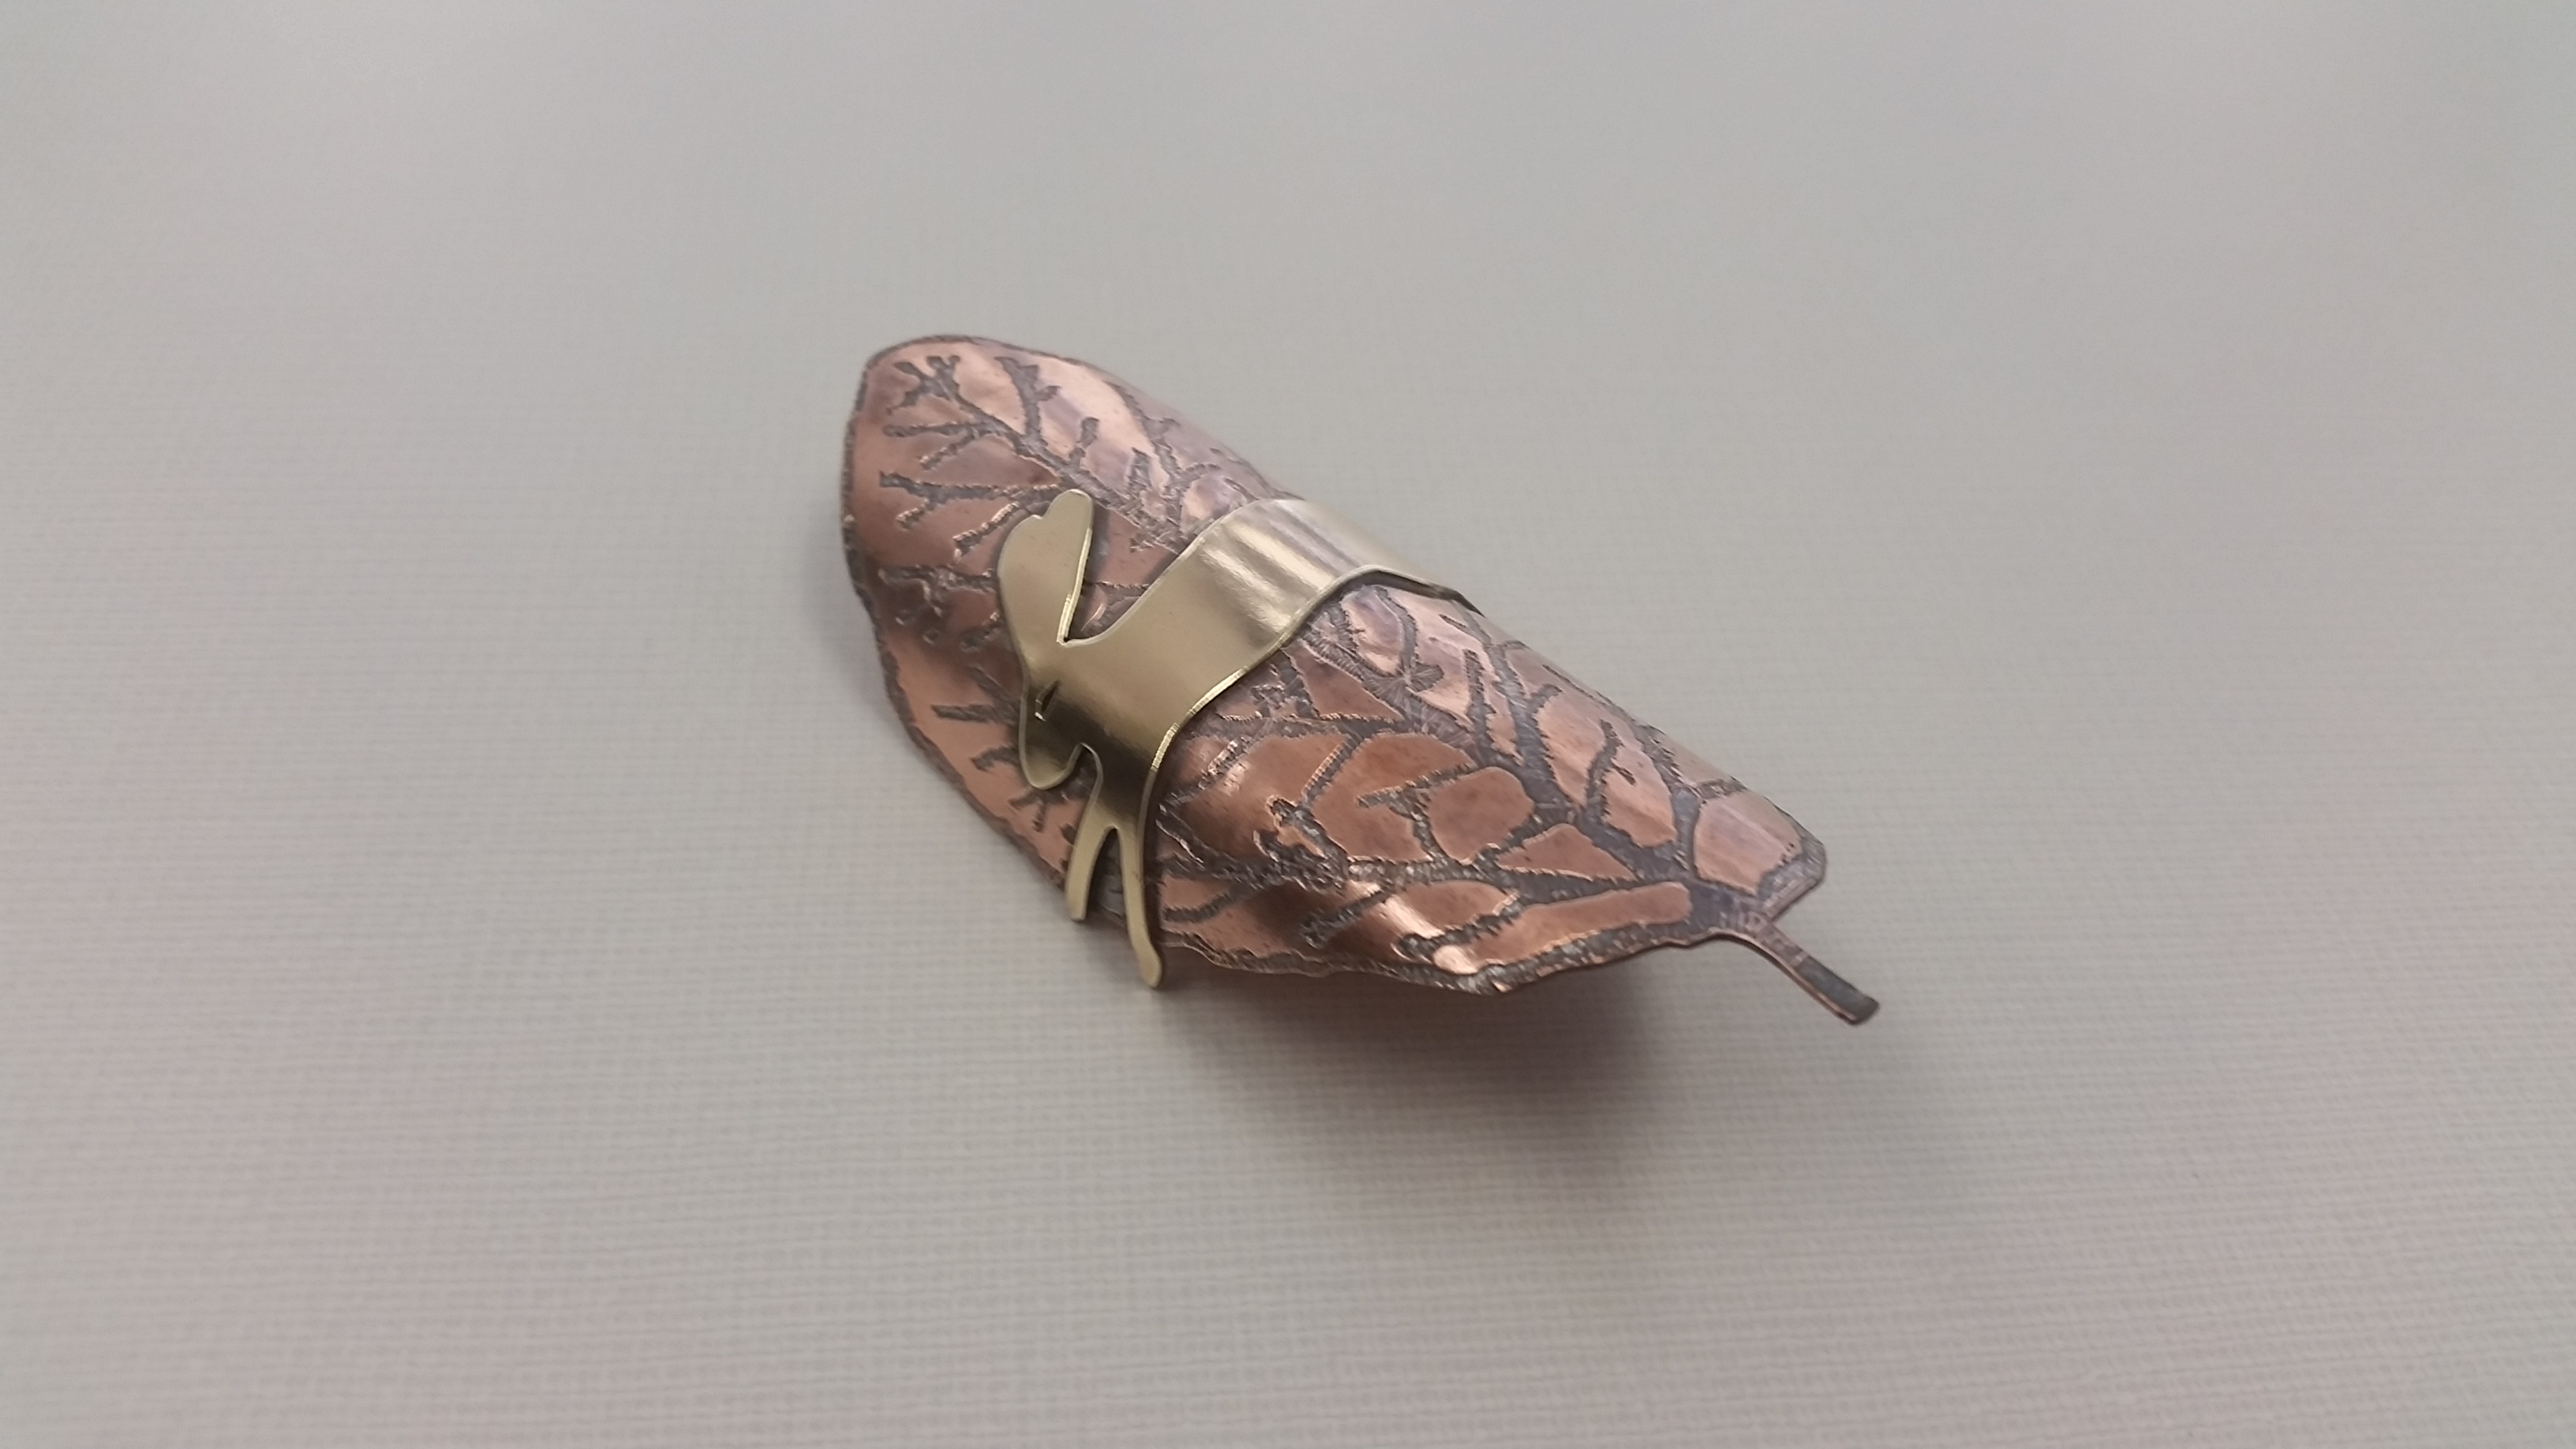
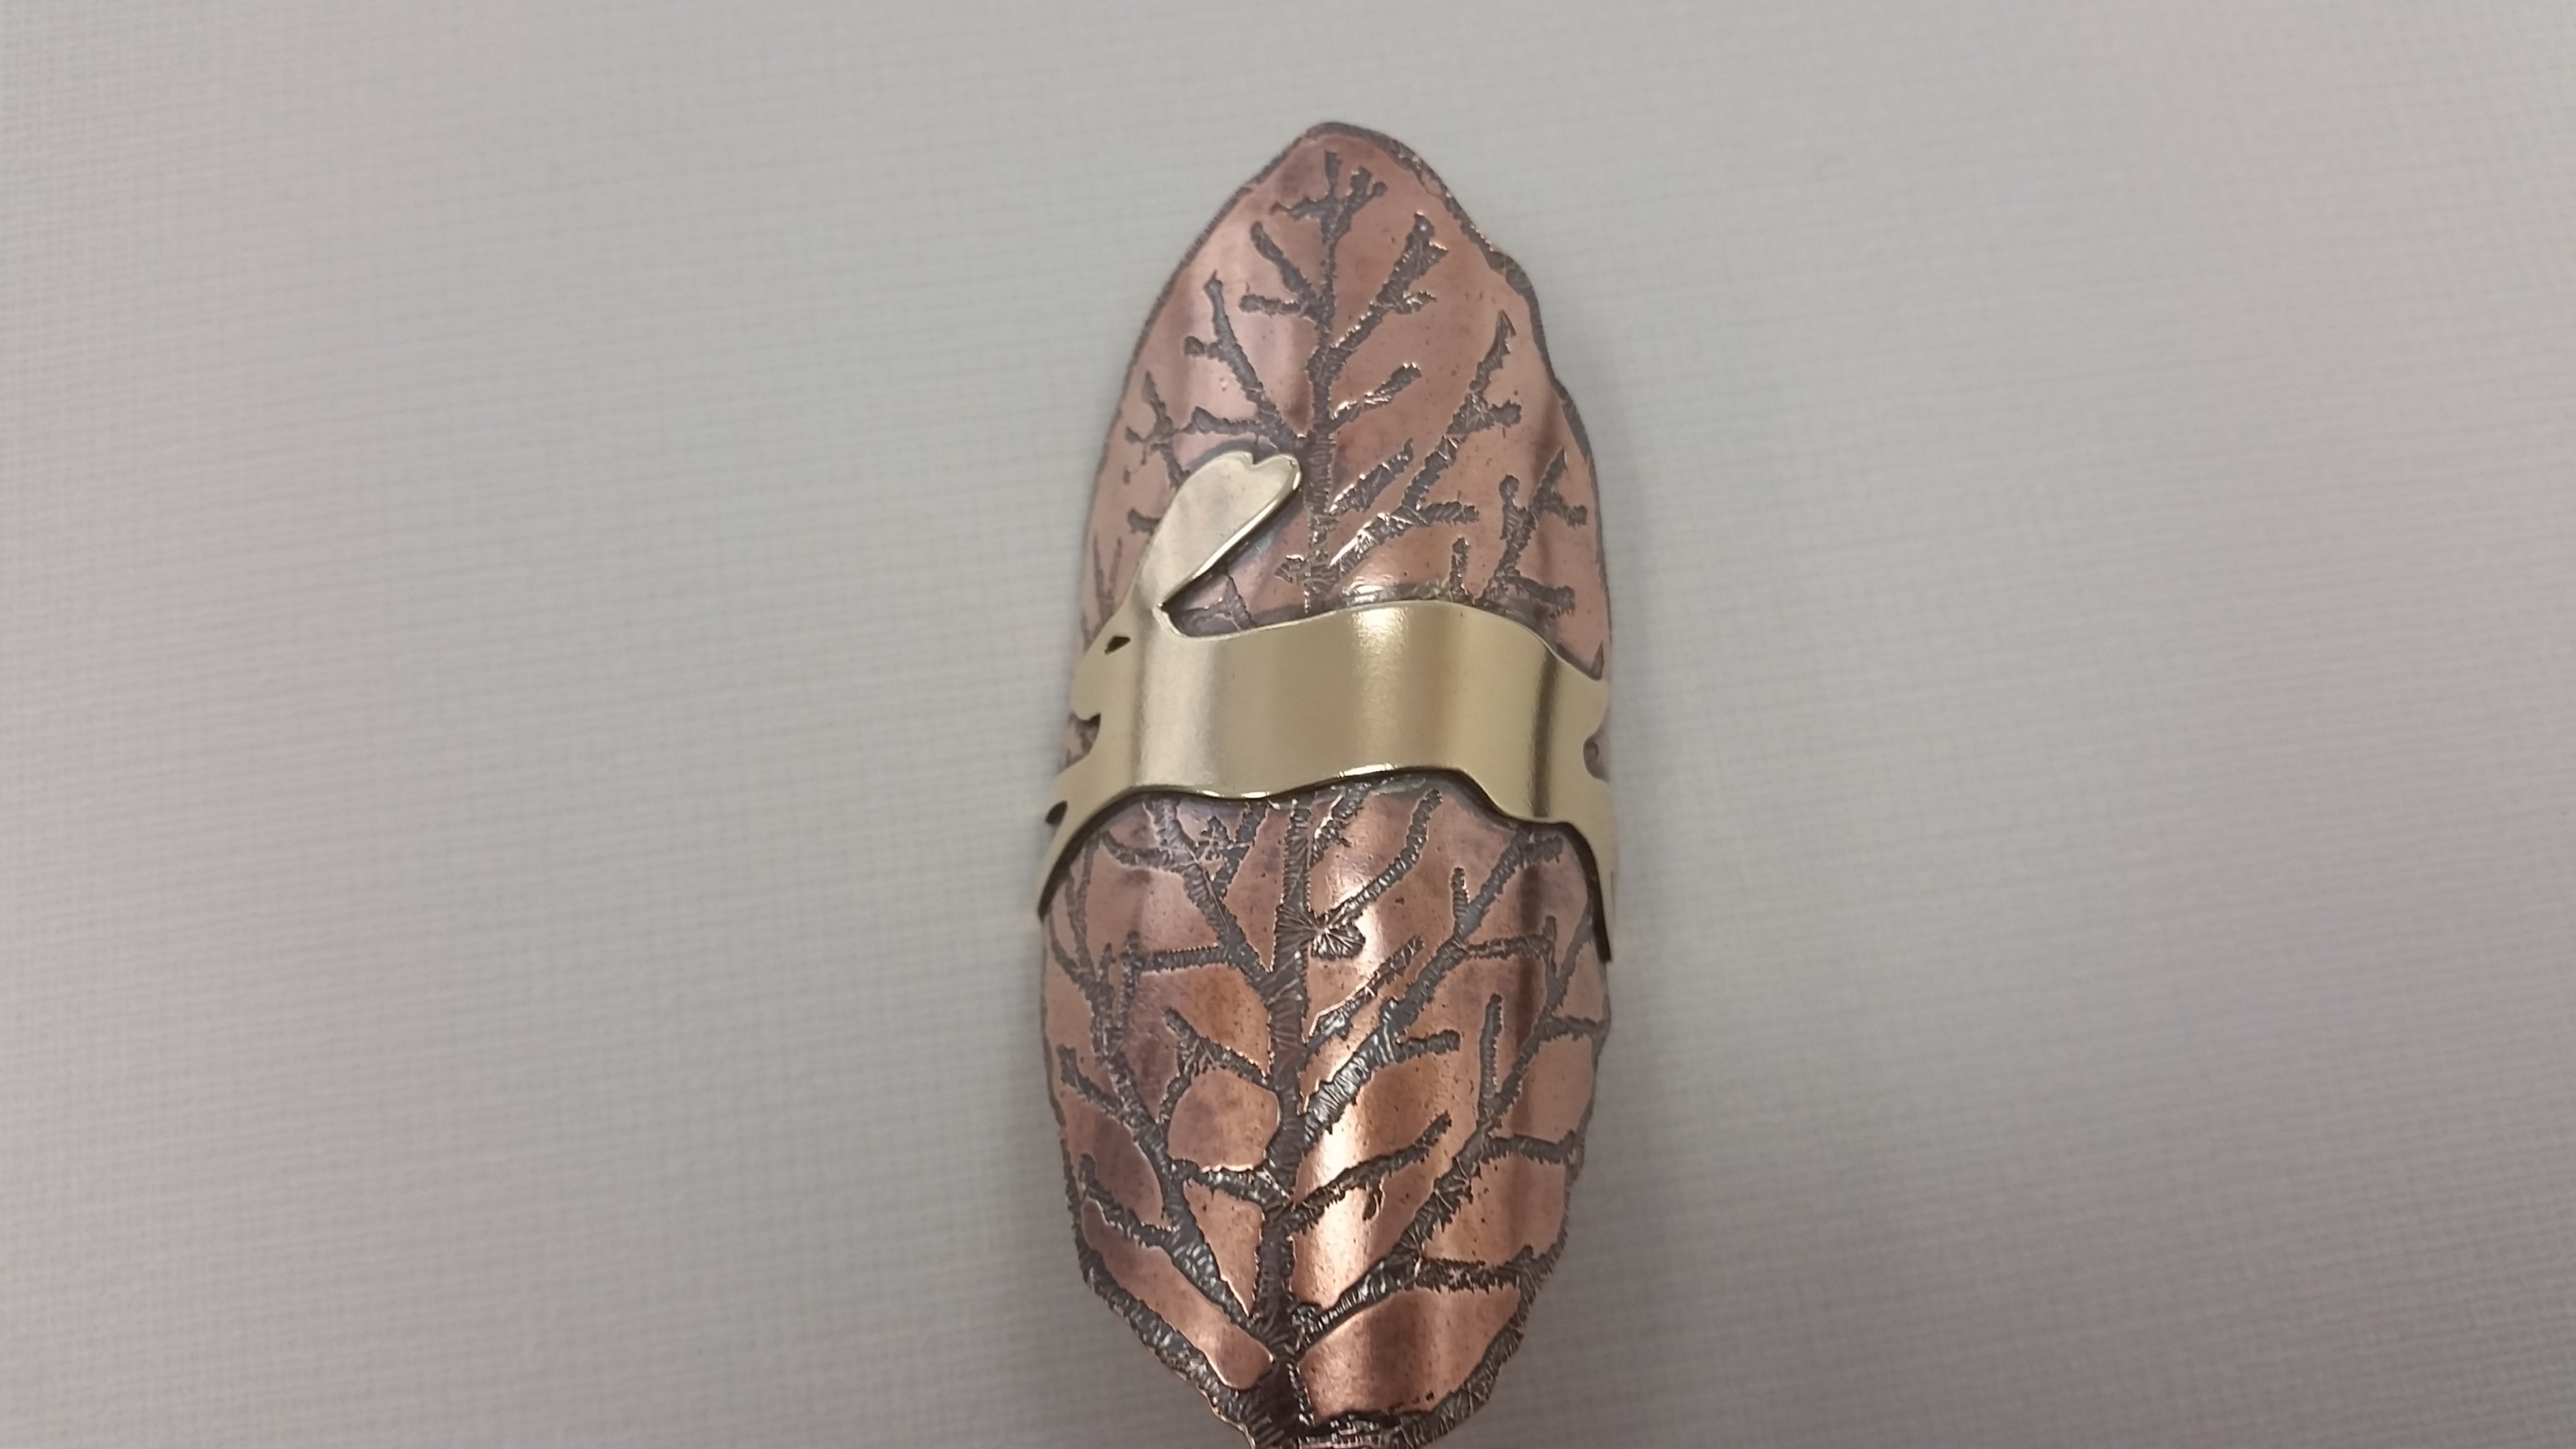
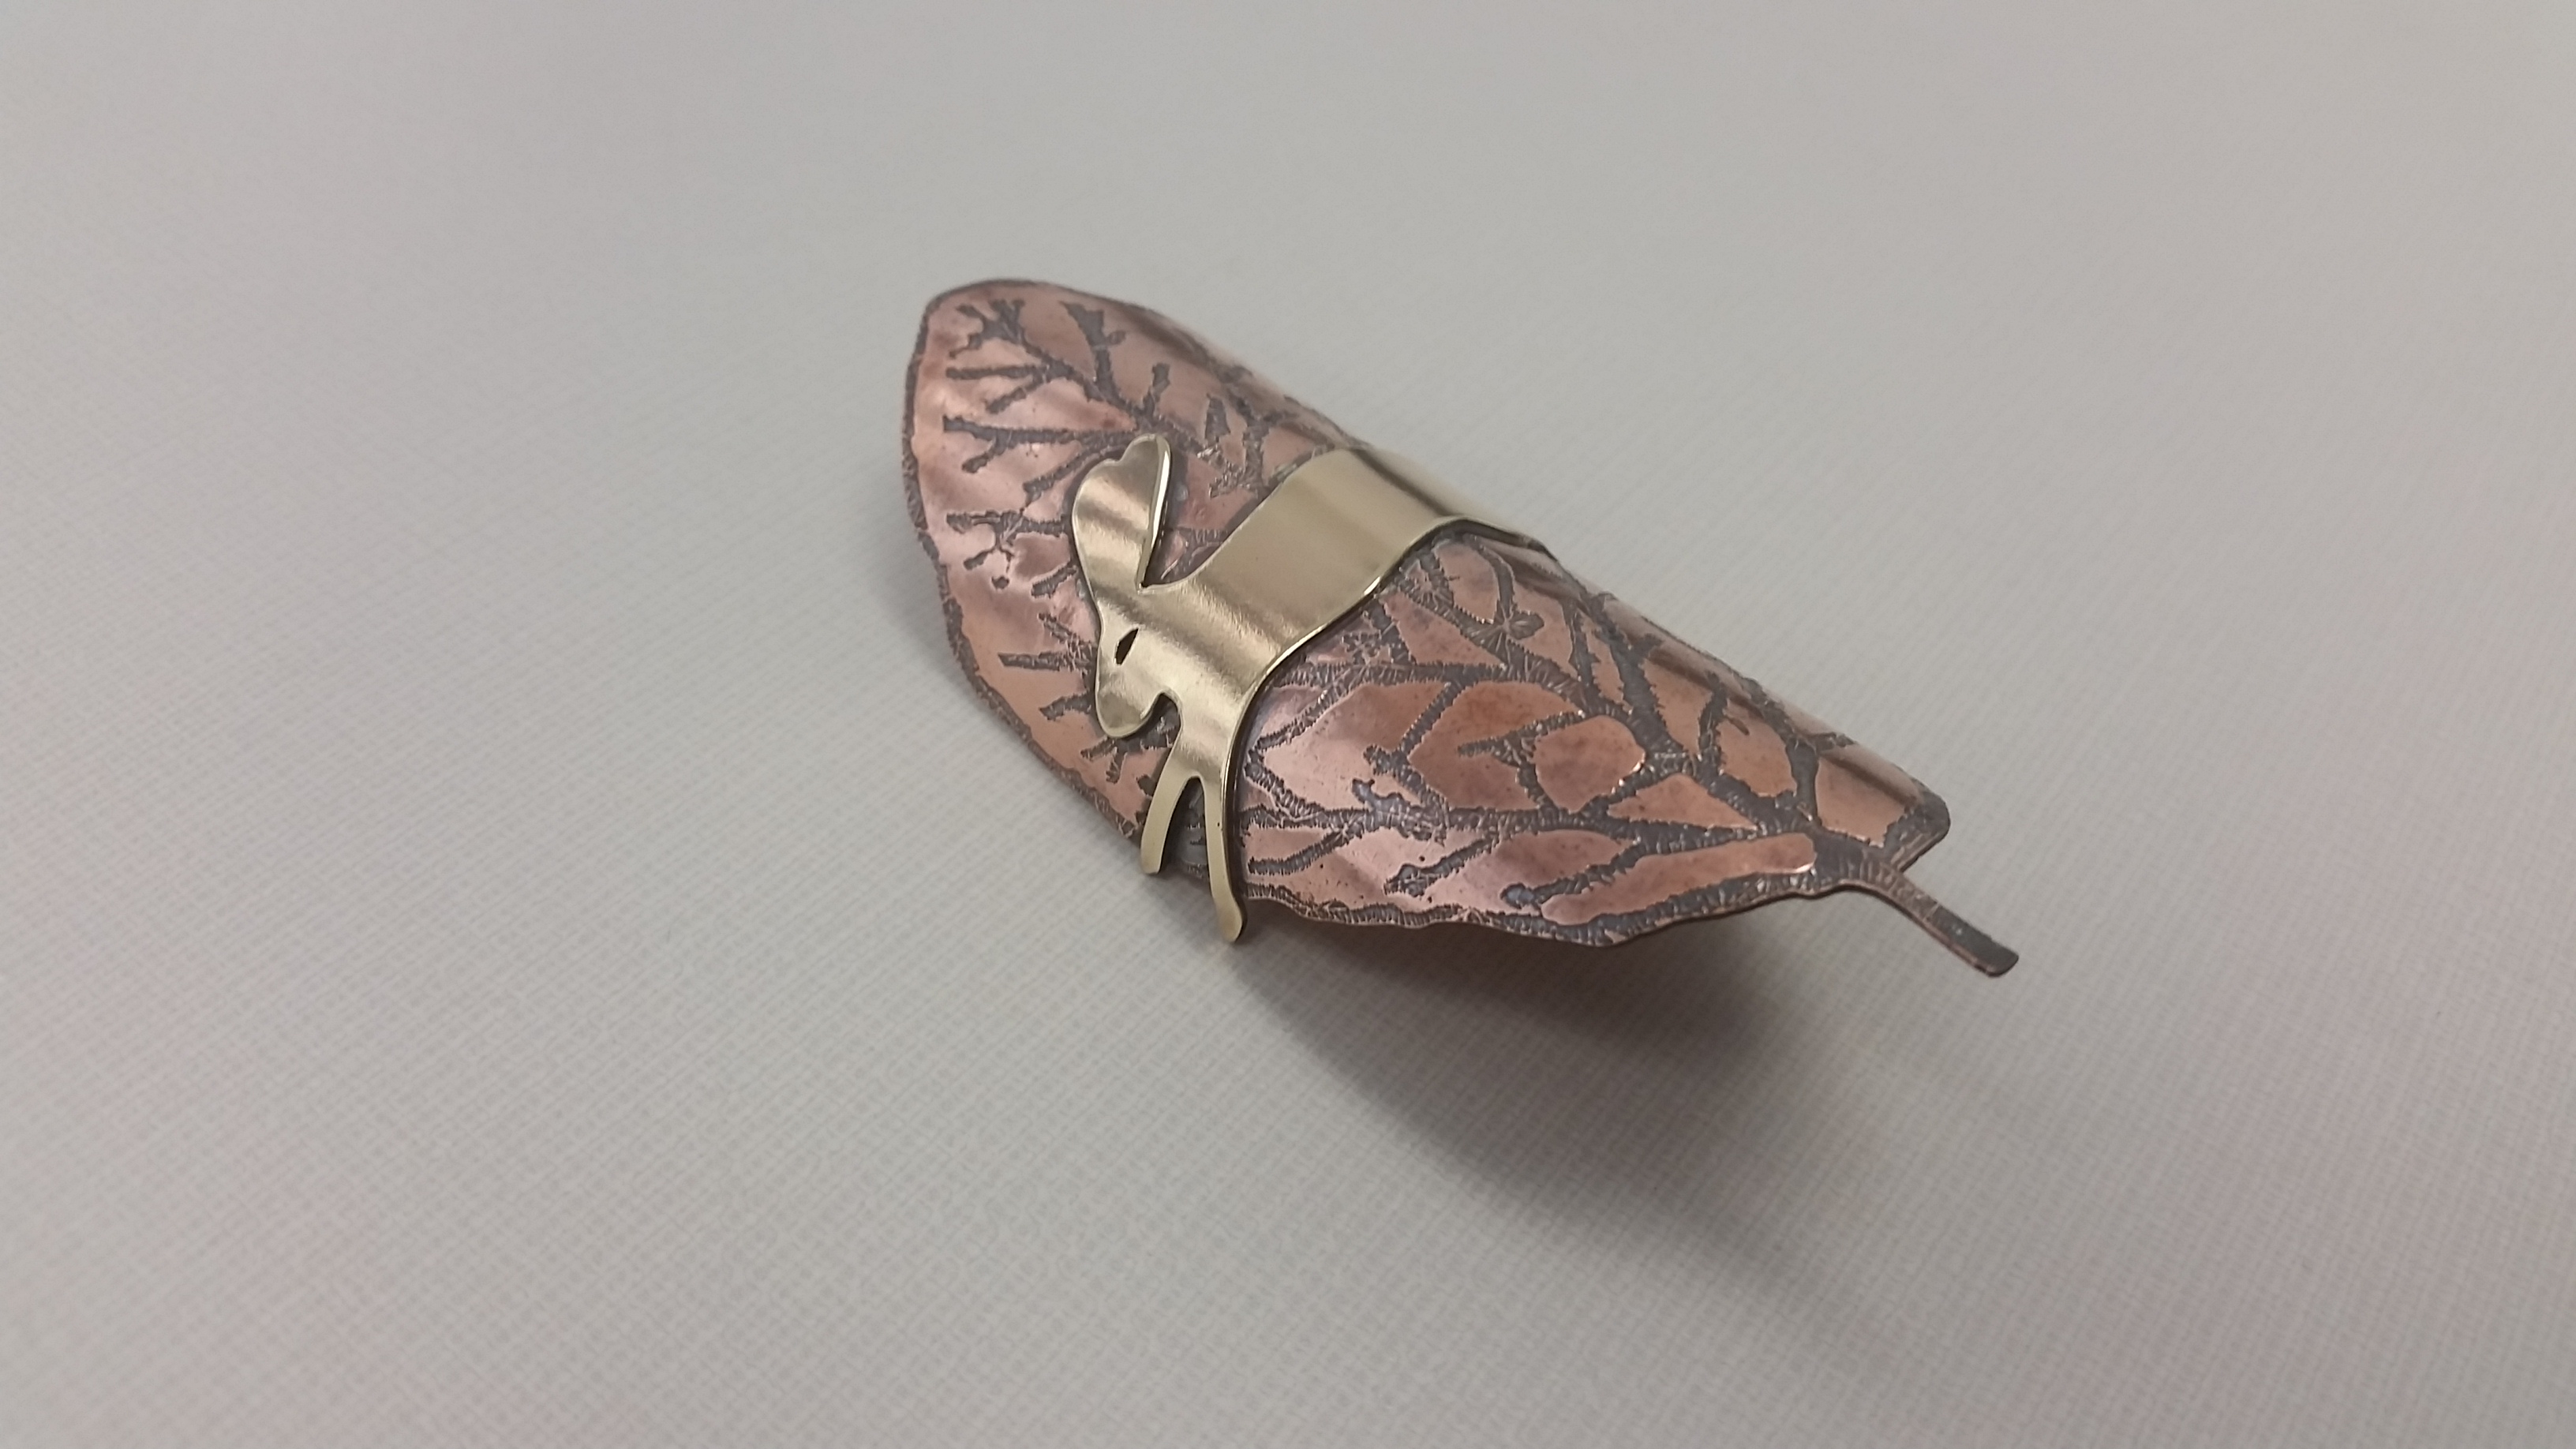
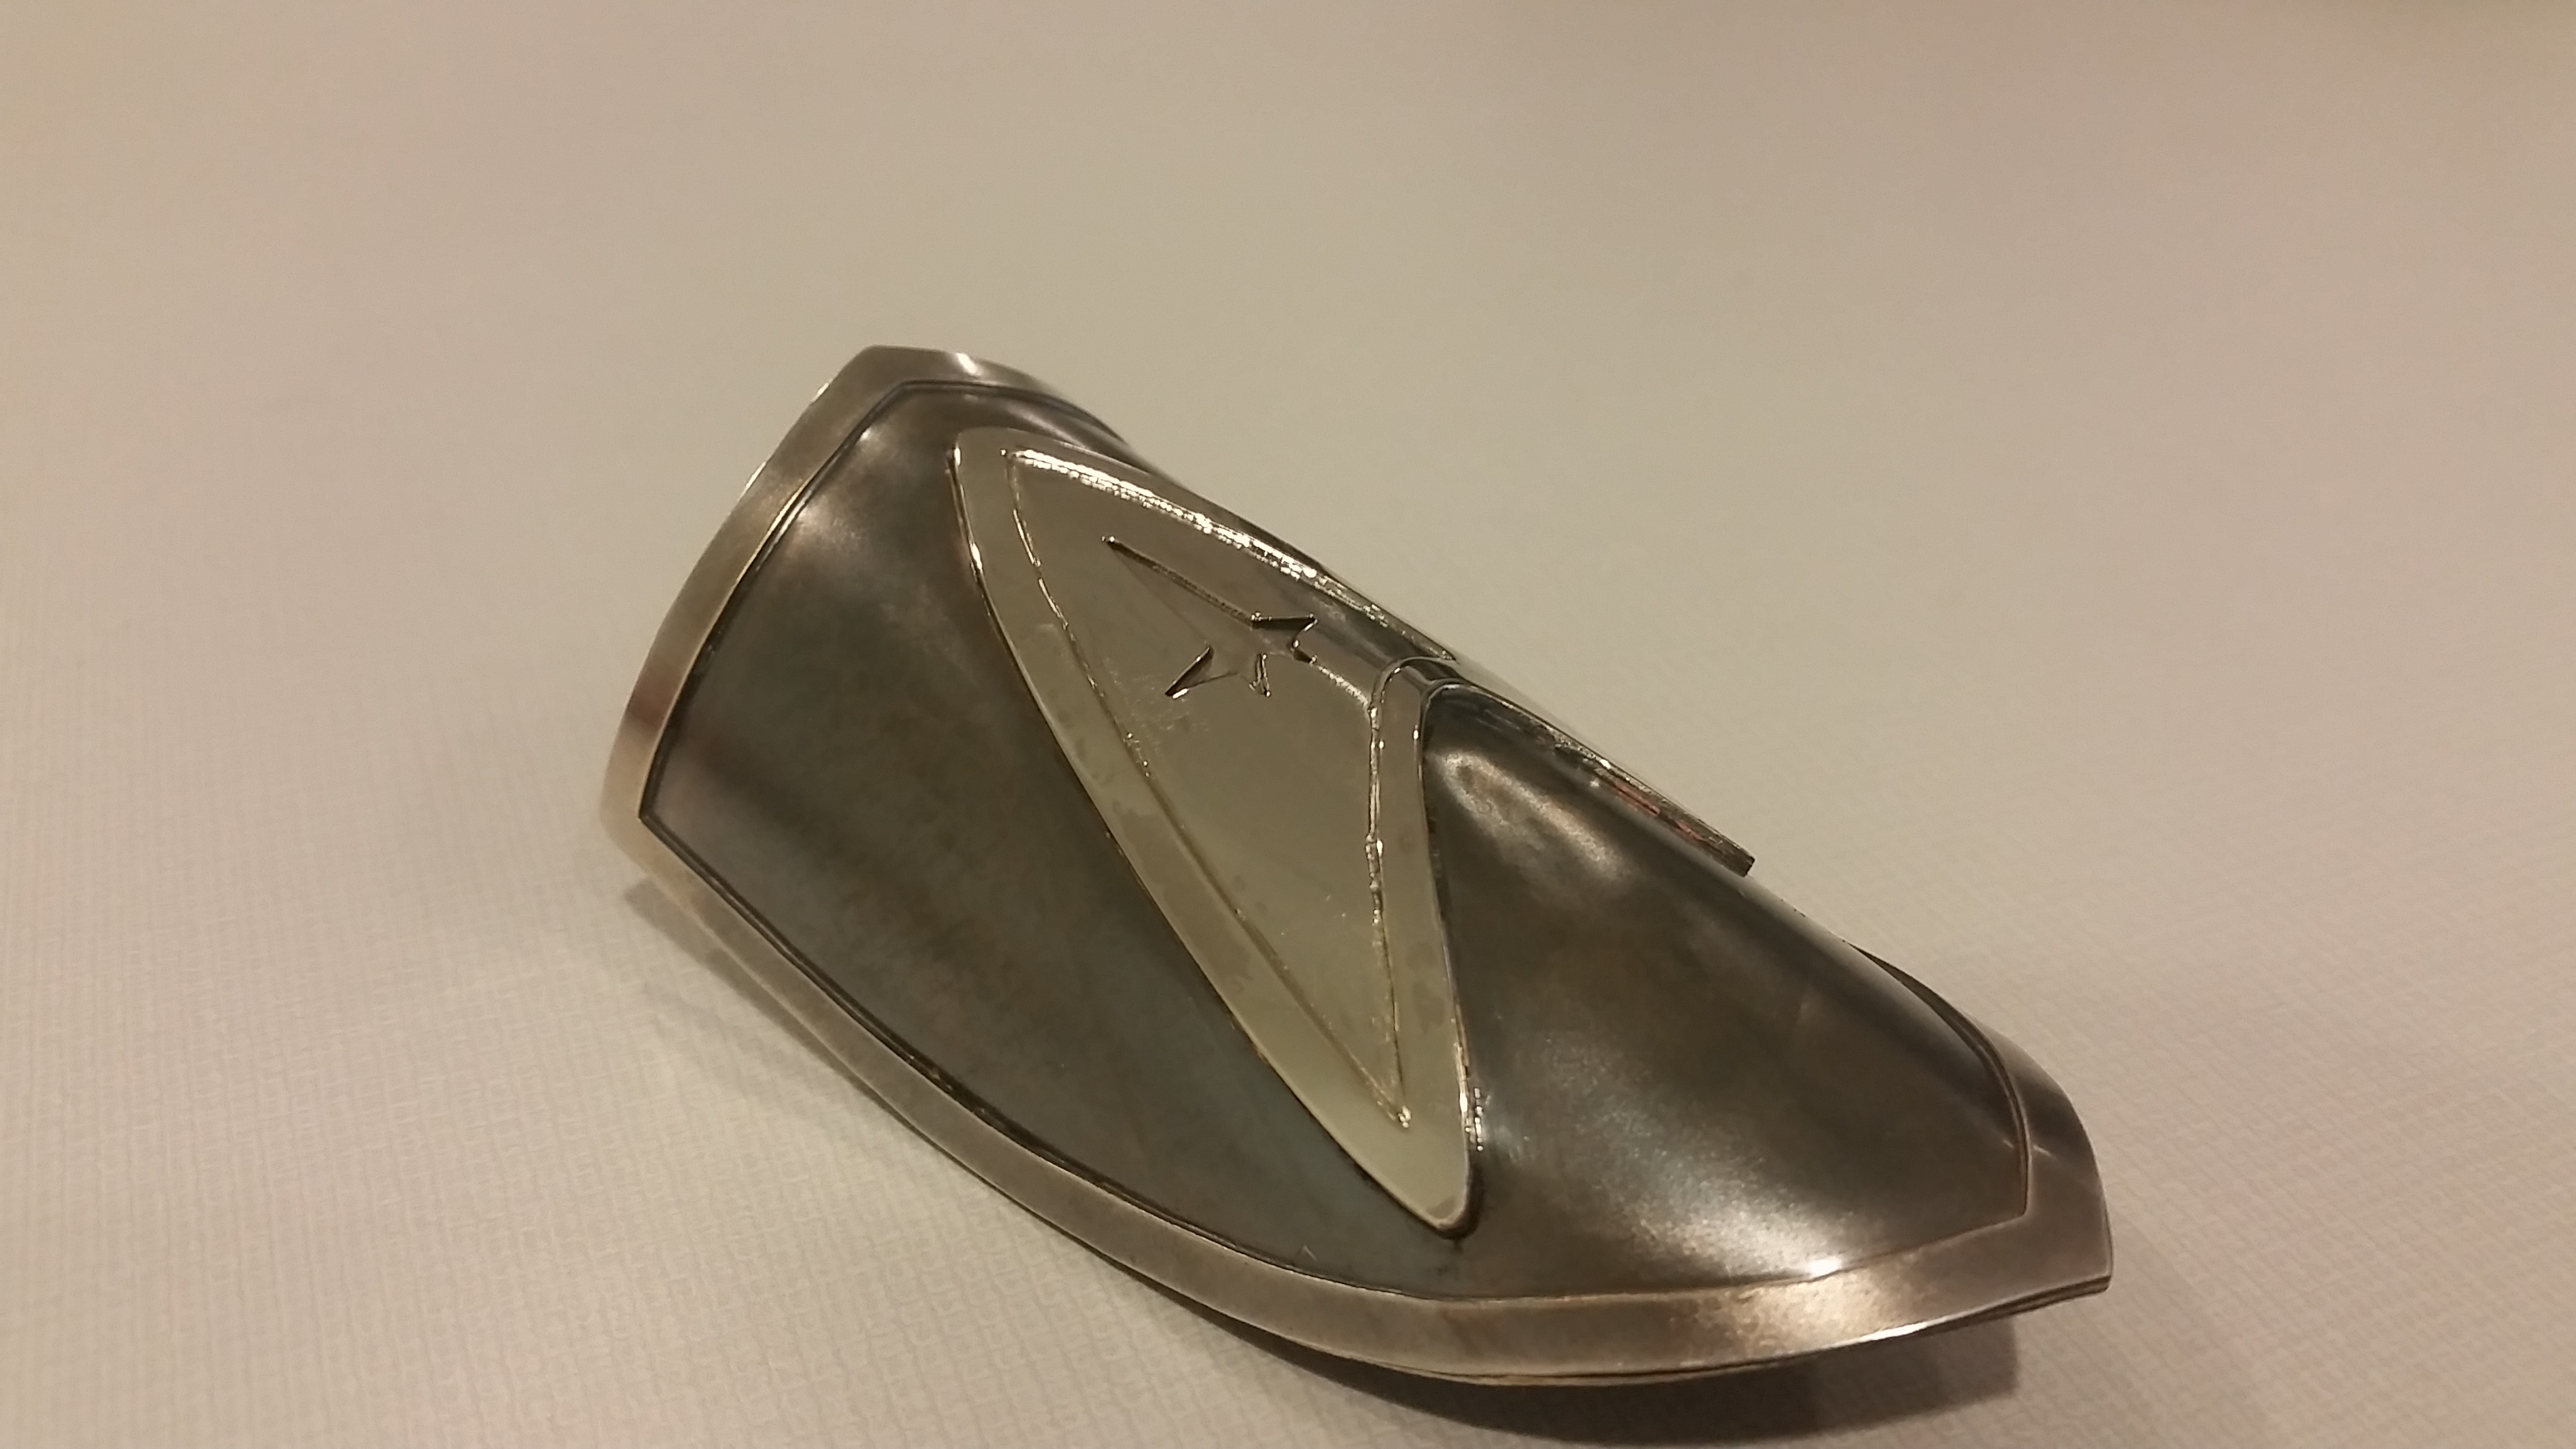
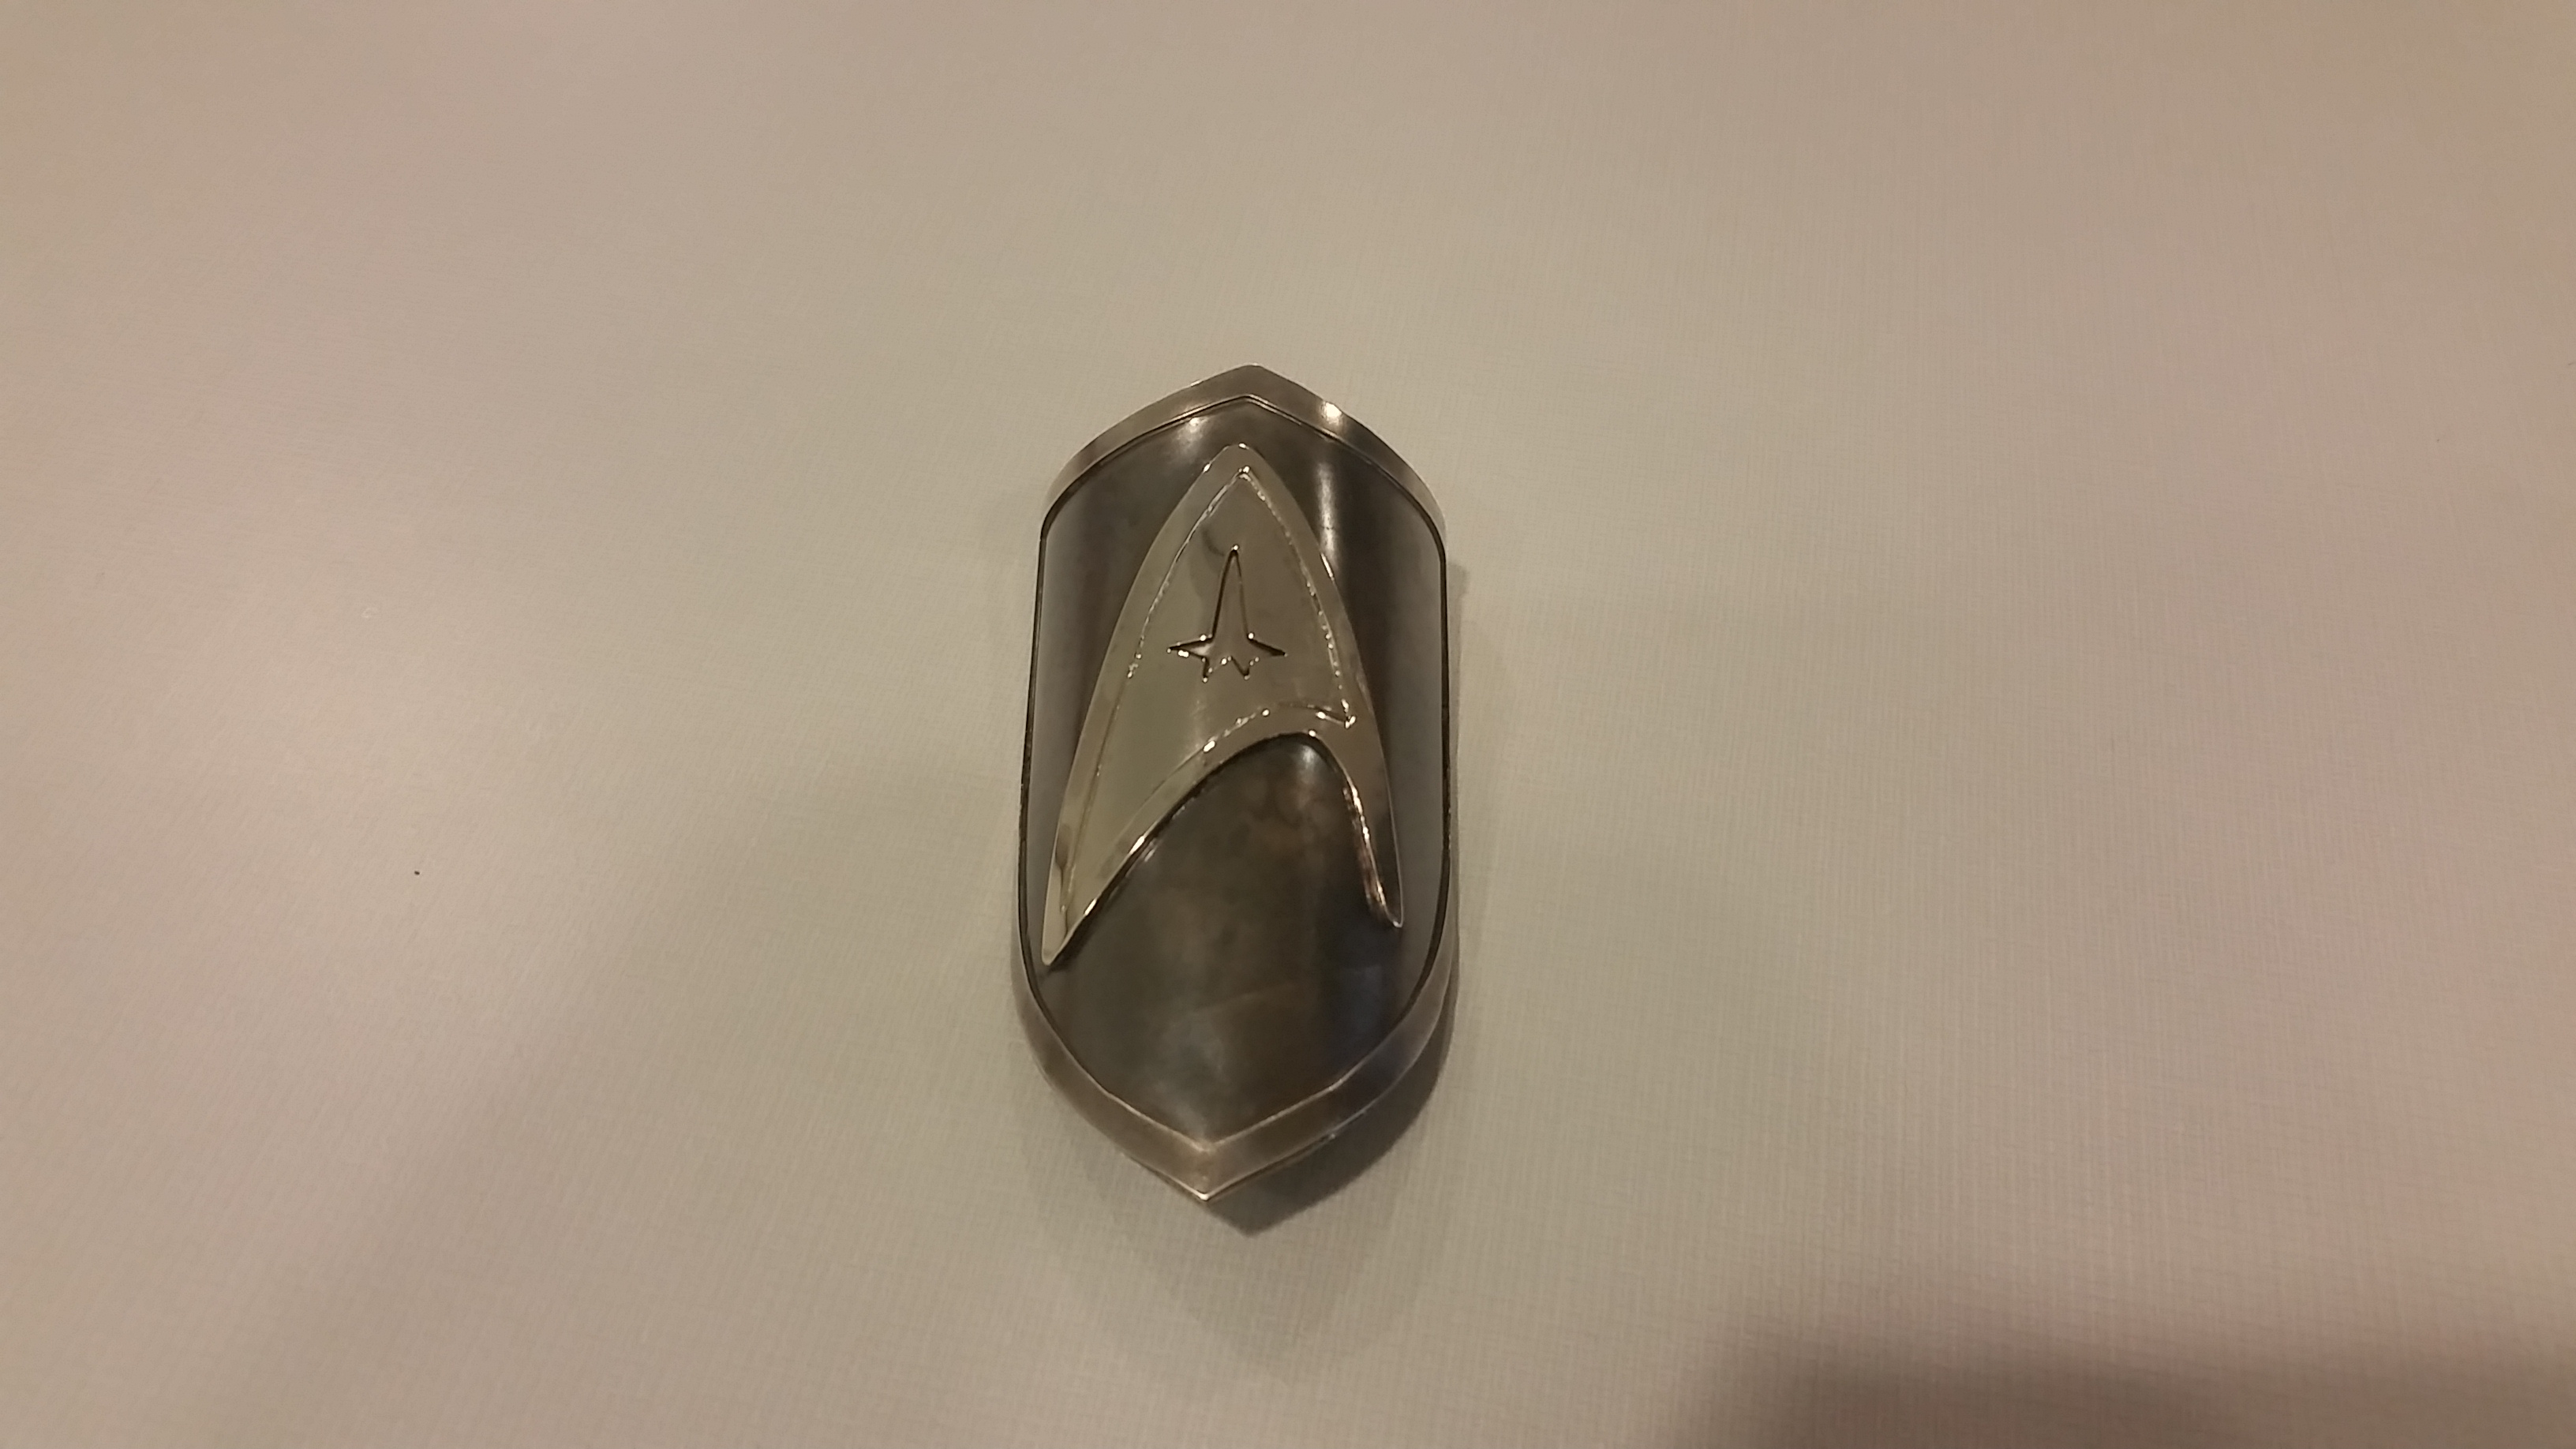
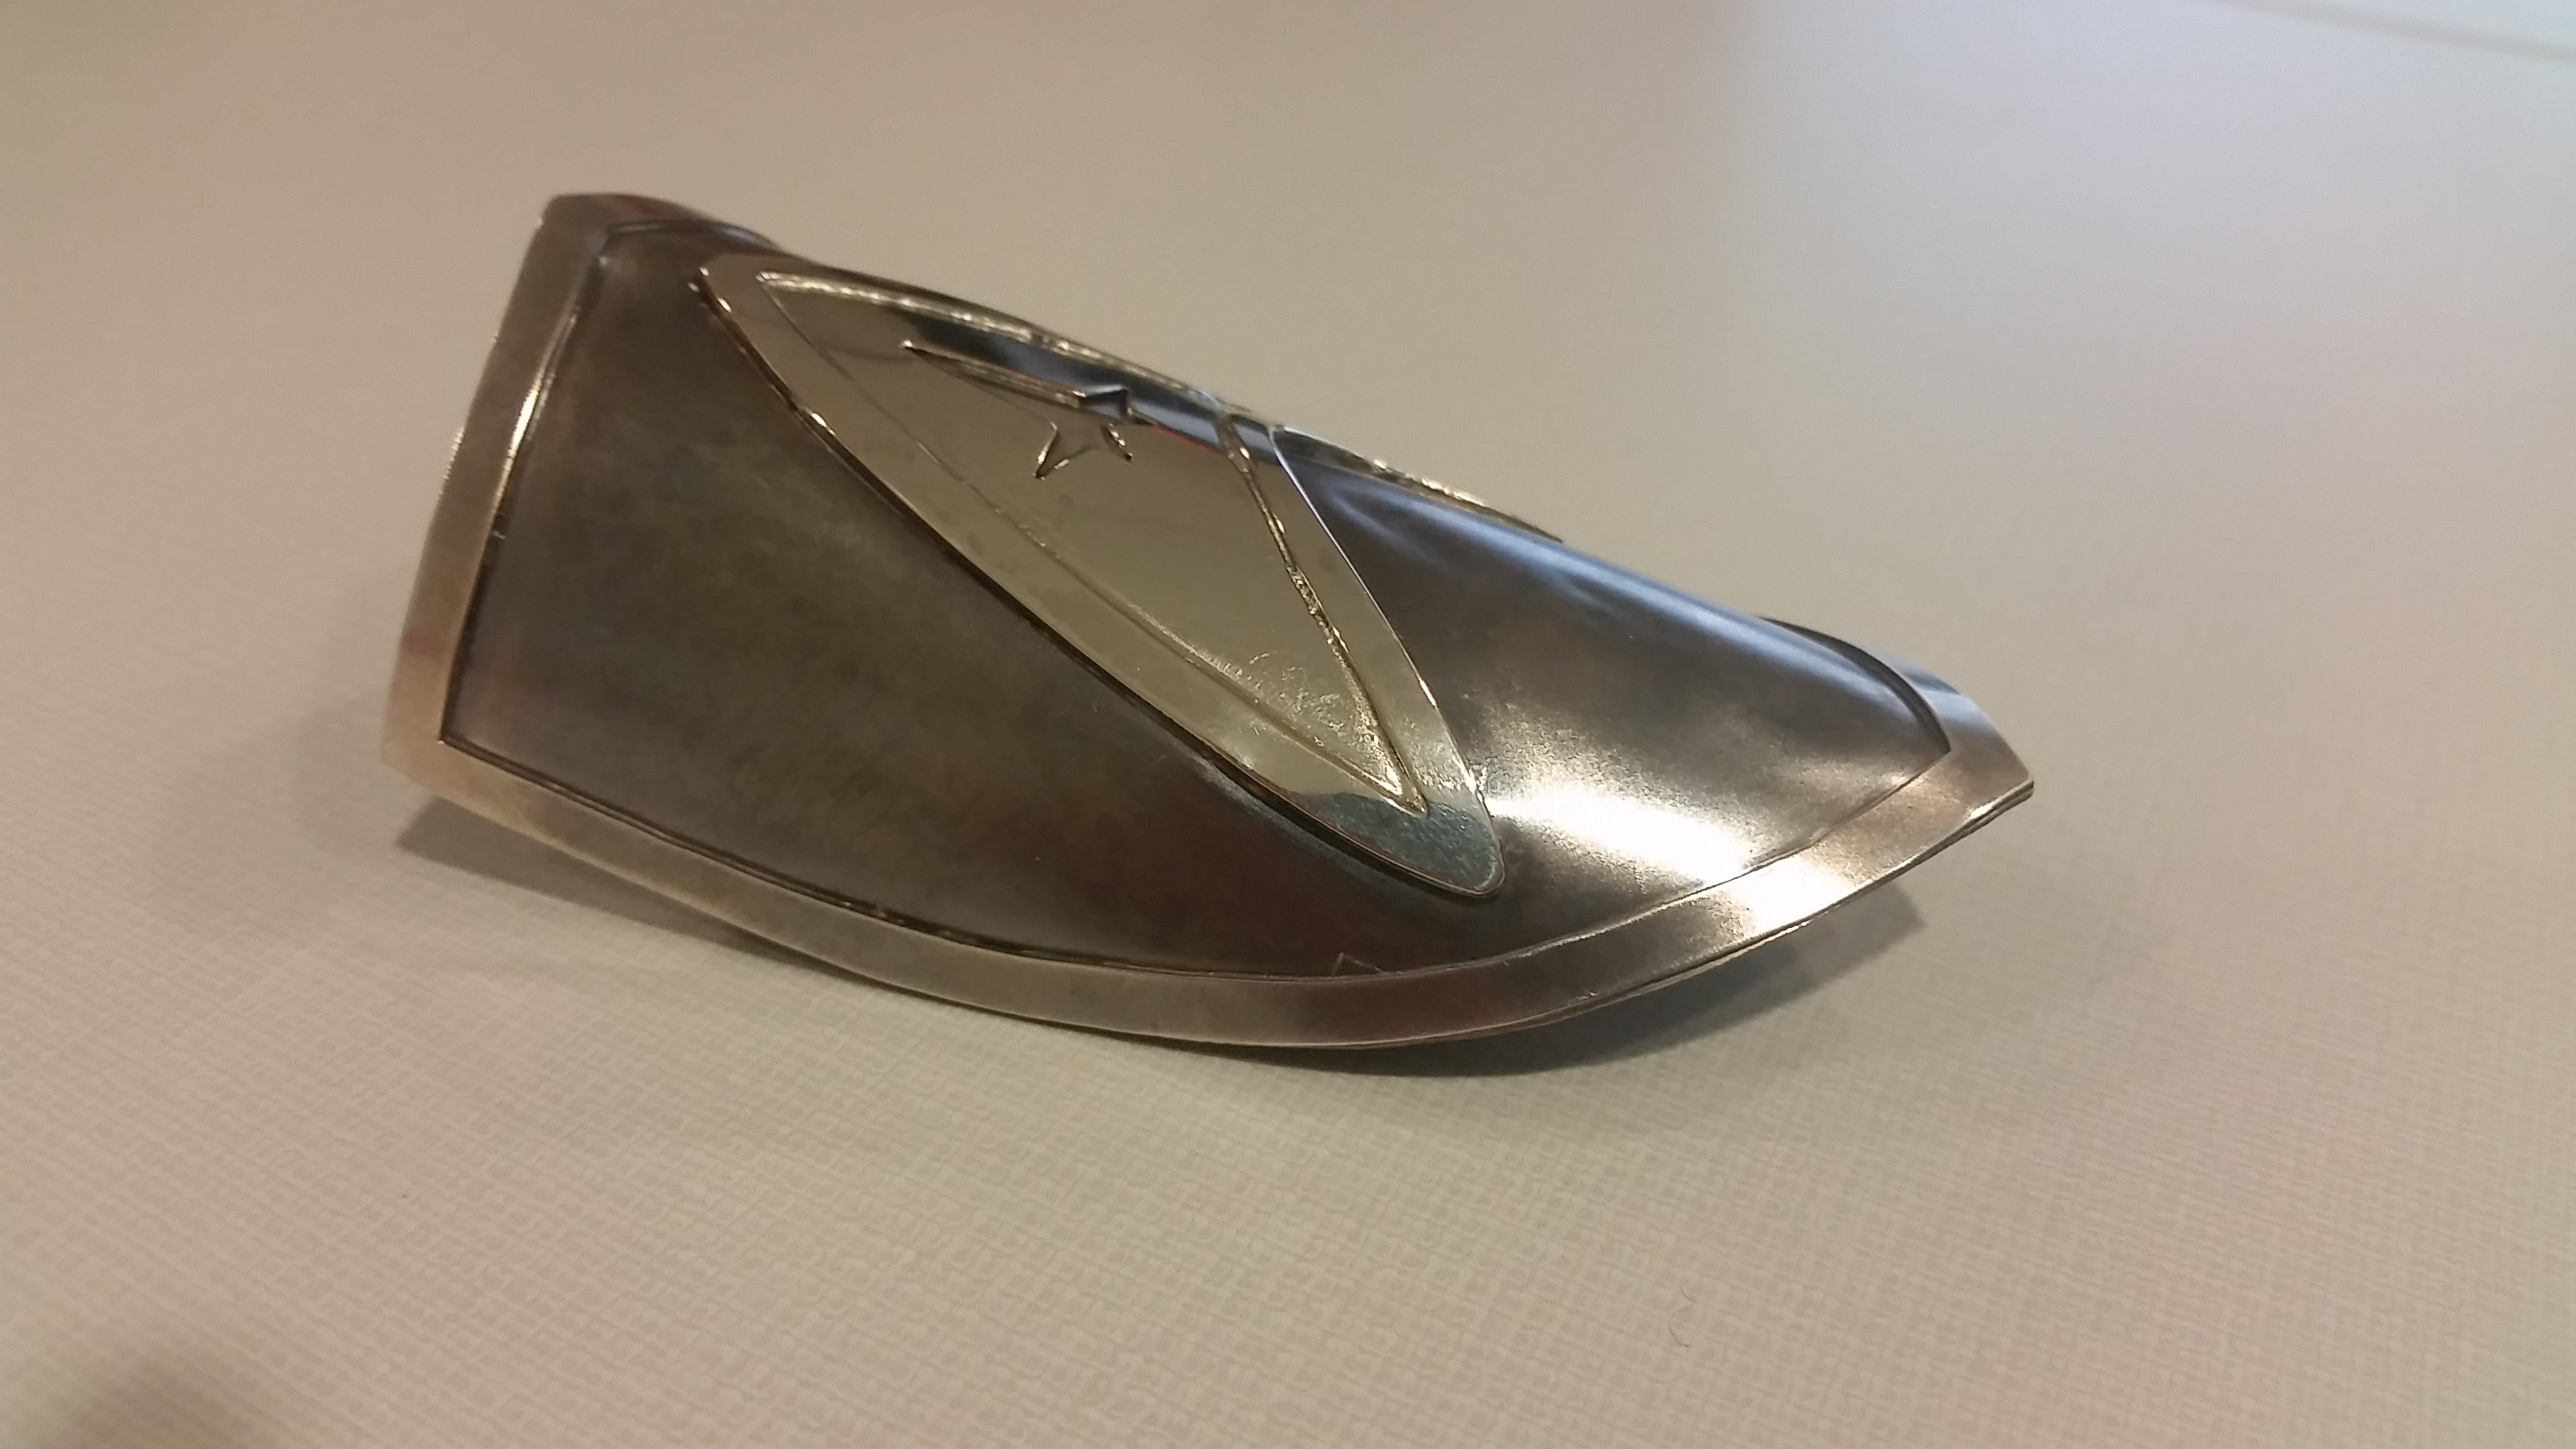
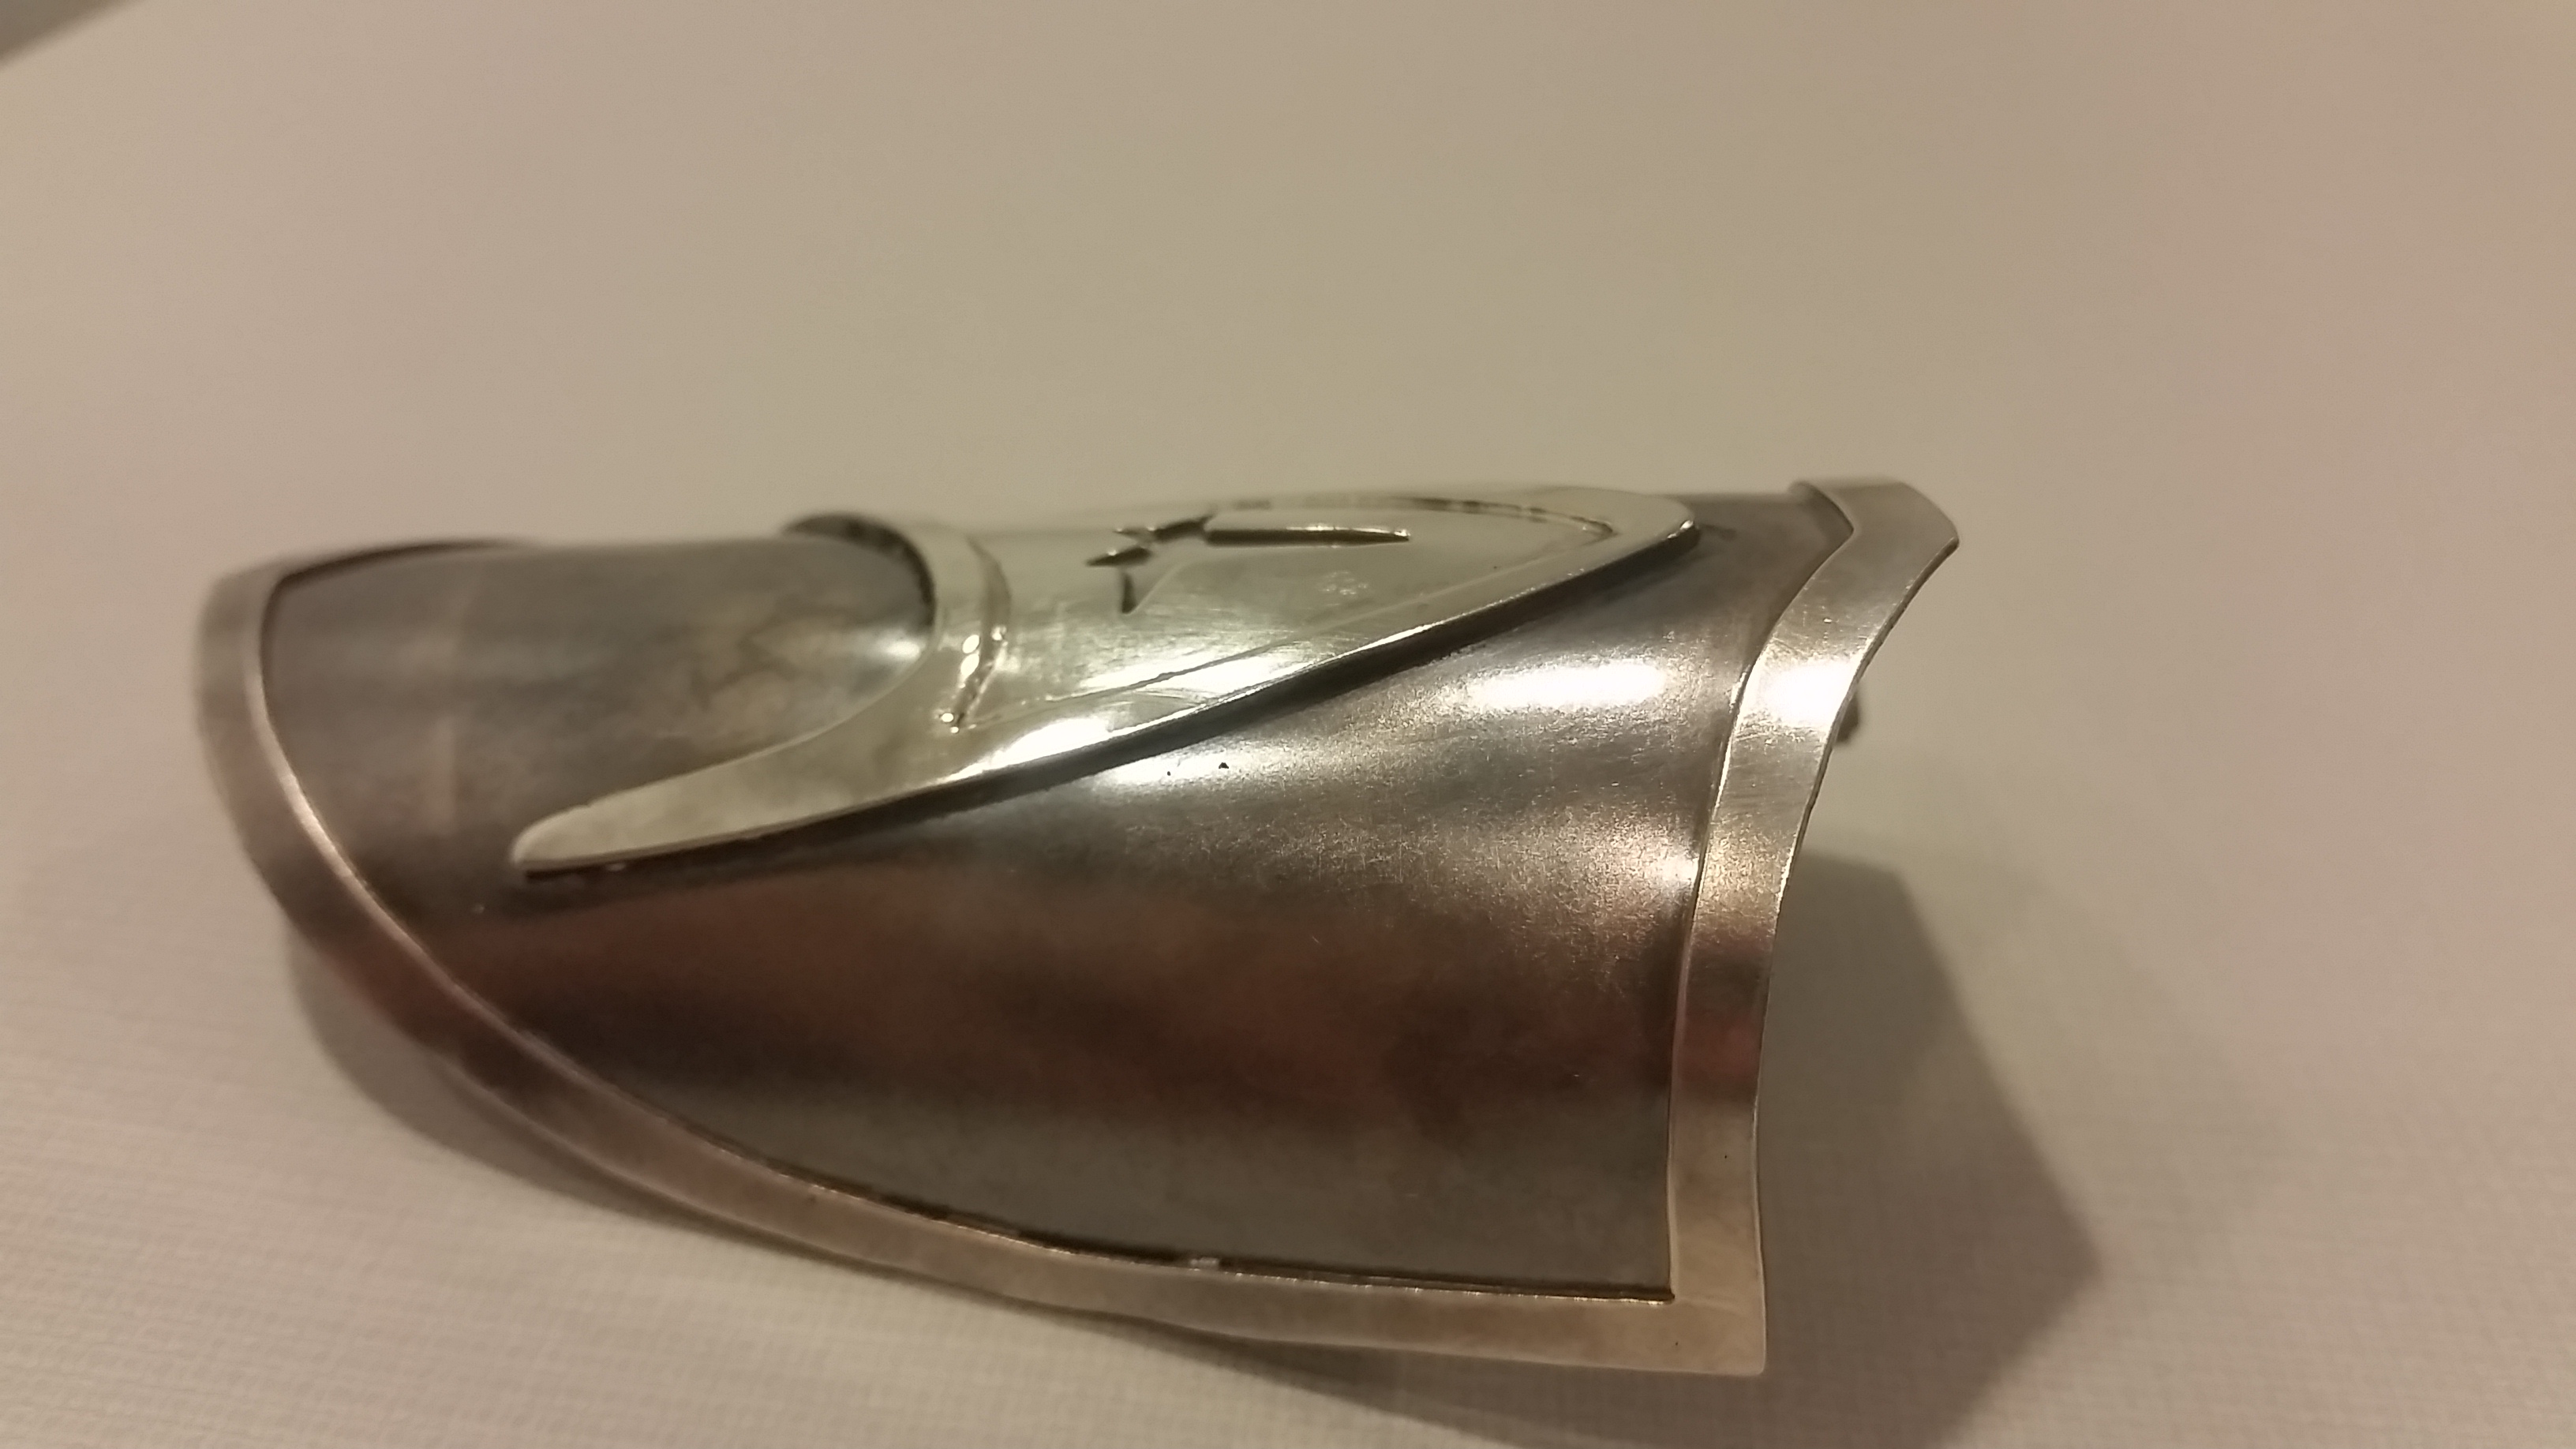
After an hour in the tumbler and some more buffing on a wheel it now has a high shine and glows gloriously in the sun. I really like the way this design came out, and it was fun using rivets instead of solder for a change.