In my ongoing quest to build my own DIY home lost wax casting set up and not burn my house down, or asphyxiate myself I figured I would need a kiln vent. Kiln vents come in two kinds, top vents, and bottom vents. They help draw off any fumes, smoke, heat or other nastiness that your kiln might create.
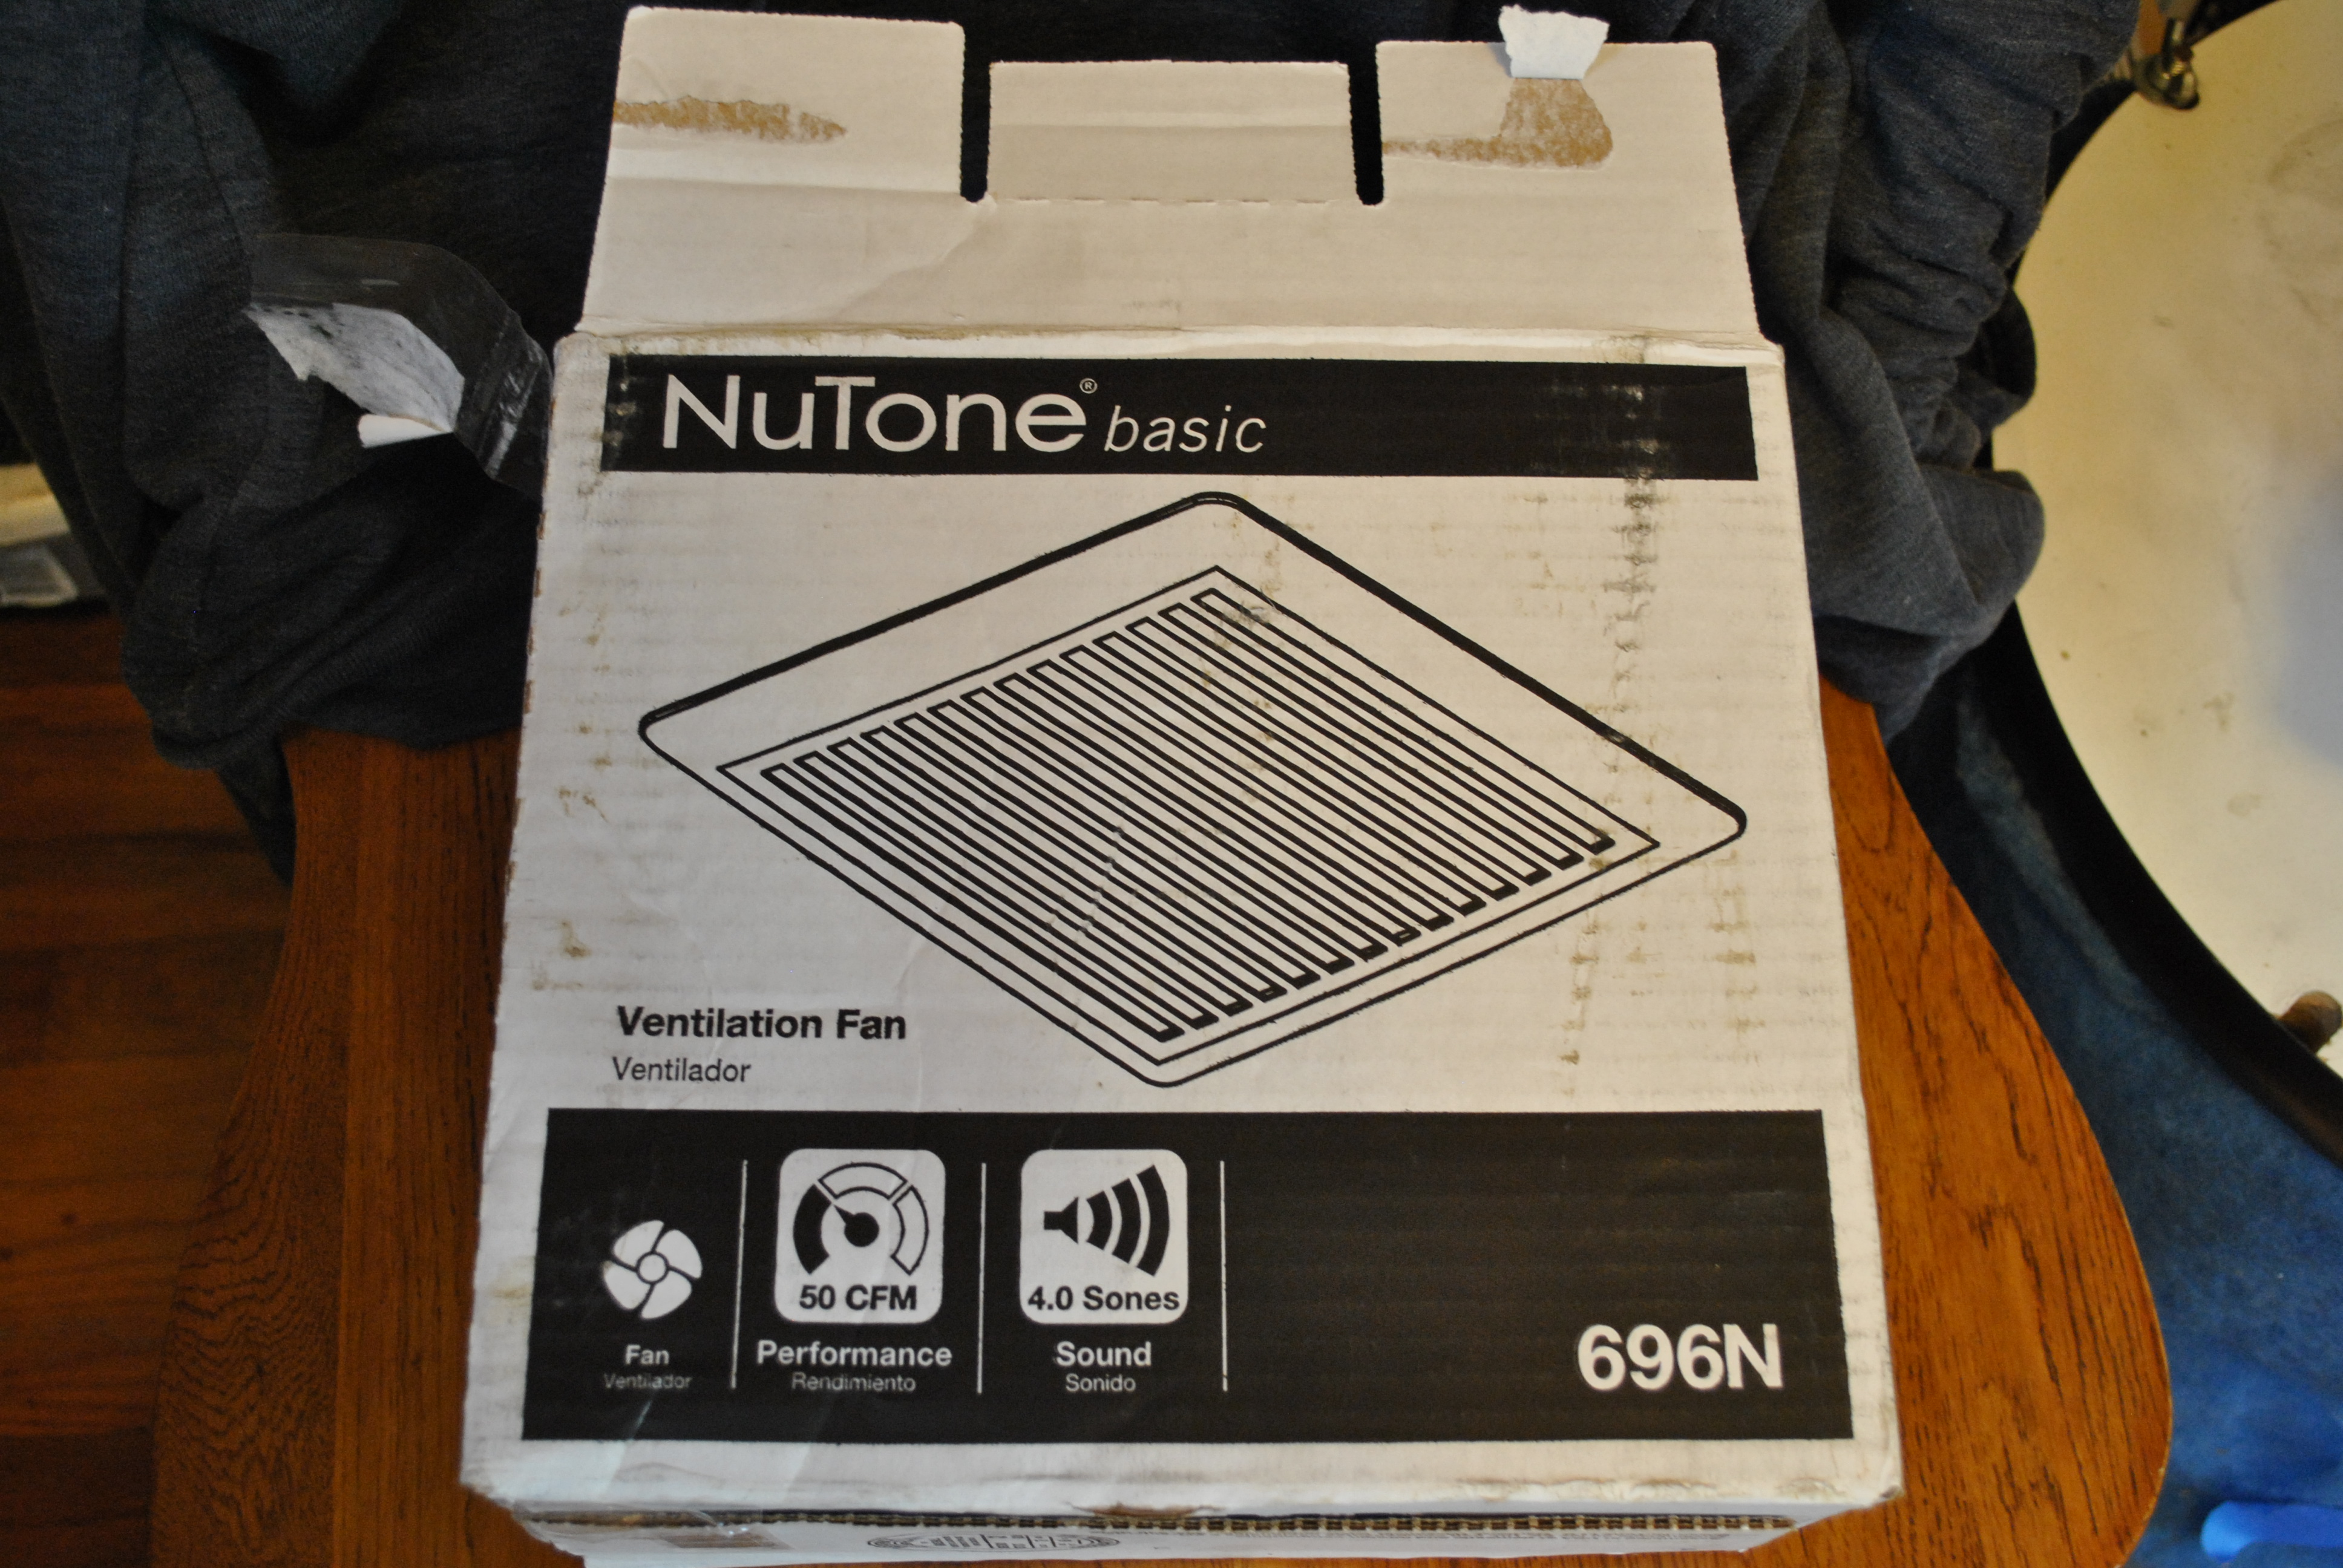
Here is an example of a top vent, and one that I will be emulating.
As you can see its deceptively simple. A hood to catch the rising heat and fumes, and a fan to blow it out a window. I figure I could make this with stuff from the local hardware store no problem.
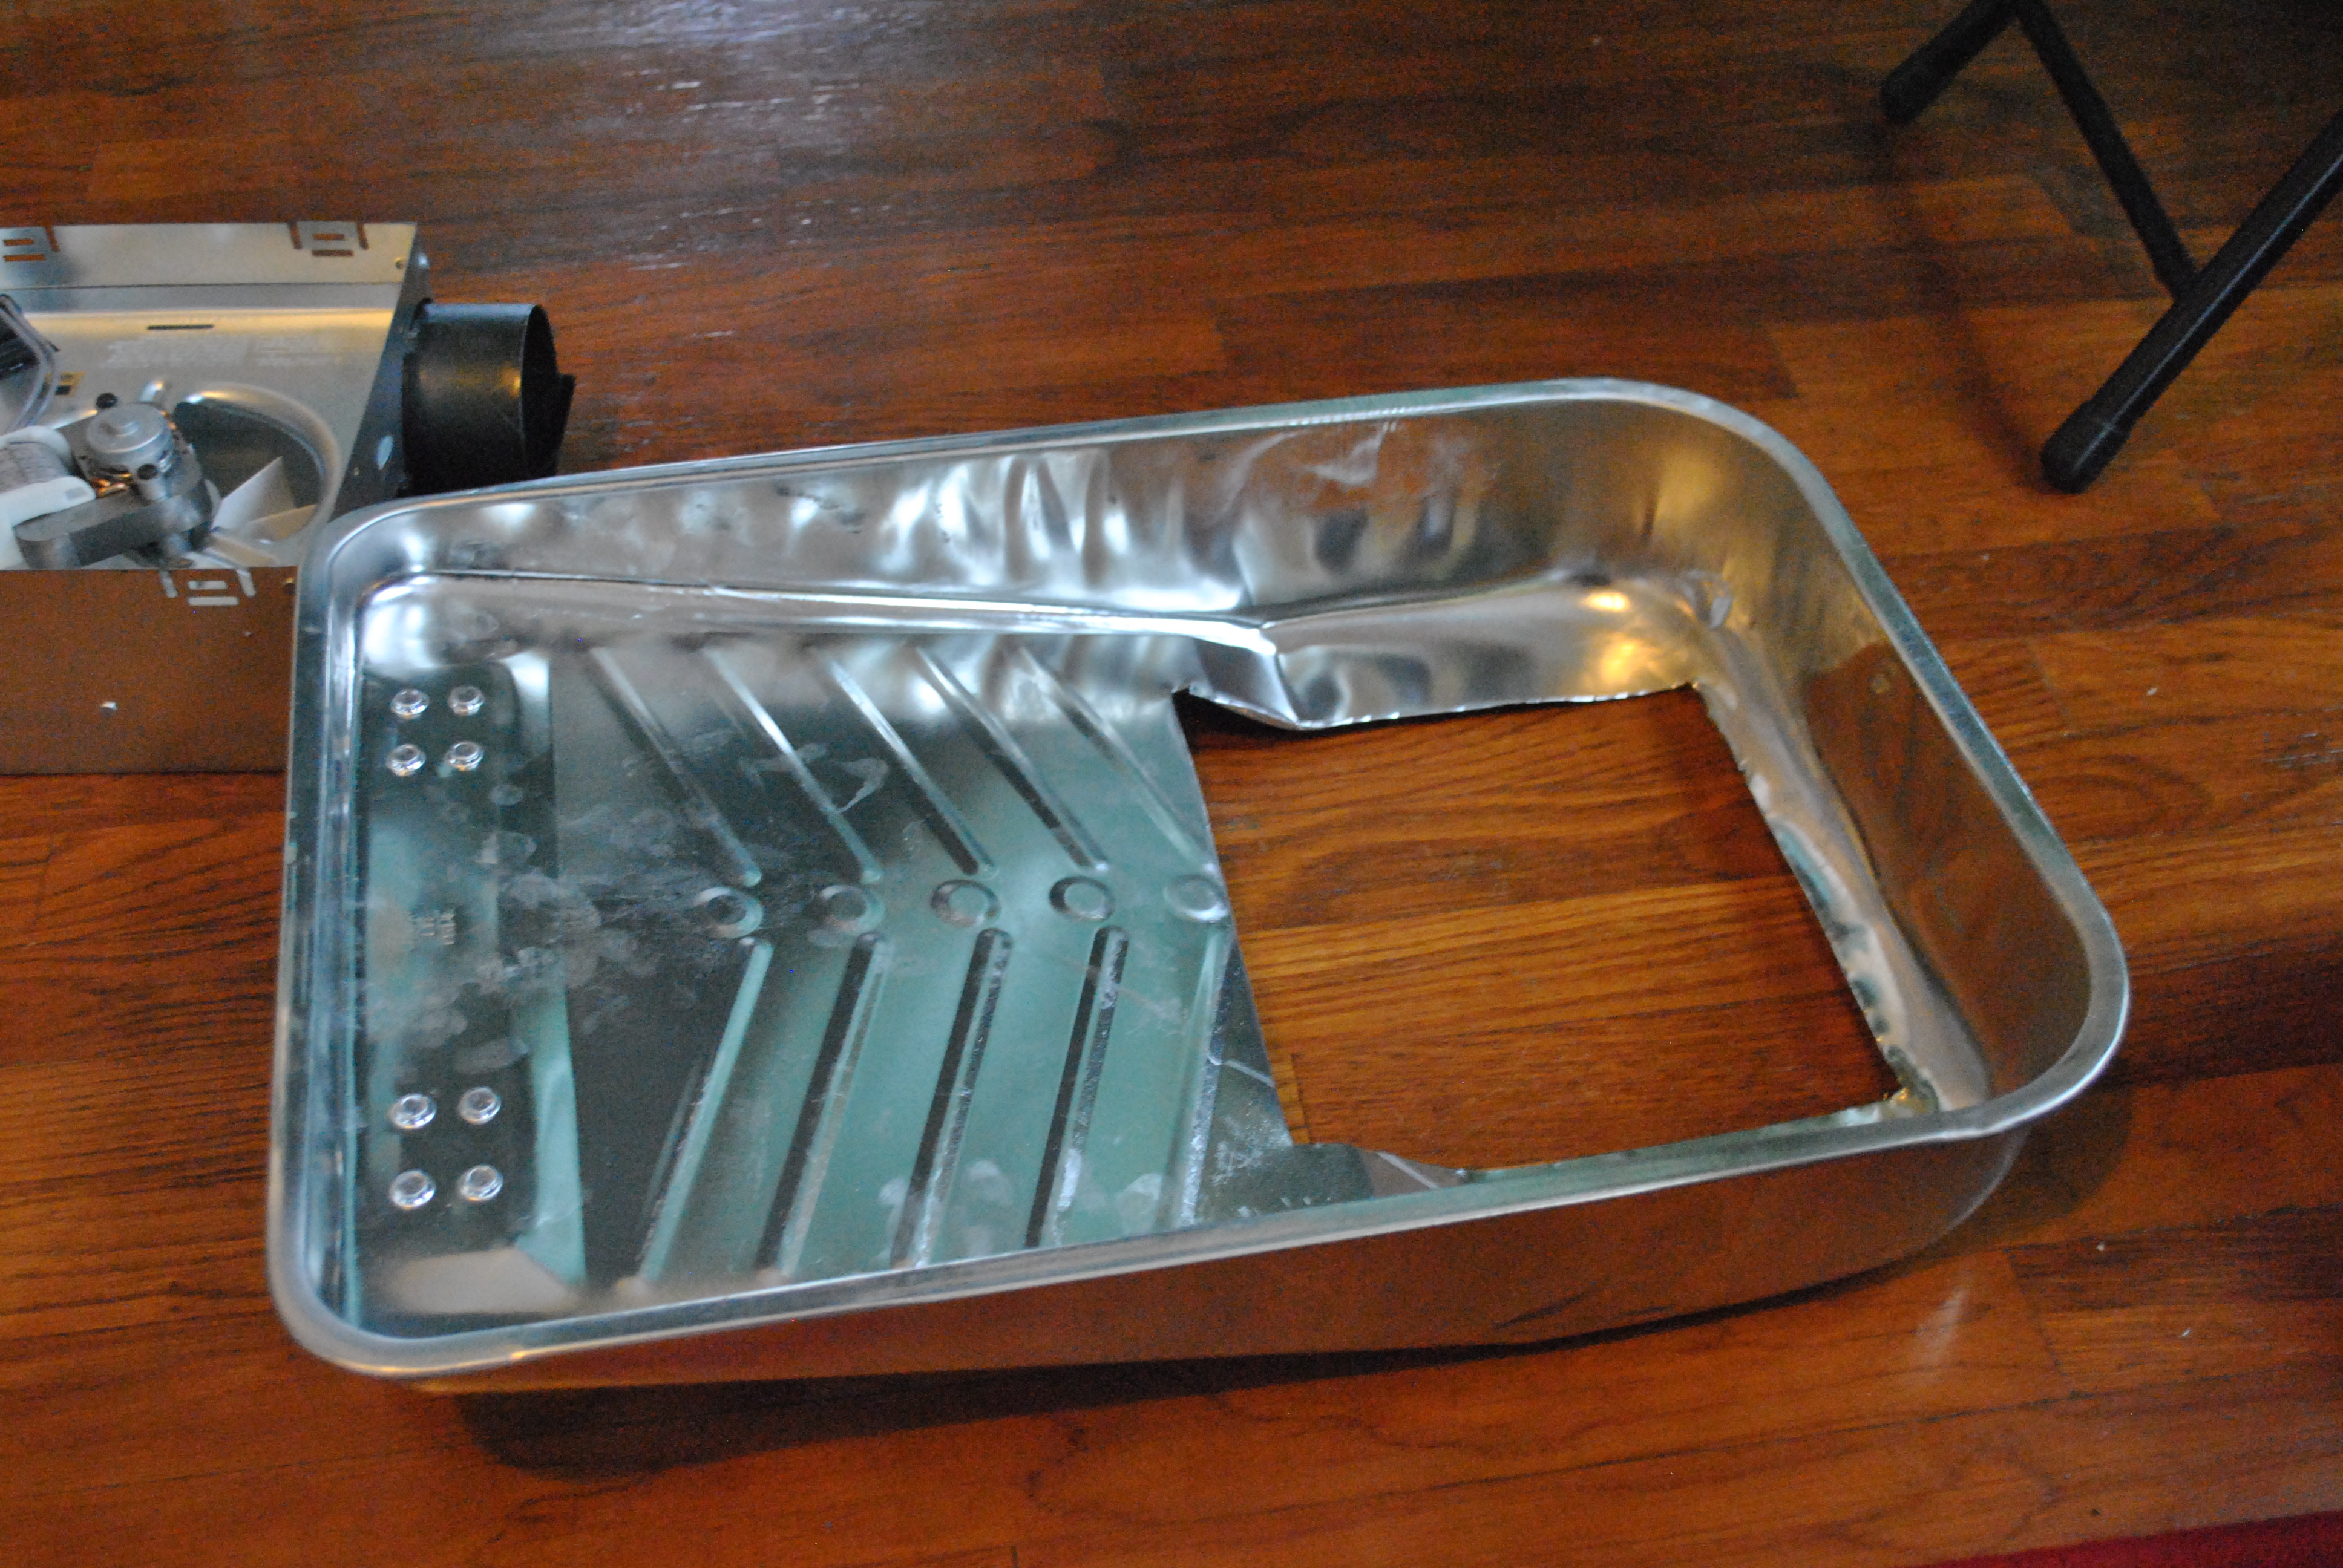
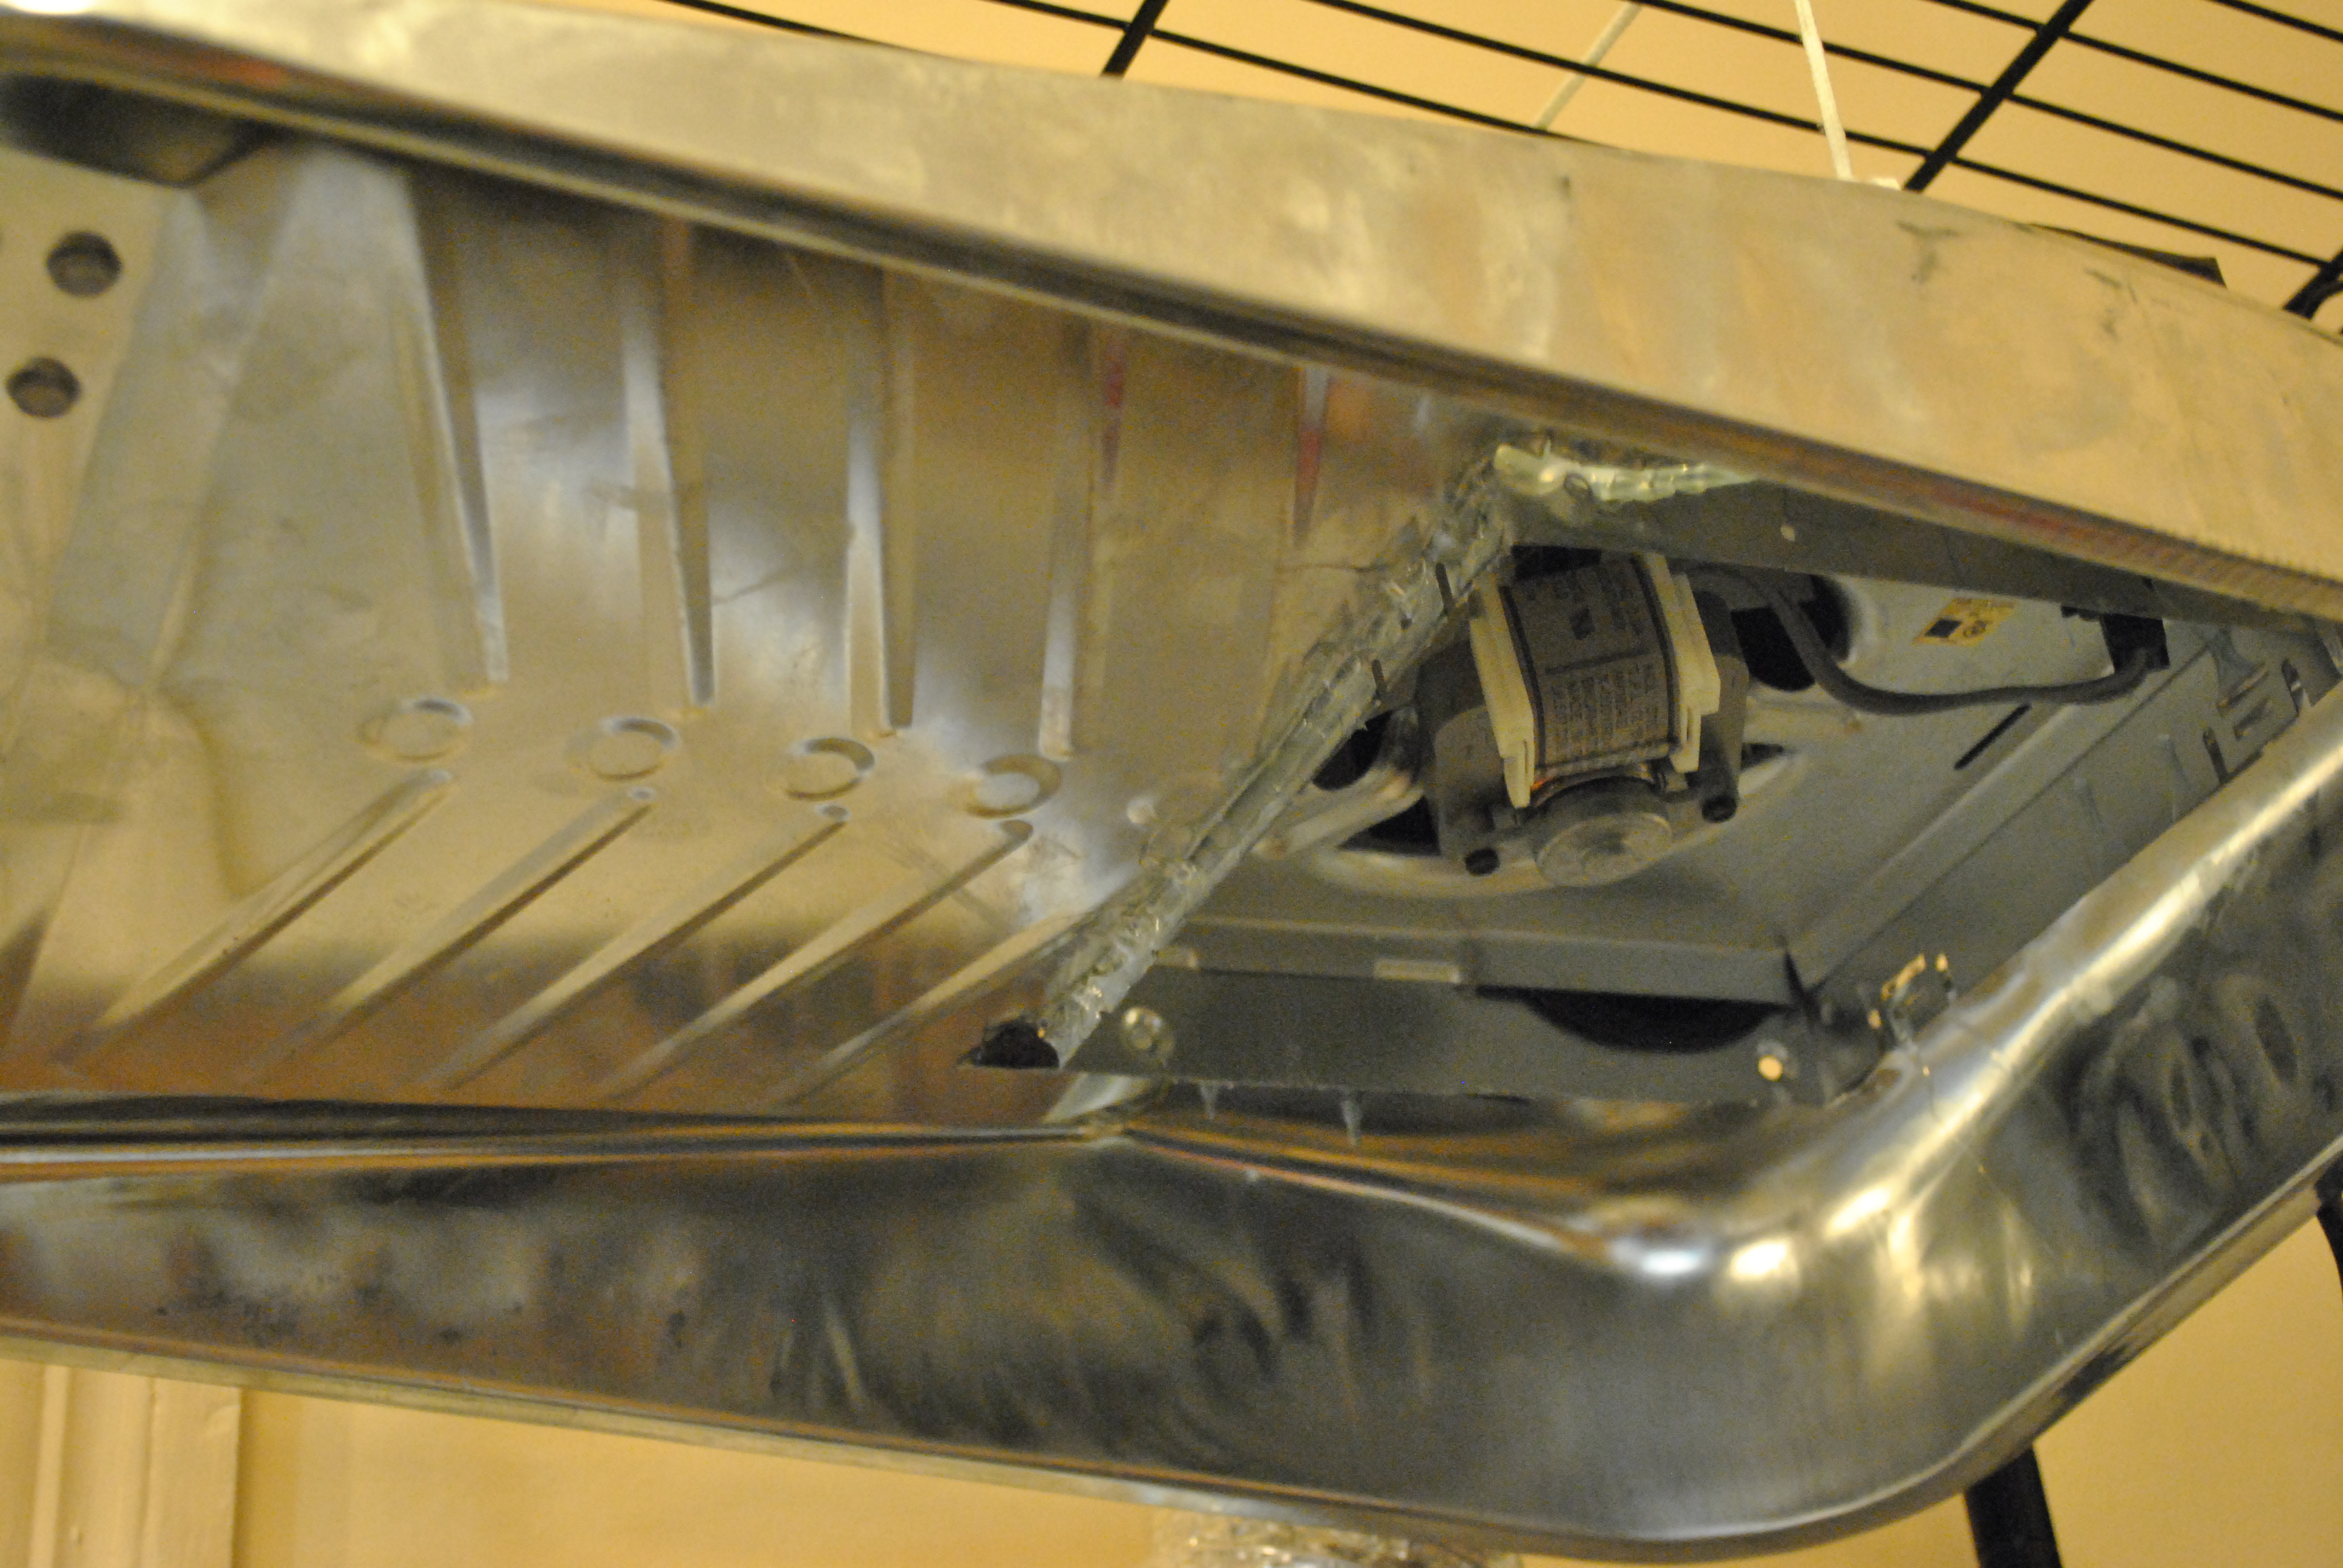
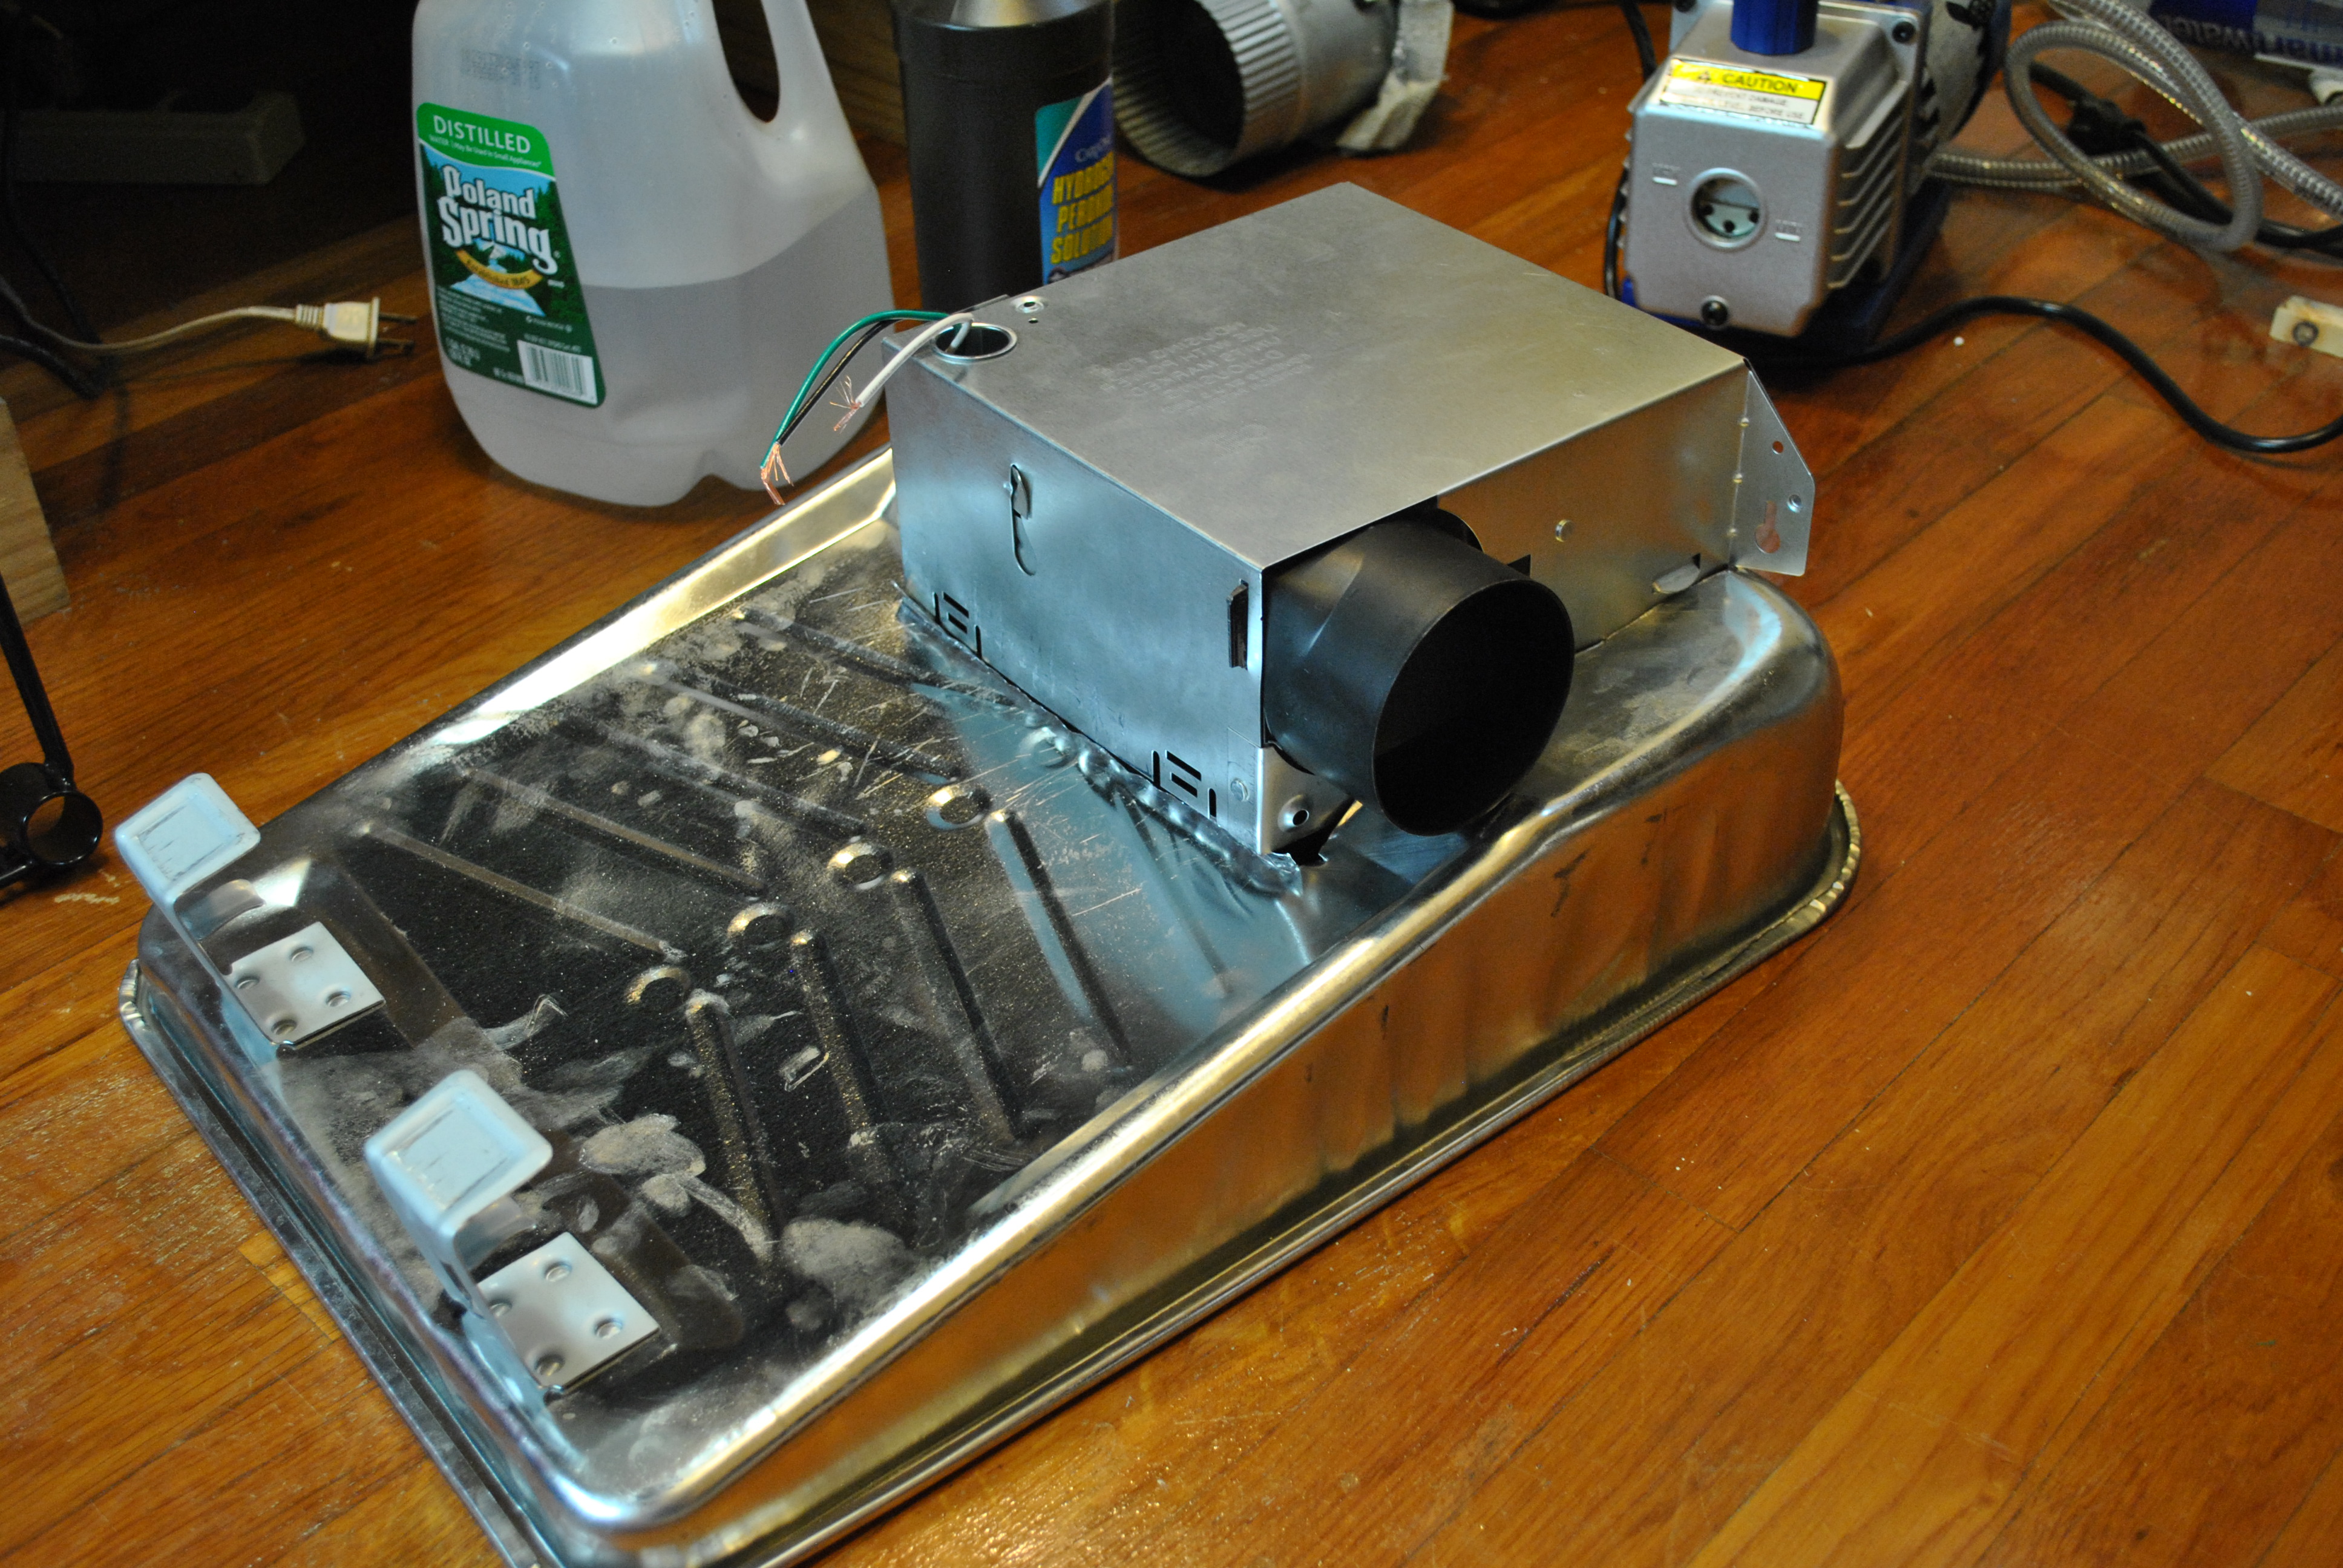
First I got myself a big paint tray made of steel and cut a bathroom ceiling fan shaped hole in it with tin snips.
Then I took that celing fan and glued it into the painting pan with e6000 glue (damn that stuff stinks, do this outside if you can)
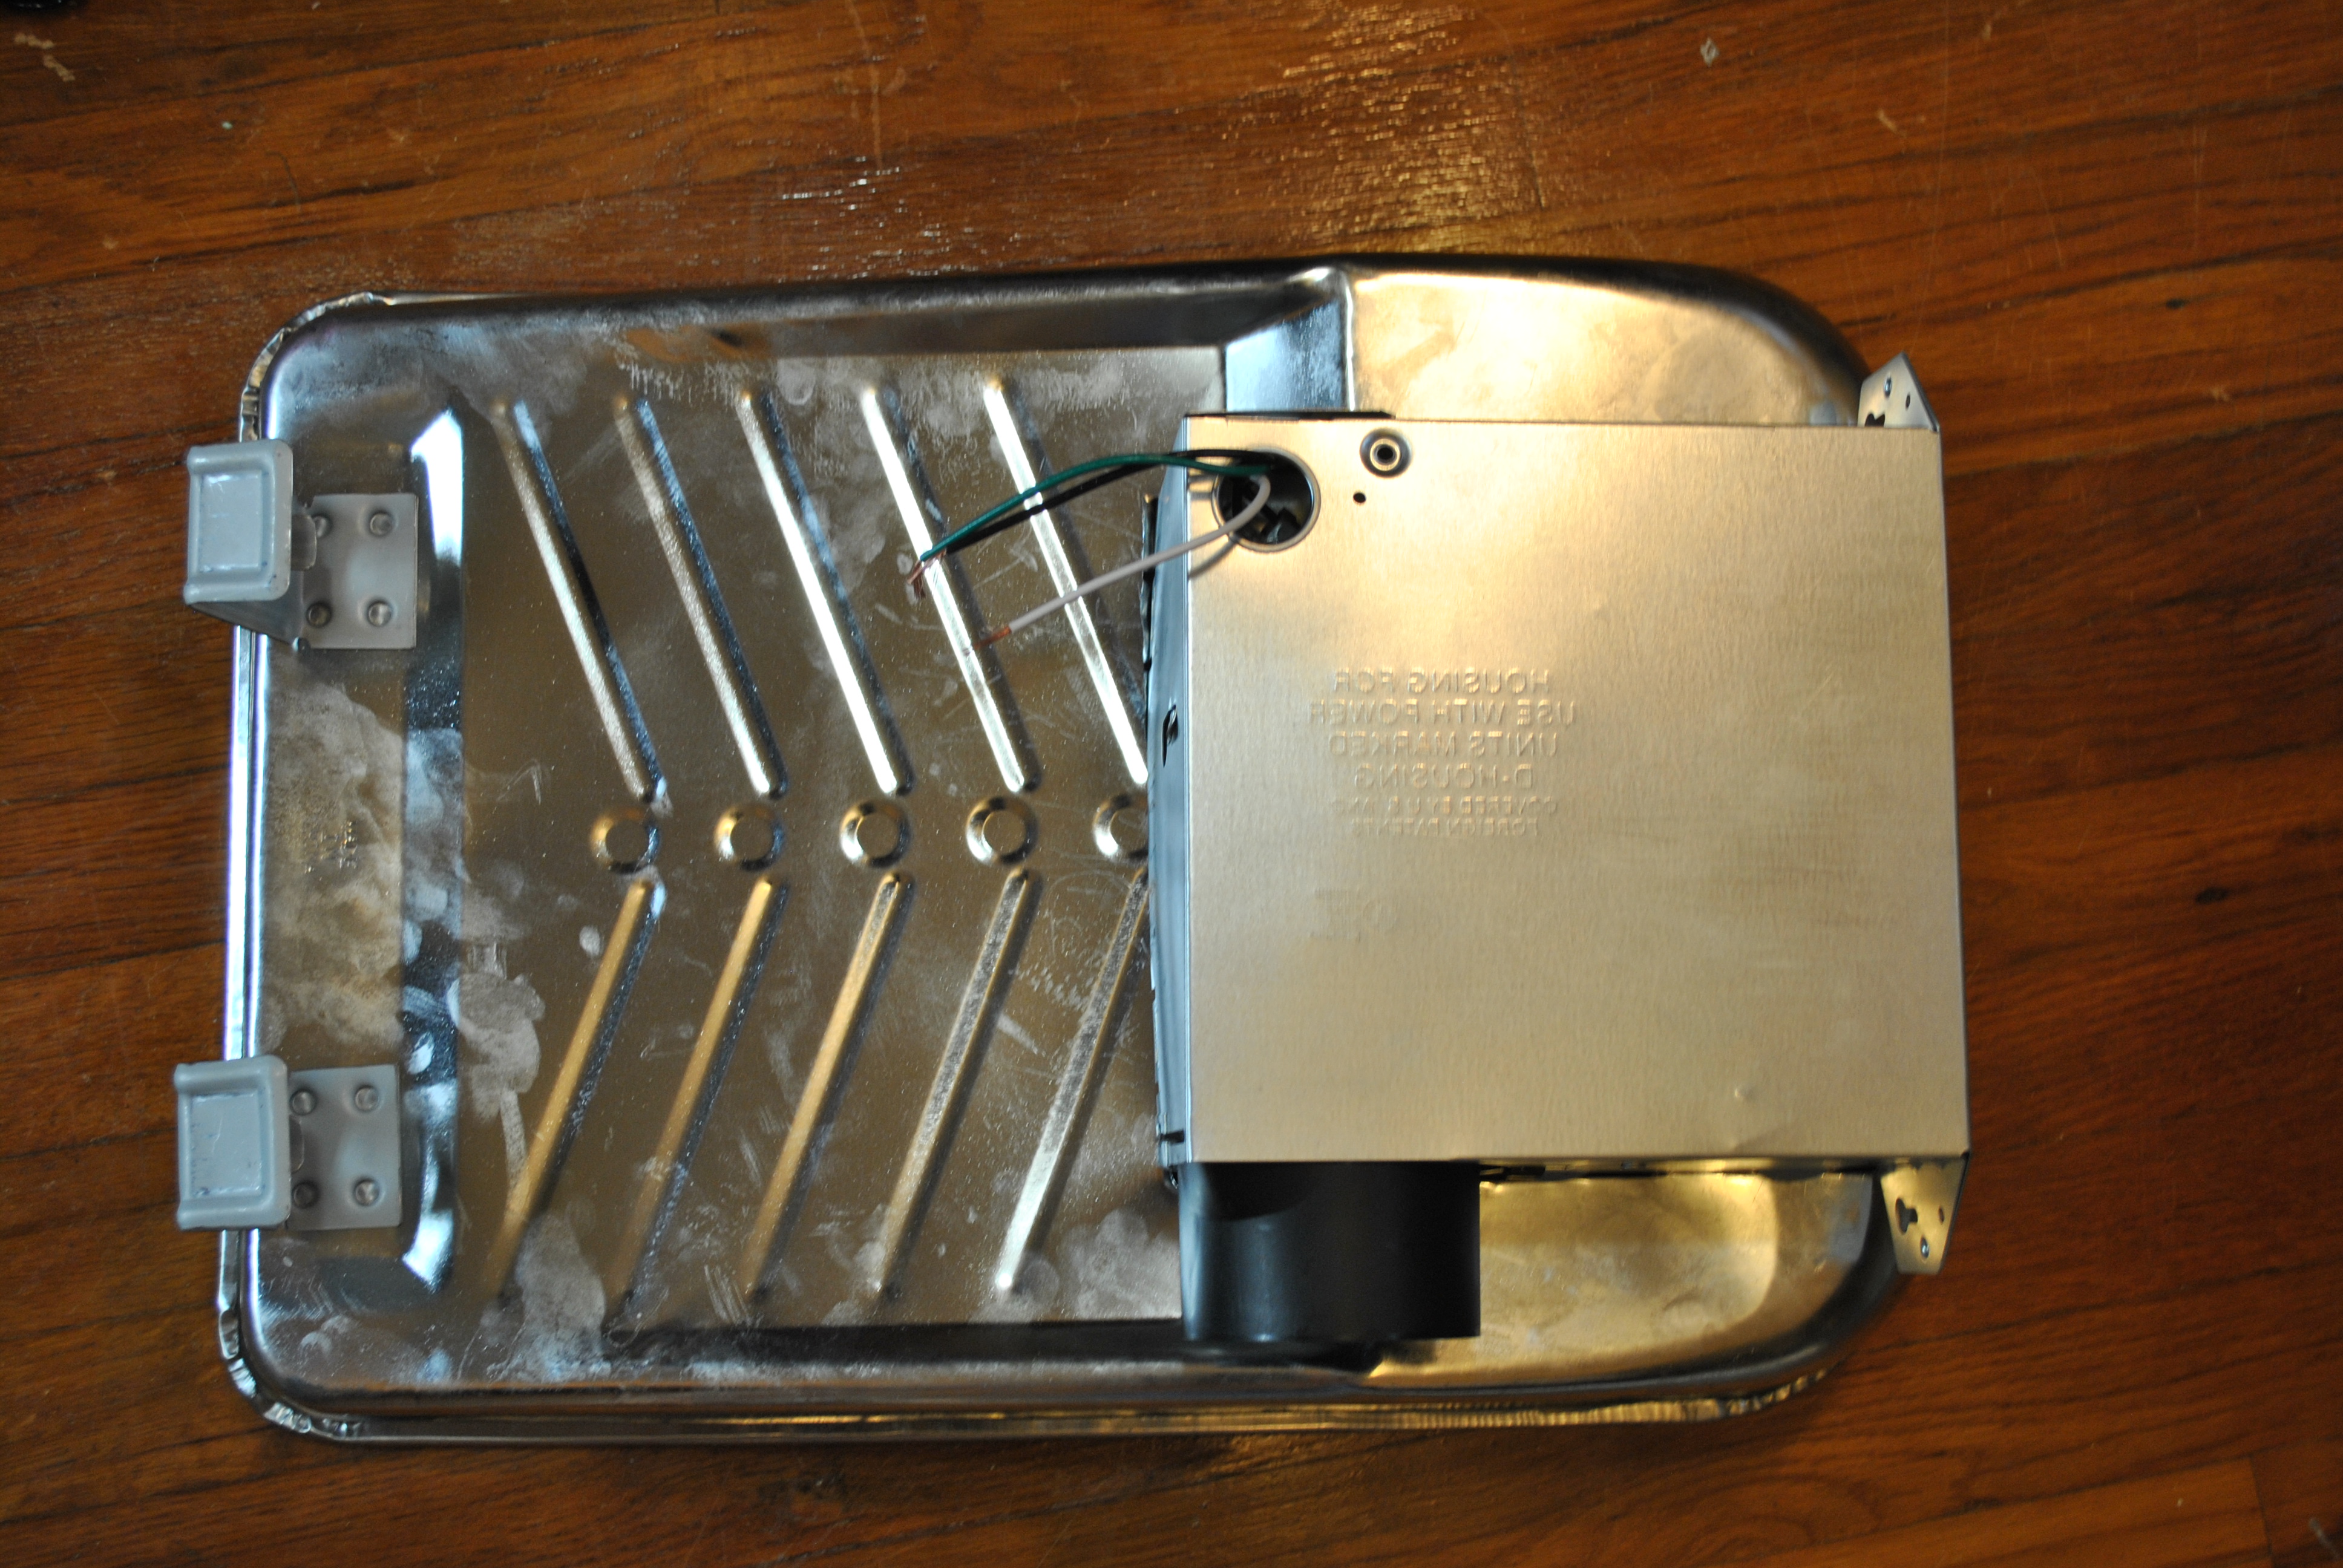
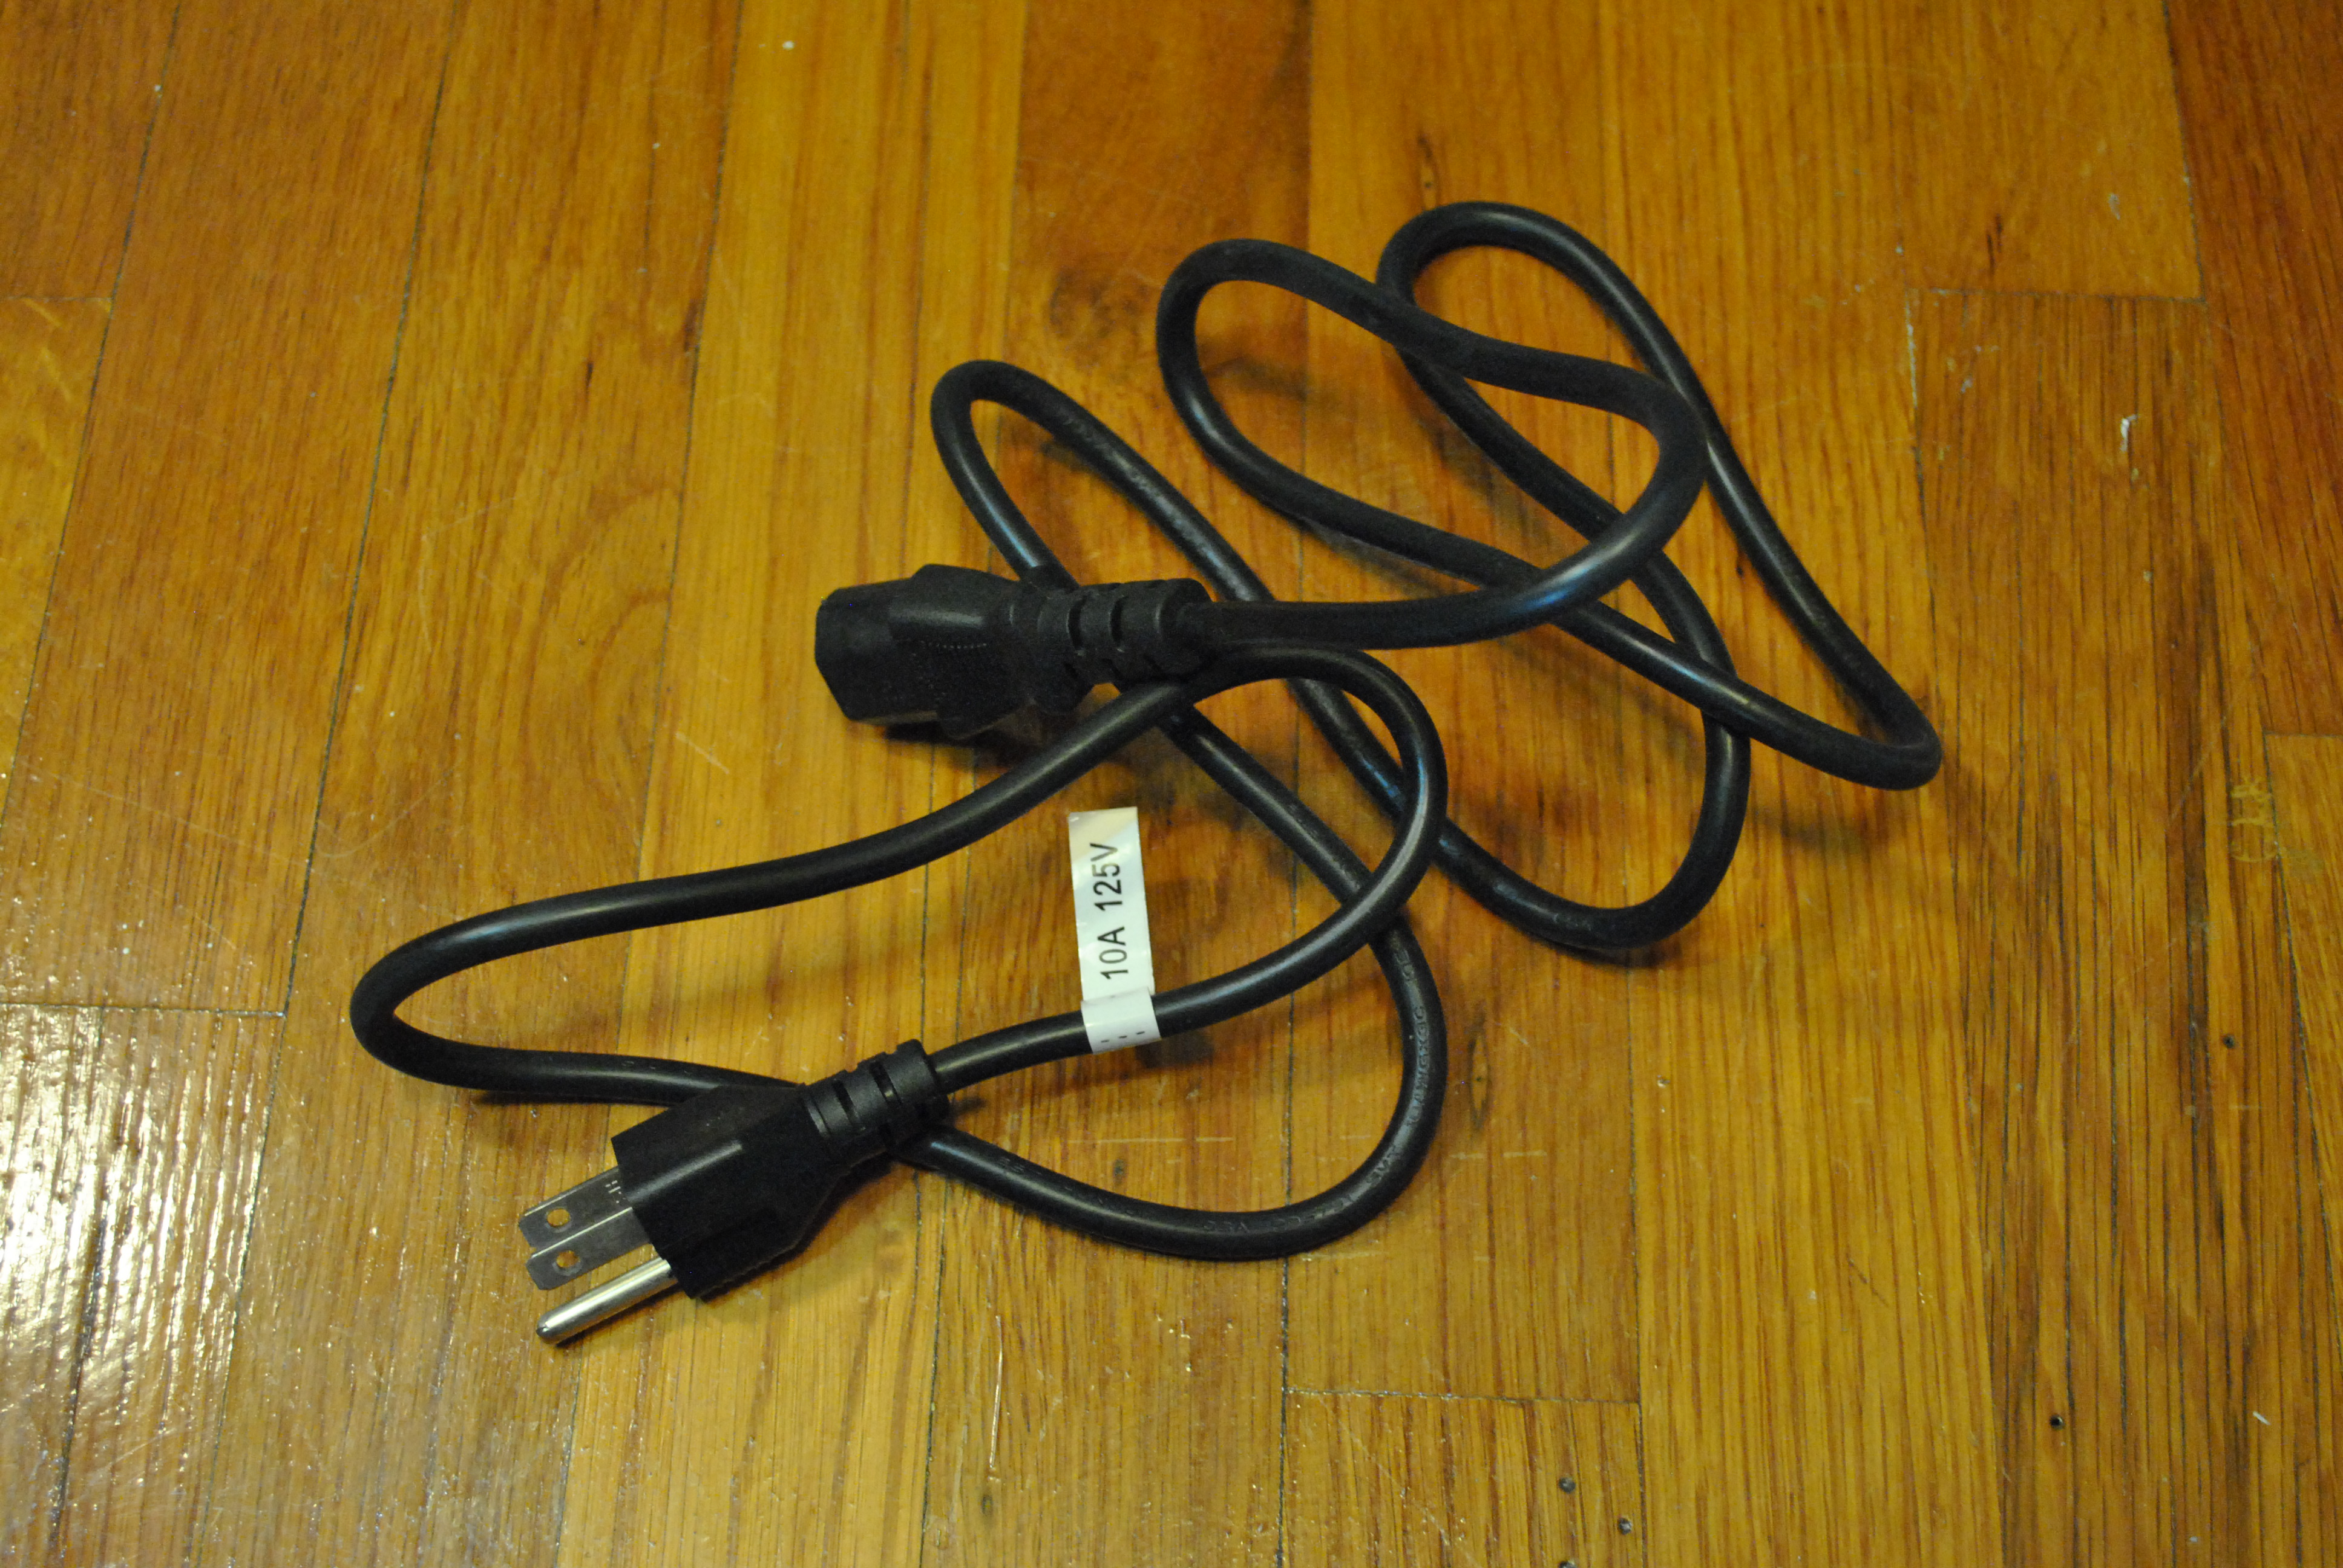
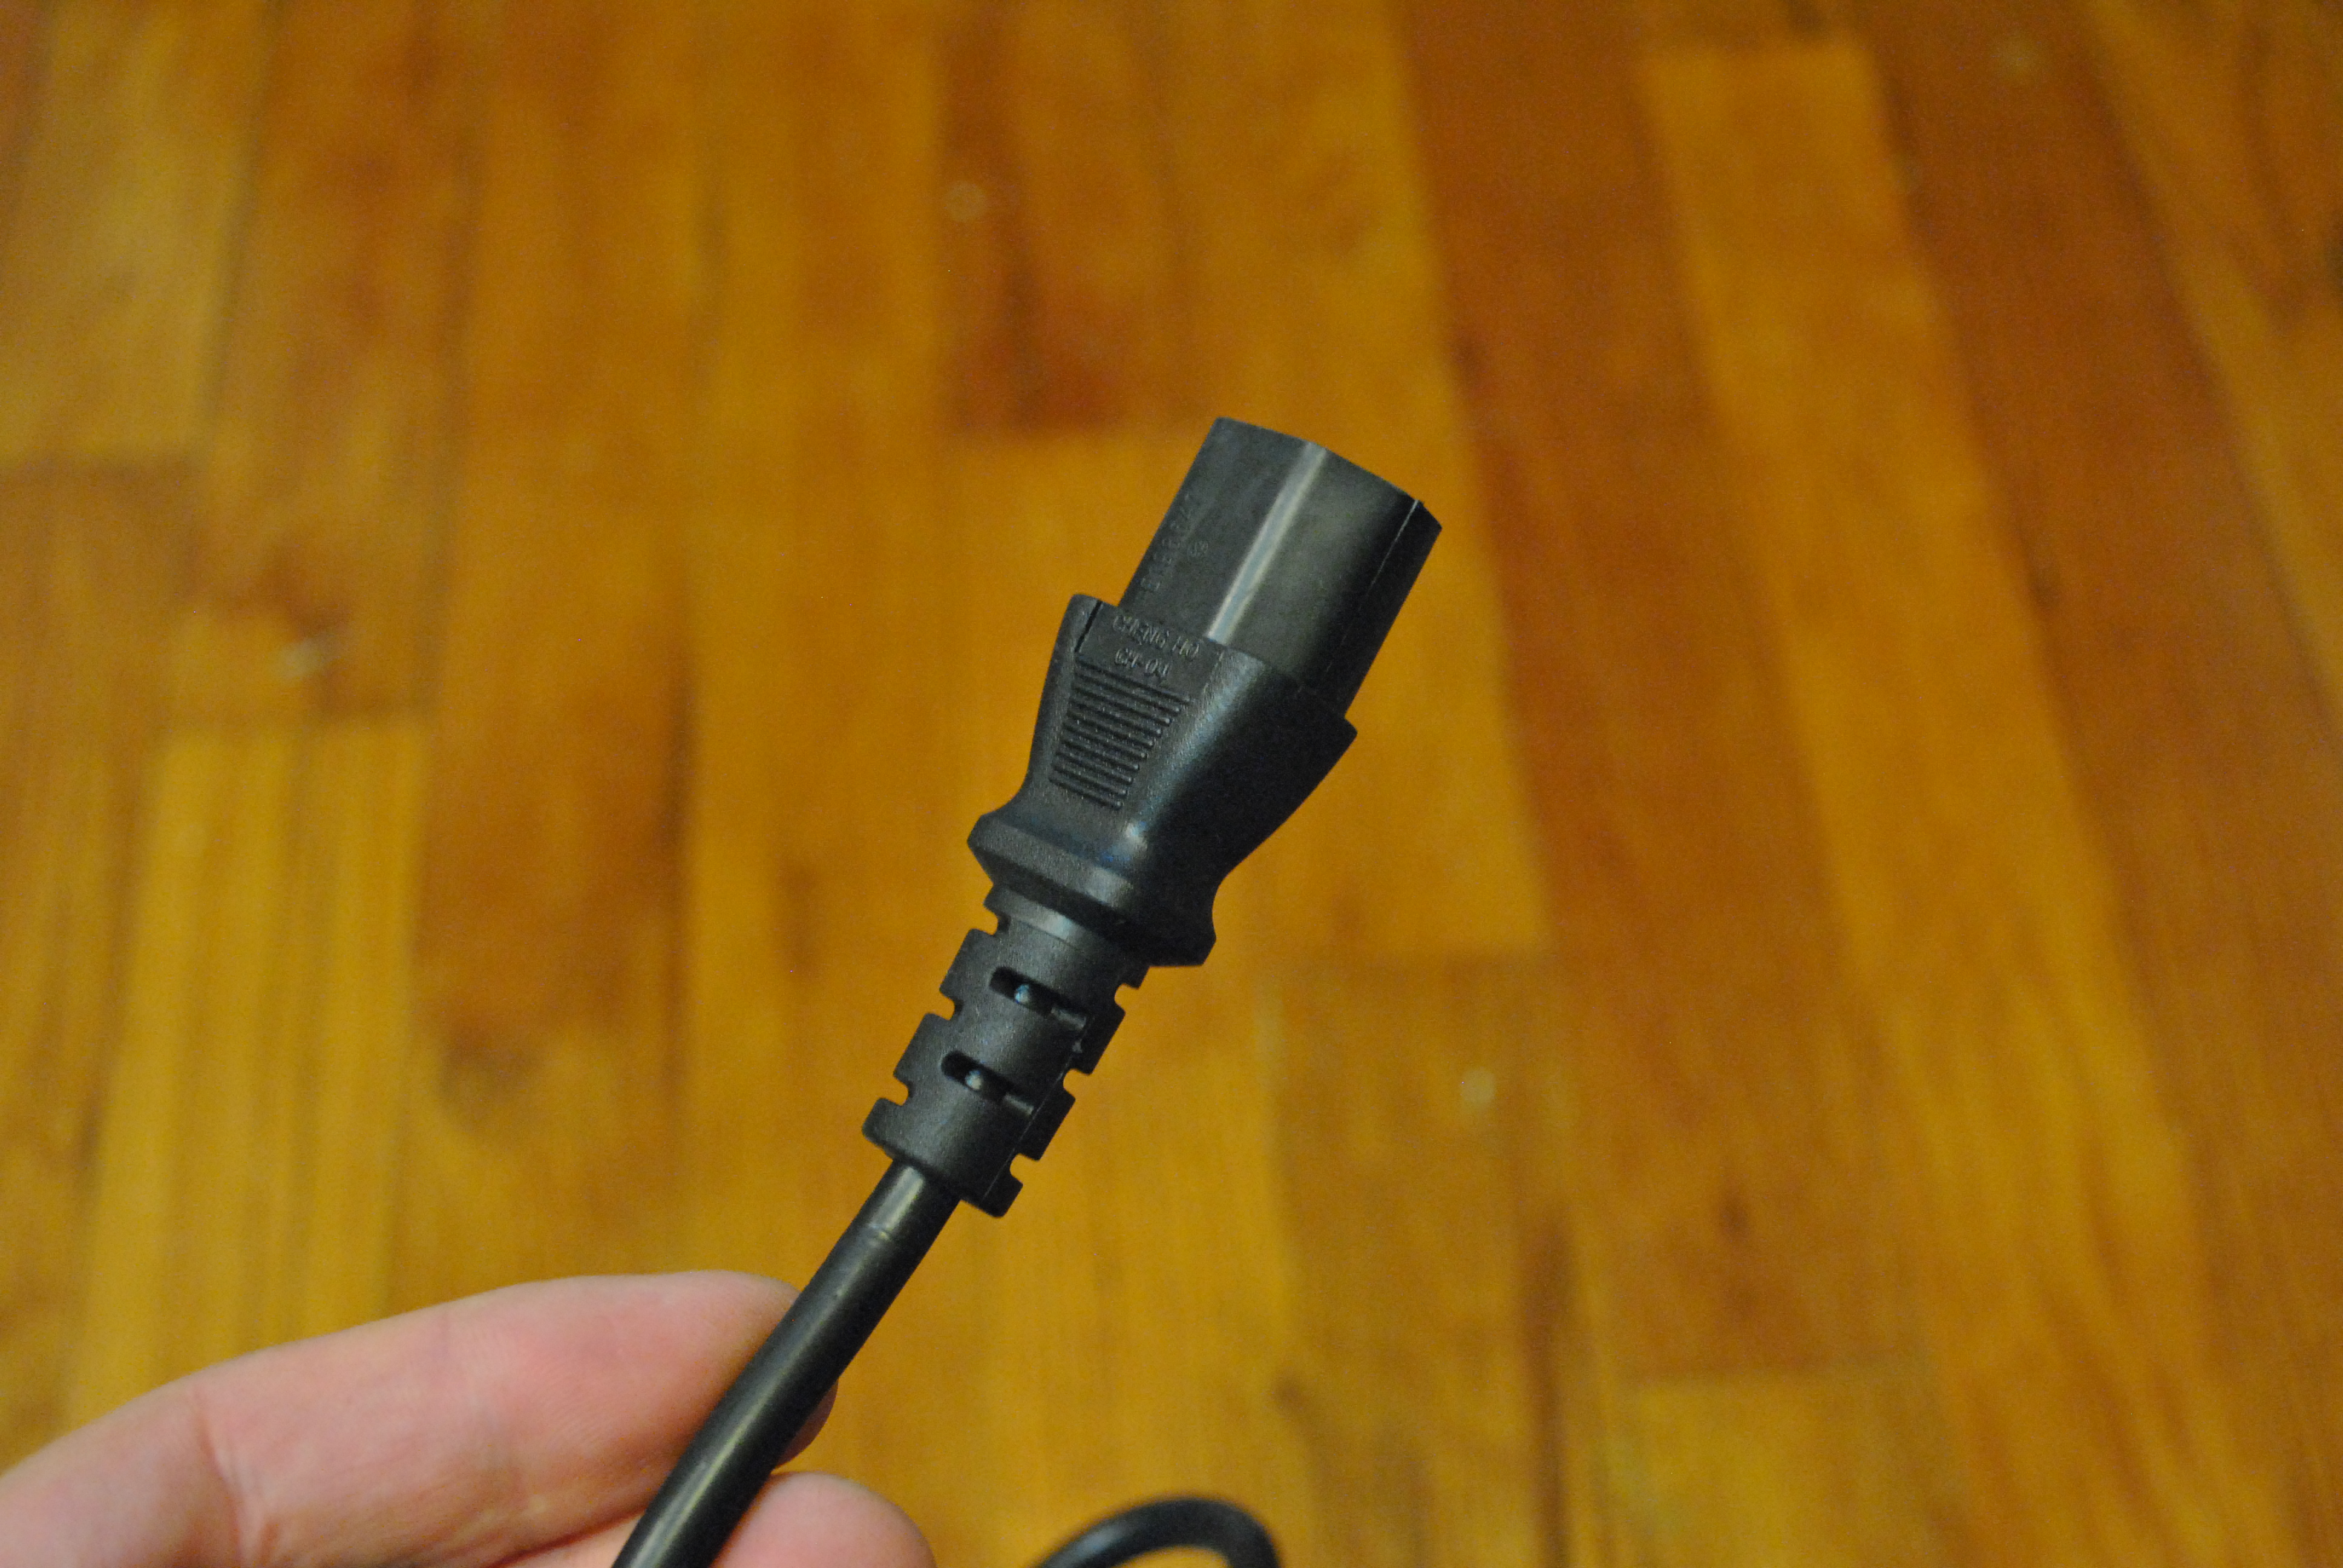
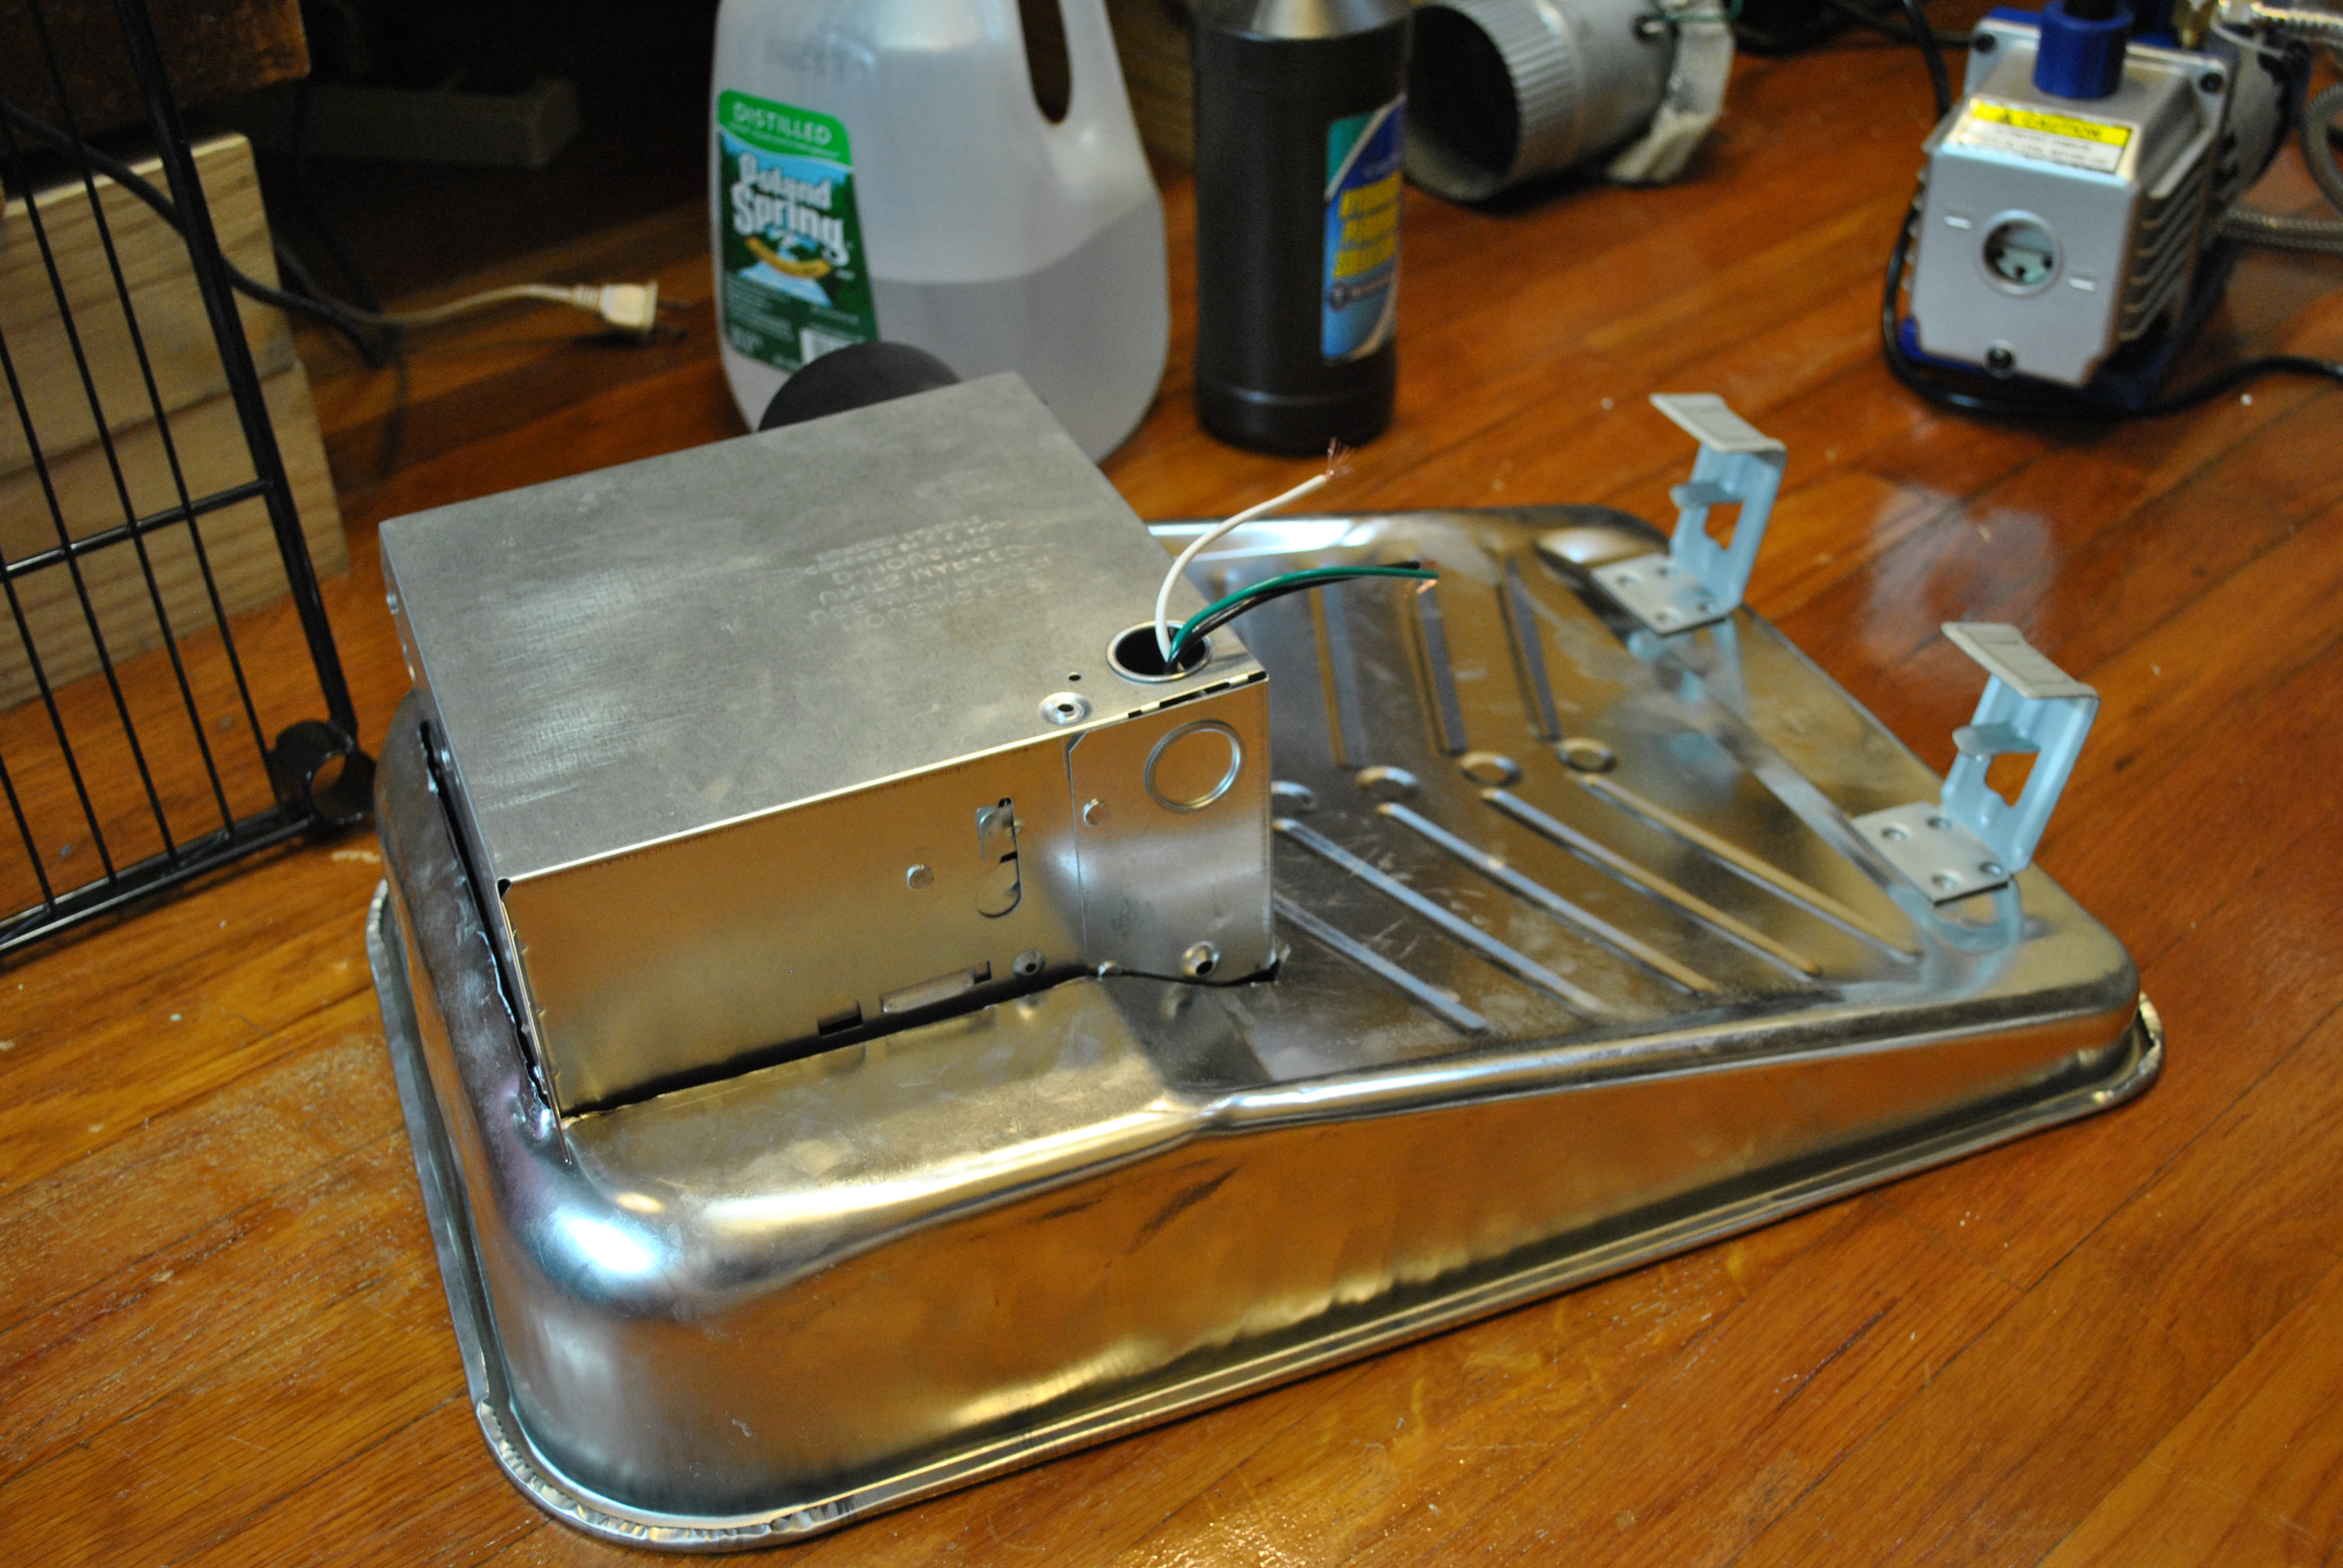
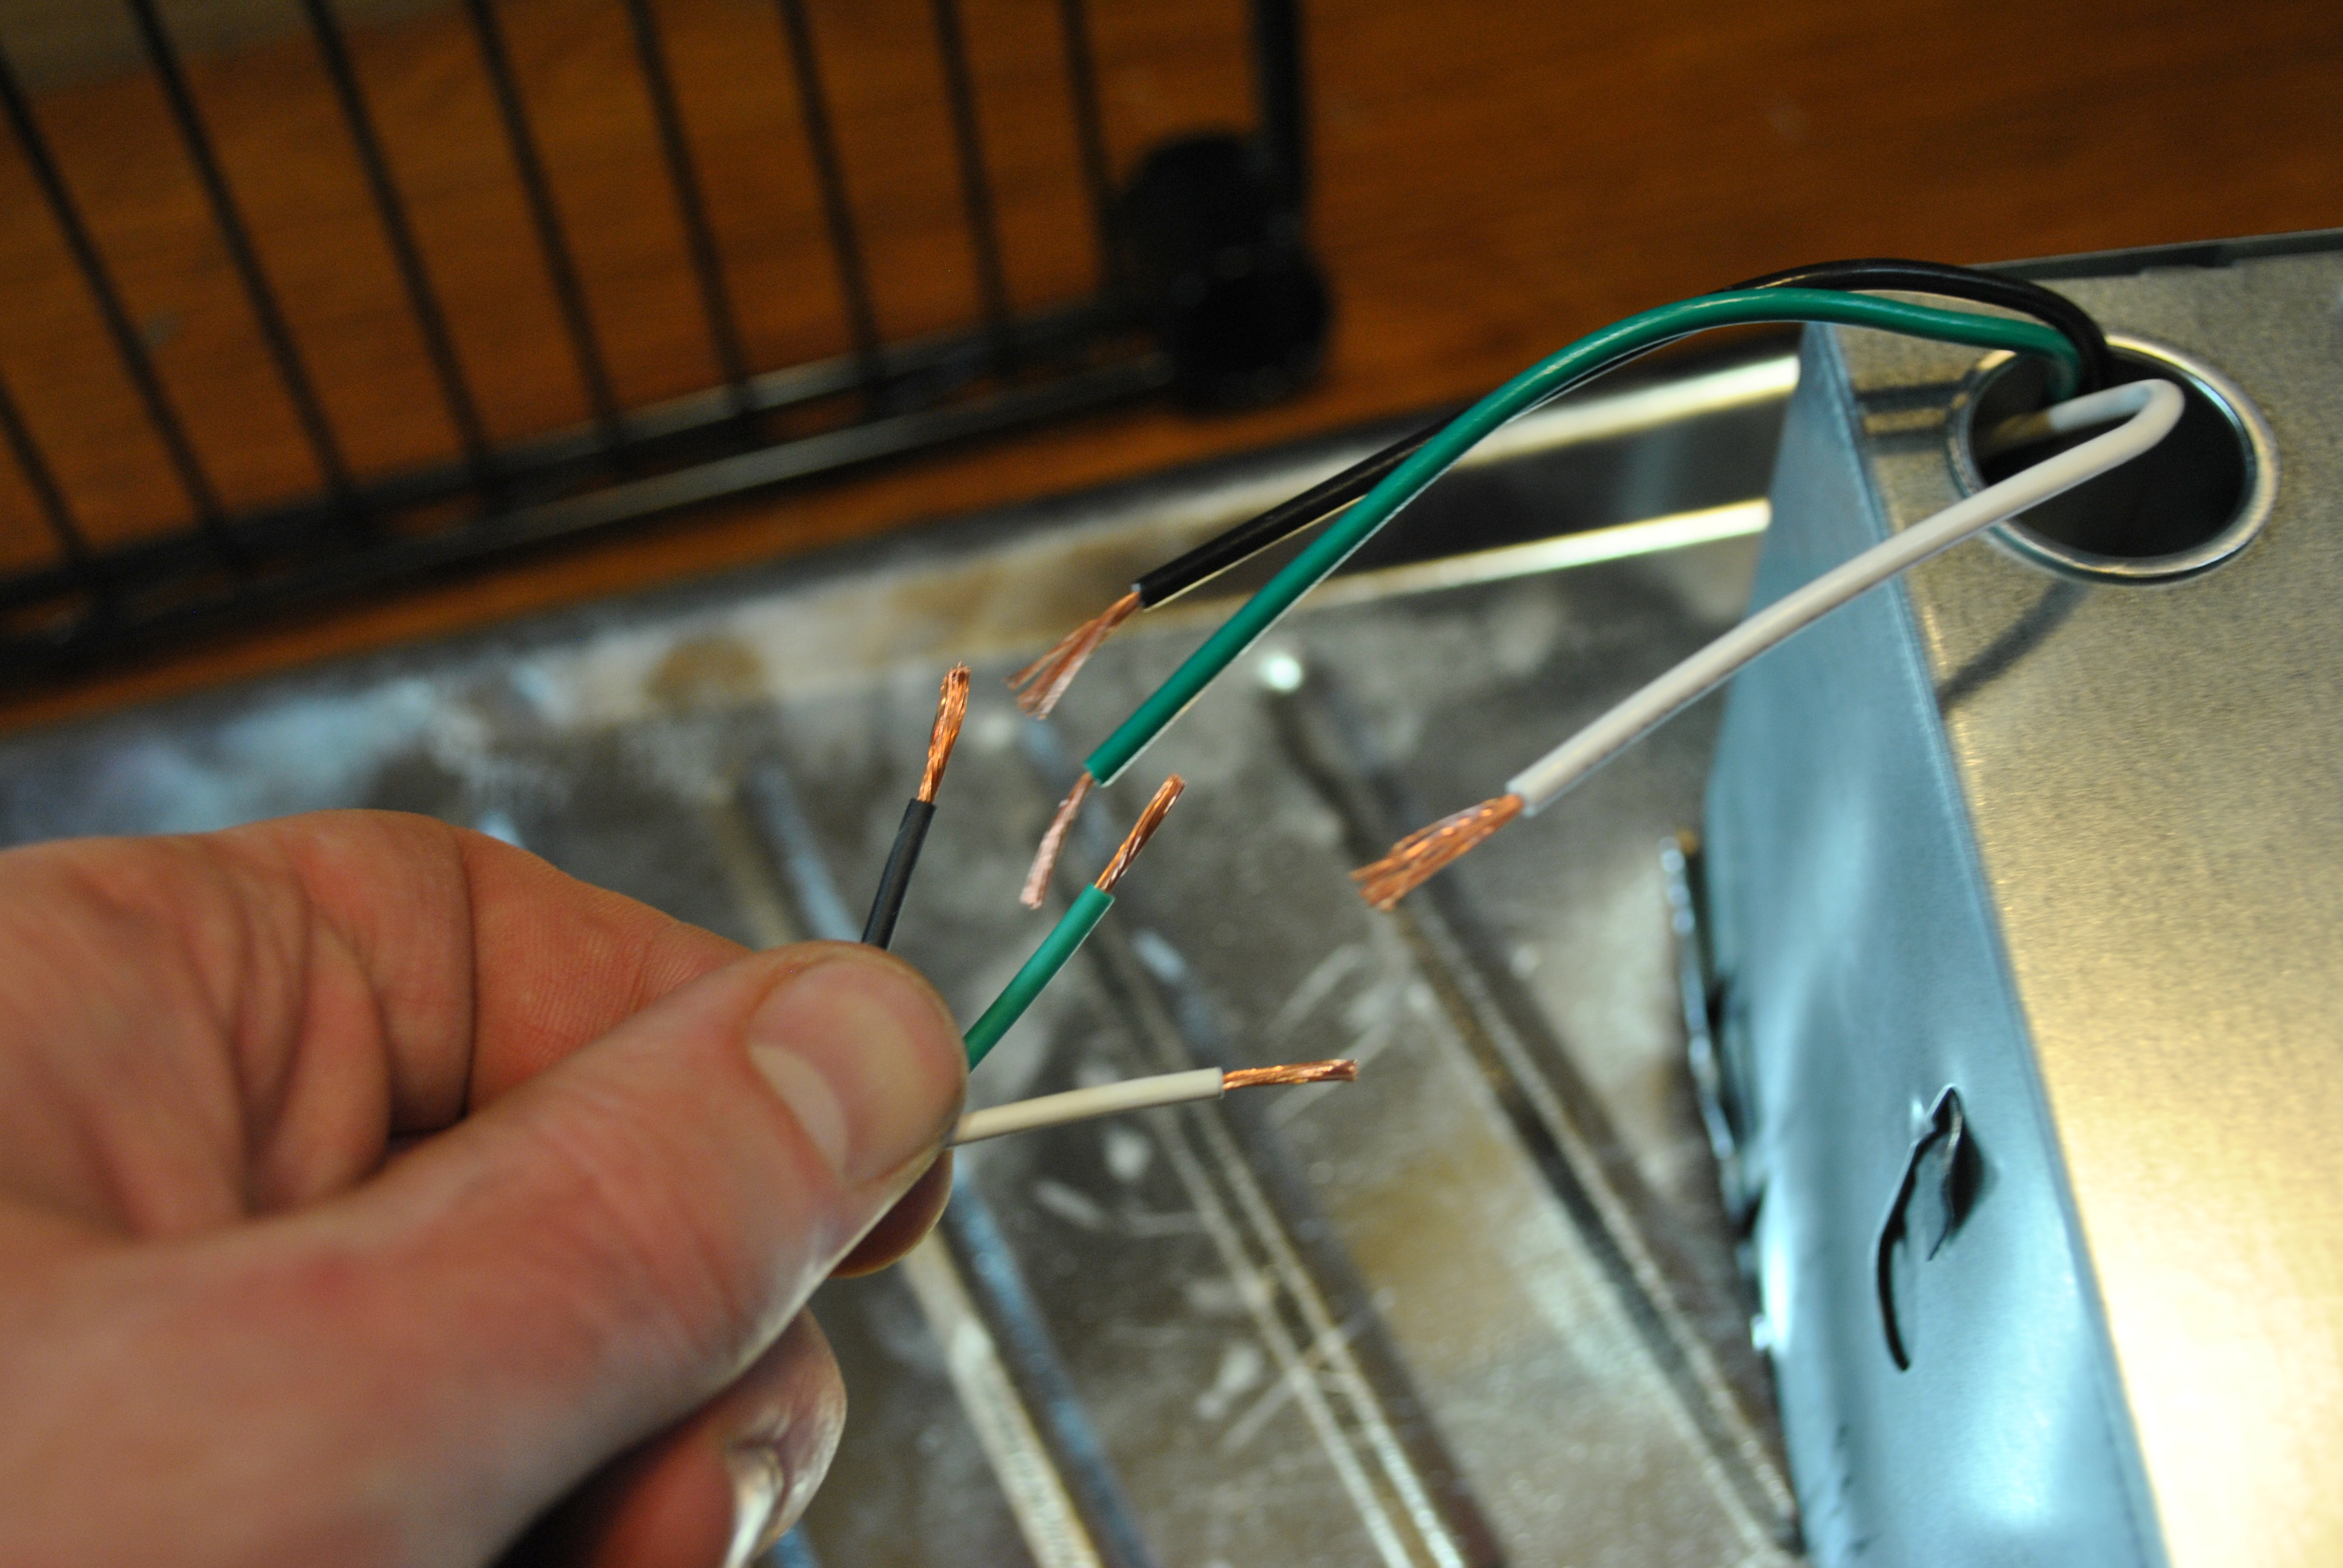
For a power cord I used an old computer power cord, Simply cut the end off and strip each of the three exposed wires about 3/4 of an inch down.
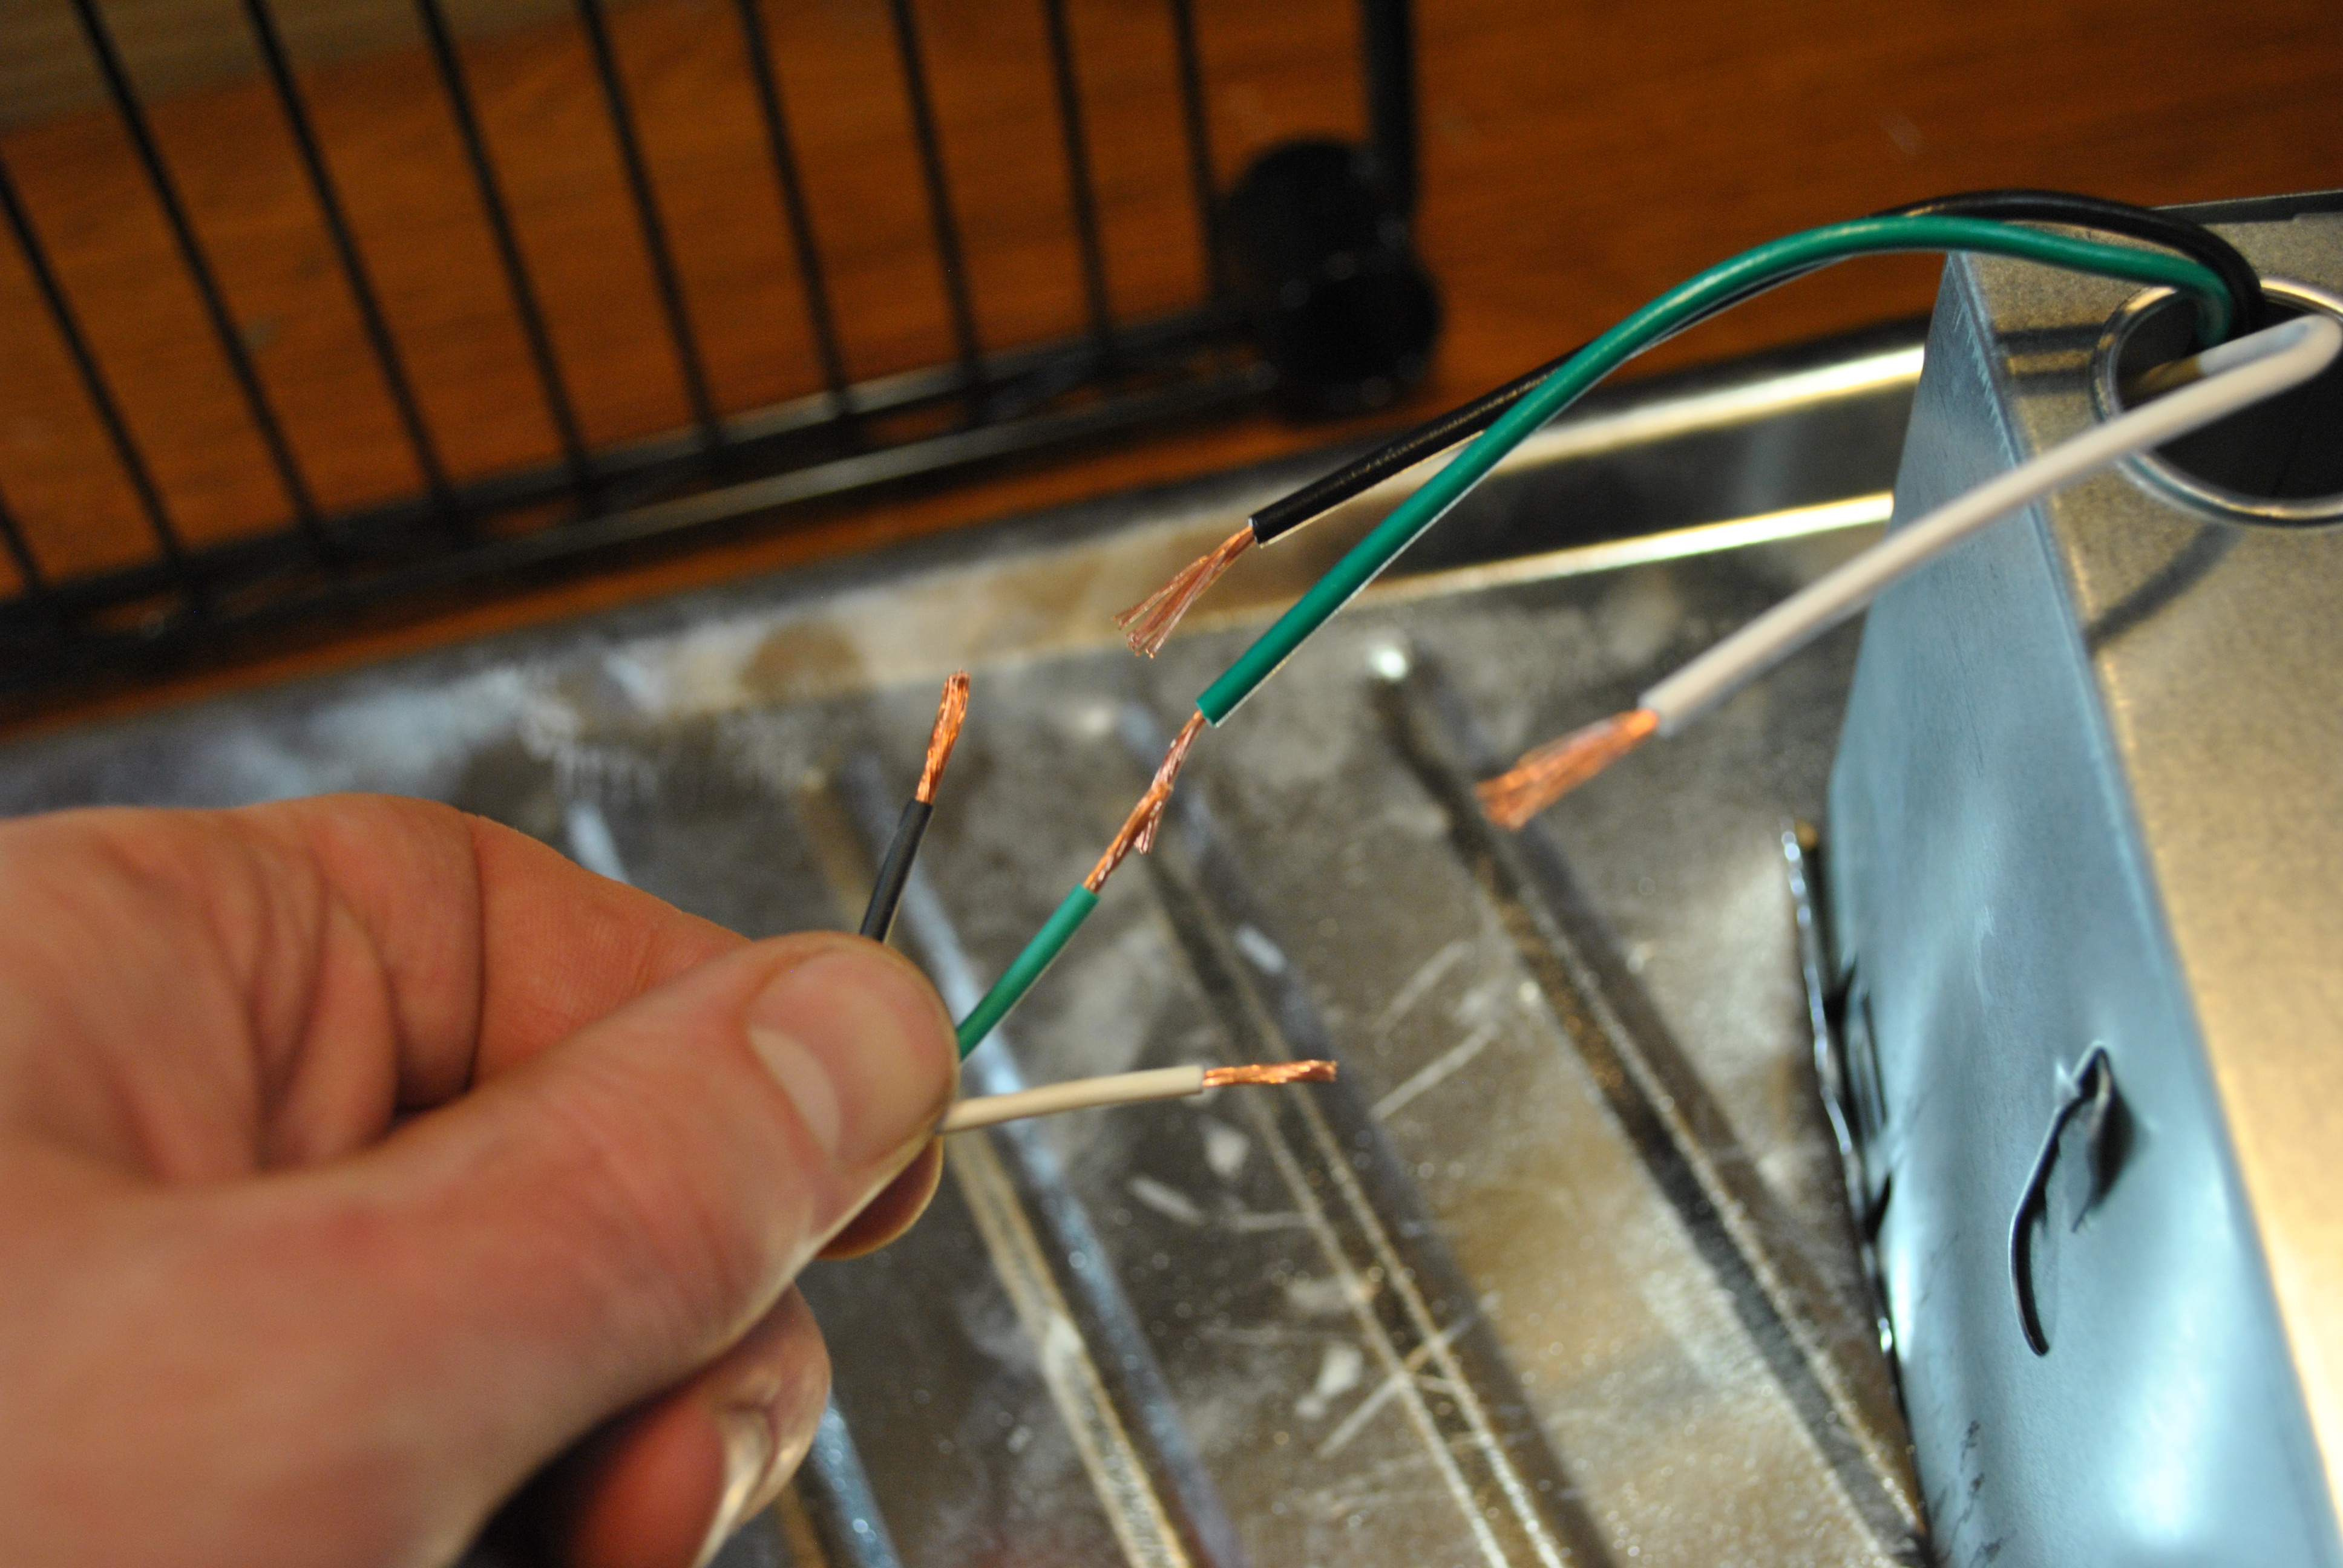
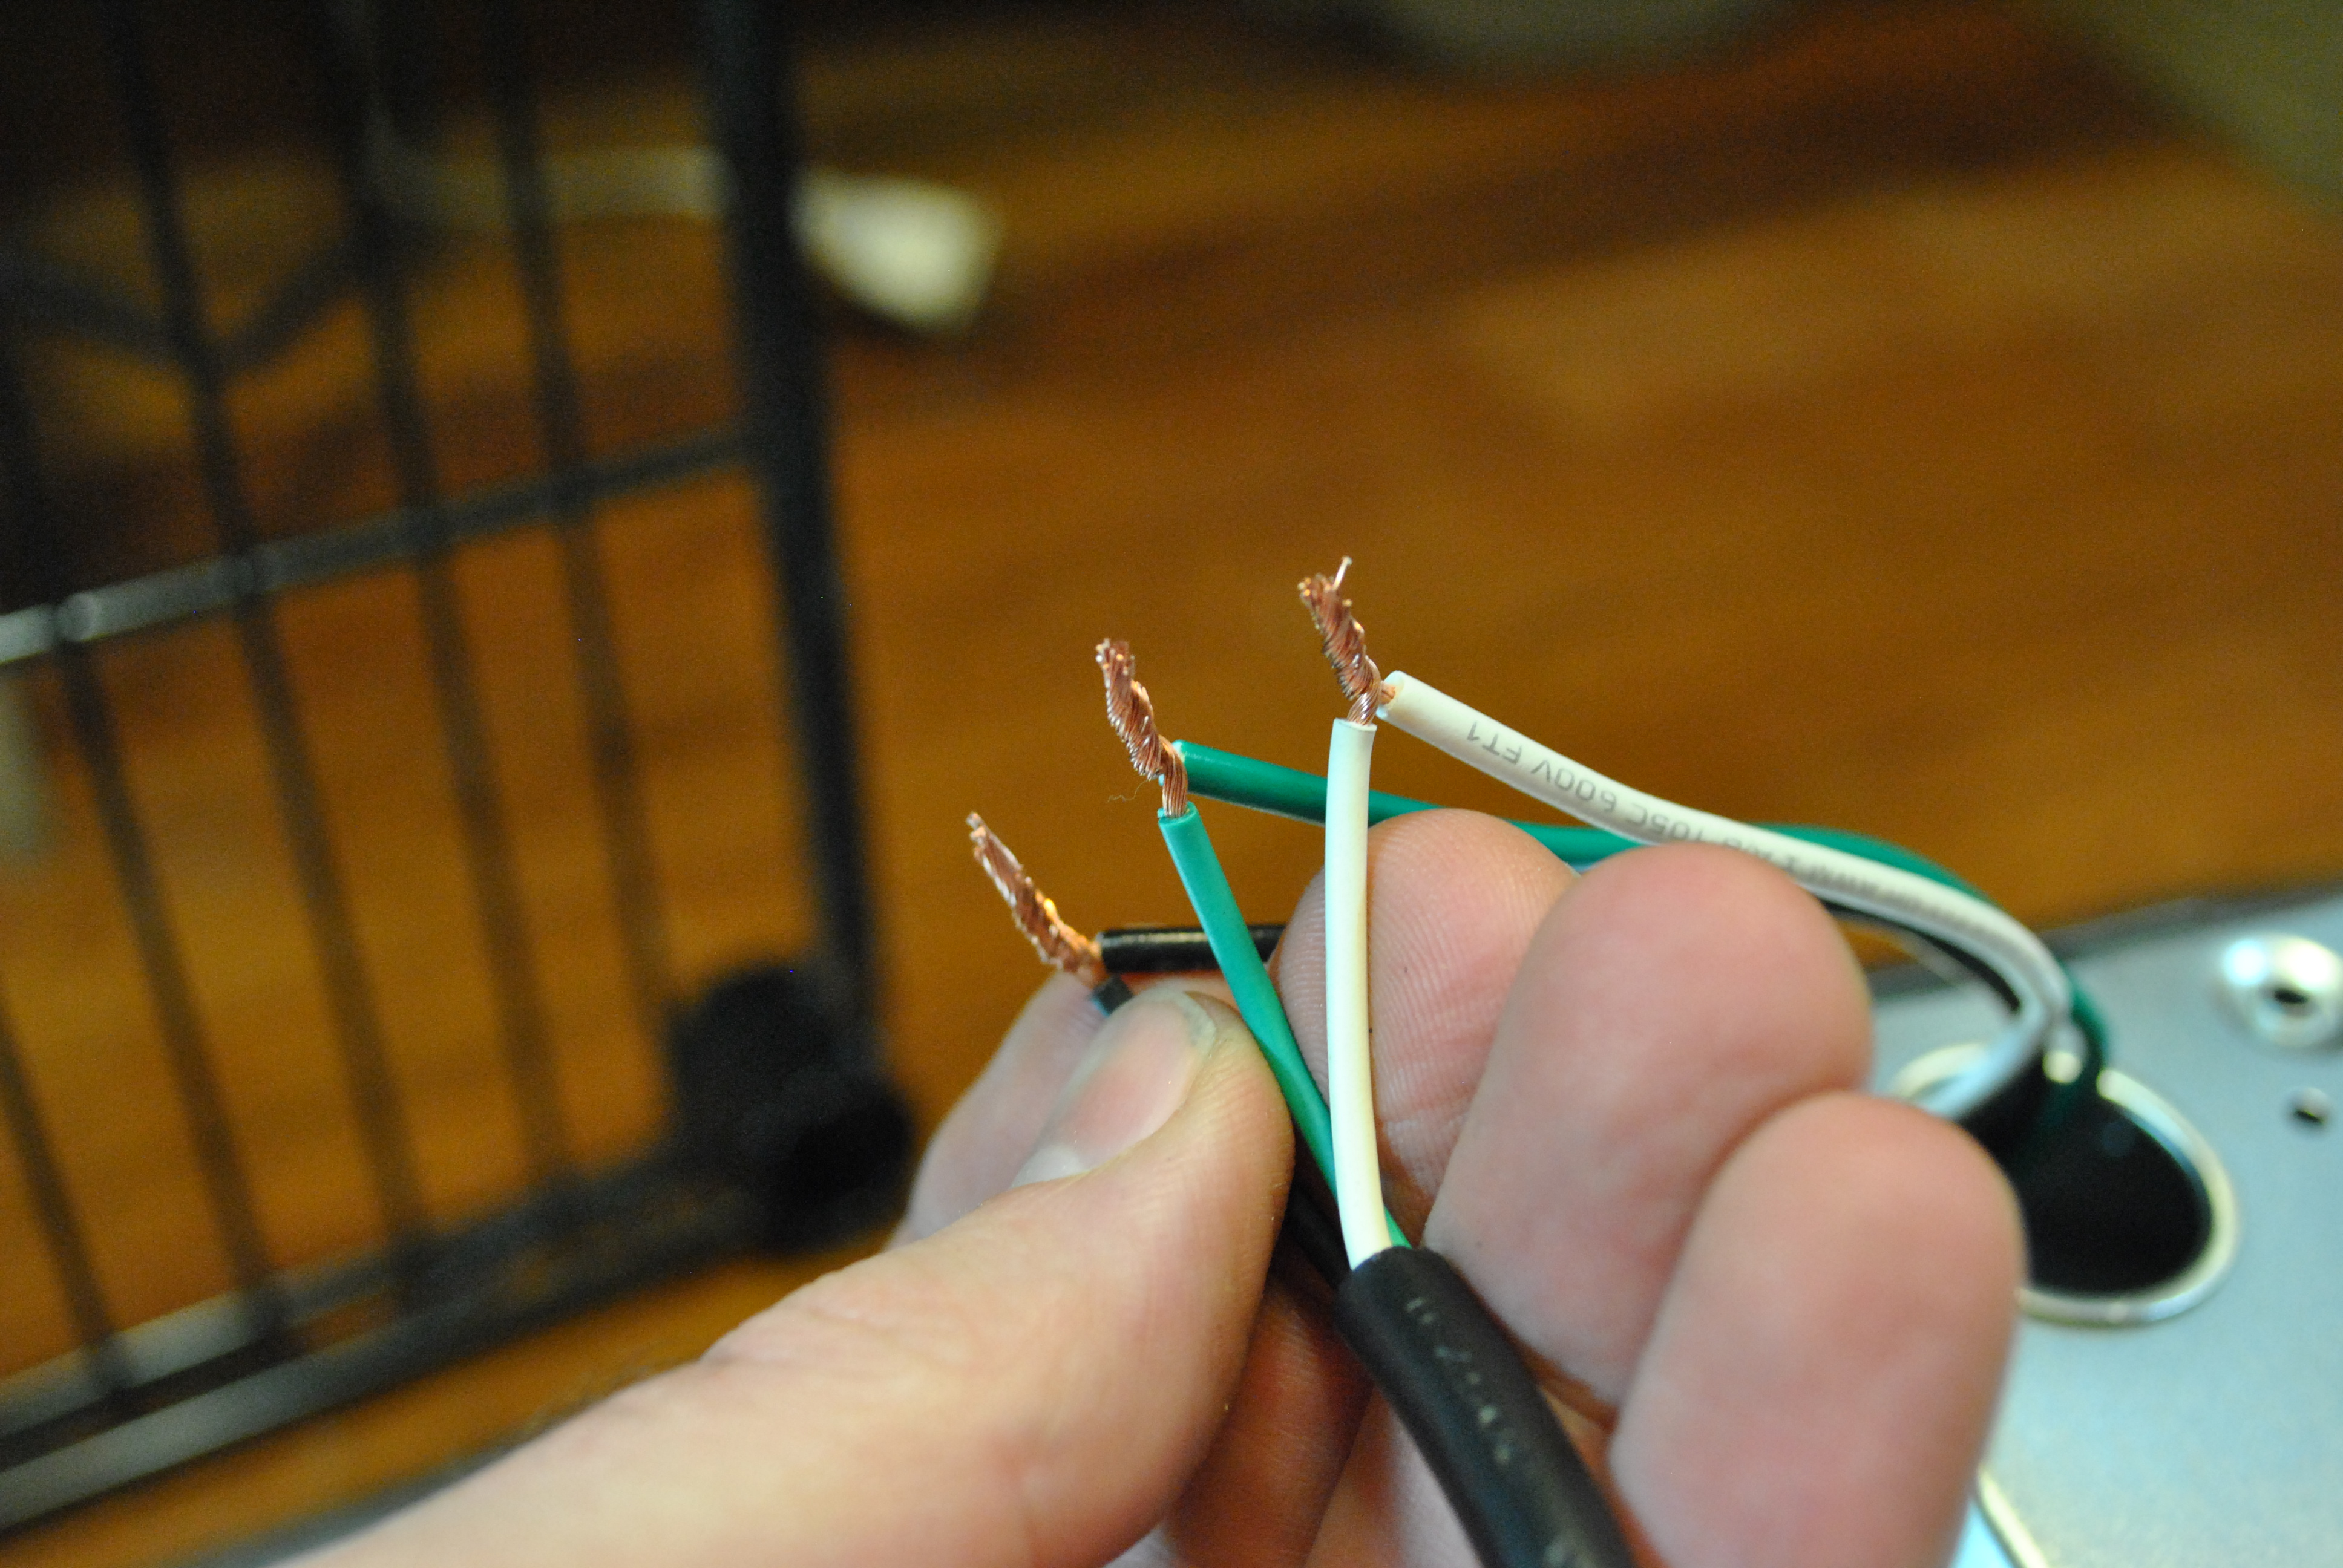
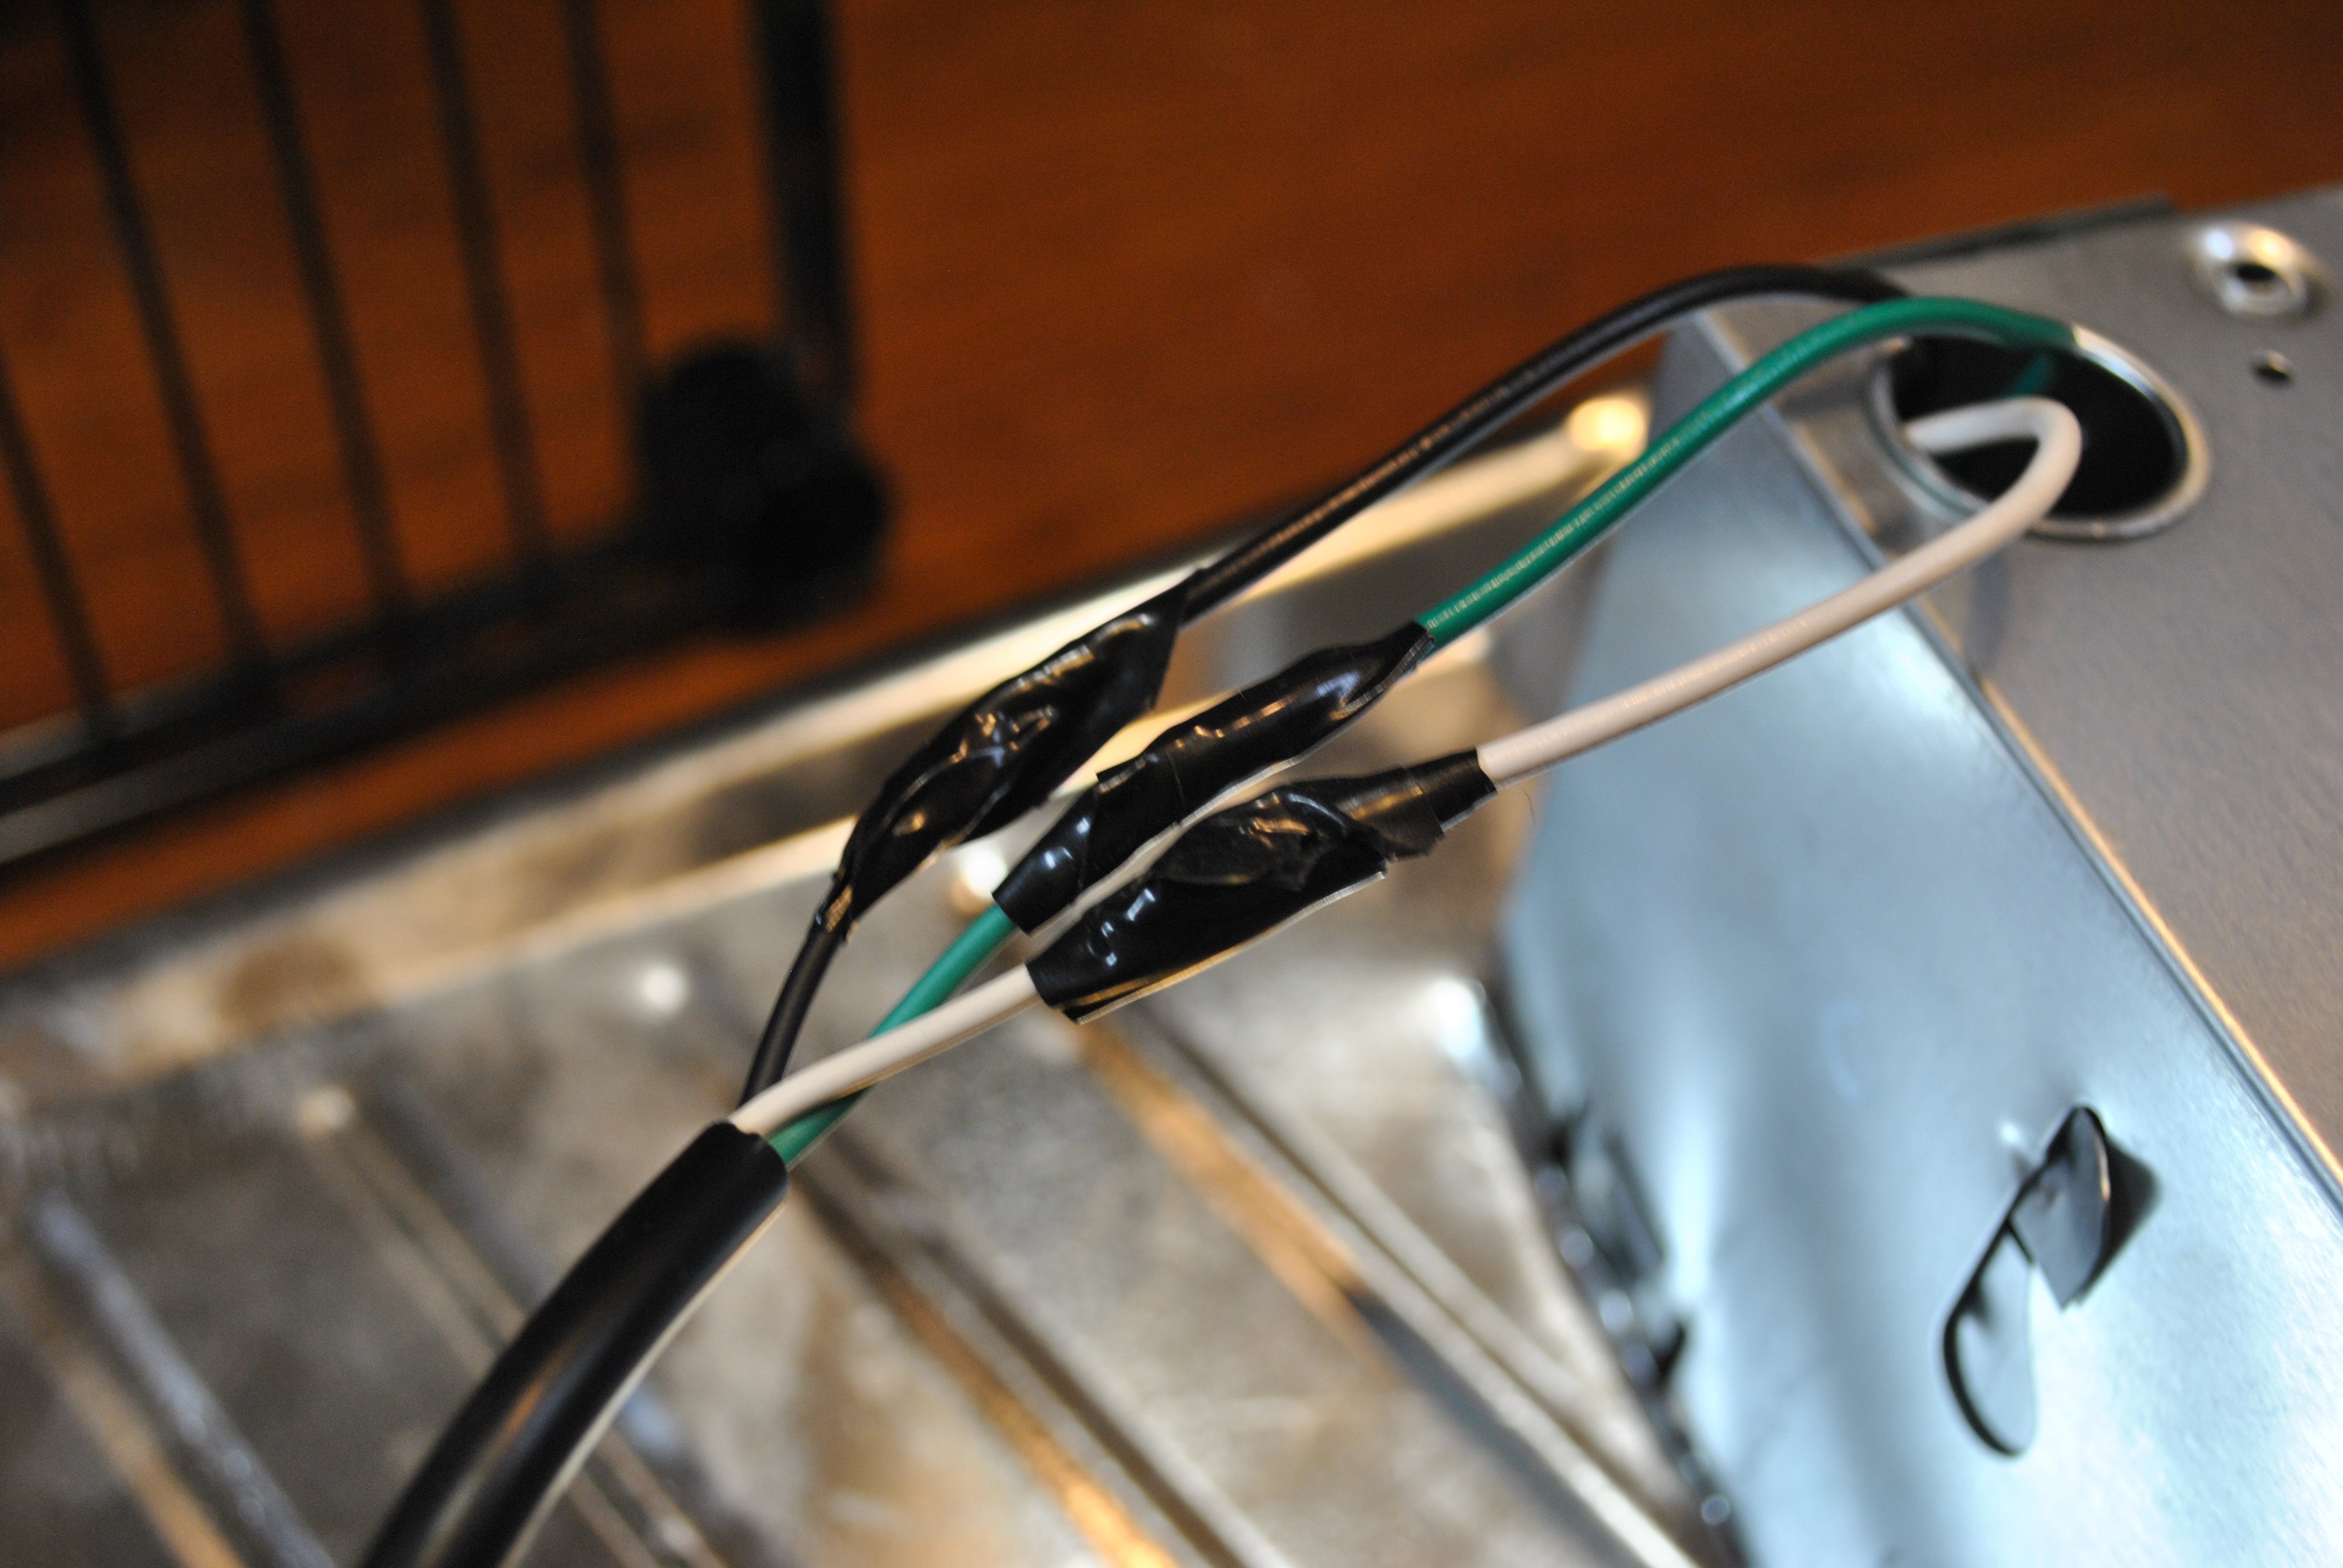
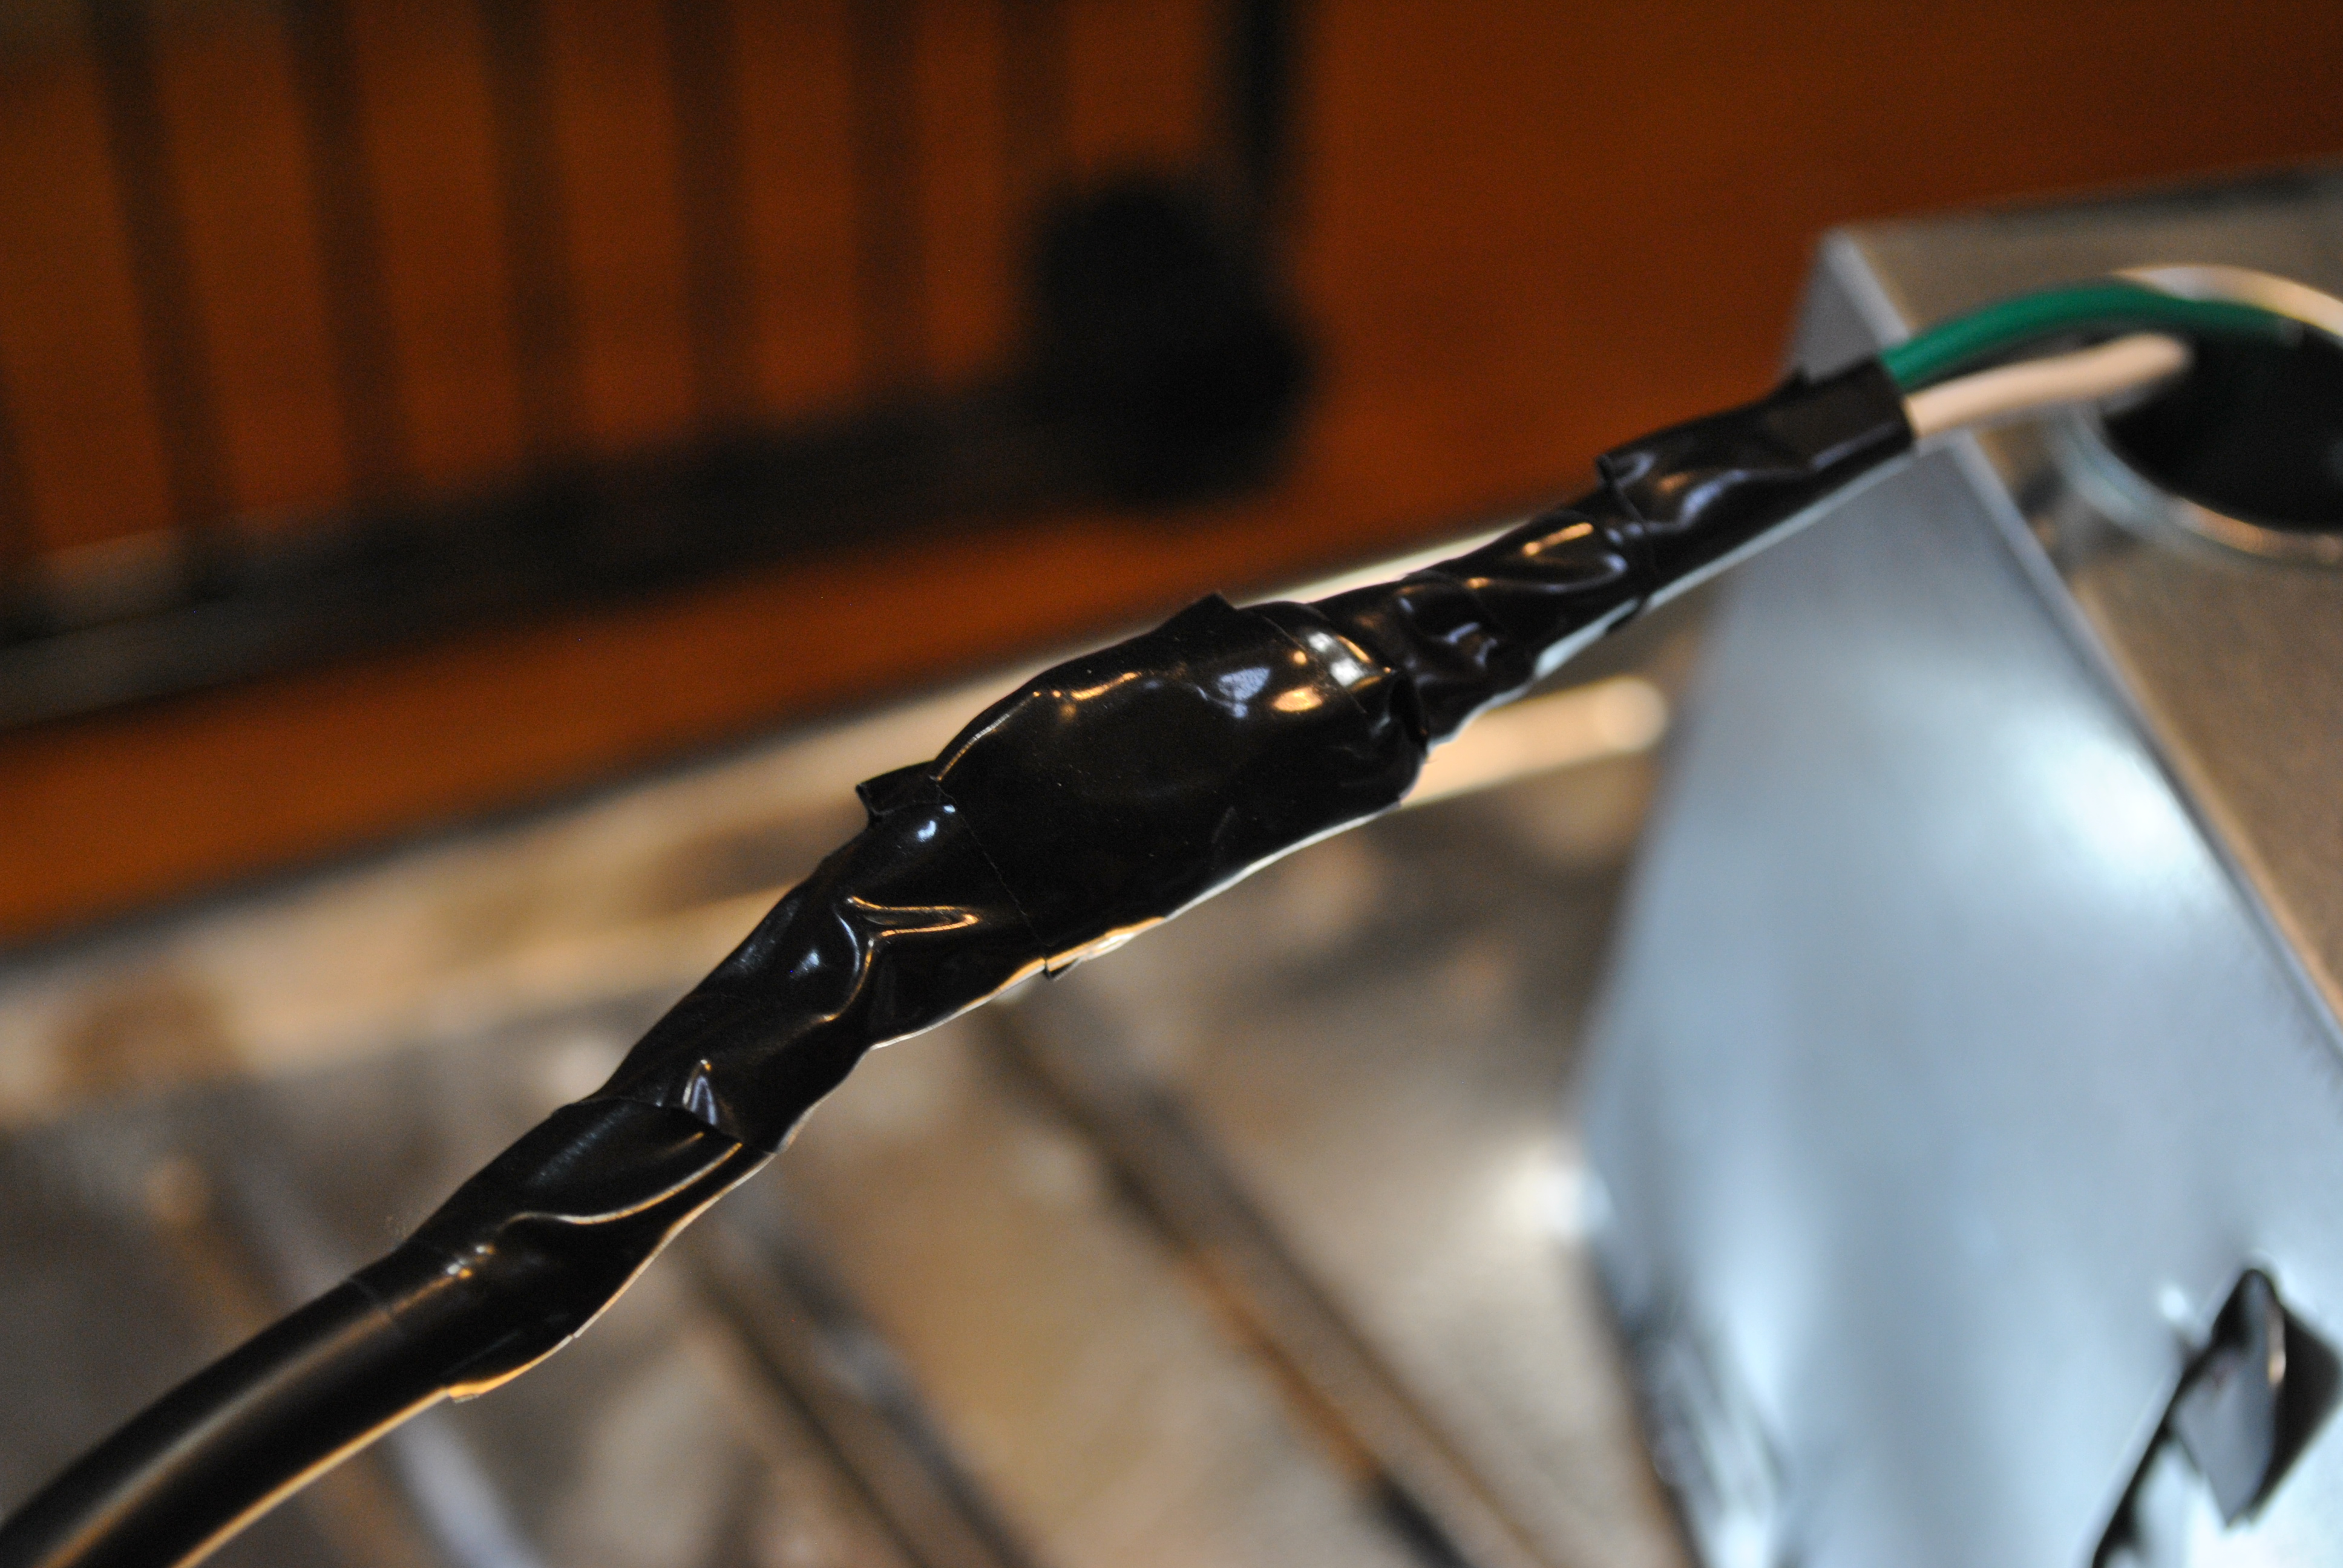
Match white to white, green to green, and black to black. Use wire nuts or electrical tape to carefully wrap each wire individually before wrapping the entire mess.
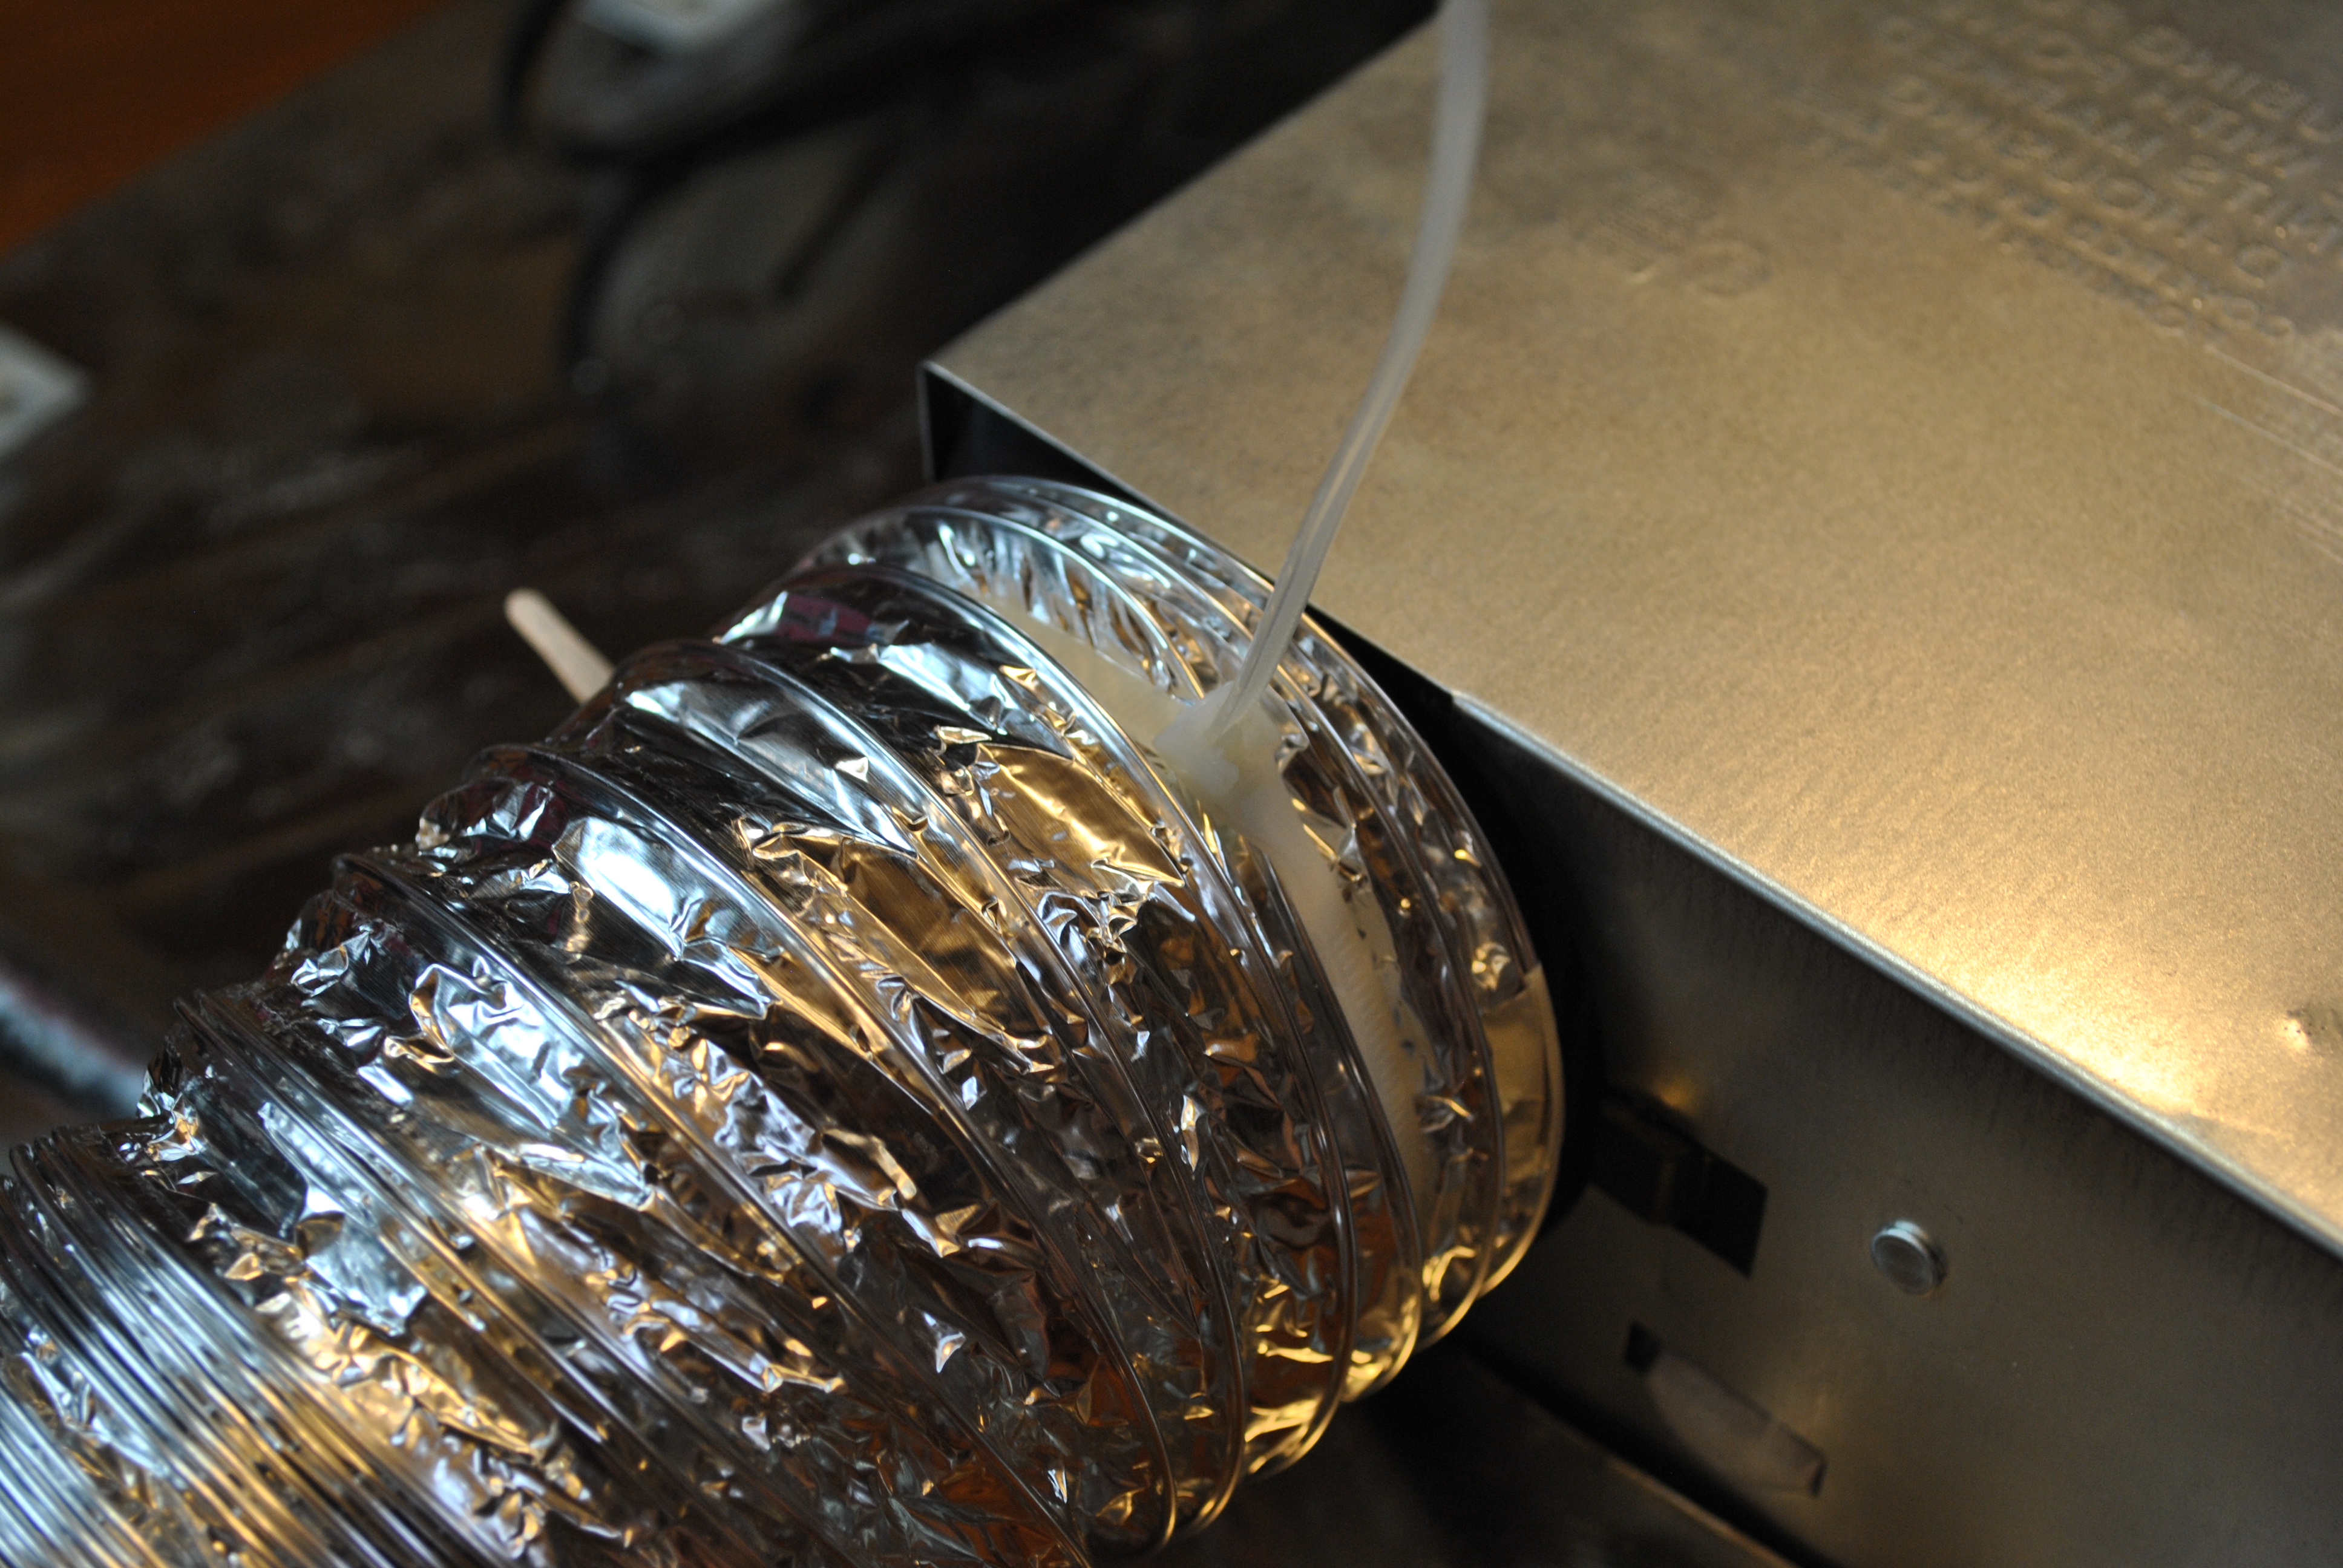
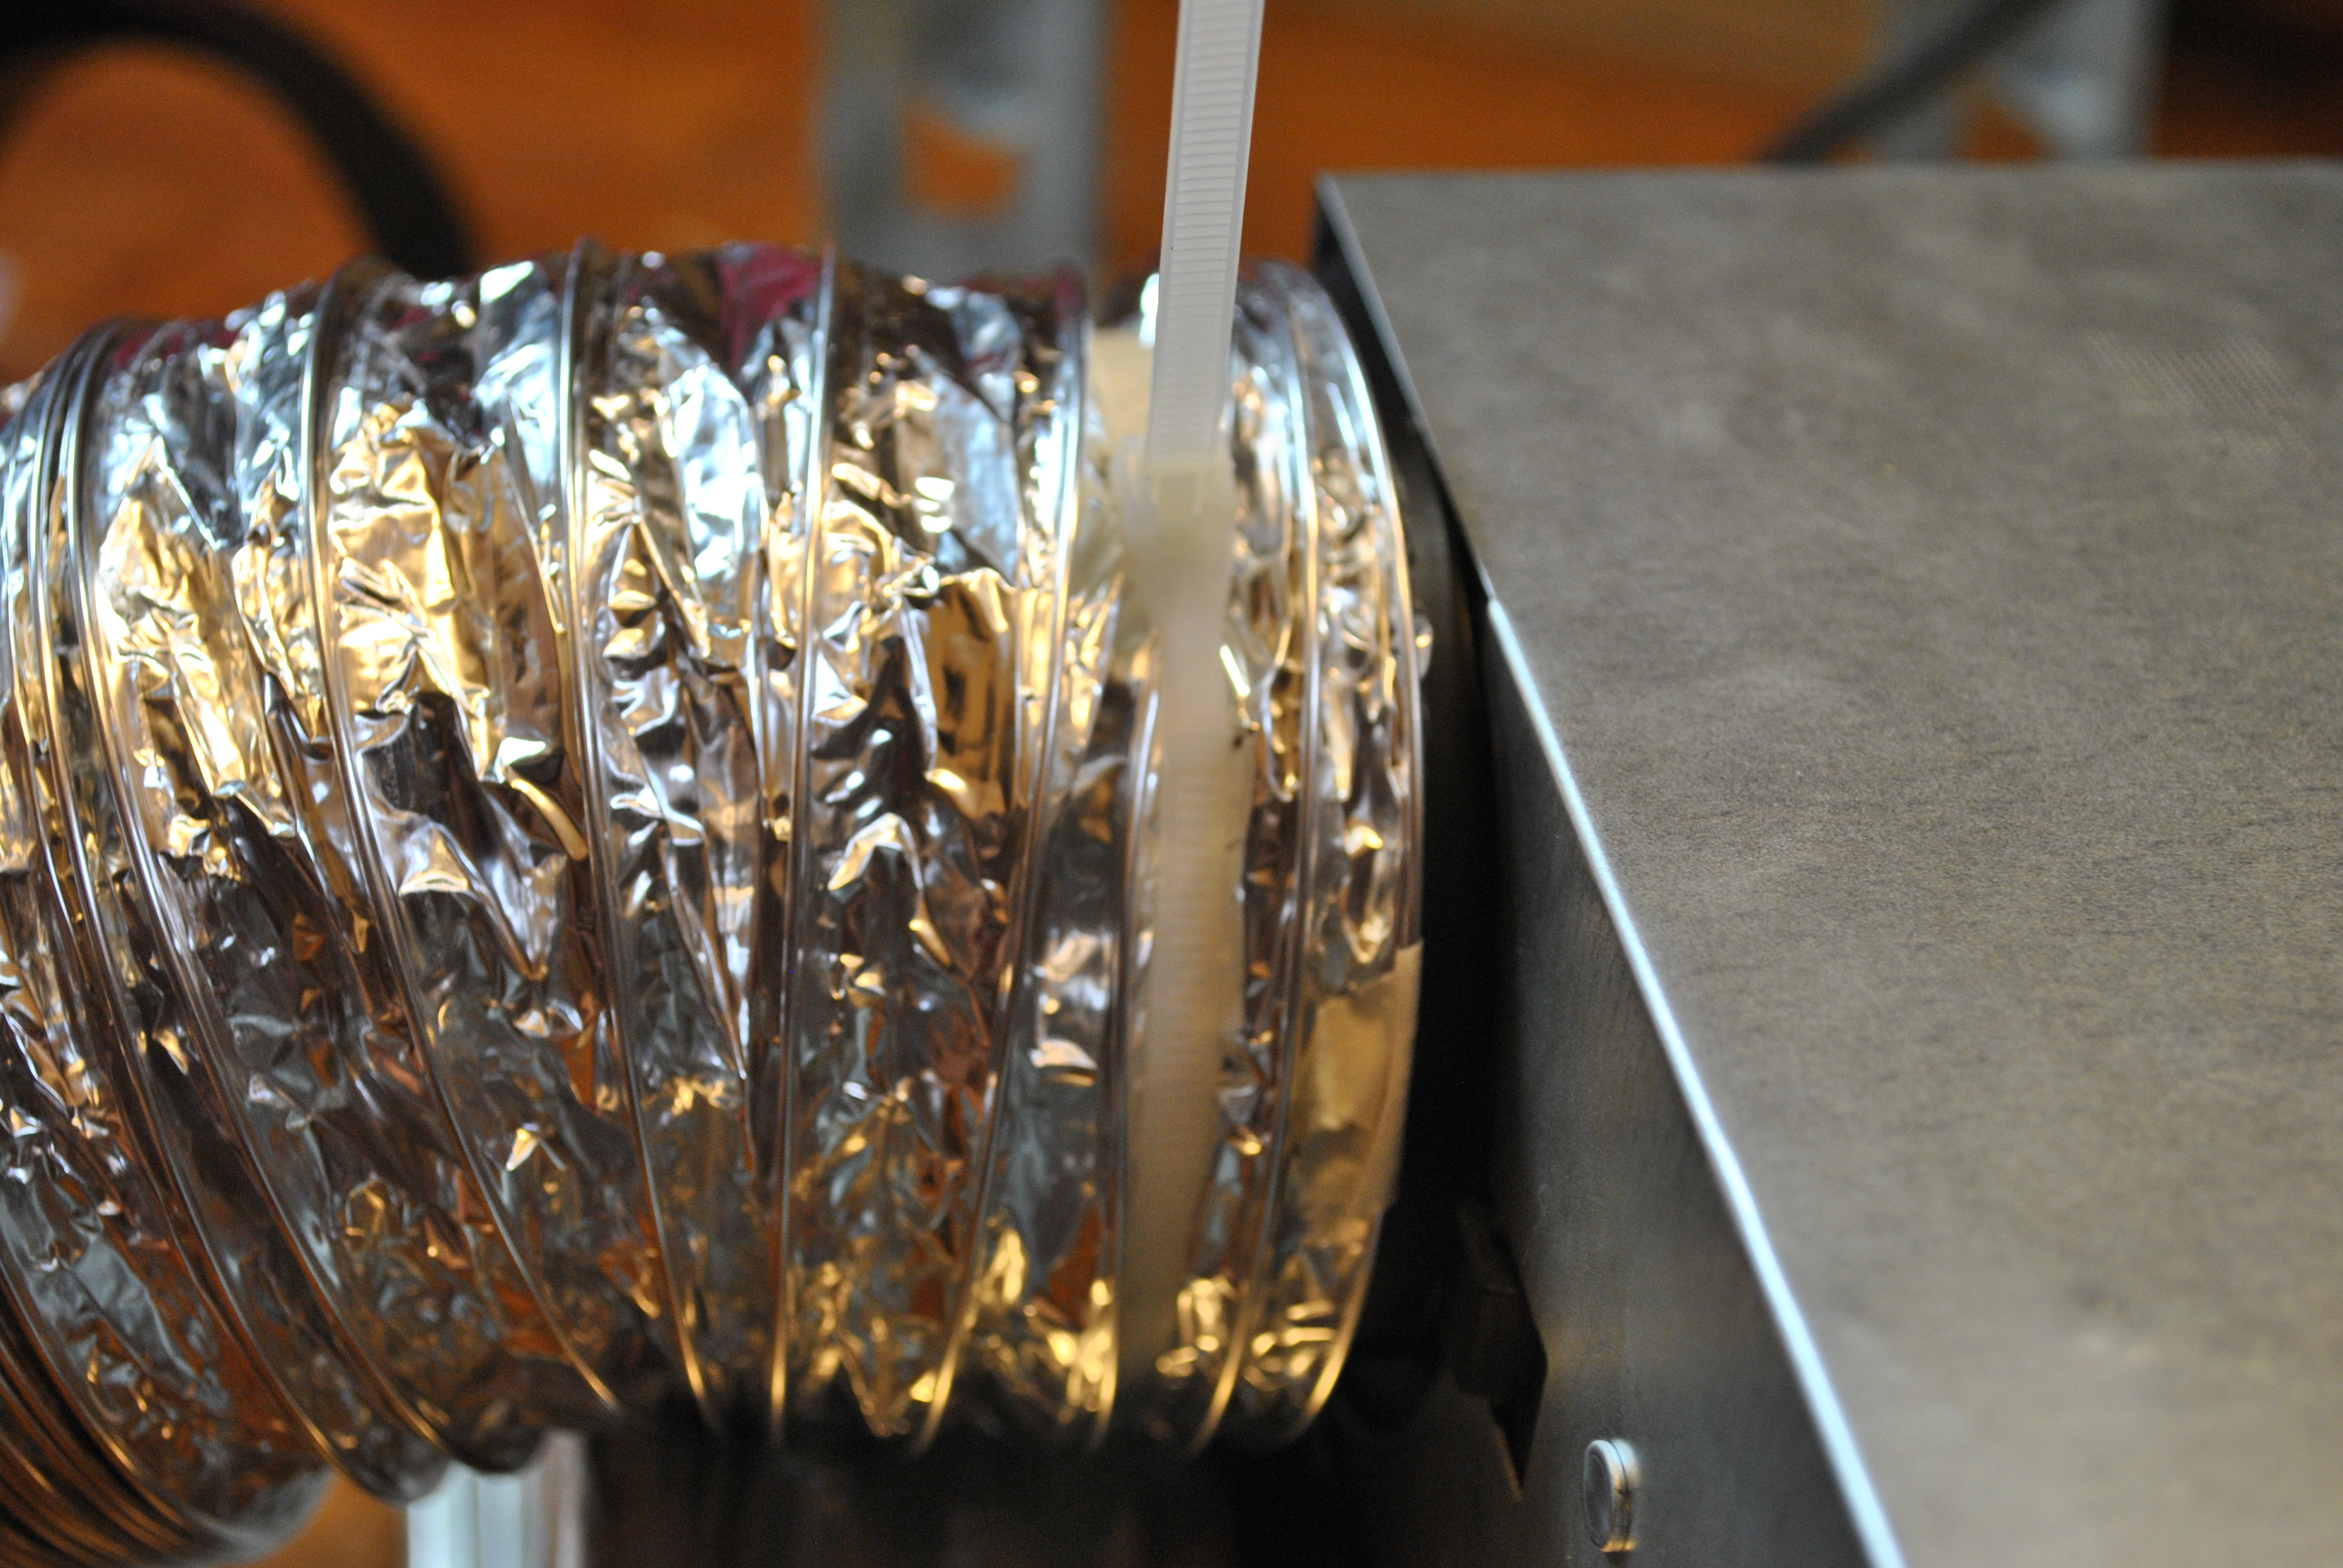
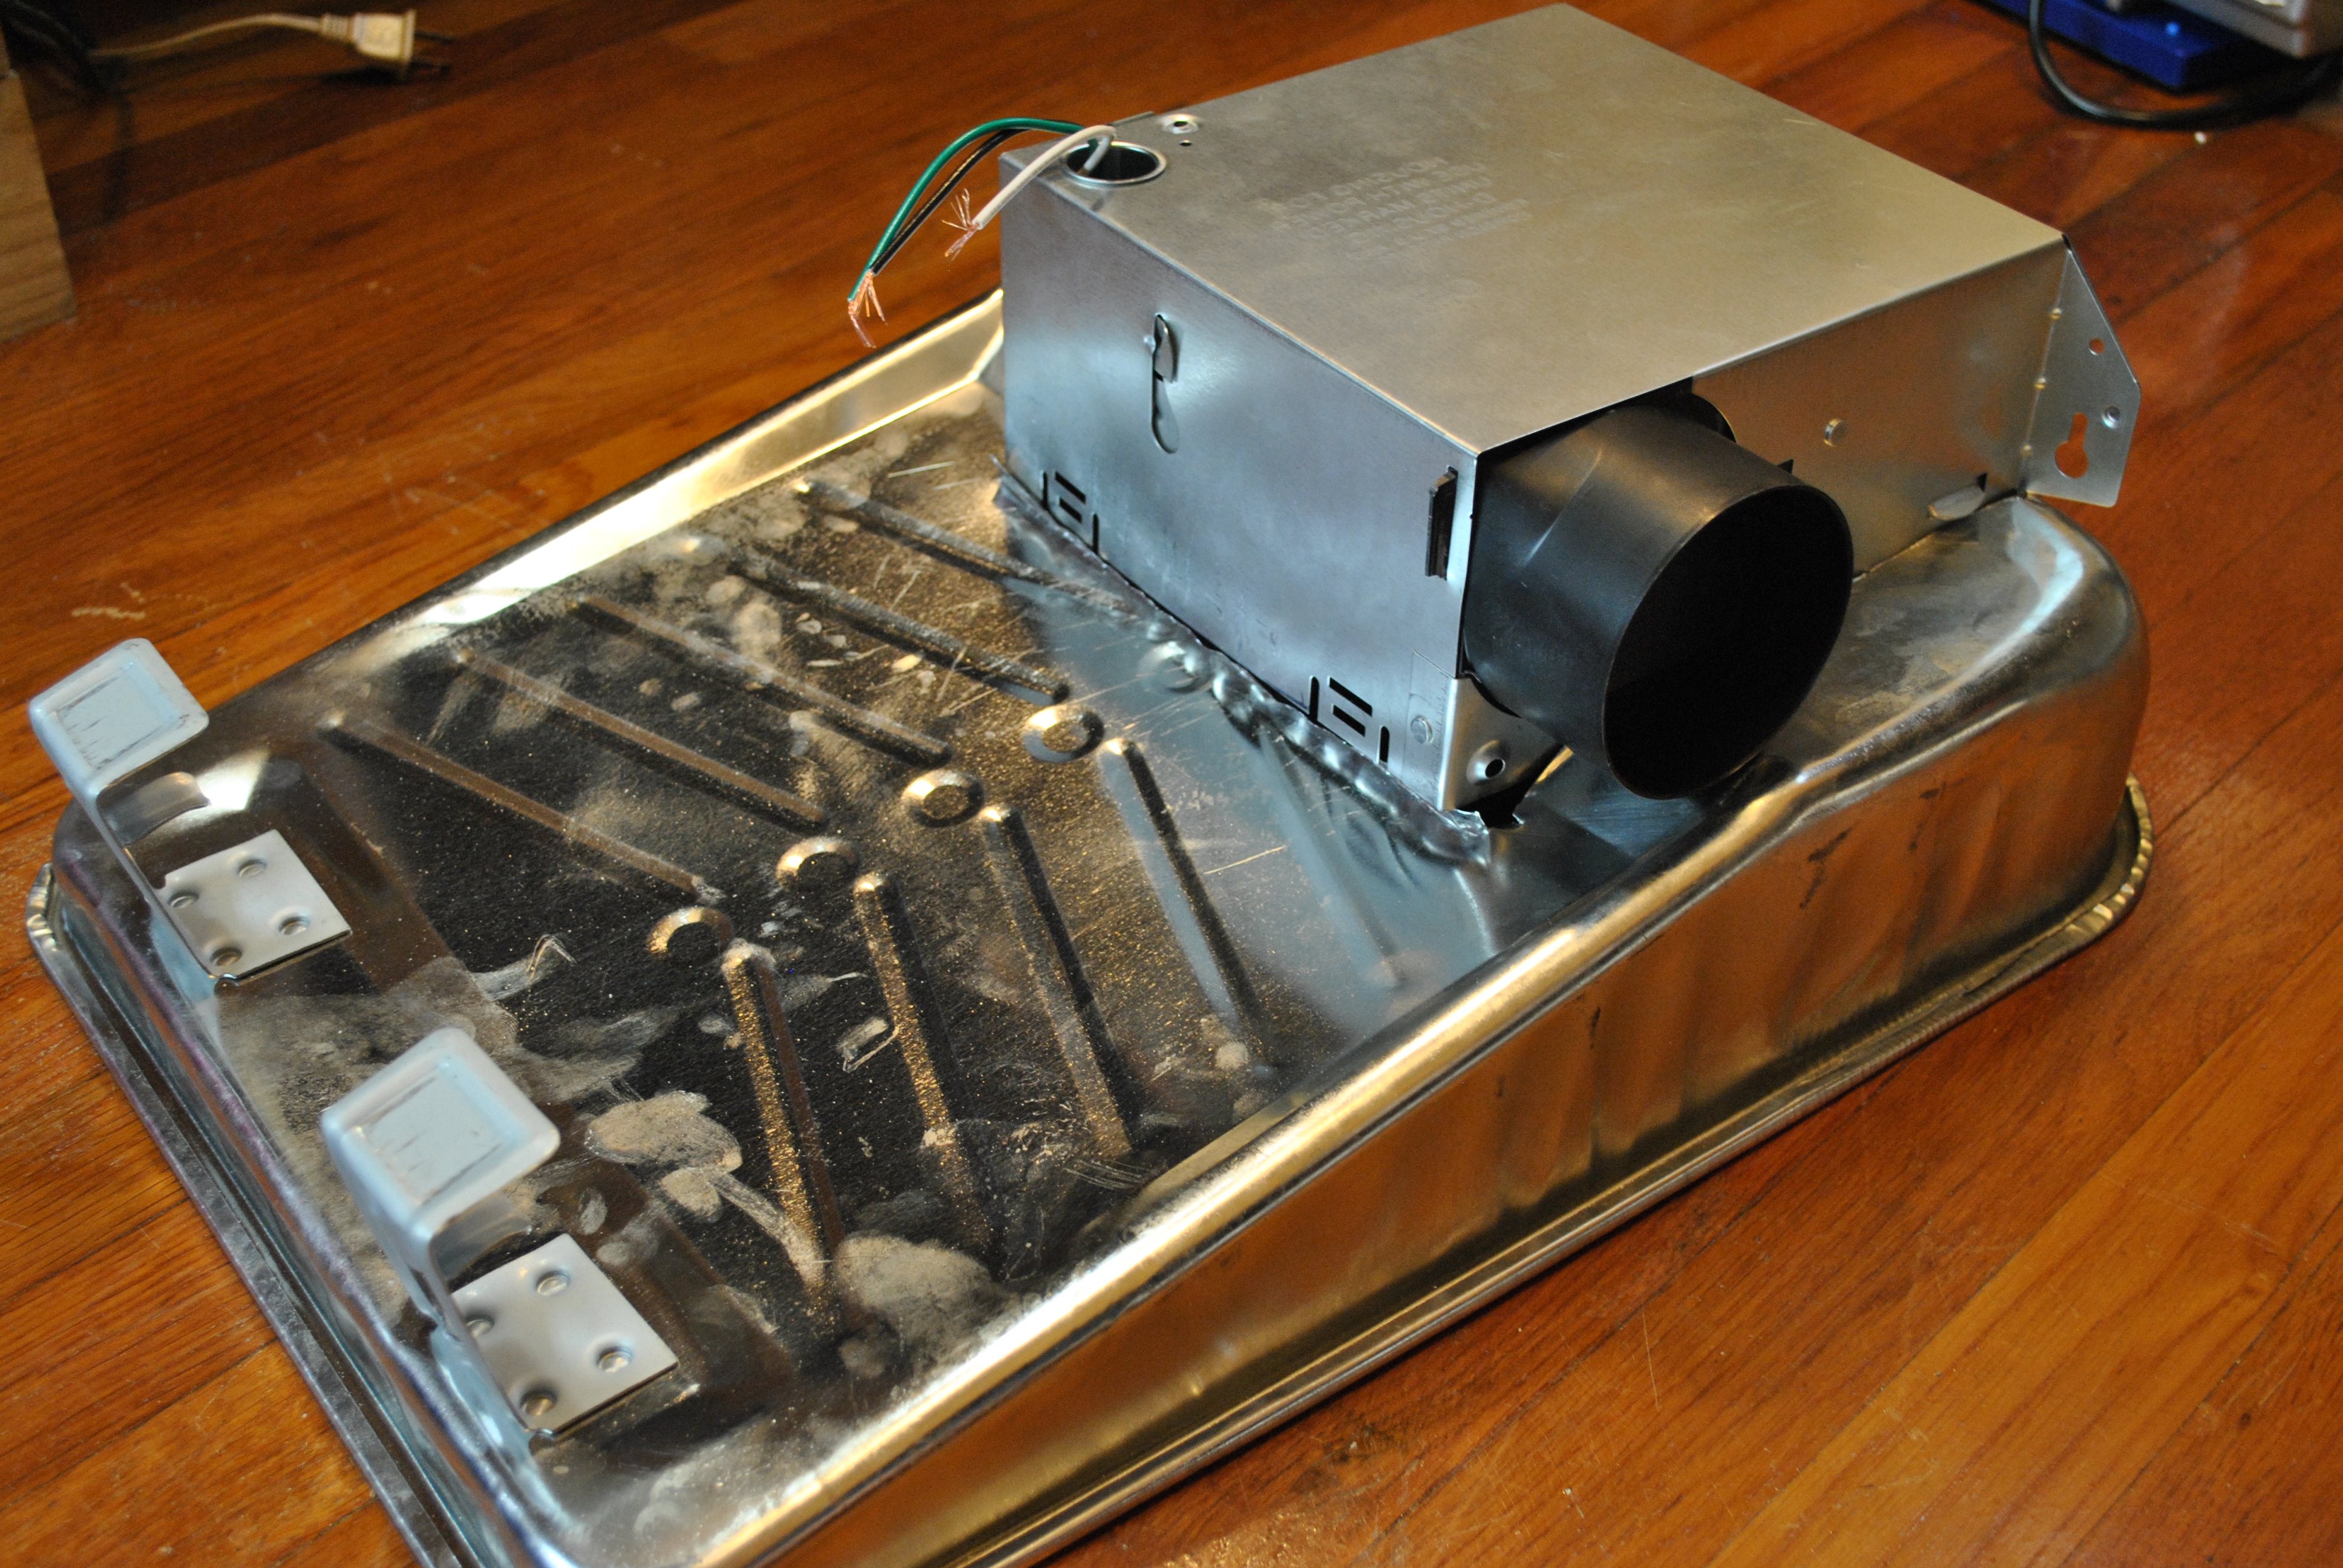
Attach the duct work to the fan, I used a zip tie with a small metal screw to secure it strongly to the black flange that sticks out from the fan.
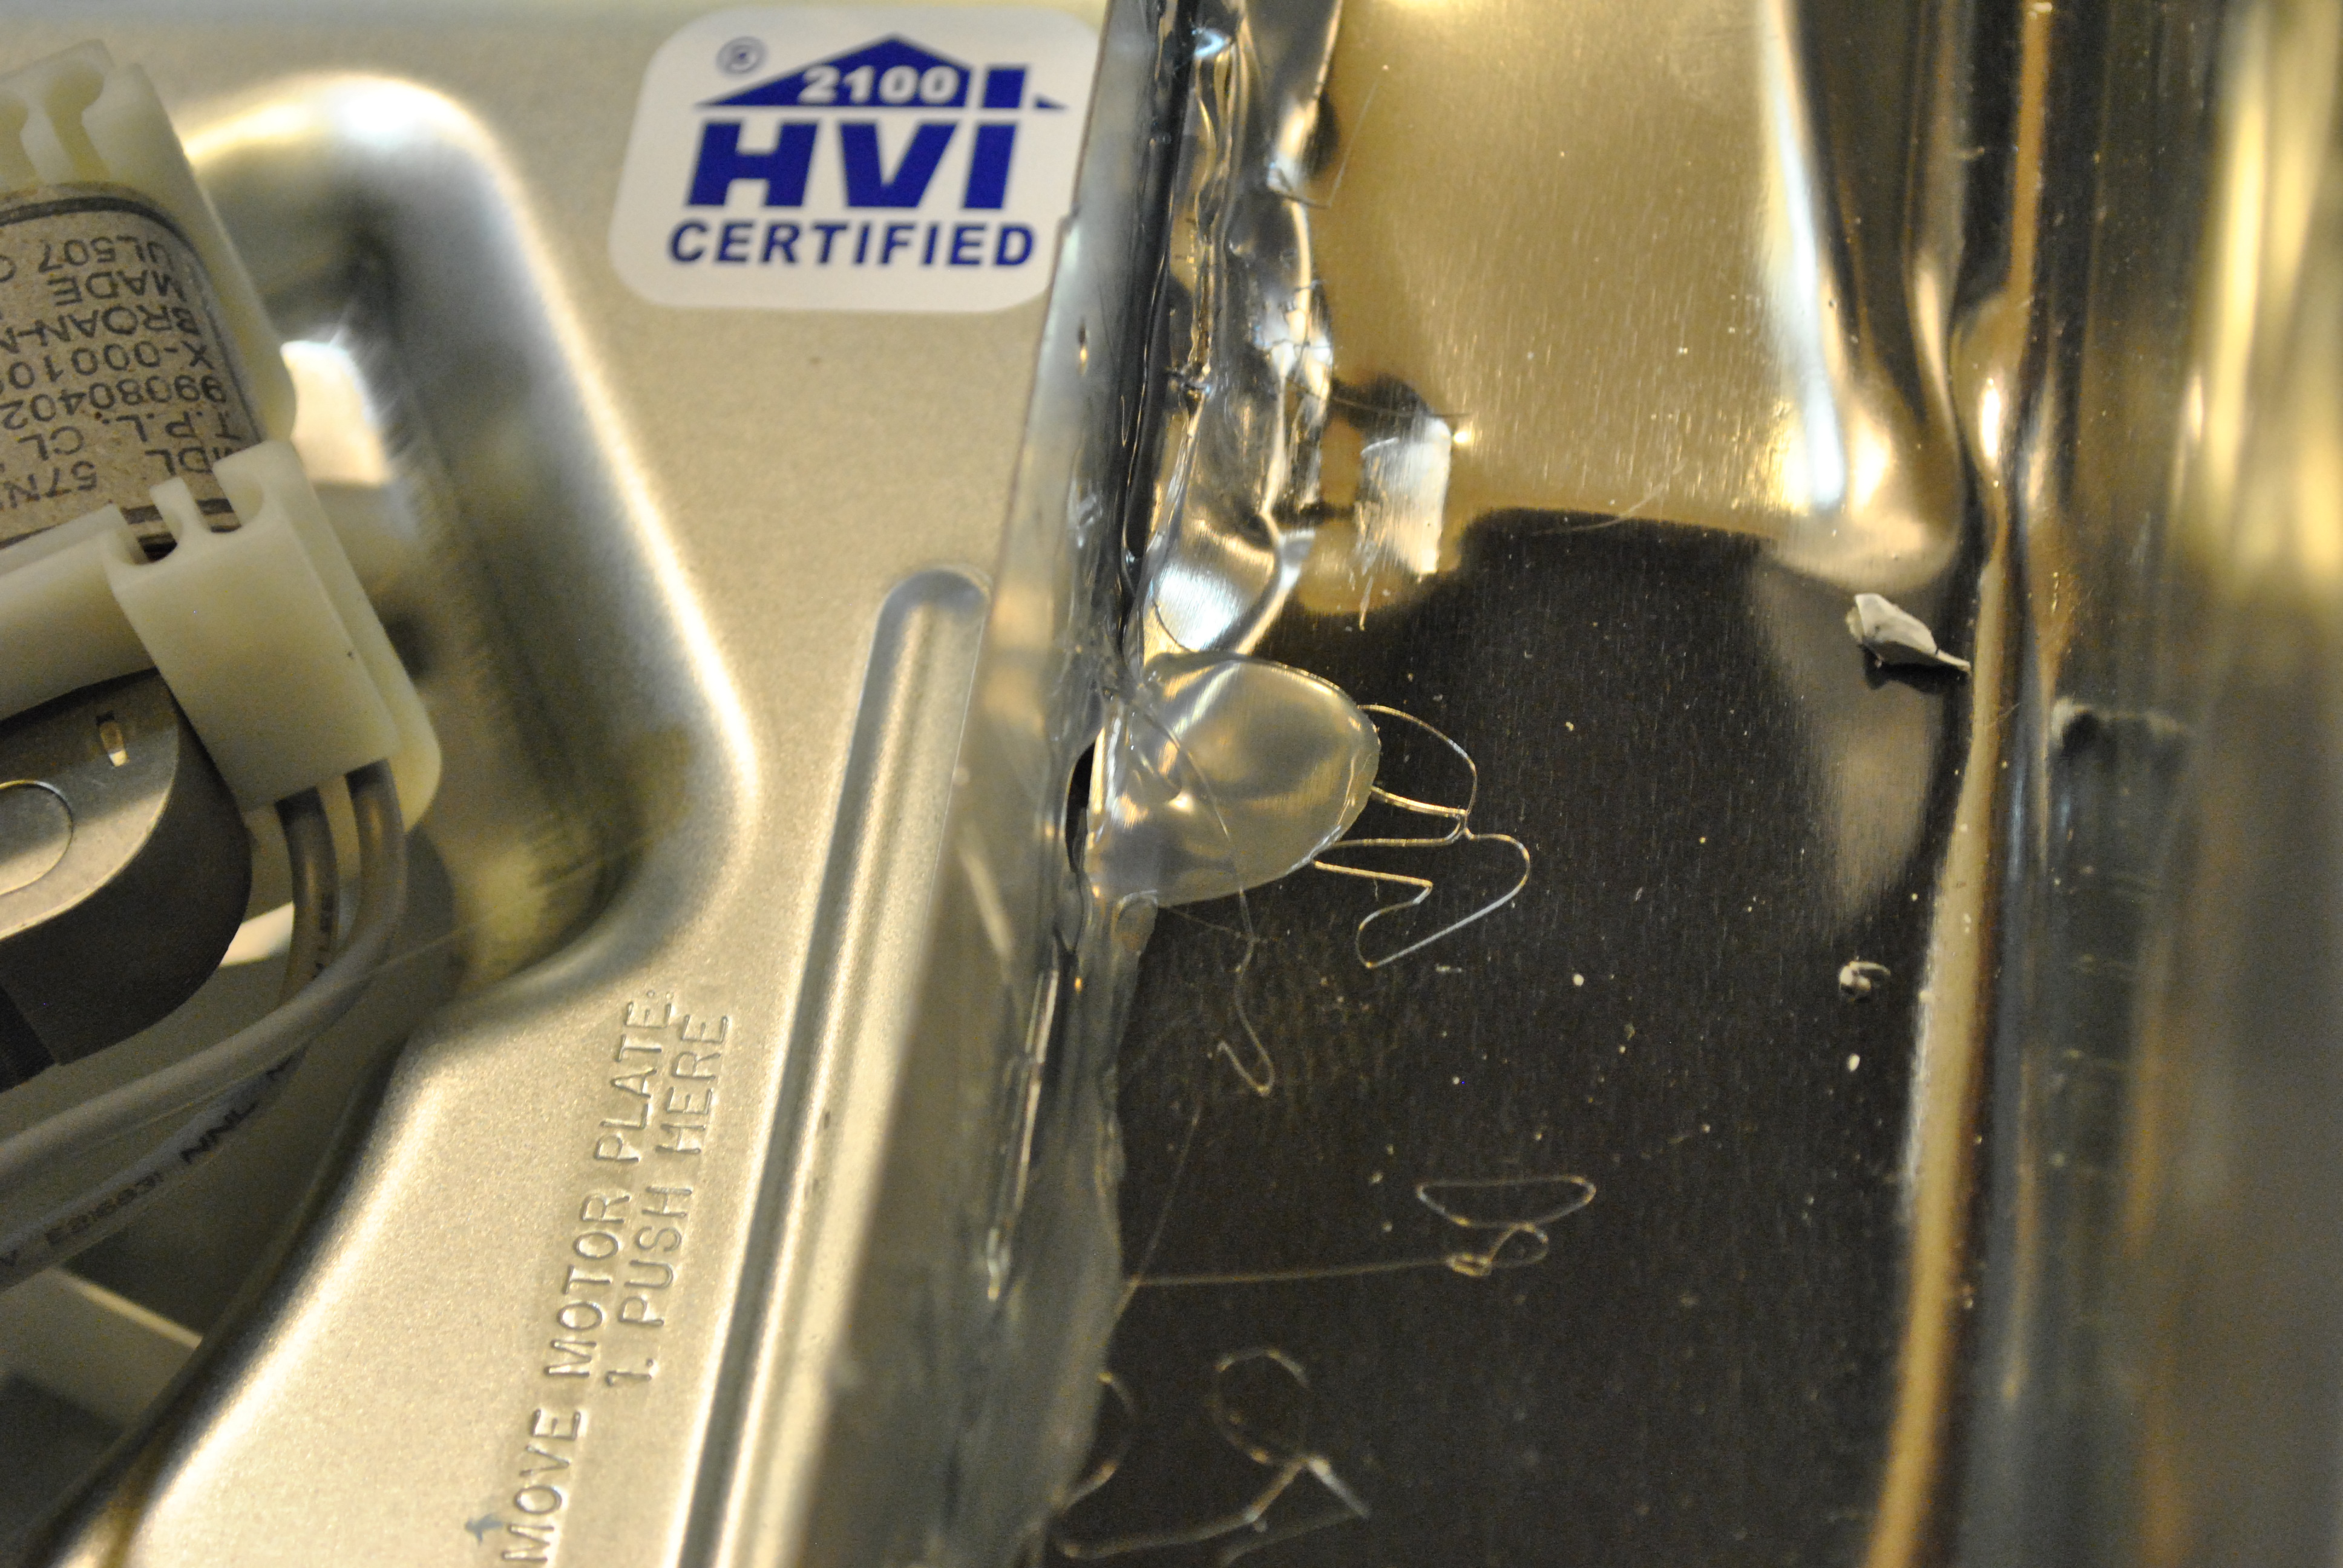
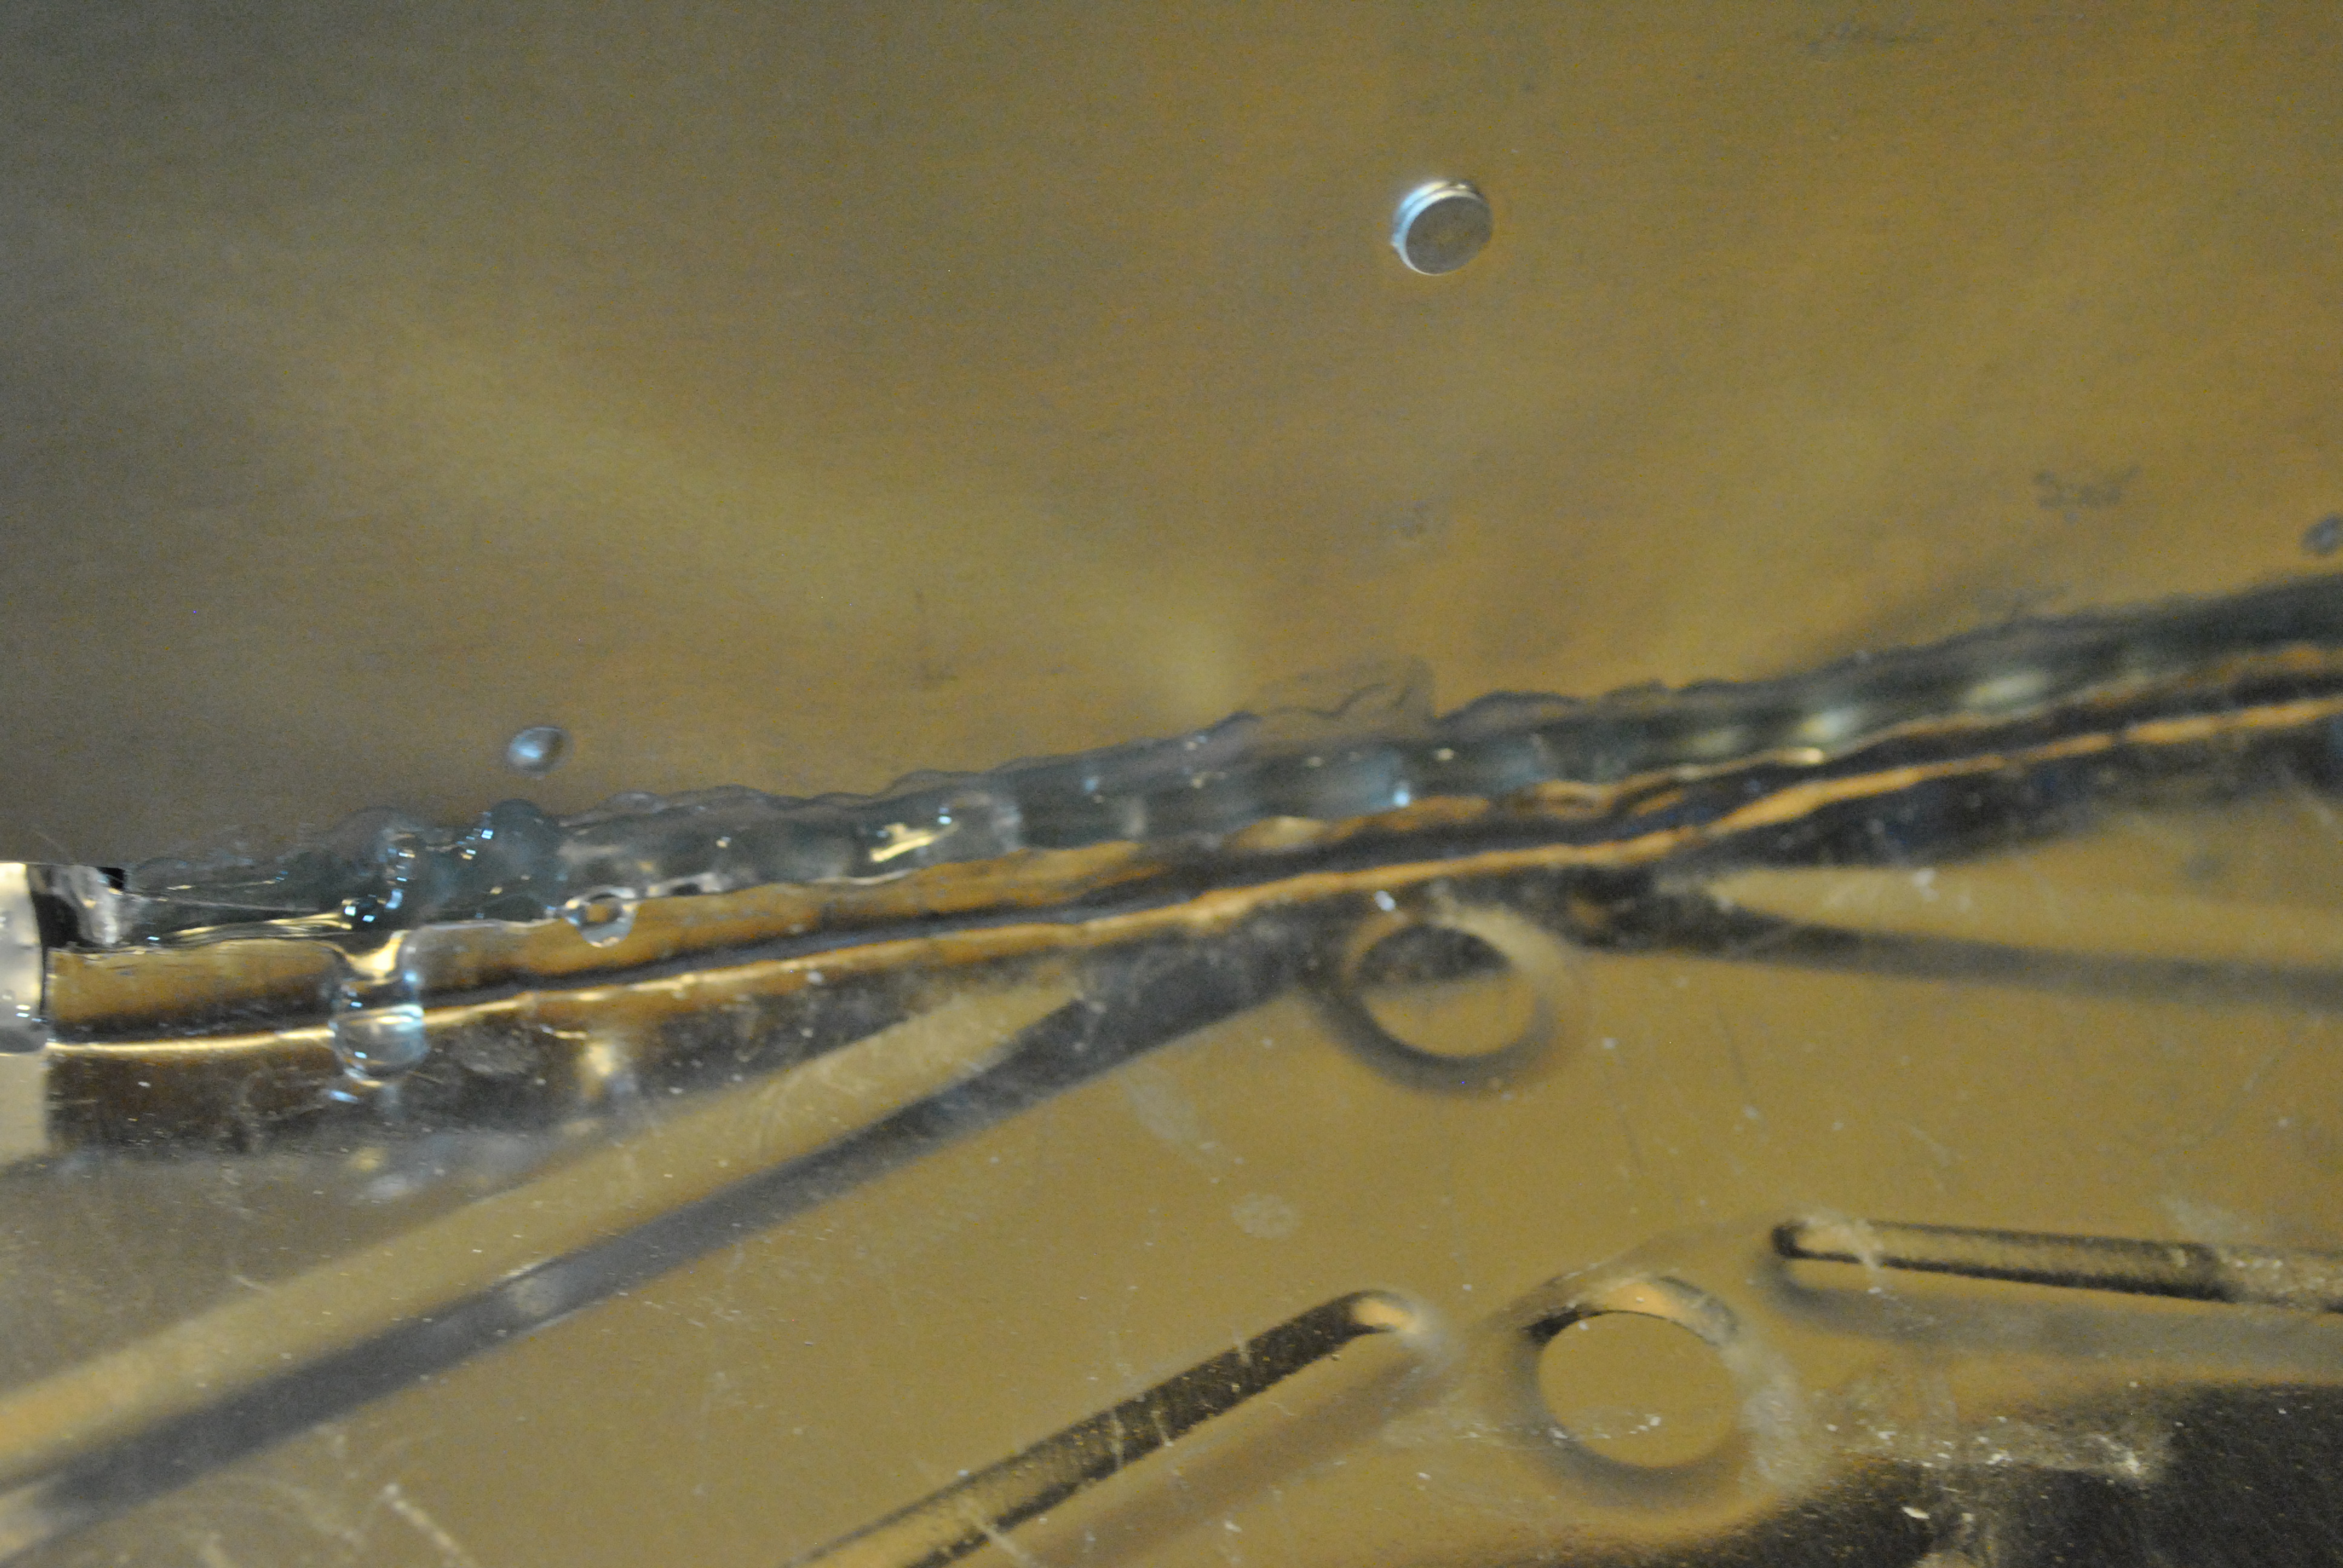
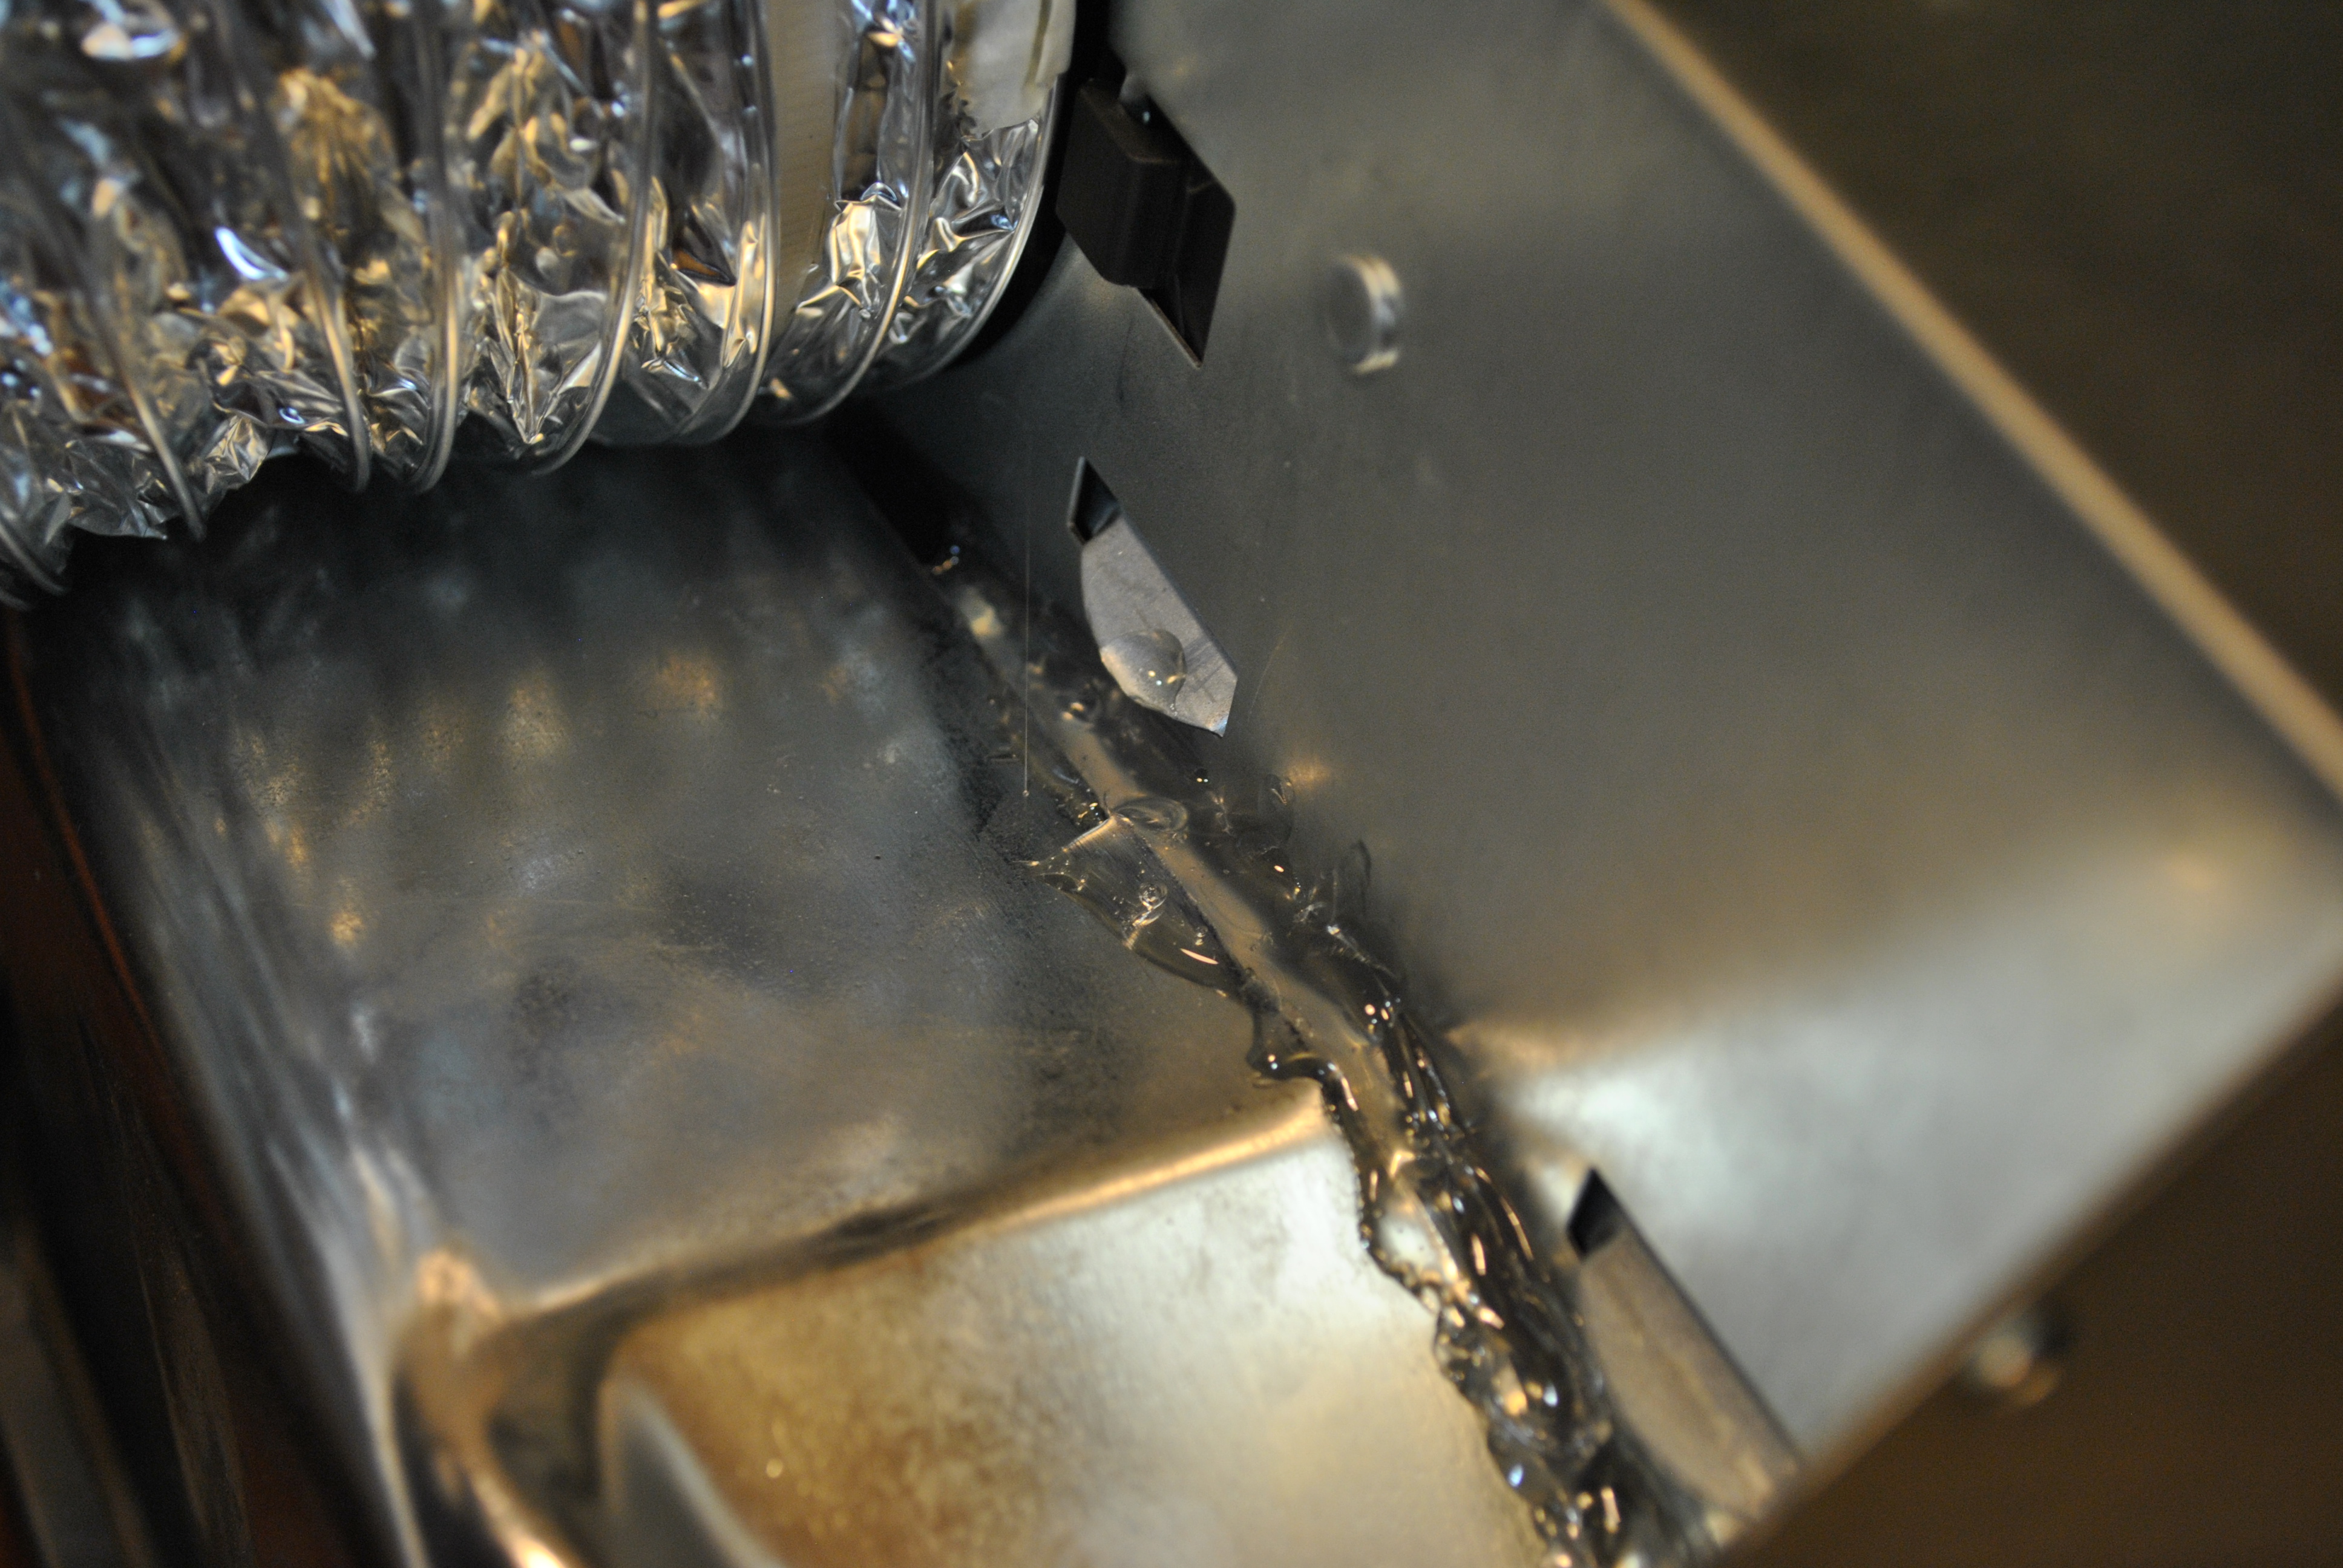
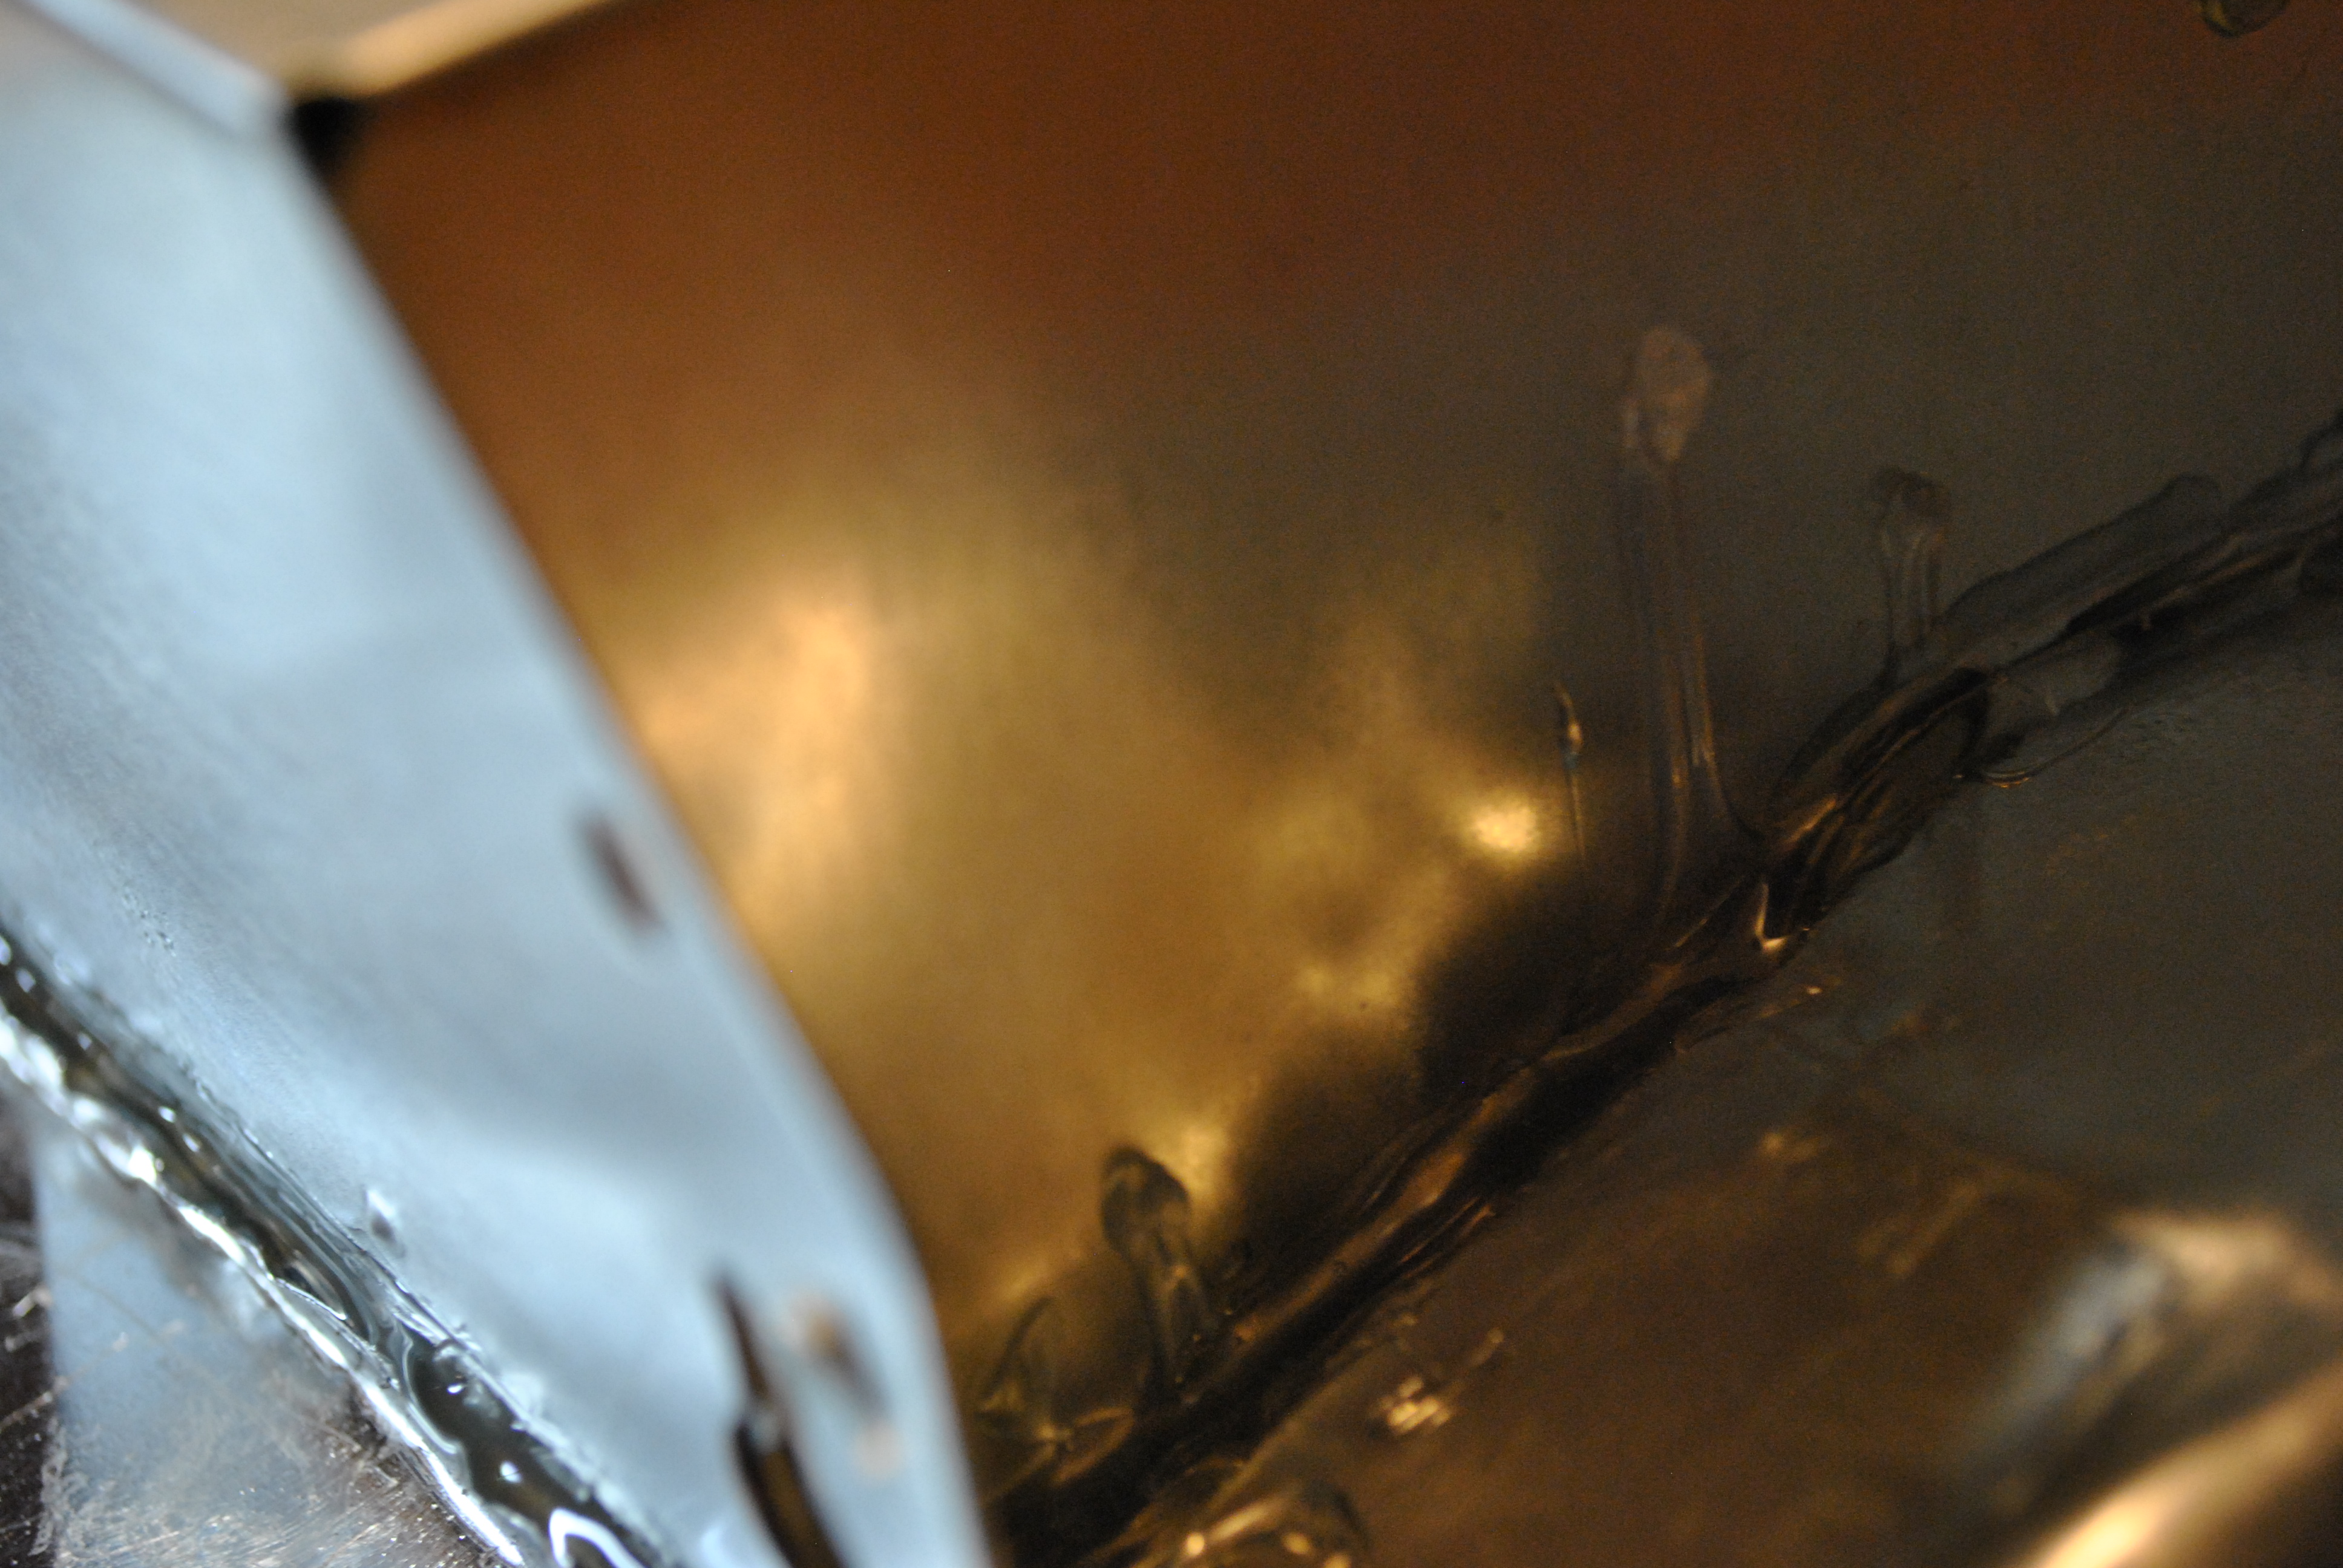
Some pictures of the glue job, remember this isn’t a fume hood, it will not have to catch every single vapor from your super toxic chemistry experiments, it just has to vent hot air from the kiln out your window. That being said, the tighter a seal you can get the better it works. Don’t be shy with the glue/tape to close up holes.
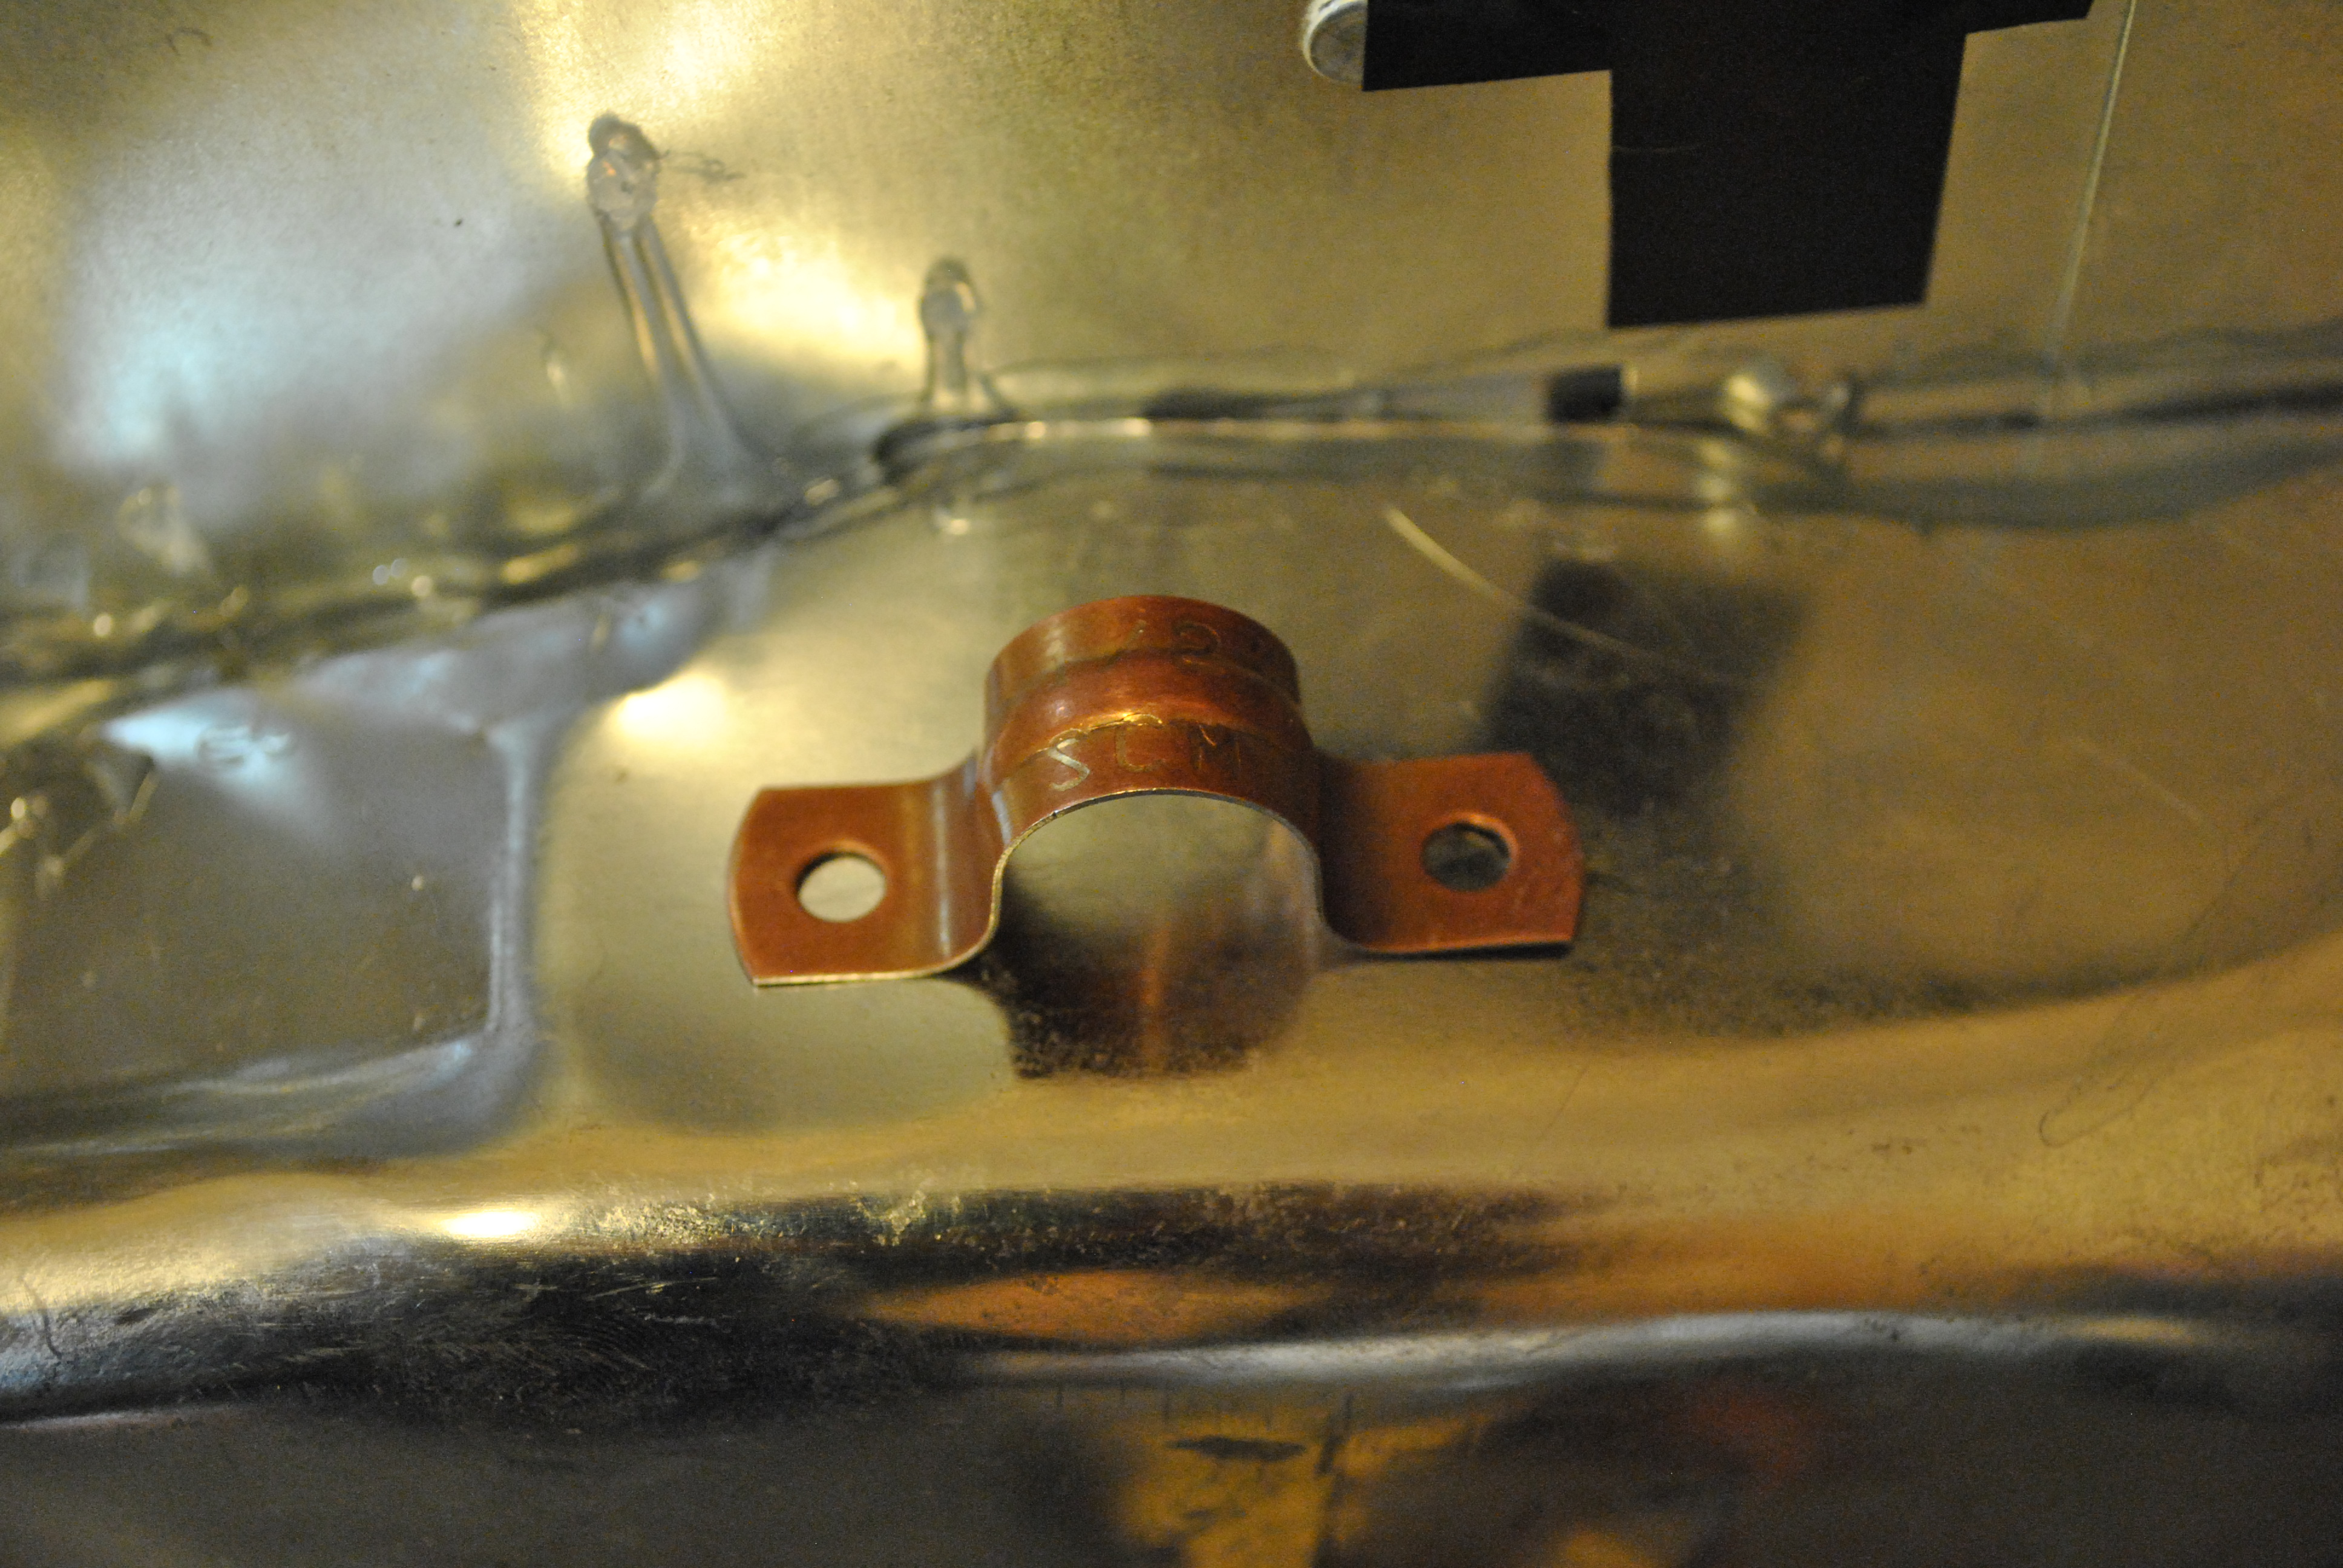
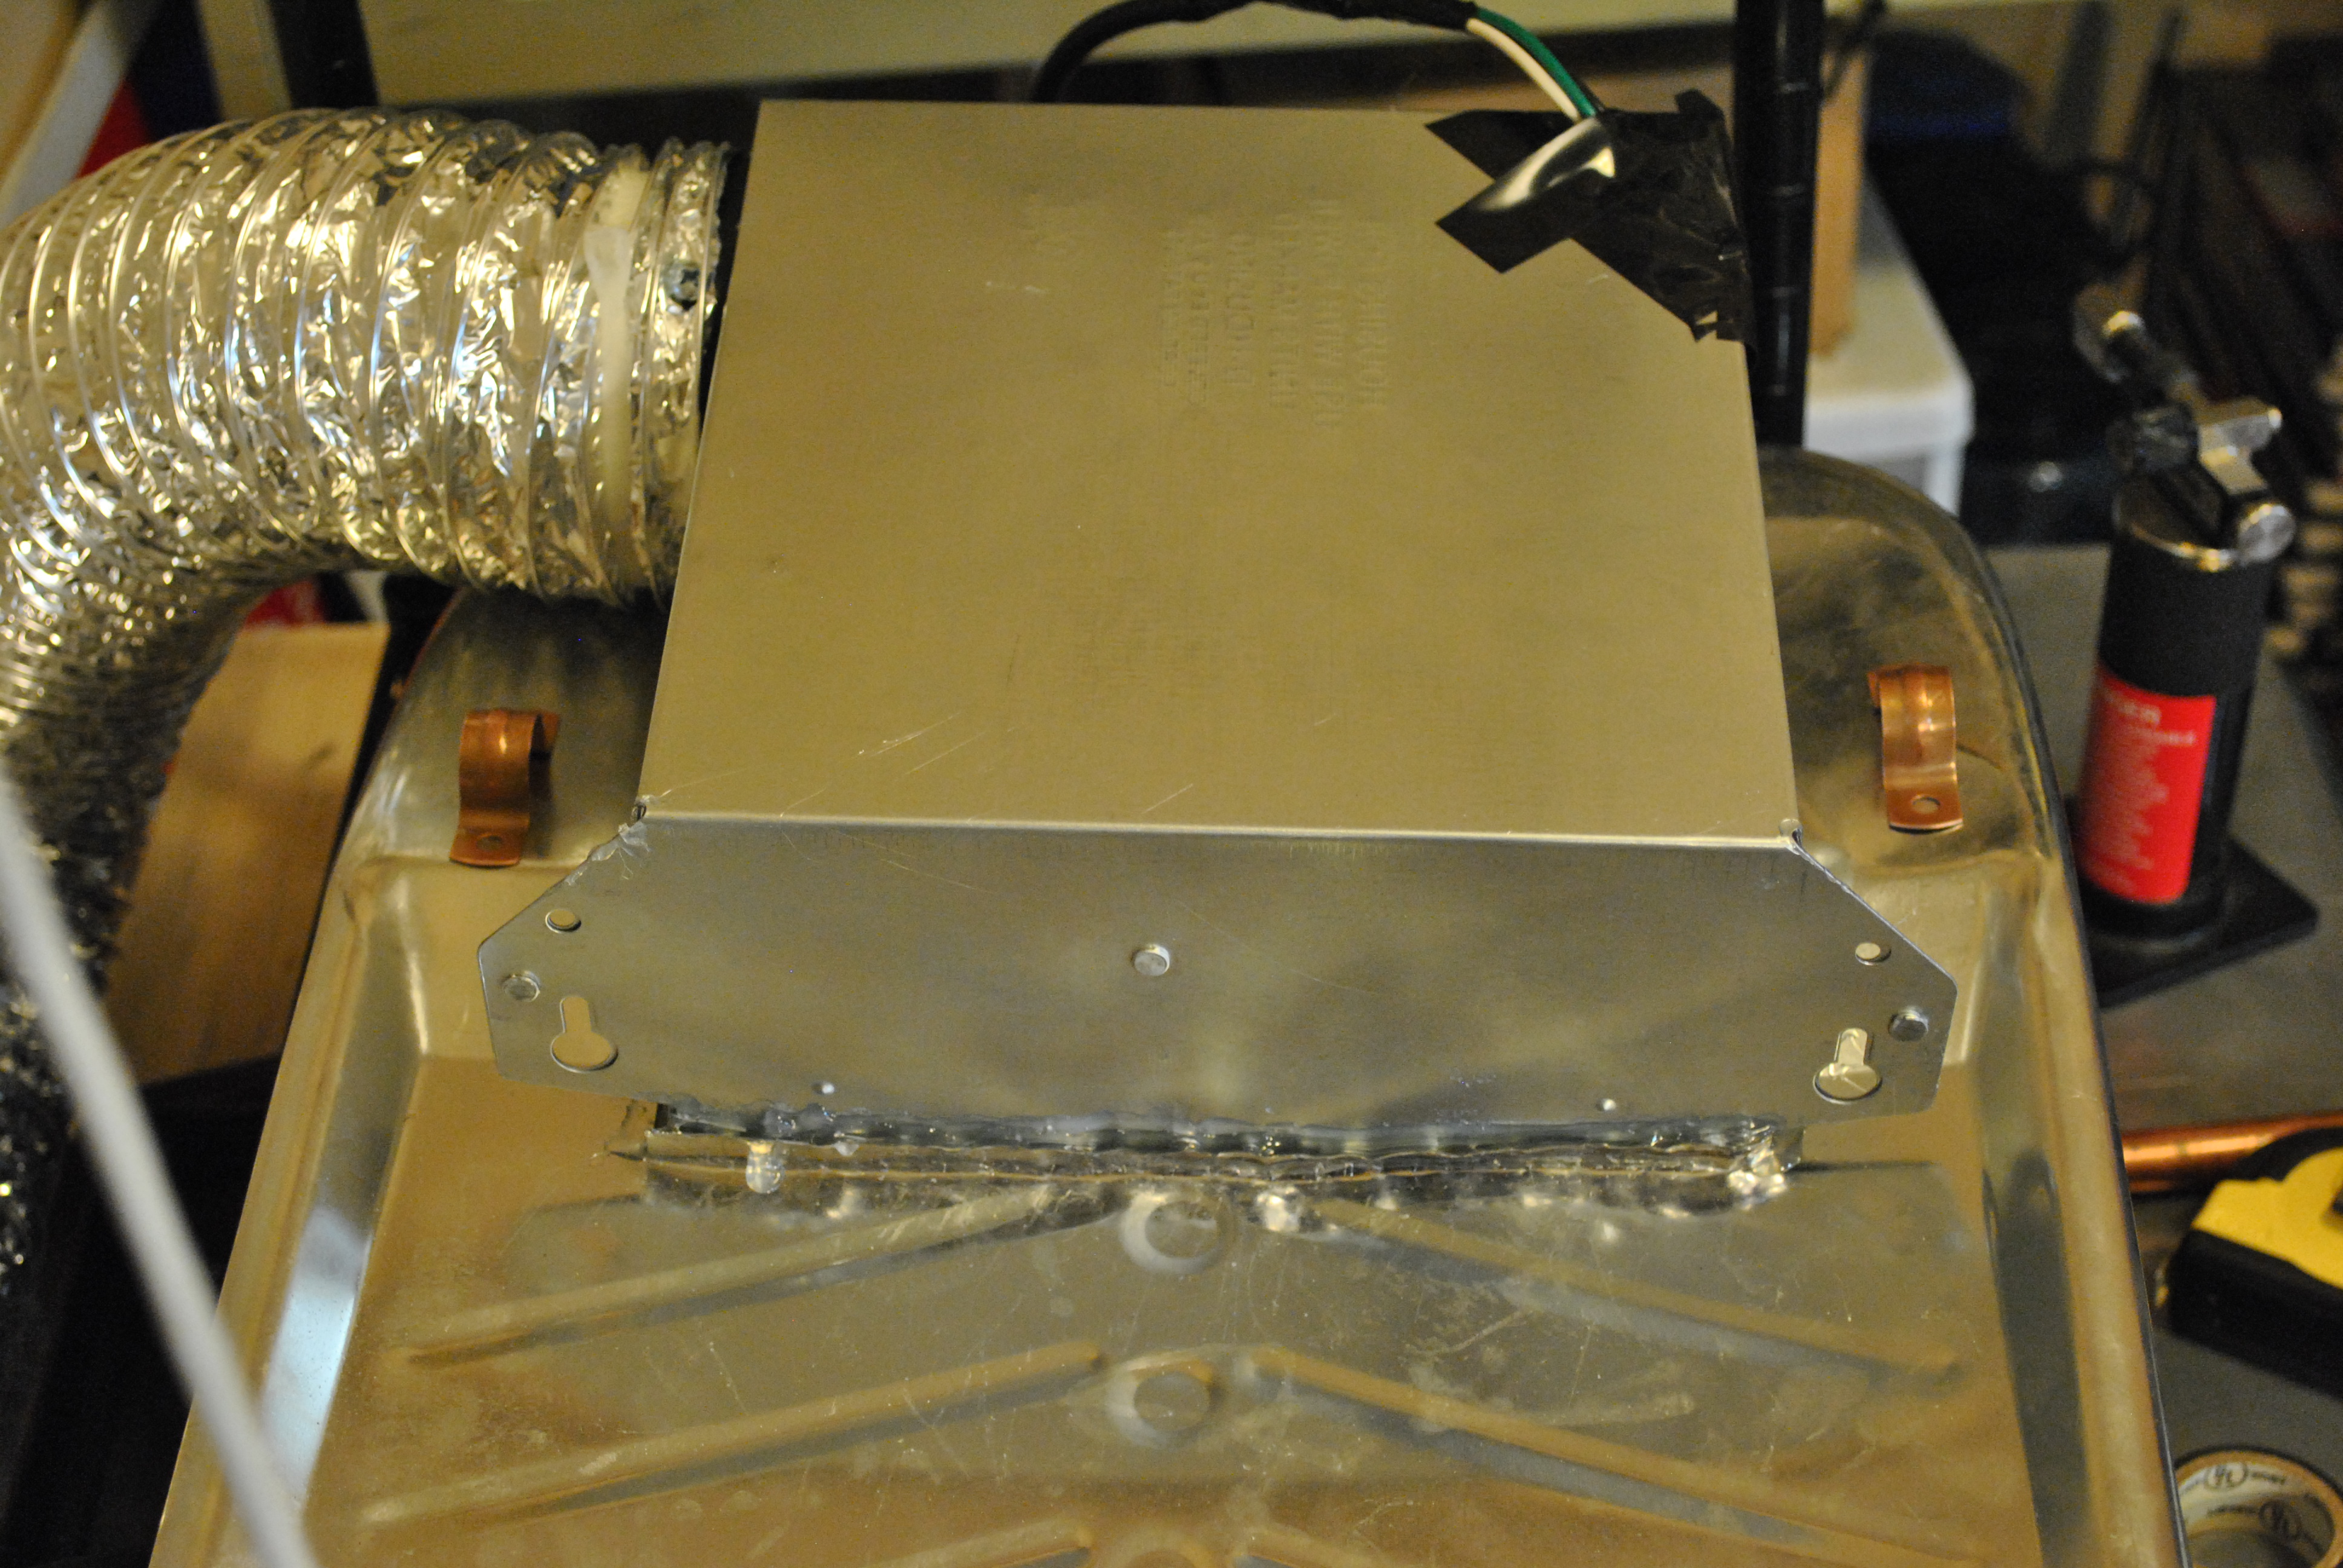
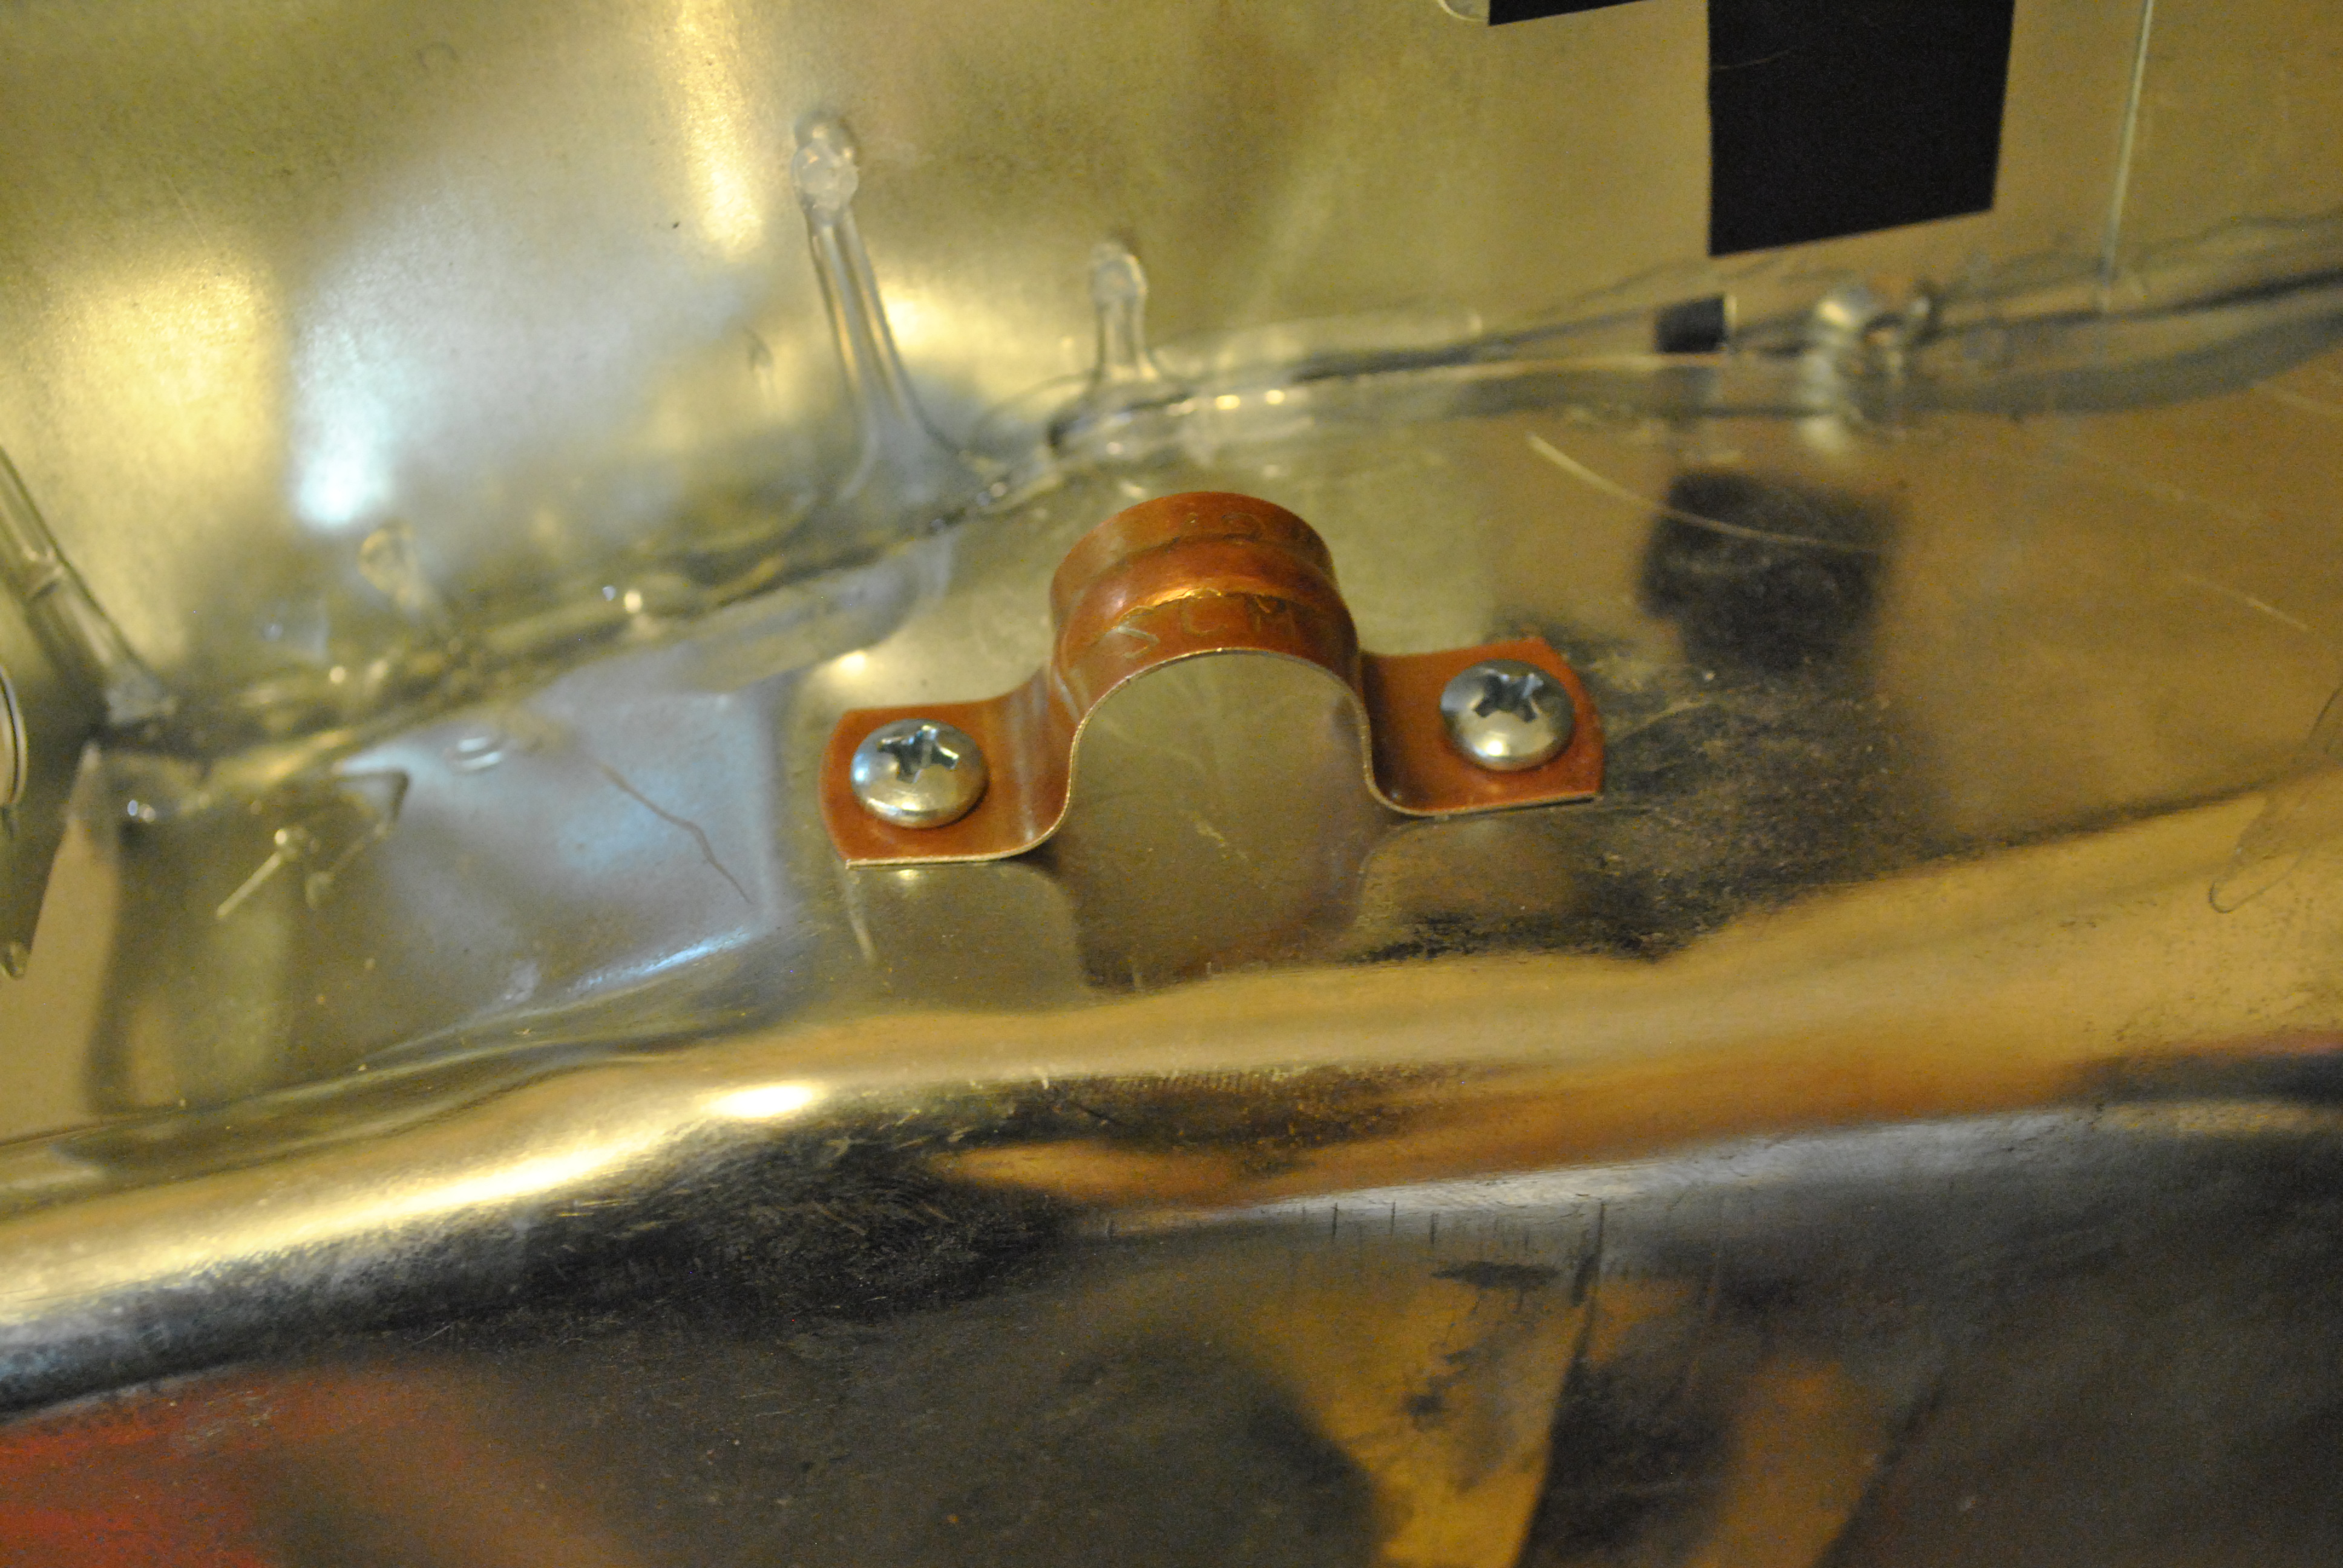
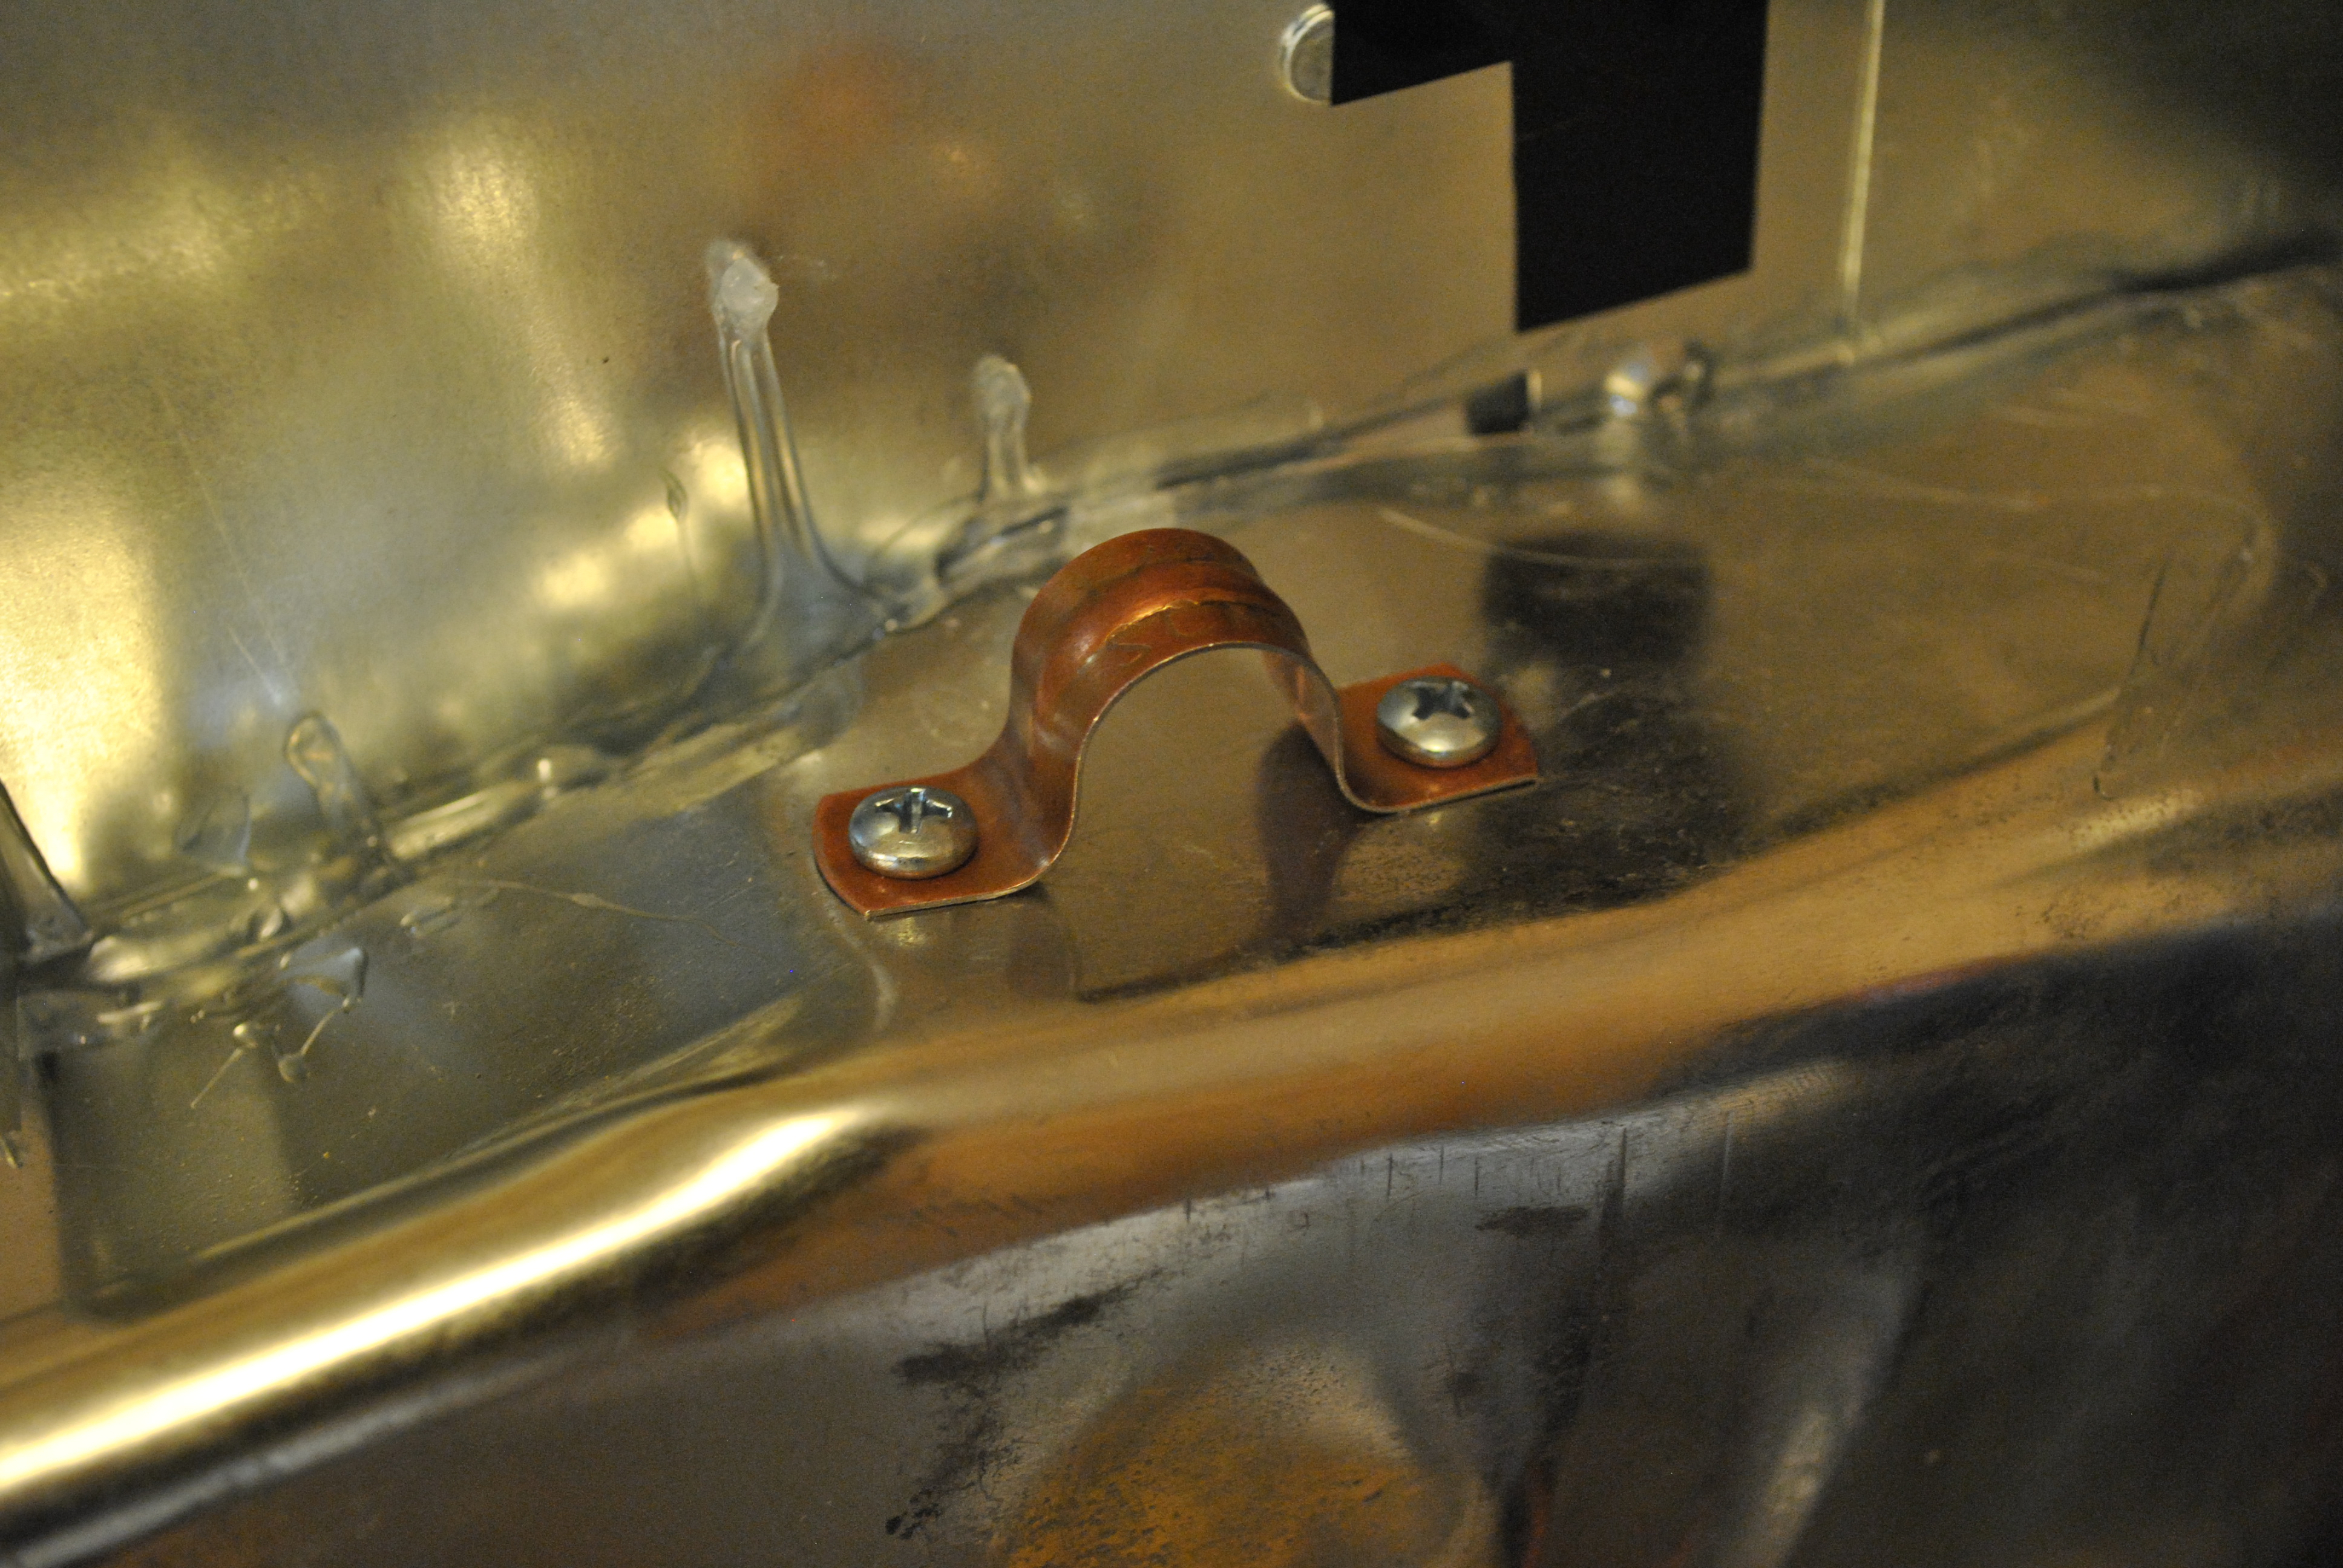
I used two copper pipe holders to create mounts for the mounting rope. I used the paint pans own legs on the other side as mount points. Simply attach them with self tapping metal screws.
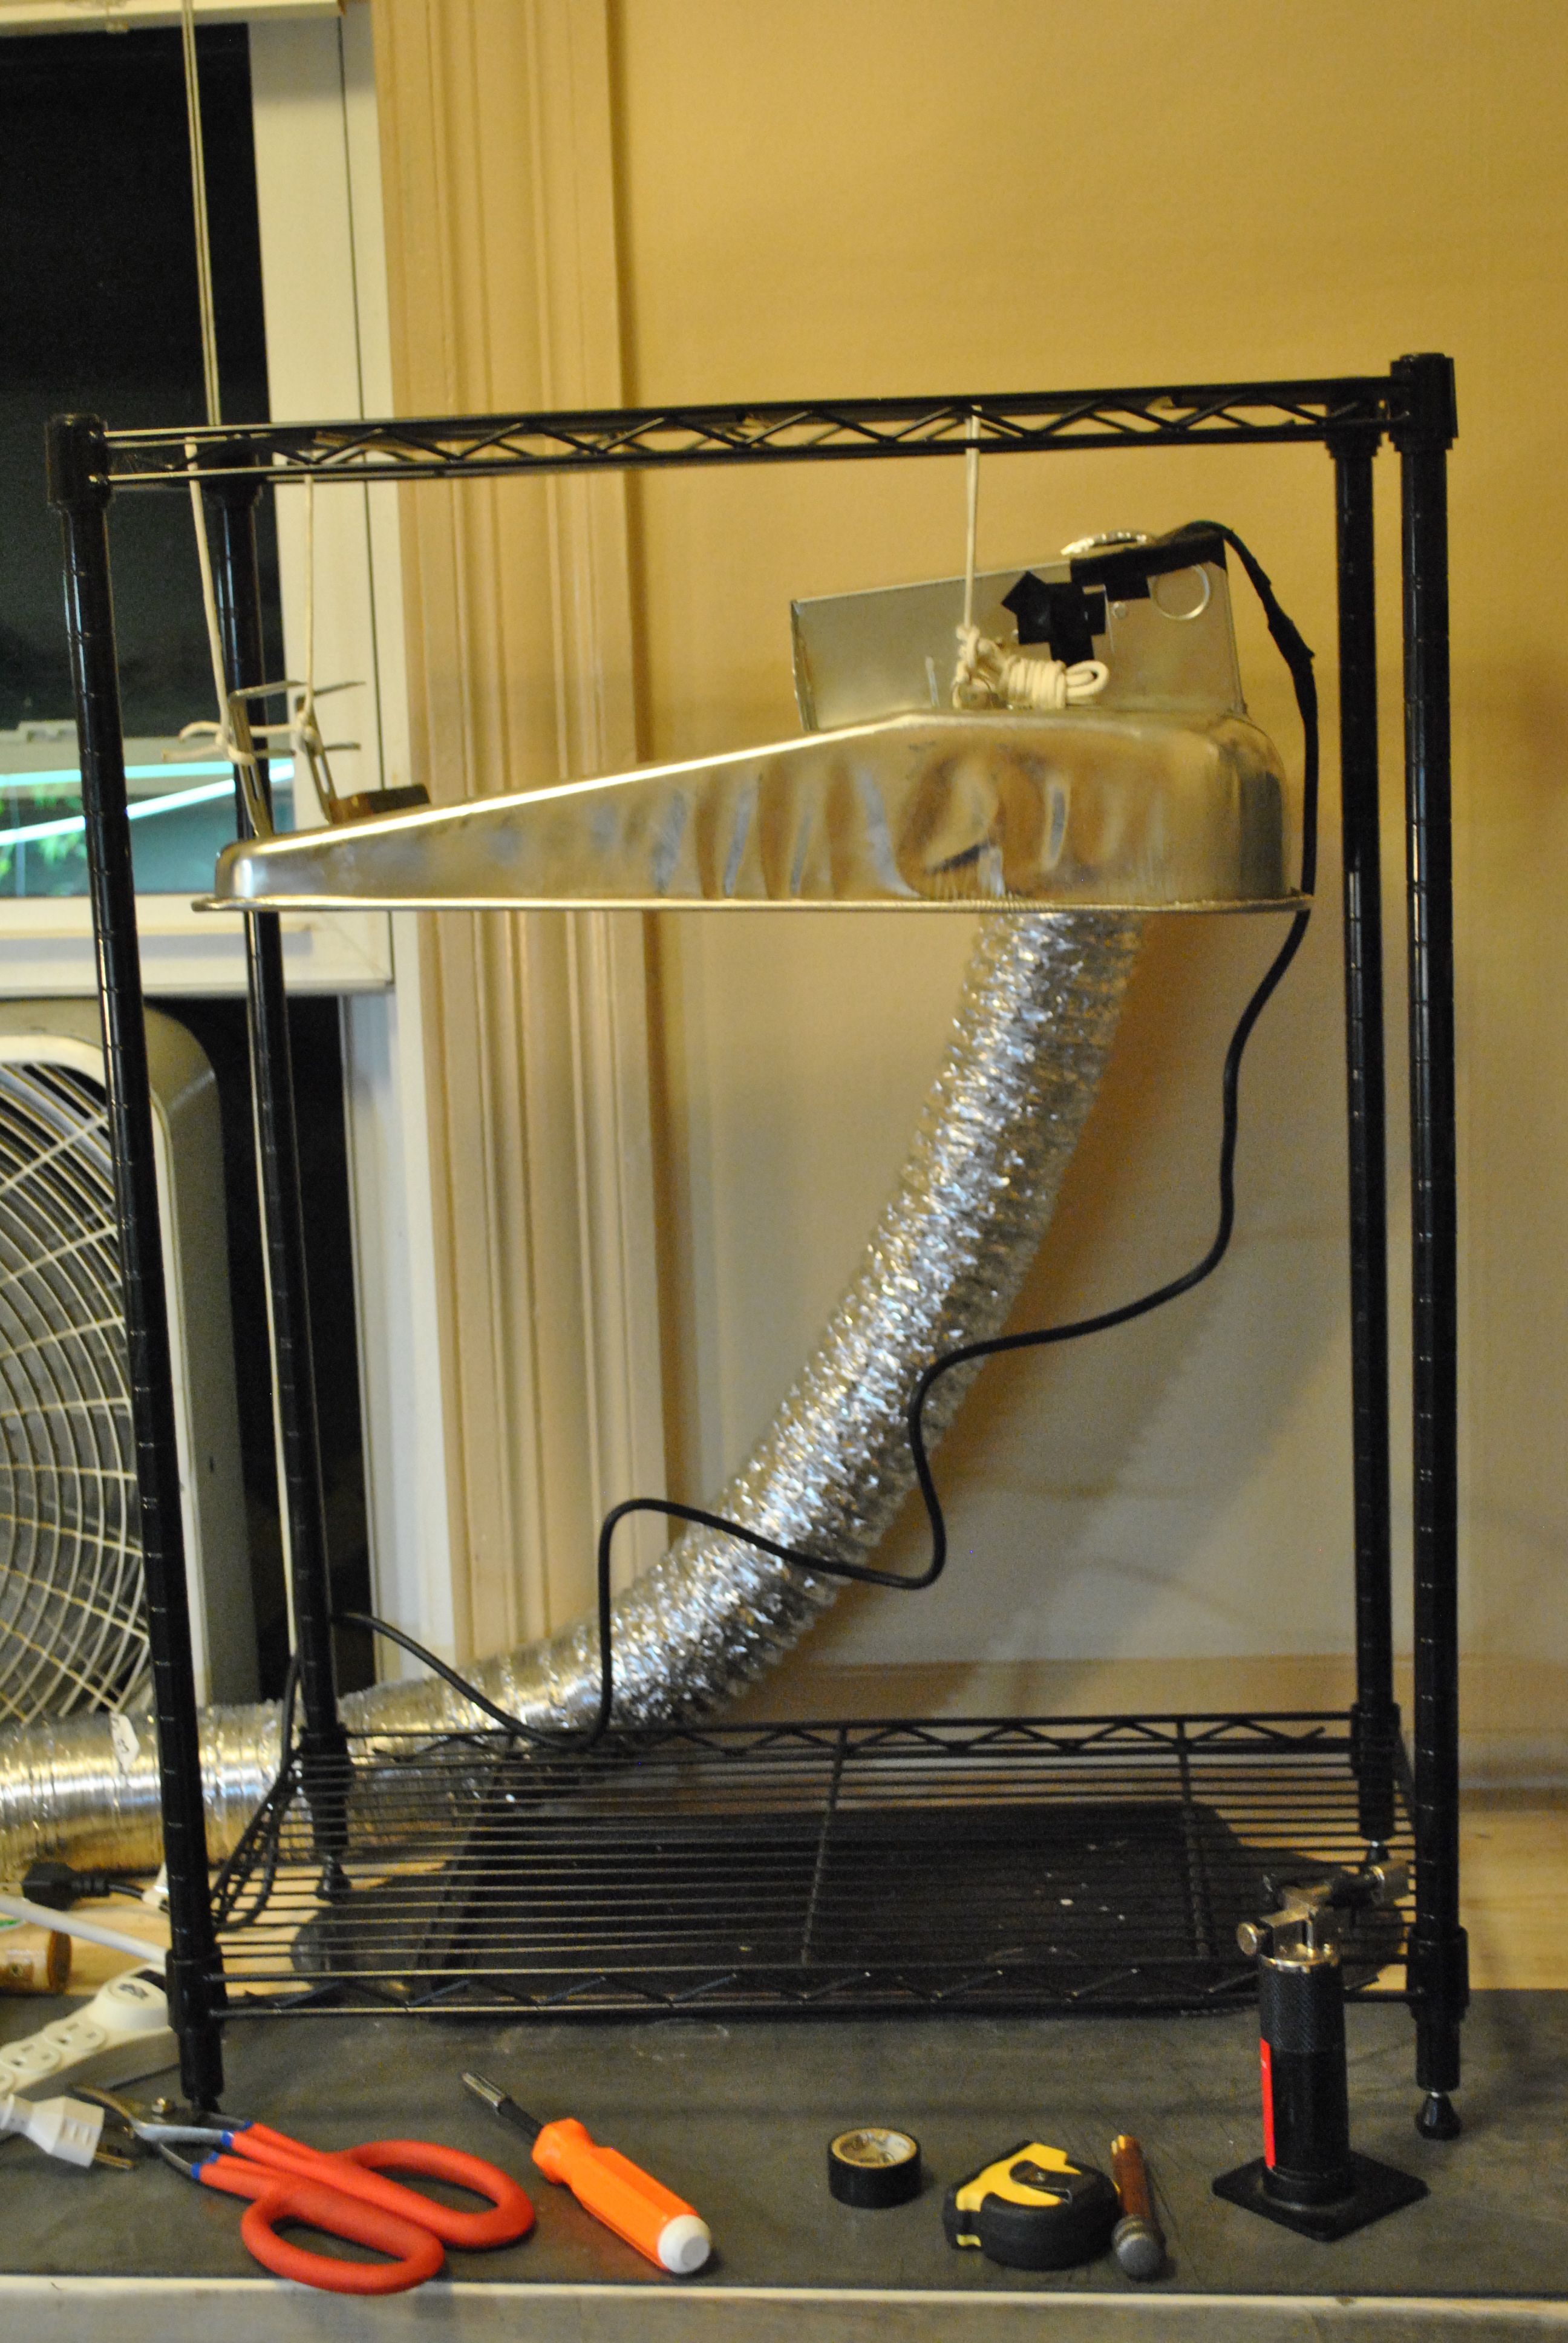
All done and hanging in the stand I plan on putting my micro-kiln in.
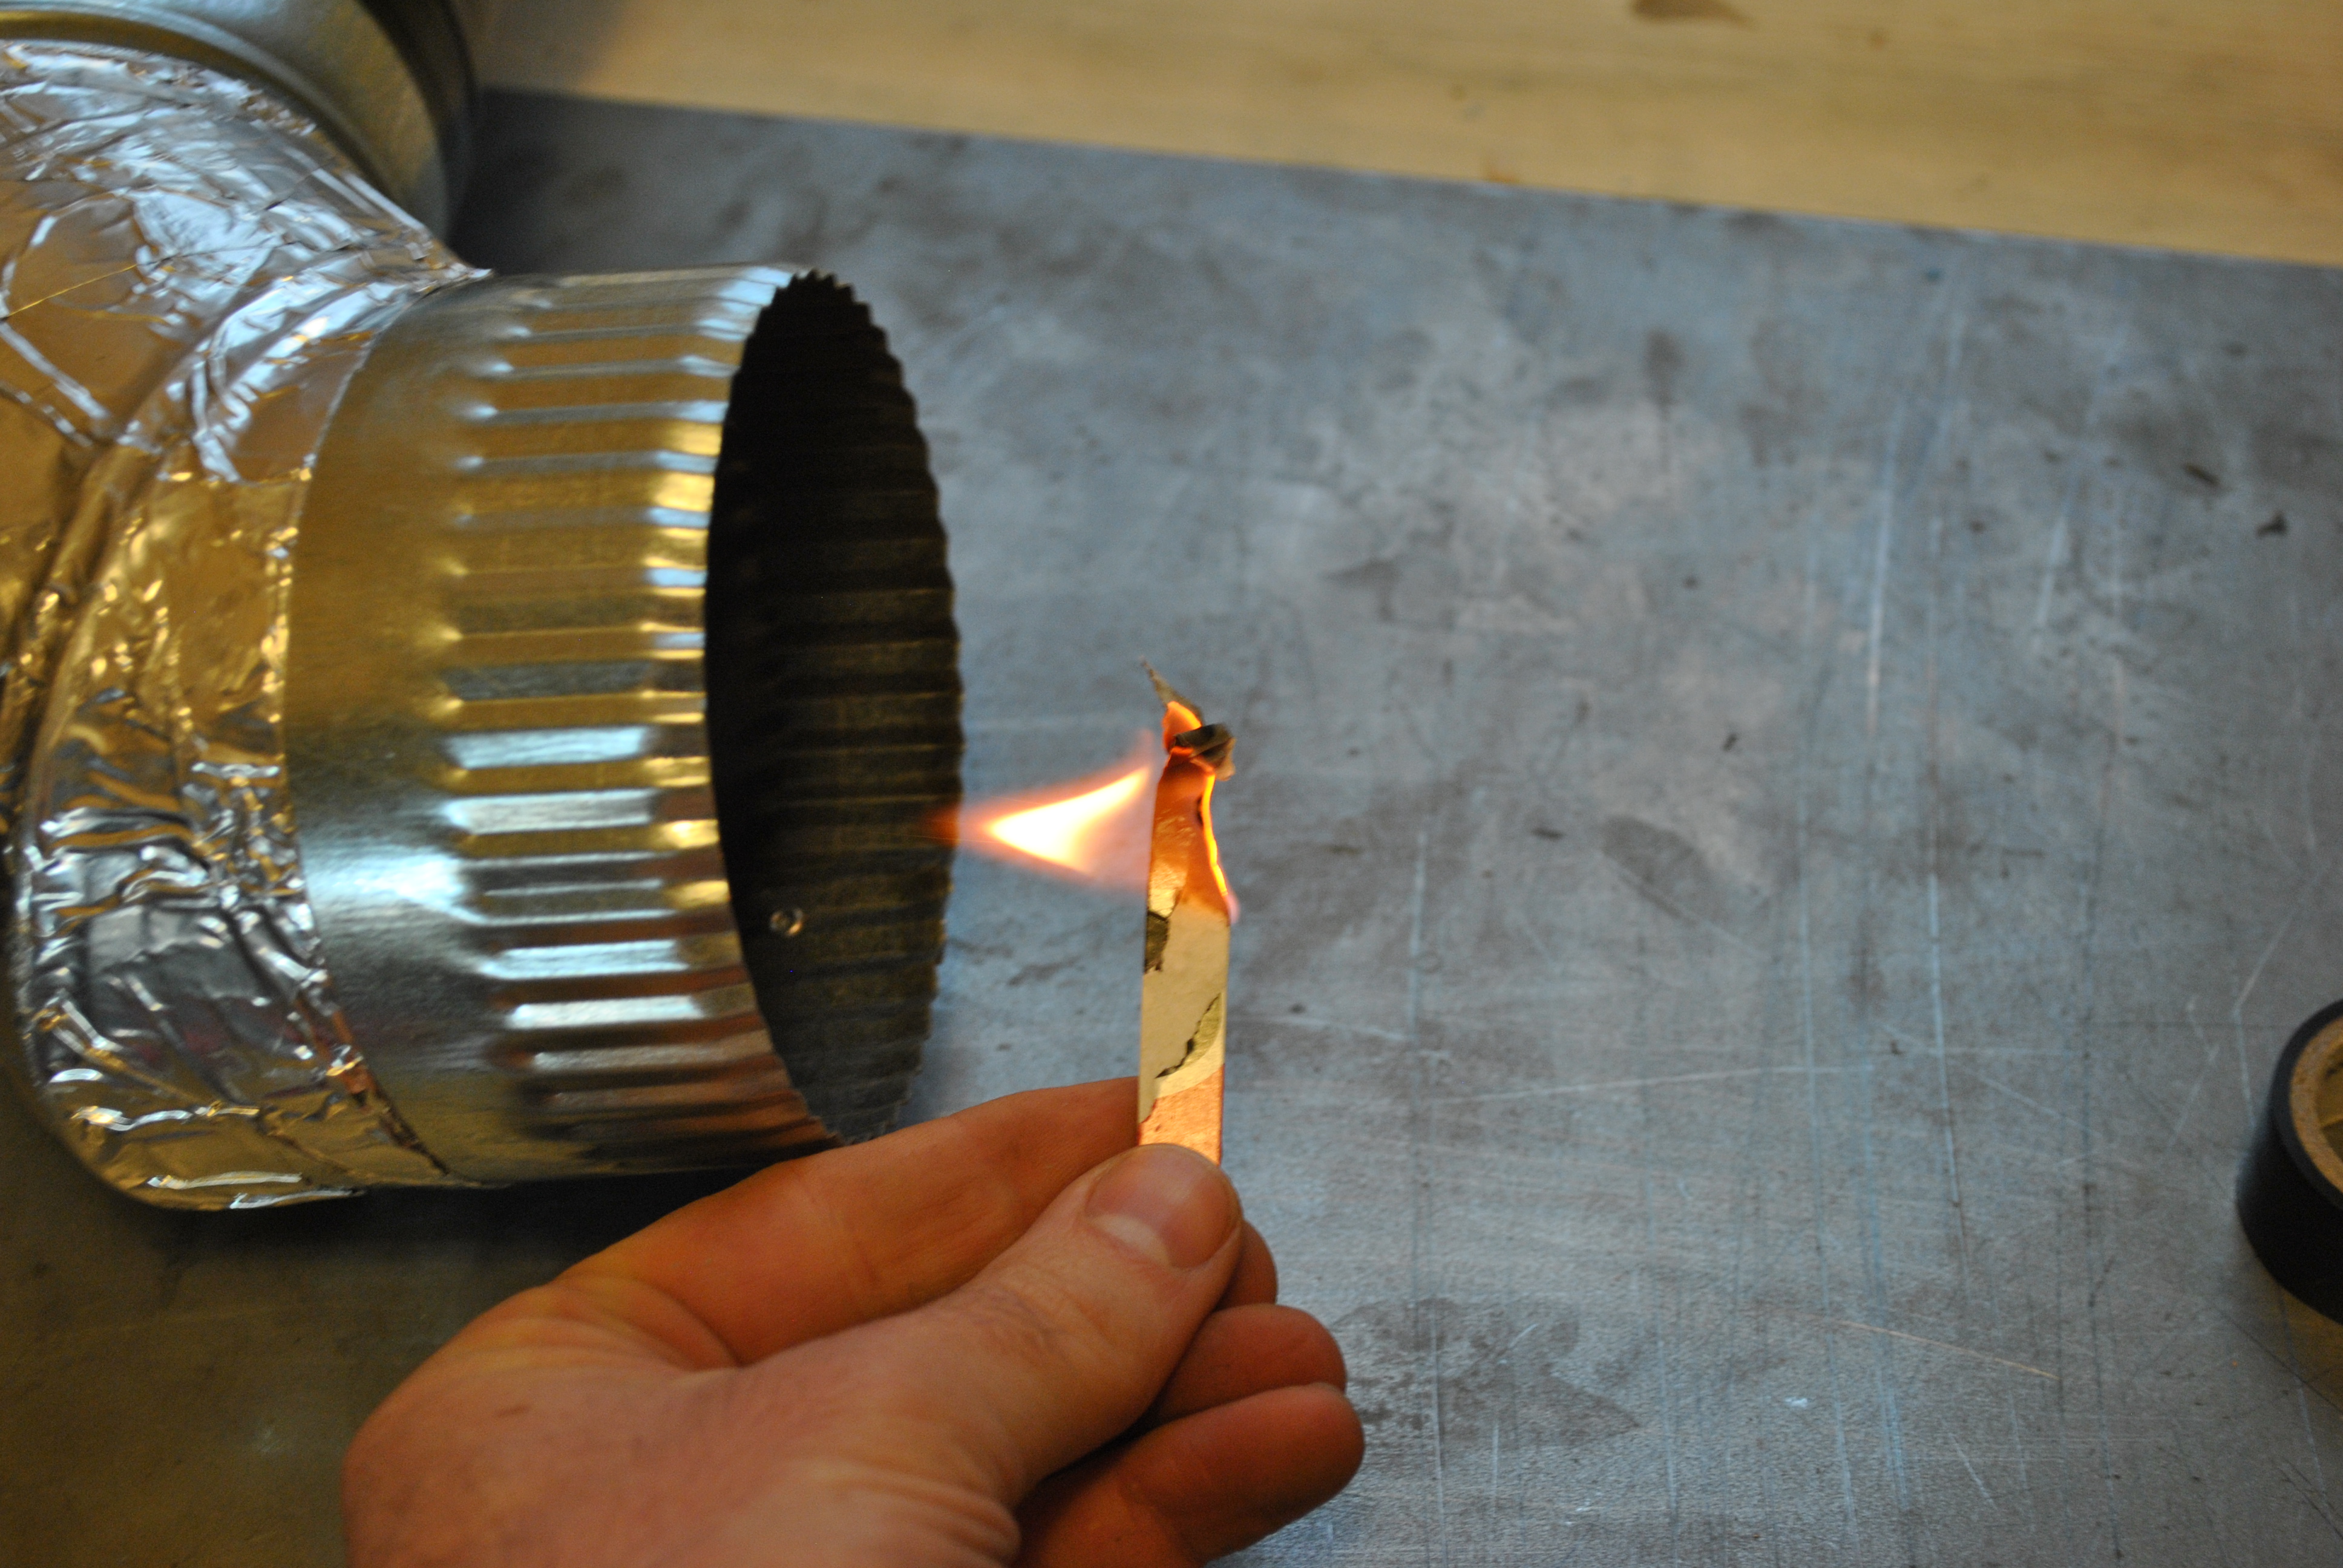
I tested this guy by lighting various kinds of smokey fires under it, and I have to say it works pretty well. I put the grate included with the kit on over this box and the efficiency went way up (as did the classy nature of the vent hood)
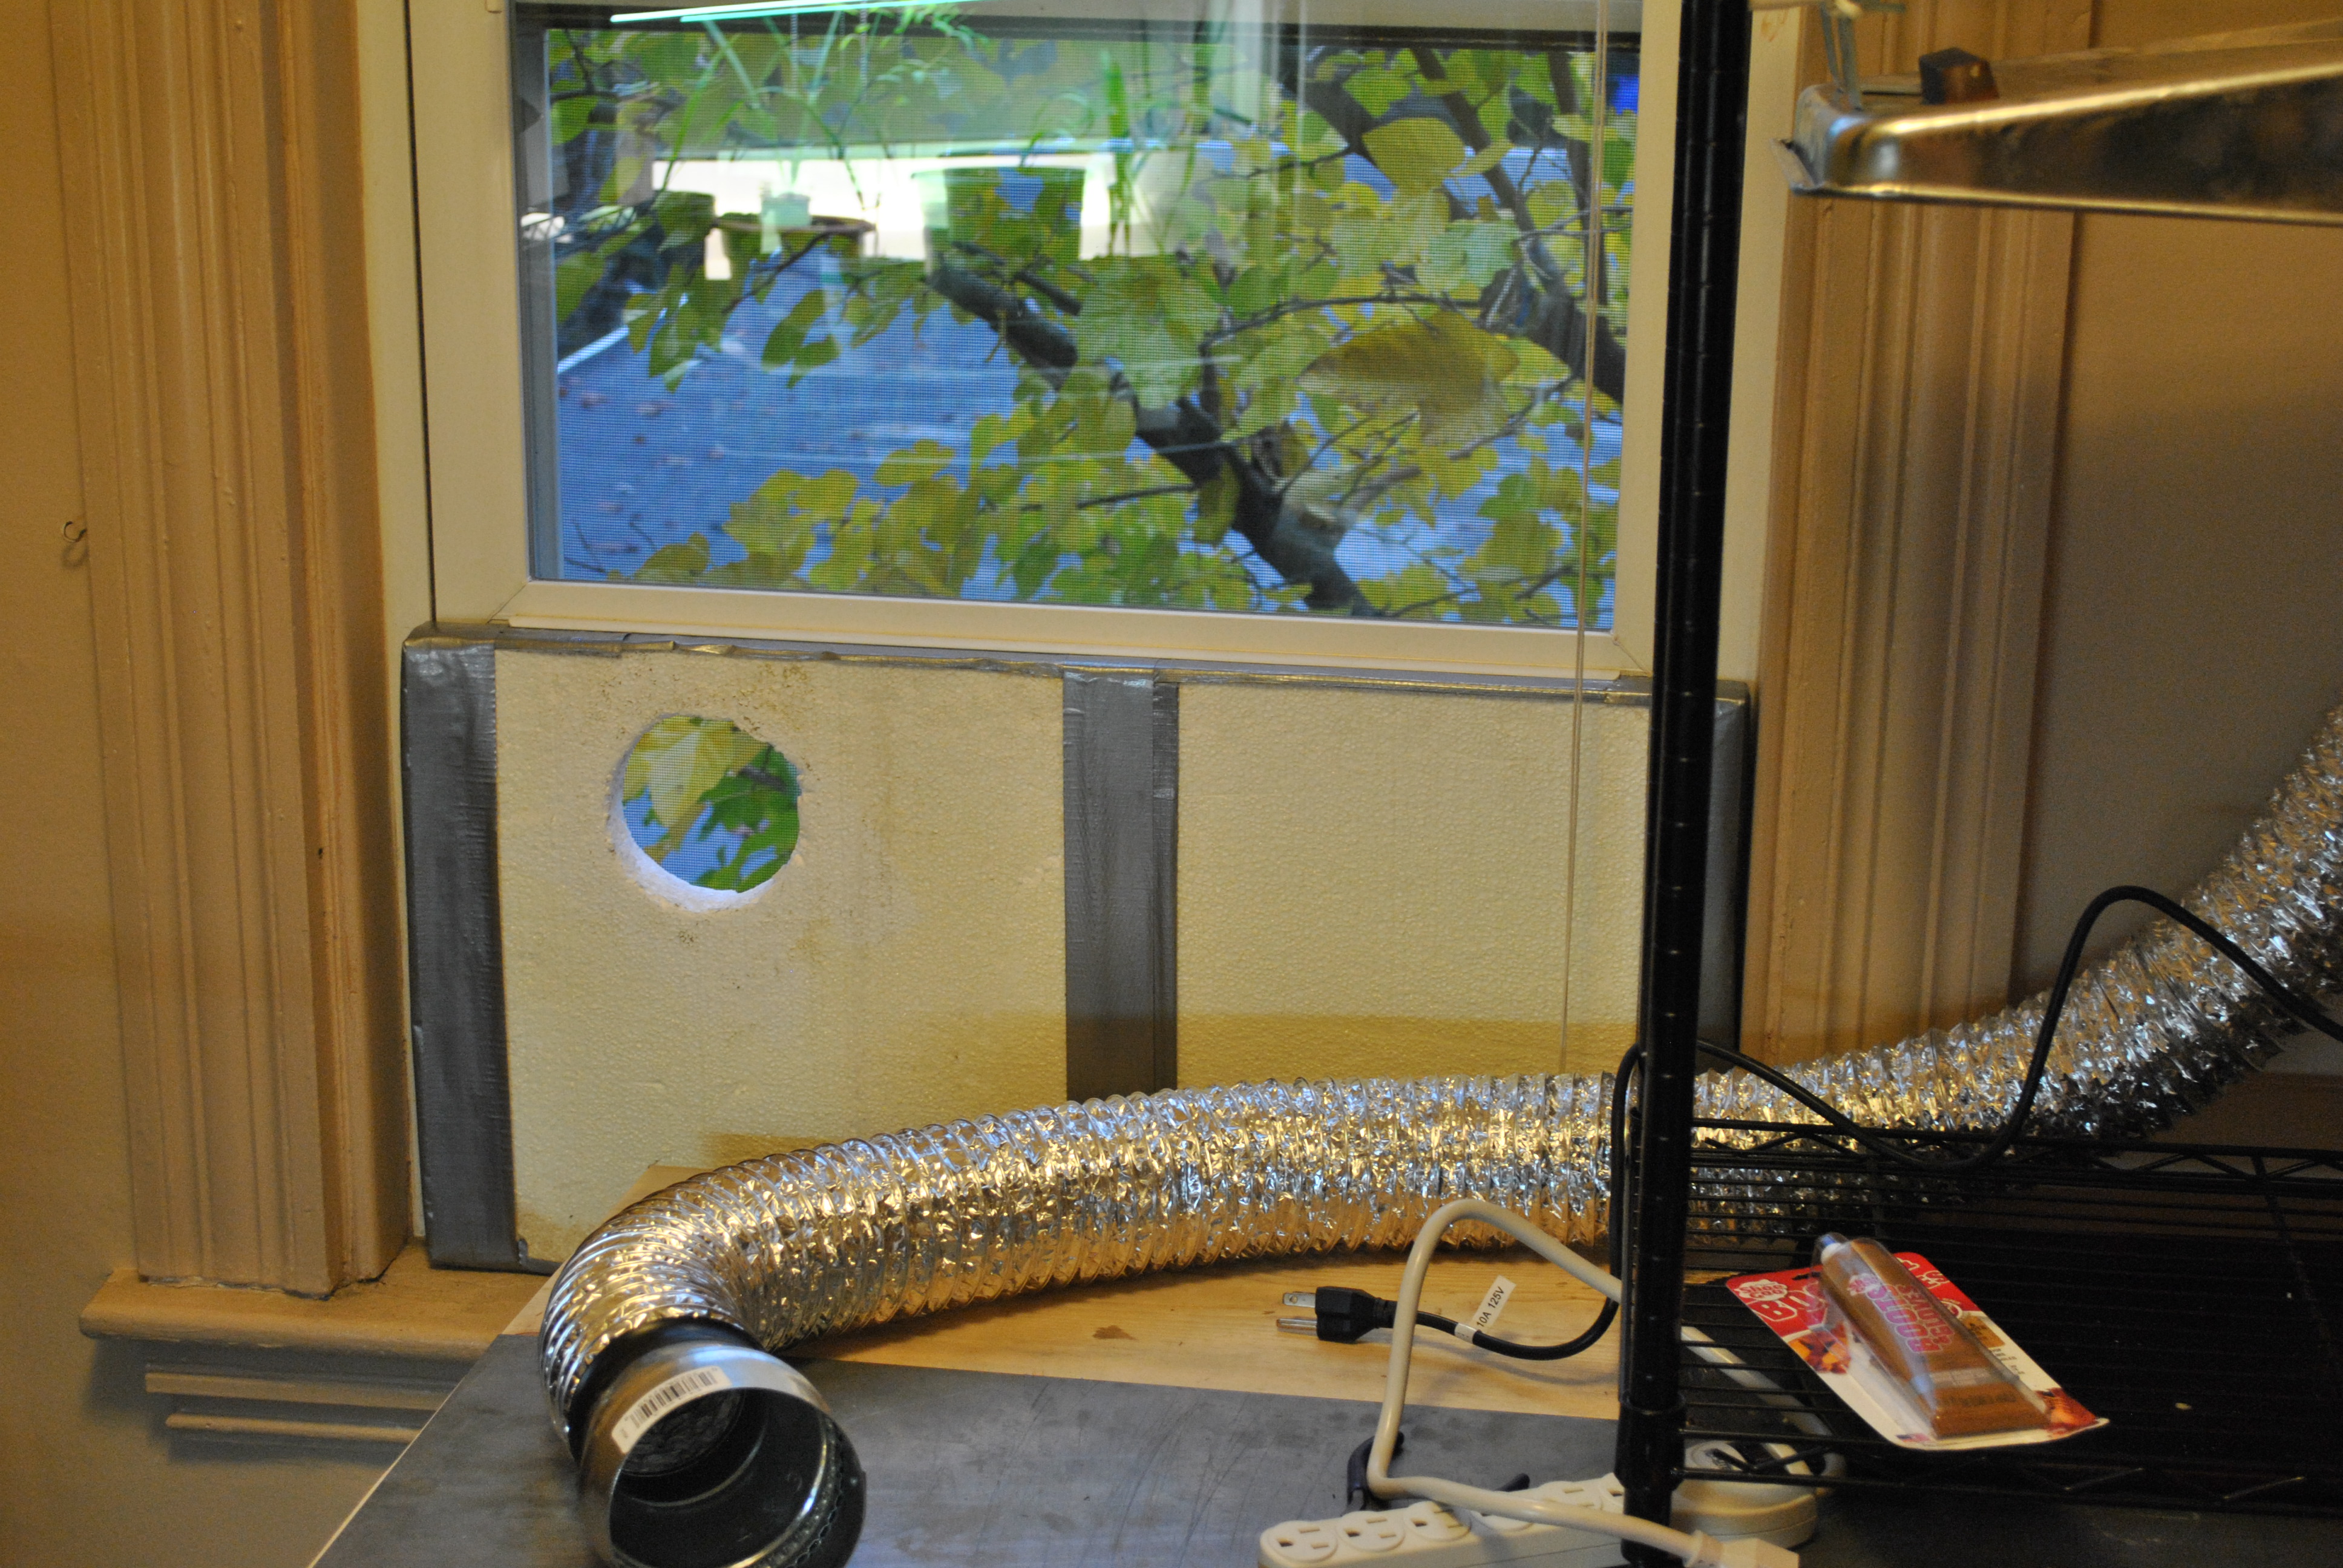
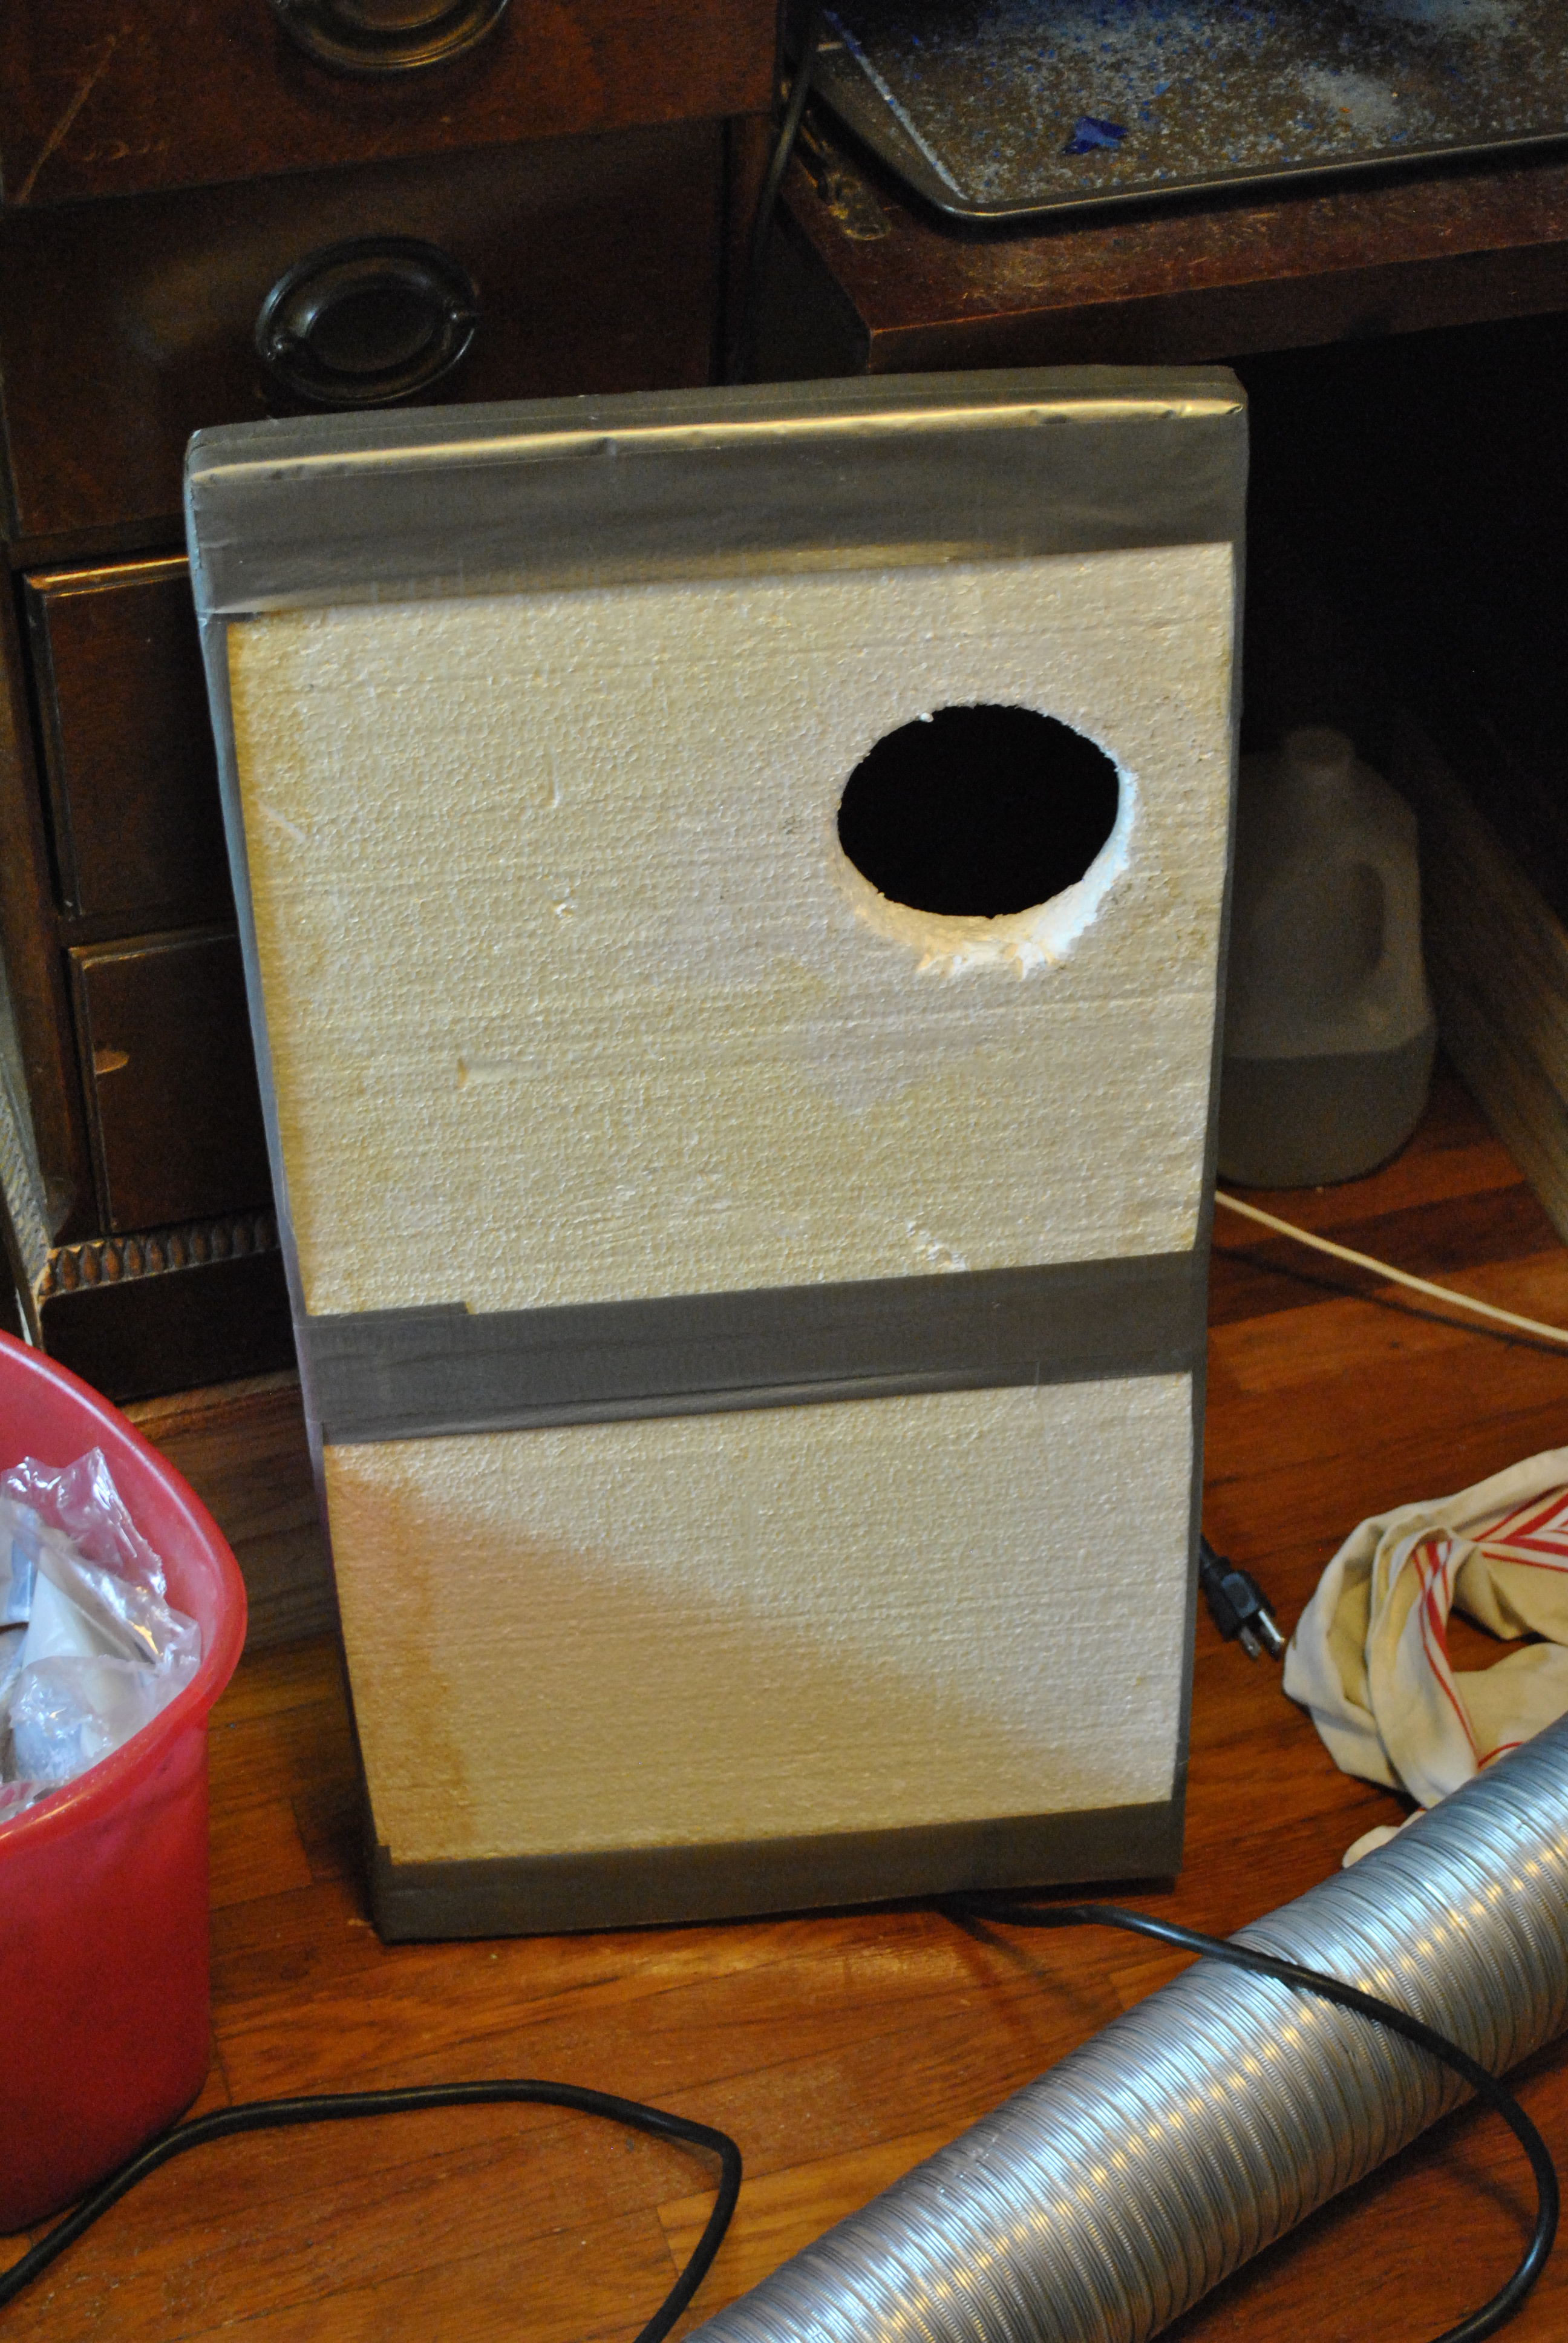 I built this little window plug so that I could use the vent in the winter without cooling down the house too much, its just a piece of insulating Styrofoam with duct tape wrapped around it.
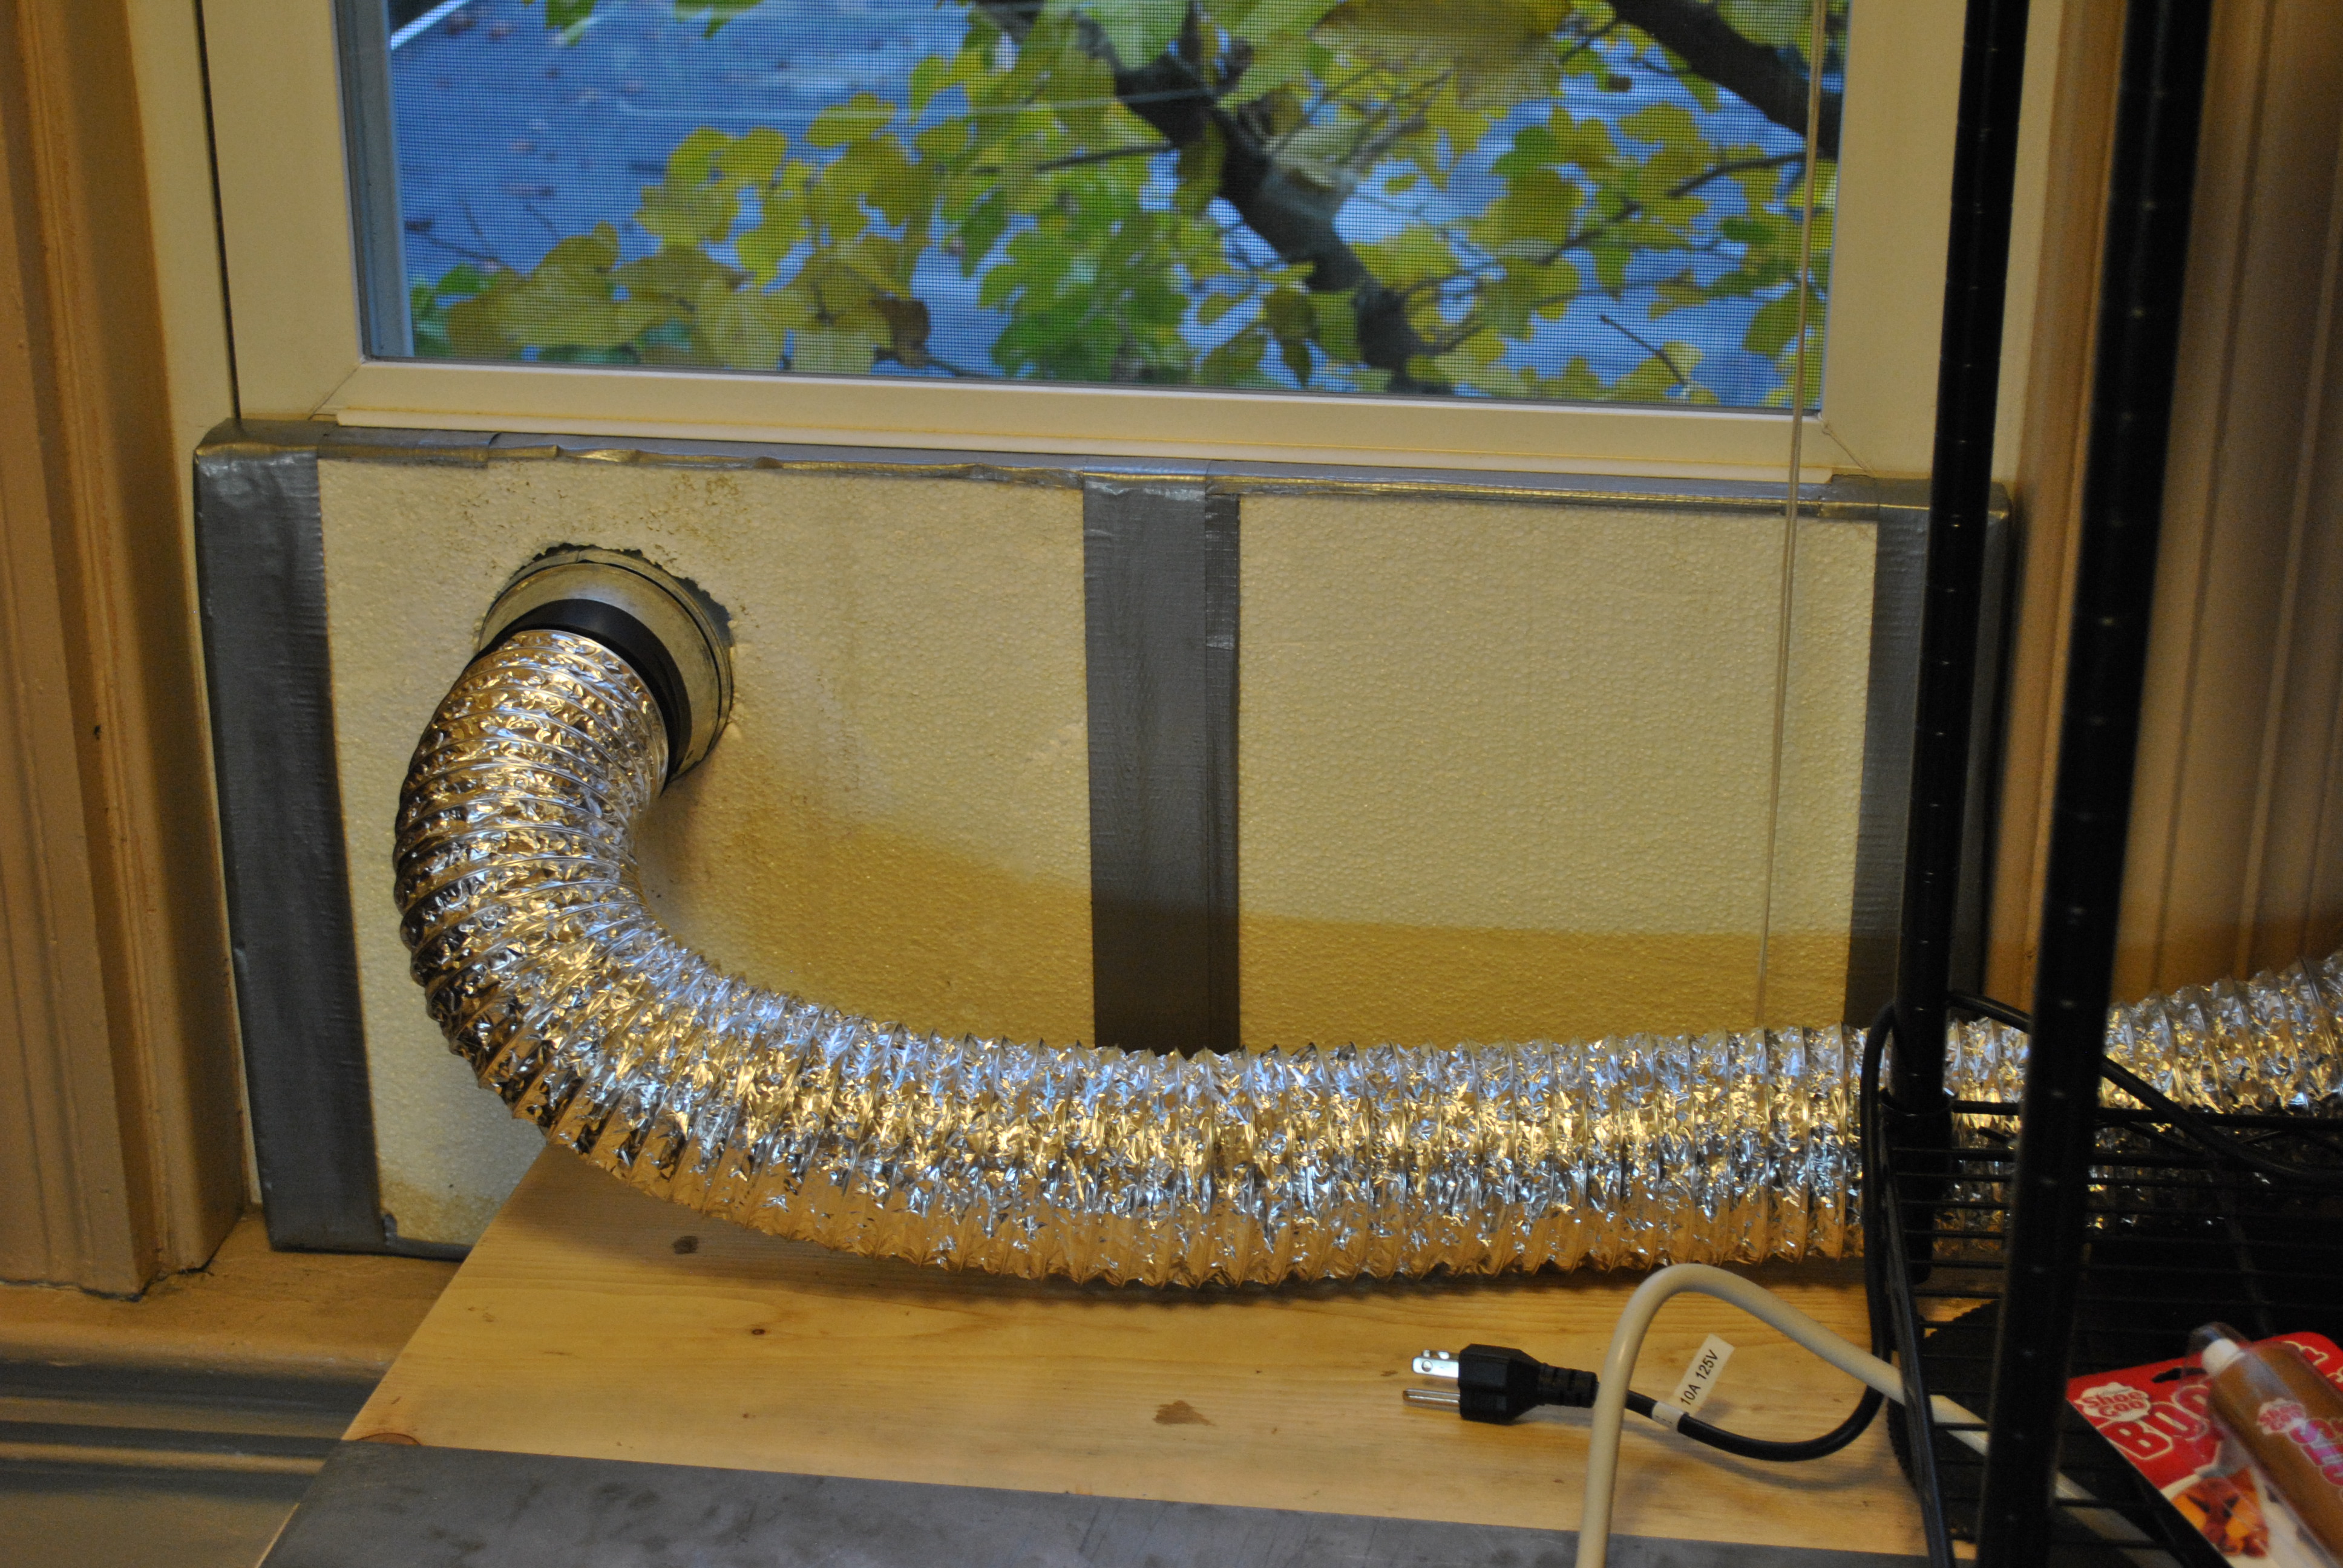
I had some duct work and parts left over from a previous project so I also made a soldering fume extractor out of an old impeller fan and some duct work.
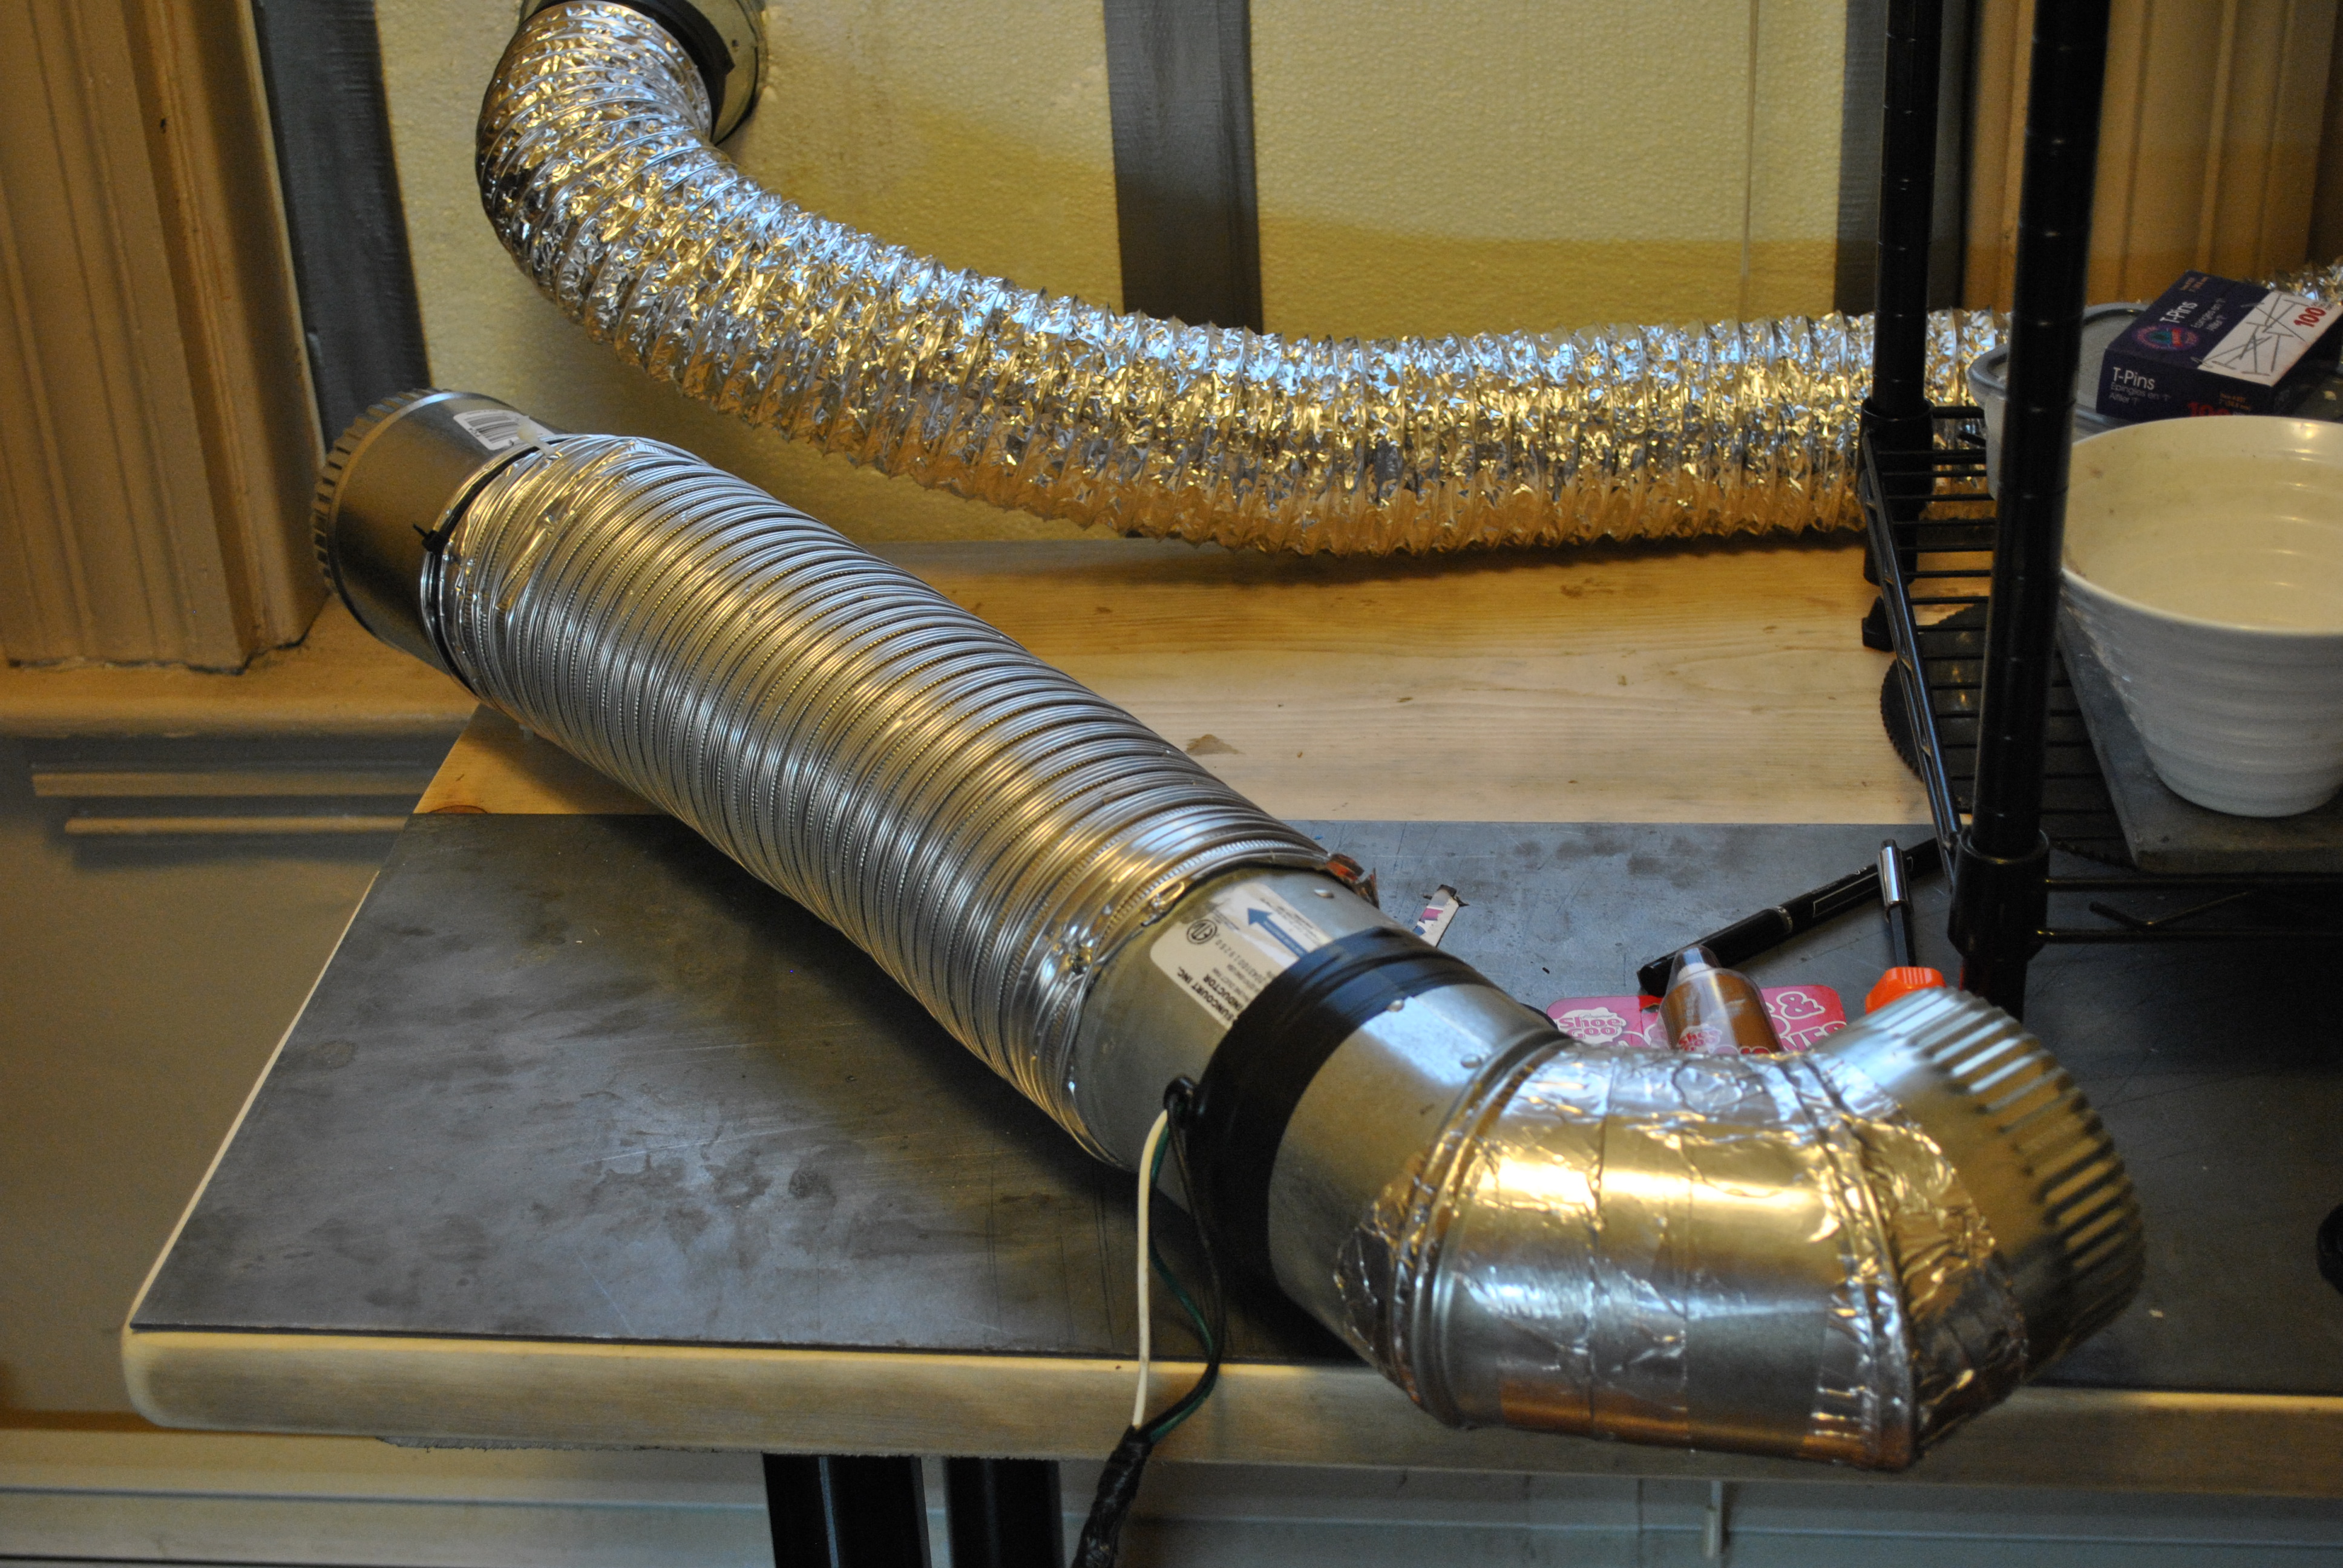
The impeller fan is wires up the same way the bathroom fan was (you can see the cord coming off it.) It also fits into the little hole in the window plug and sucks pretty hard, easily removing all the fumes from soldering and other fire related torch work.
Materials used:
Paint Pan (12$)
Duct Work (12$)
Ceiling Fan (15$)
E6000 glue (6$)
Self Tapping Metal Screws ($4)
Electrical Tape
Old Computer Cord
Styrofoam
Duct Tape
Copper pipe mounts ($1)
Rope
Impeller fan
Tools used:
Tin Snips
Screw Driver
Utility Knife
Cost:
Total cost $50 (stuff I had to buy is priced above, everything else I had or found)
Sadly I had to buy most of this stuff as I didn’t have any of it laying around, and just didn’t feel like waiting until something popped up in the trash, I know that tomorrow I will find the perfect bit of trash laying around to do this project on the cheap, but I wanted to get this done now because the supplies for my DIY kiln are arriving soon! And if you consider that a brand new one of these will set you back at least 300$ I think this is a pretty good deal.
